Android applications can customize their own permissions or the permissions of the same signature used by developers. The steps to customize permissions are as follows:
1, In the AndroidManifest file, add a permission tag:
<permission
    android:description="string resource"
    android:icon="drawable resource"
    android:label="string resource"
    android:name="string"
    android:permissionGroup="string"
    android:protectionLevel=["normal" | "dangerous" |   "signature" | "signatureOrSystem"] />
android:name: unique identifier of permission. Generally, package name + permission name are used;
android:permissionGroup: the name of the permission group to which the permission belongs;
android:protectionLevel: permission level:
normal is the lowest level. For app s that declare this permission, the system will grant this permission by default and will not prompt the user;
dangerous The operation corresponding to the permission has security risks. The system will prompt the user when installing the app declaring such permission;
signature The operations indicated by the permission are only open to app s signed with the same certificate;
signatureOrSystem Similar to signature, it only adds the declaration of the built-in app in rom.
android:name attribute is required, and others are optional. If it is not written, the system will specify the default value.
2, Specific use examples:
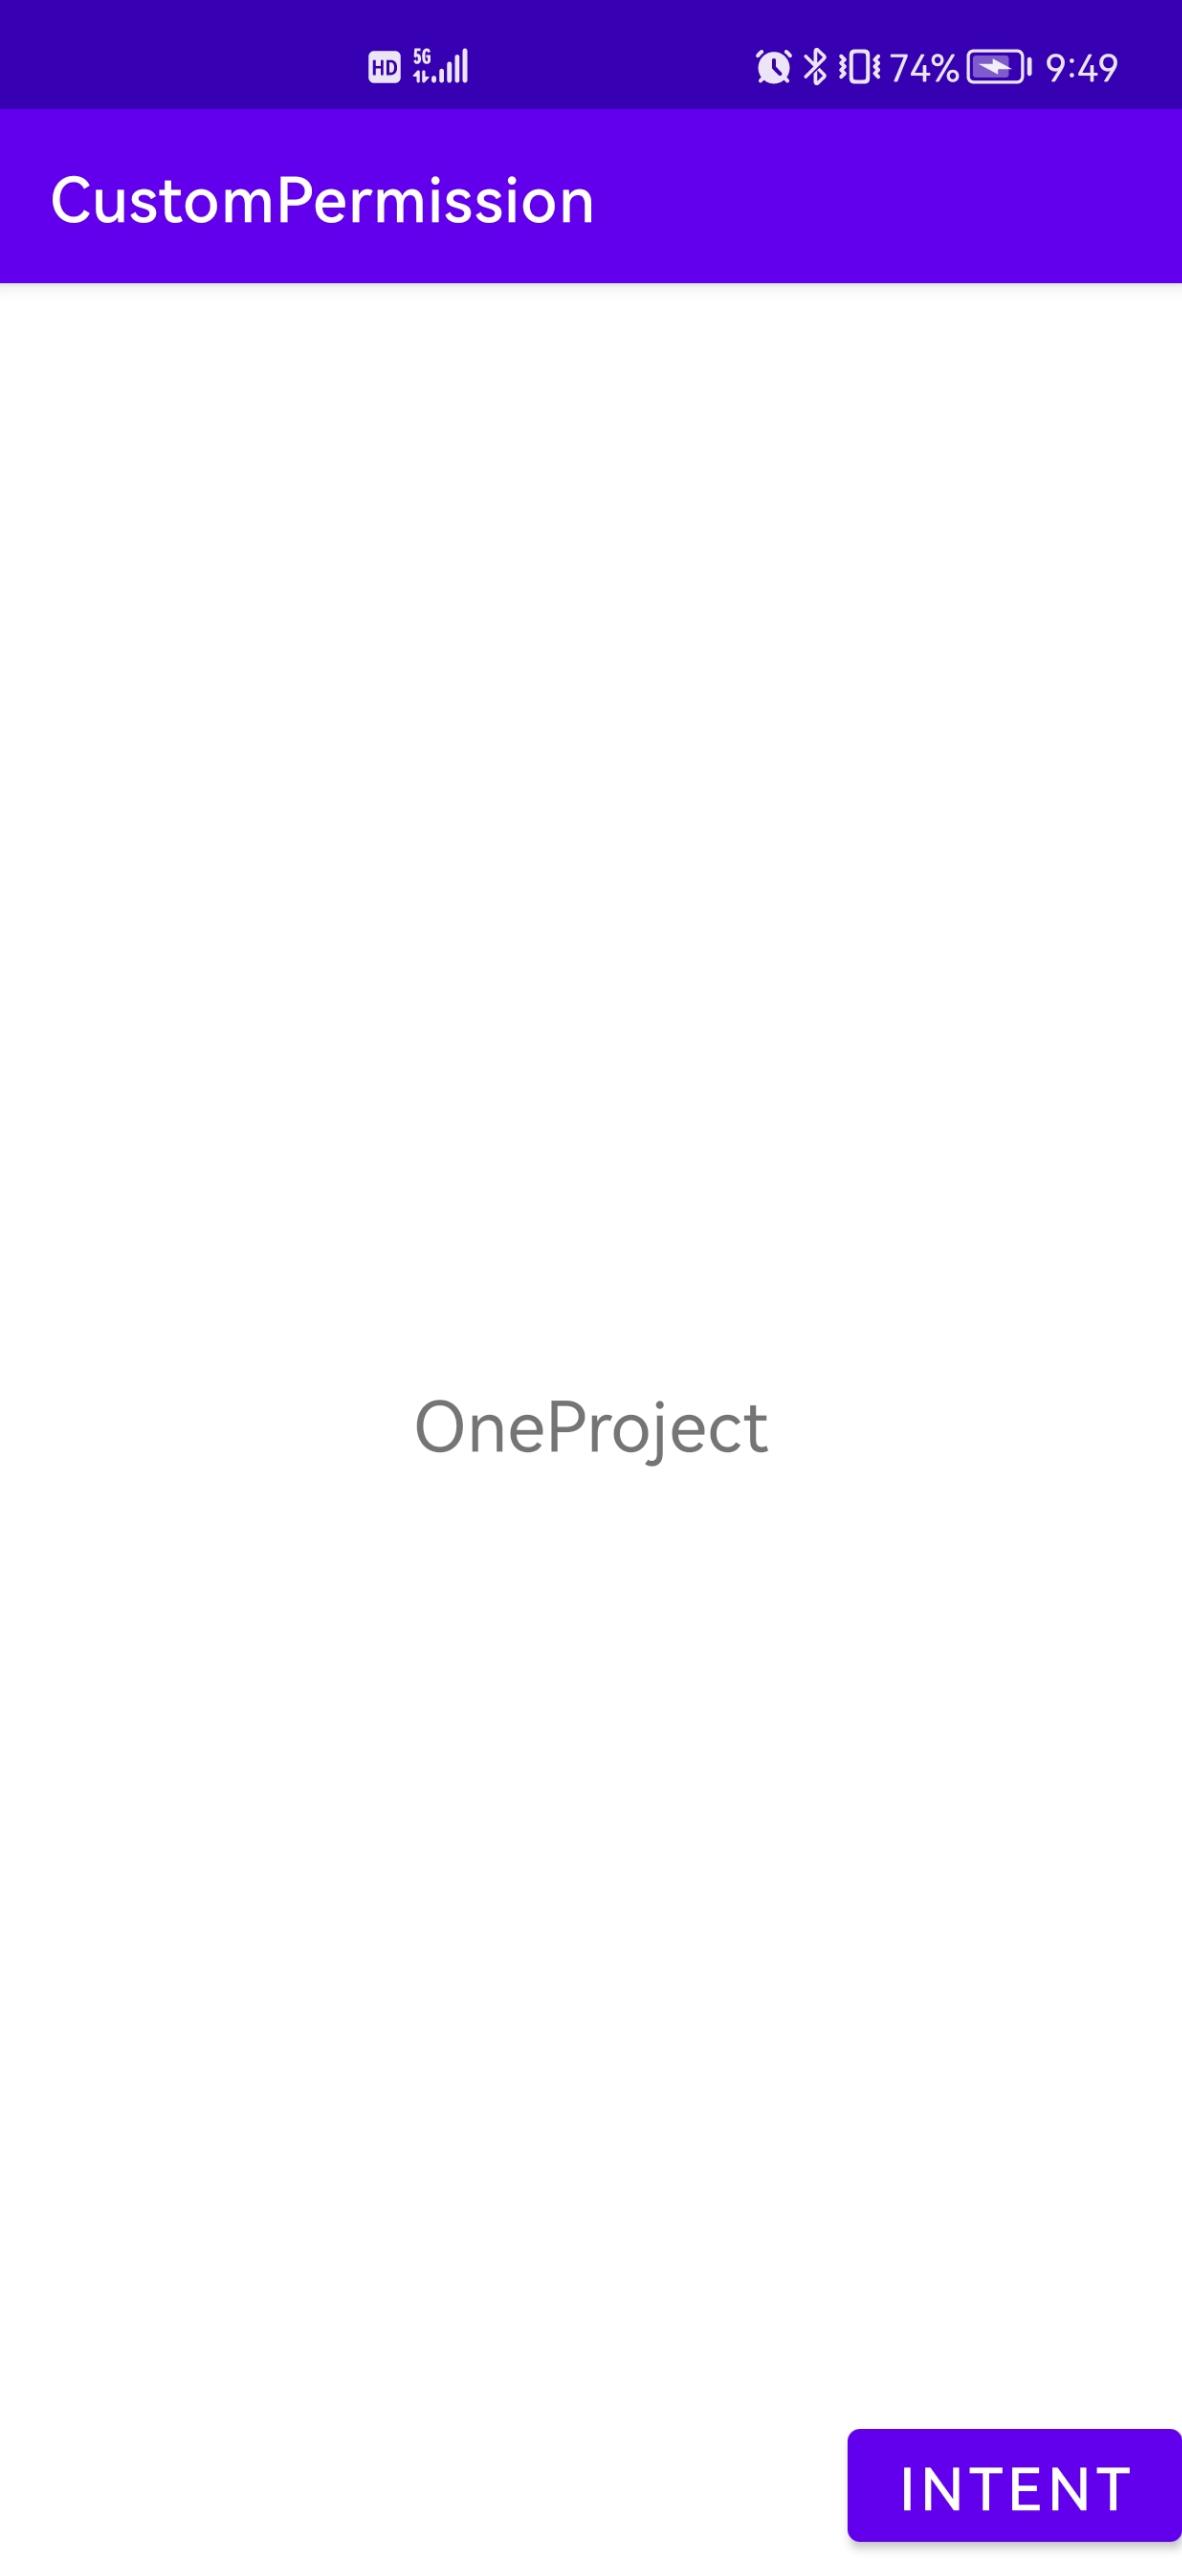
1. Create a project CustomPermission and create two activities. The layout file corresponding to the main activity is as follows:
<?xml version="1.0" encoding="utf-8"?>
<RelativeLayout xmlns:android="http://schemas.android.com/apk/res/android"
    xmlns:app="http://schemas.android.com/apk/res-auto"
    xmlns:tools="http://schemas.android.com/tools"
    android:layout_width="match_parent"
    android:layout_height="match_parent"
    tools:context=".MainActivity">

    <TextView
        android:layout_width="wrap_content"
        android:layout_height="wrap_content"
        android:text="OneProject"
        android:textSize="12pt"
        android:gravity="center"
        android:layout_centerInParent="true" />

    <Button
        android:id="@+id/intent_button"
        android:layout_width="wrap_content"
        android:layout_height="wrap_content"
        android:text="Intent"
        android:textSize="10pt"
        android:layout_alignParentRight="true"
        android:layout_alignParentBottom="true"/>
</RelativeLayout>
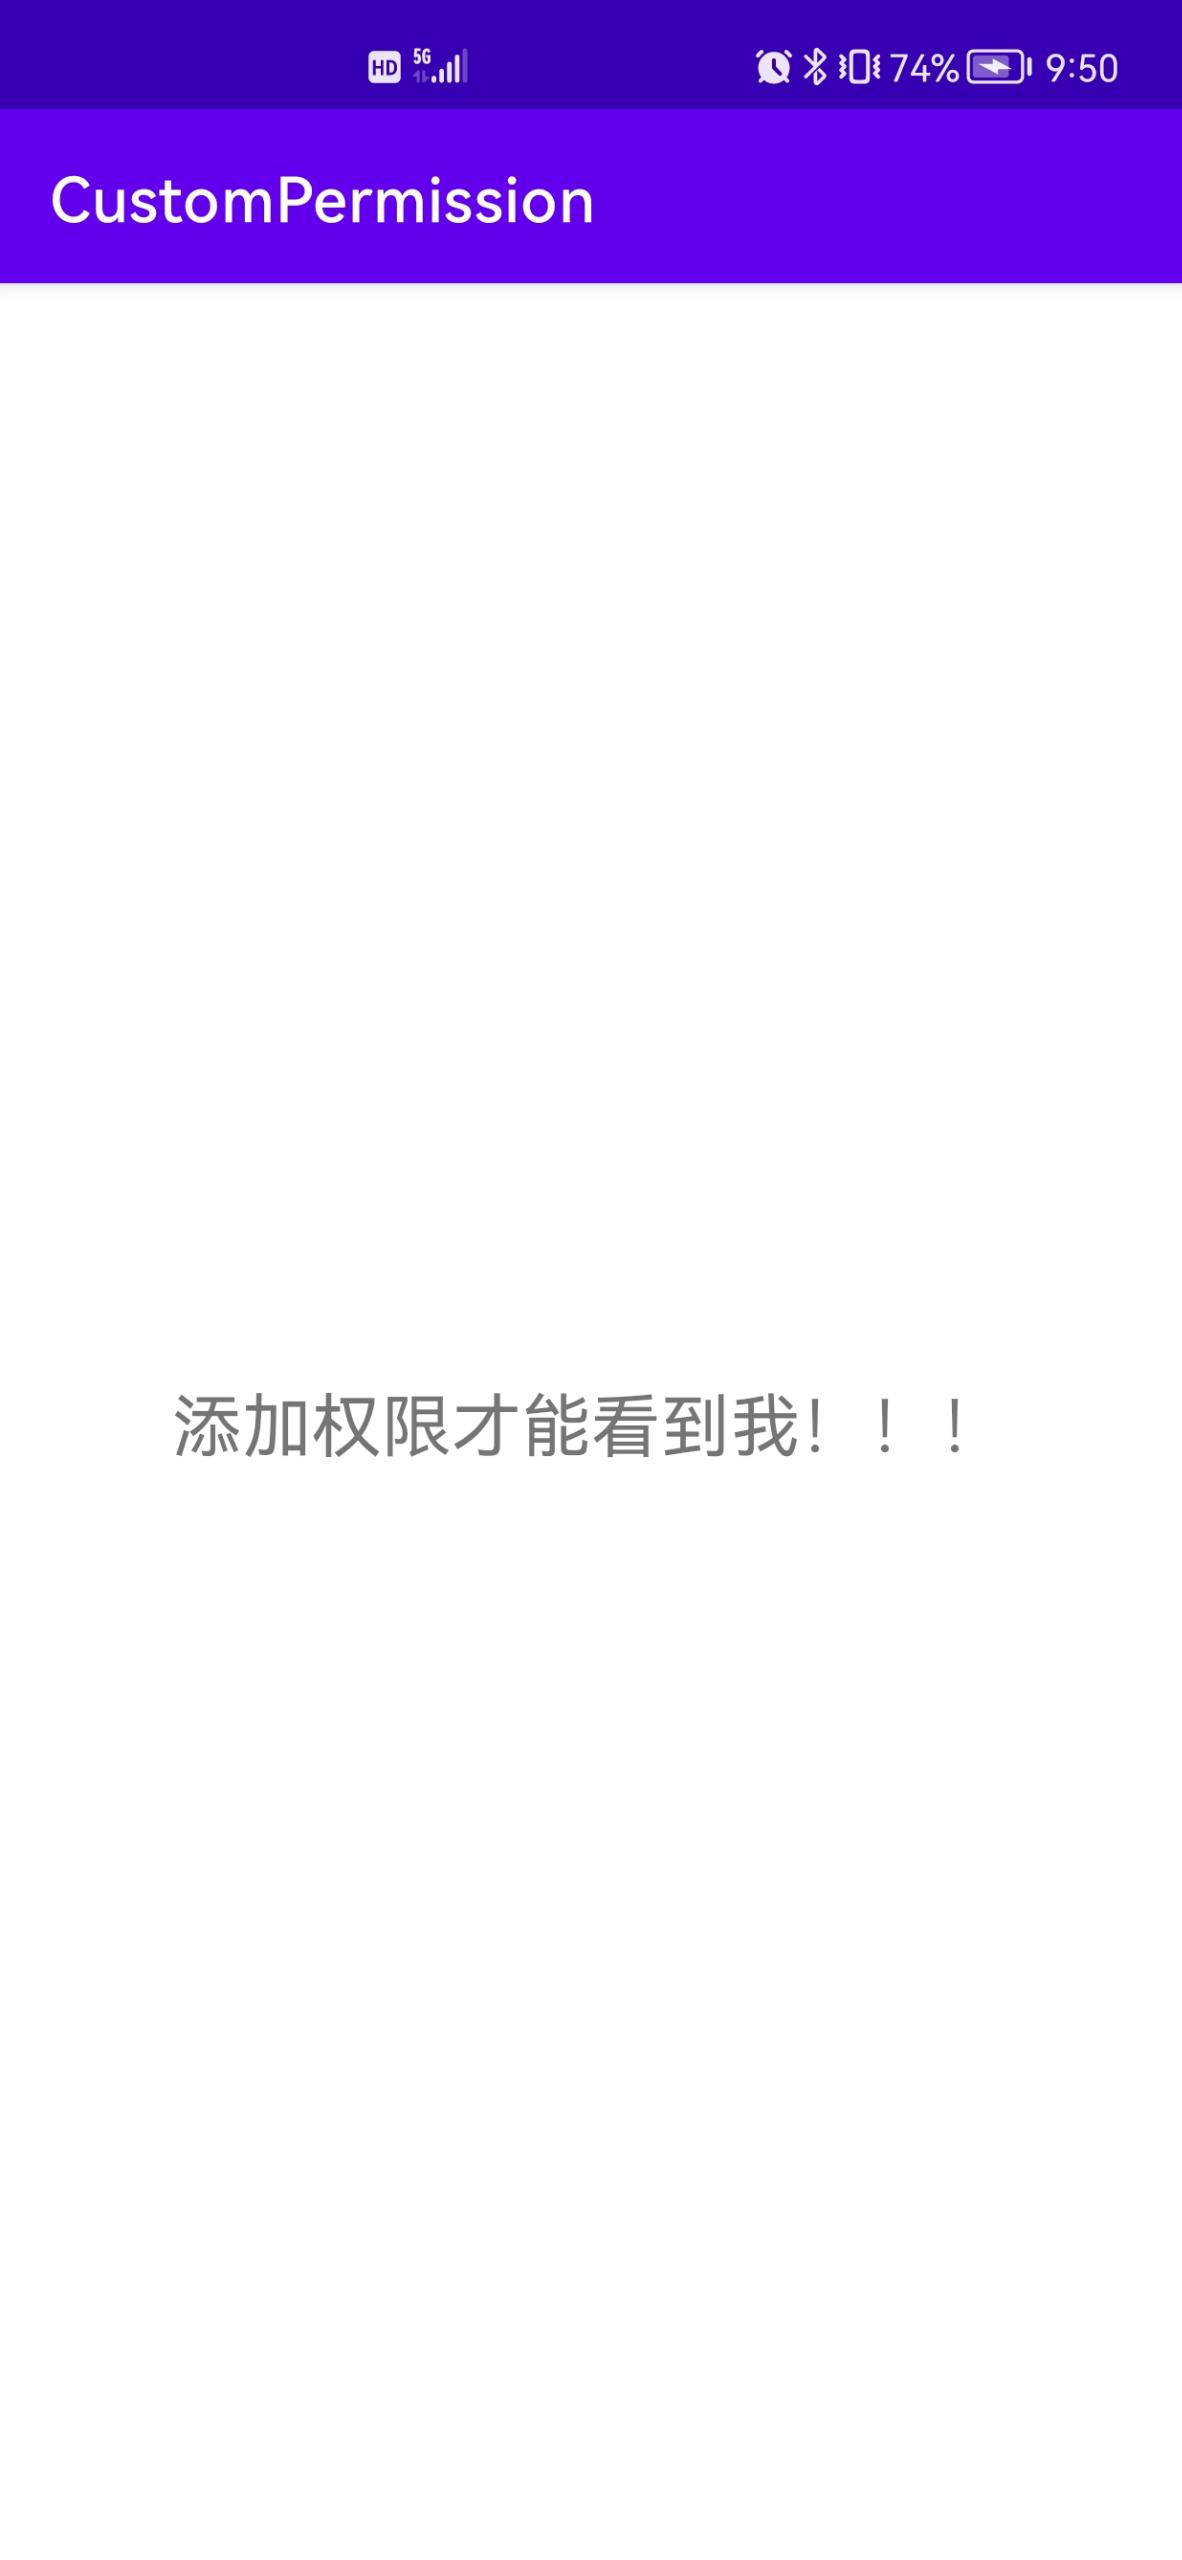
2. The layout file corresponding to the second activity is as follows:
<?xml version="1.0" encoding="utf-8"?>
<LinearLayout xmlns:android="http://schemas.android.com/apk/res/android"
    android:orientation="horizontal"
    android:layout_width="match_parent"
    android:layout_height="match_parent">

    <TextView
        android:layout_width="match_parent"
        android:layout_height="wrap_content"
        android:text="Add permission to see me!!!"
        android:layout_gravity="center_vertical"
        android:gravity="center"
        android:textSize="12pt"/>

</LinearLayout>
3. Customize permissions in the configuration file and add permissions to the second activity:
<?xml version="1.0" encoding="utf-8"?>
<manifest xmlns:android="http://schemas.android.com/apk/res/android"
    package="com.example.custompermission">

    <permission
        android:name="com.example.custompermission.get2view"
        android:protectionLevel="signature"/>

    <application
        android:allowBackup="true"
        android:icon="@mipmap/ic_launcher"
        android:label="@string/app_name"
        android:roundIcon="@mipmap/ic_launcher_round"
        android:supportsRtl="true"
        android:theme="@style/Theme.CustomPermission">
        <activity
            android:name=".MainActivity2"
            android:permission="com.example.custompermission.get2view"
            android:exported="true">
            <intent-filter>
                <action android:name="com.example.custompermission.get2view" />
                <category android:name="android.intent.category.DEFAULT" />
            </intent-filter>
        </activity>
        <activity
            android:name=".MainActivity"
            android:exported="true">
            <intent-filter>
                <action android:name="android.intent.action.MAIN" />
                <category android:name="android.intent.category.LAUNCHER" />
            </intent-filter>
        </activity>
    </application>

</manifest>
4. The main activity code is as follows:
package com.example.custompermission;

import androidx.appcompat.app.AppCompatActivity;

import android.content.Intent;
import android.os.Bundle;
import android.view.View;
import android.widget.Button;

public class MainActivity extends AppCompatActivity {

    private Button button;
    @Override
    protected void onCreate(Bundle savedInstanceState) {
        super.onCreate(savedInstanceState);
        setContentView(R.layout.activity_main);
        button = (Button) findViewById(R.id.intent_button);
        button.setOnClickListener(new View.OnClickListener() {
            @Override
            public void onClick(View view) {
                Intent intent = new Intent();
                intent.setAction("com.example.custompermission.get2view");
                startActivity(intent);
            }
        });
    }
}
Run project CustomPermission: click the INTENT button in the main activity to jump to the second activity, which can jump normally.


Conclusion: for the same project, you can jump between activities, even if you don't add permission application.
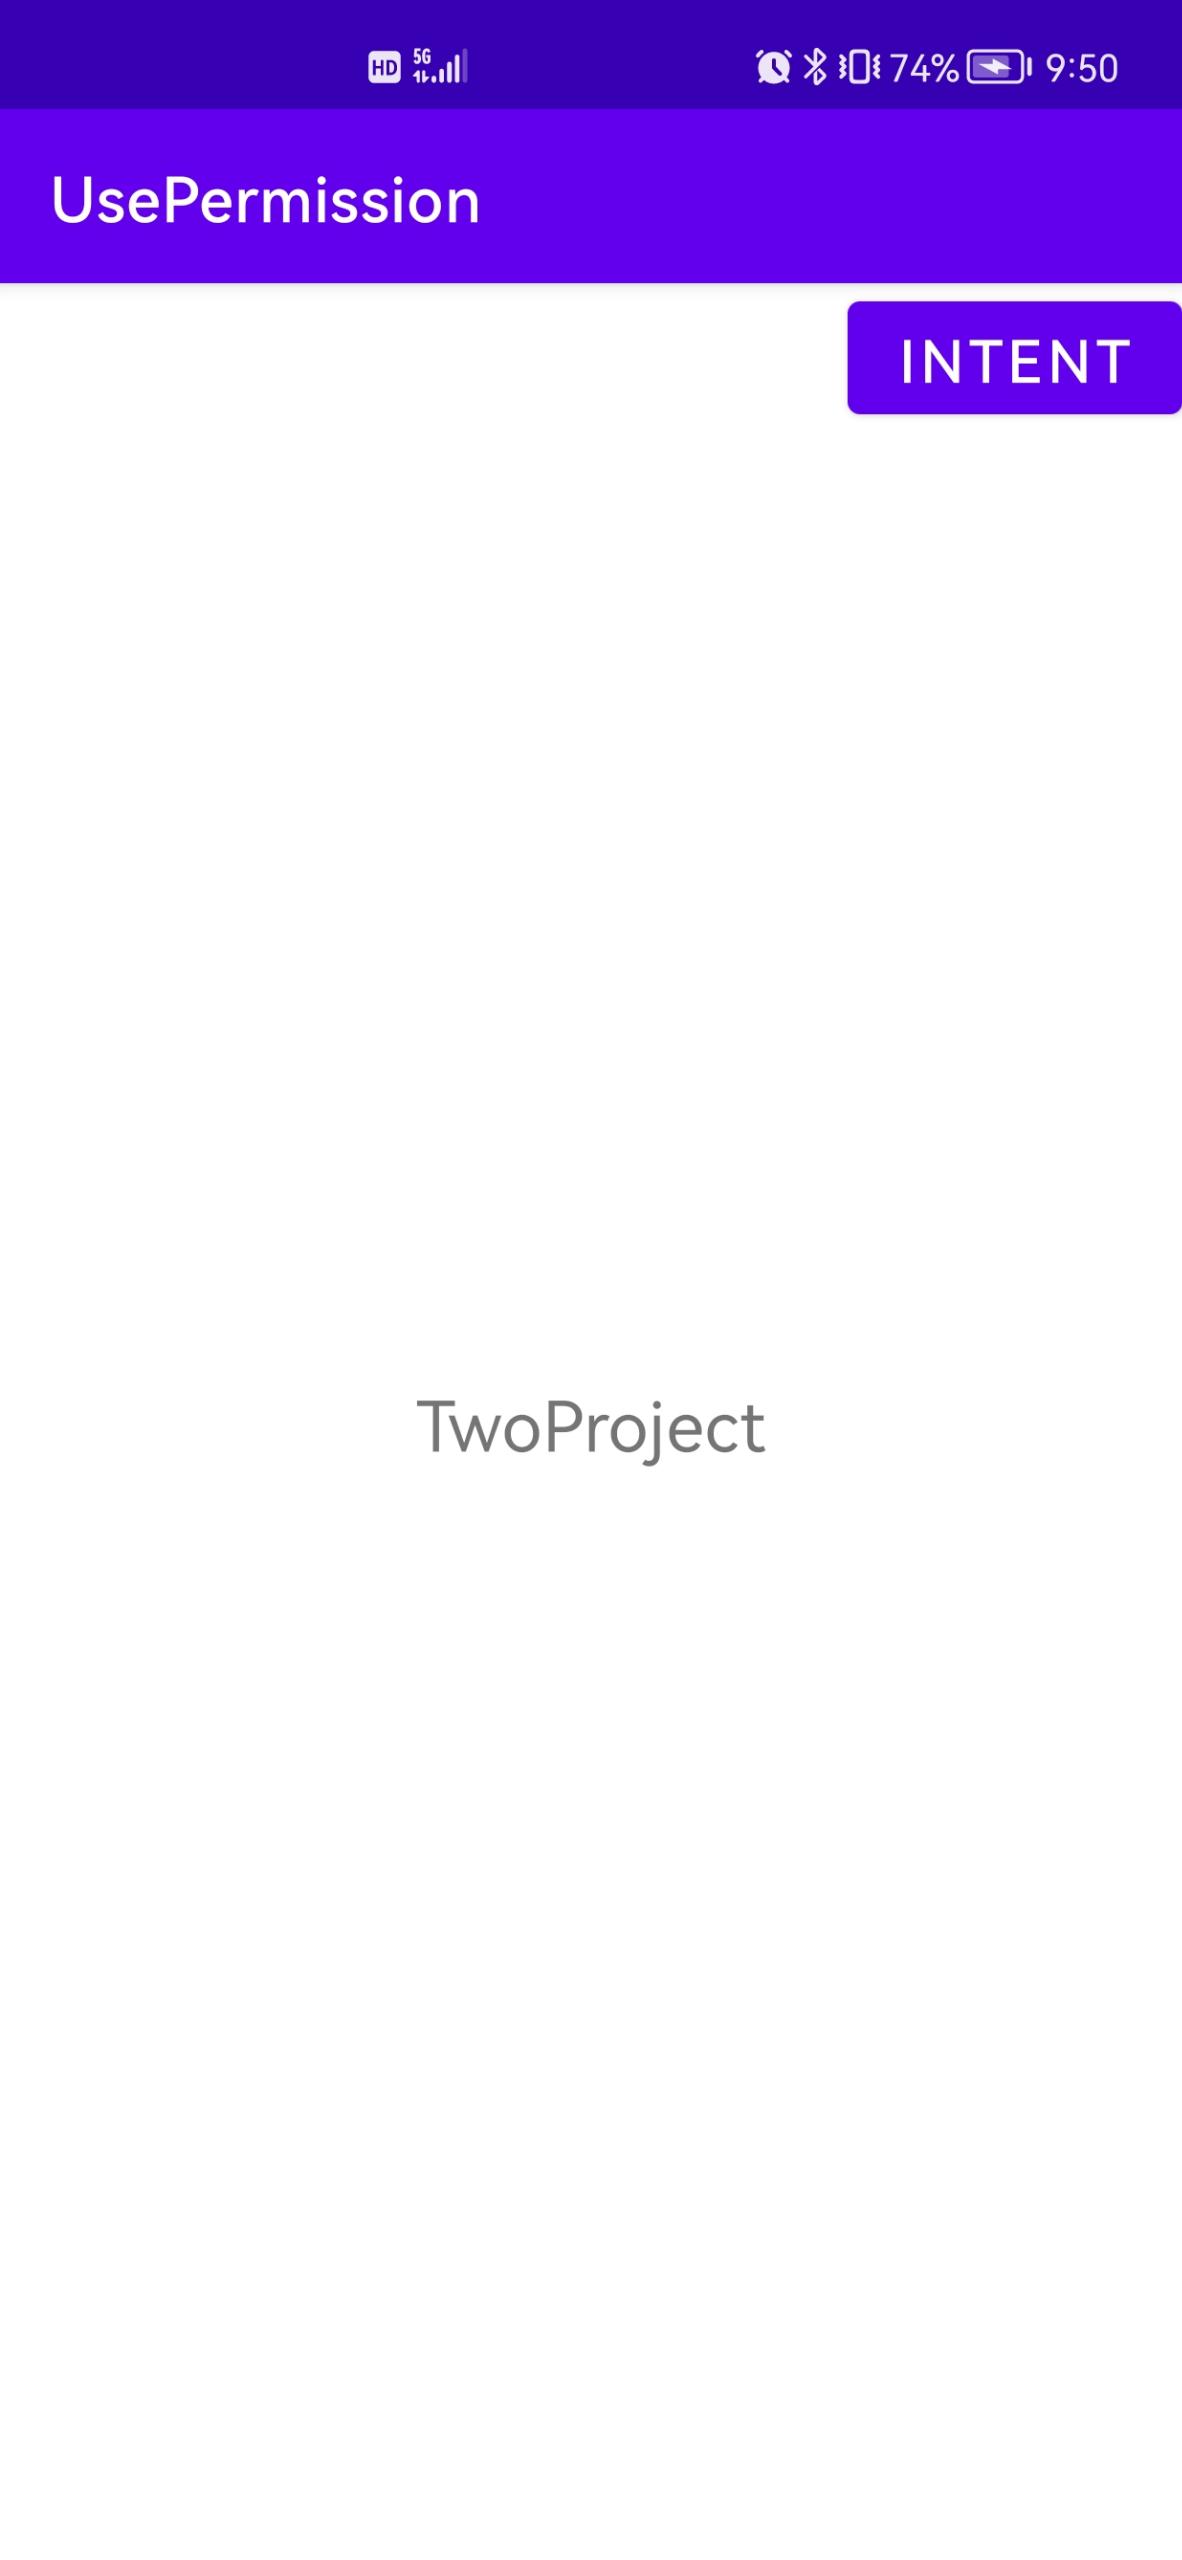
5. Create another project UsePermission, and place a button in the main activity to jump to the second activity of the CustomPermission project. The corresponding layout file is as follows:
<?xml version="1.0" encoding="utf-8"?>
<RelativeLayout xmlns:android="http://schemas.android.com/apk/res/android"
    xmlns:app="http://schemas.android.com/apk/res-auto"
    xmlns:tools="http://schemas.android.com/tools"
    android:layout_width="match_parent"
    android:layout_height="match_parent"
    tools:context=".MainActivity">

    <TextView
        android:layout_width="wrap_content"
        android:layout_height="wrap_content"
        android:text="TwoProject"
        android:textSize="12pt"
        android:gravity="center"
        android:layout_centerInParent="true"/>

    <Button
        android:id="@+id/intent_button"
        android:layout_width="wrap_content"
        android:layout_height="wrap_content"
        android:text="Intent"
        android:textSize="10pt"
        android:layout_alignParentRight="true"/>

</RelativeLayout>
6. The main activity code is as follows:
package com.example.usepermission;

import androidx.appcompat.app.AppCompatActivity;

import android.content.Intent;
import android.os.Bundle;
import android.view.View;
import android.widget.Button;

public class MainActivity extends AppCompatActivity {

    private Button button;
    @Override
    protected void onCreate(Bundle savedInstanceState) {
        super.onCreate(savedInstanceState);
        setContentView(R.layout.activity_main);
        button = (Button) findViewById(R.id.intent_button);
        button.setOnClickListener(new View.OnClickListener() {
            @Override
            public void onClick(View view) {
                Intent intent = new Intent();
                intent.setAction("com.example.custompermission.get2view");
                startActivity(intent);
            }
        });
    }
}
(1) If you do not apply for permission to access the second activity of the CustomPermission project in the configuration file, click the jump button, and an error is reported in the Logcat window:
java.lang.SecurityException: Permission Denial: starting Intent
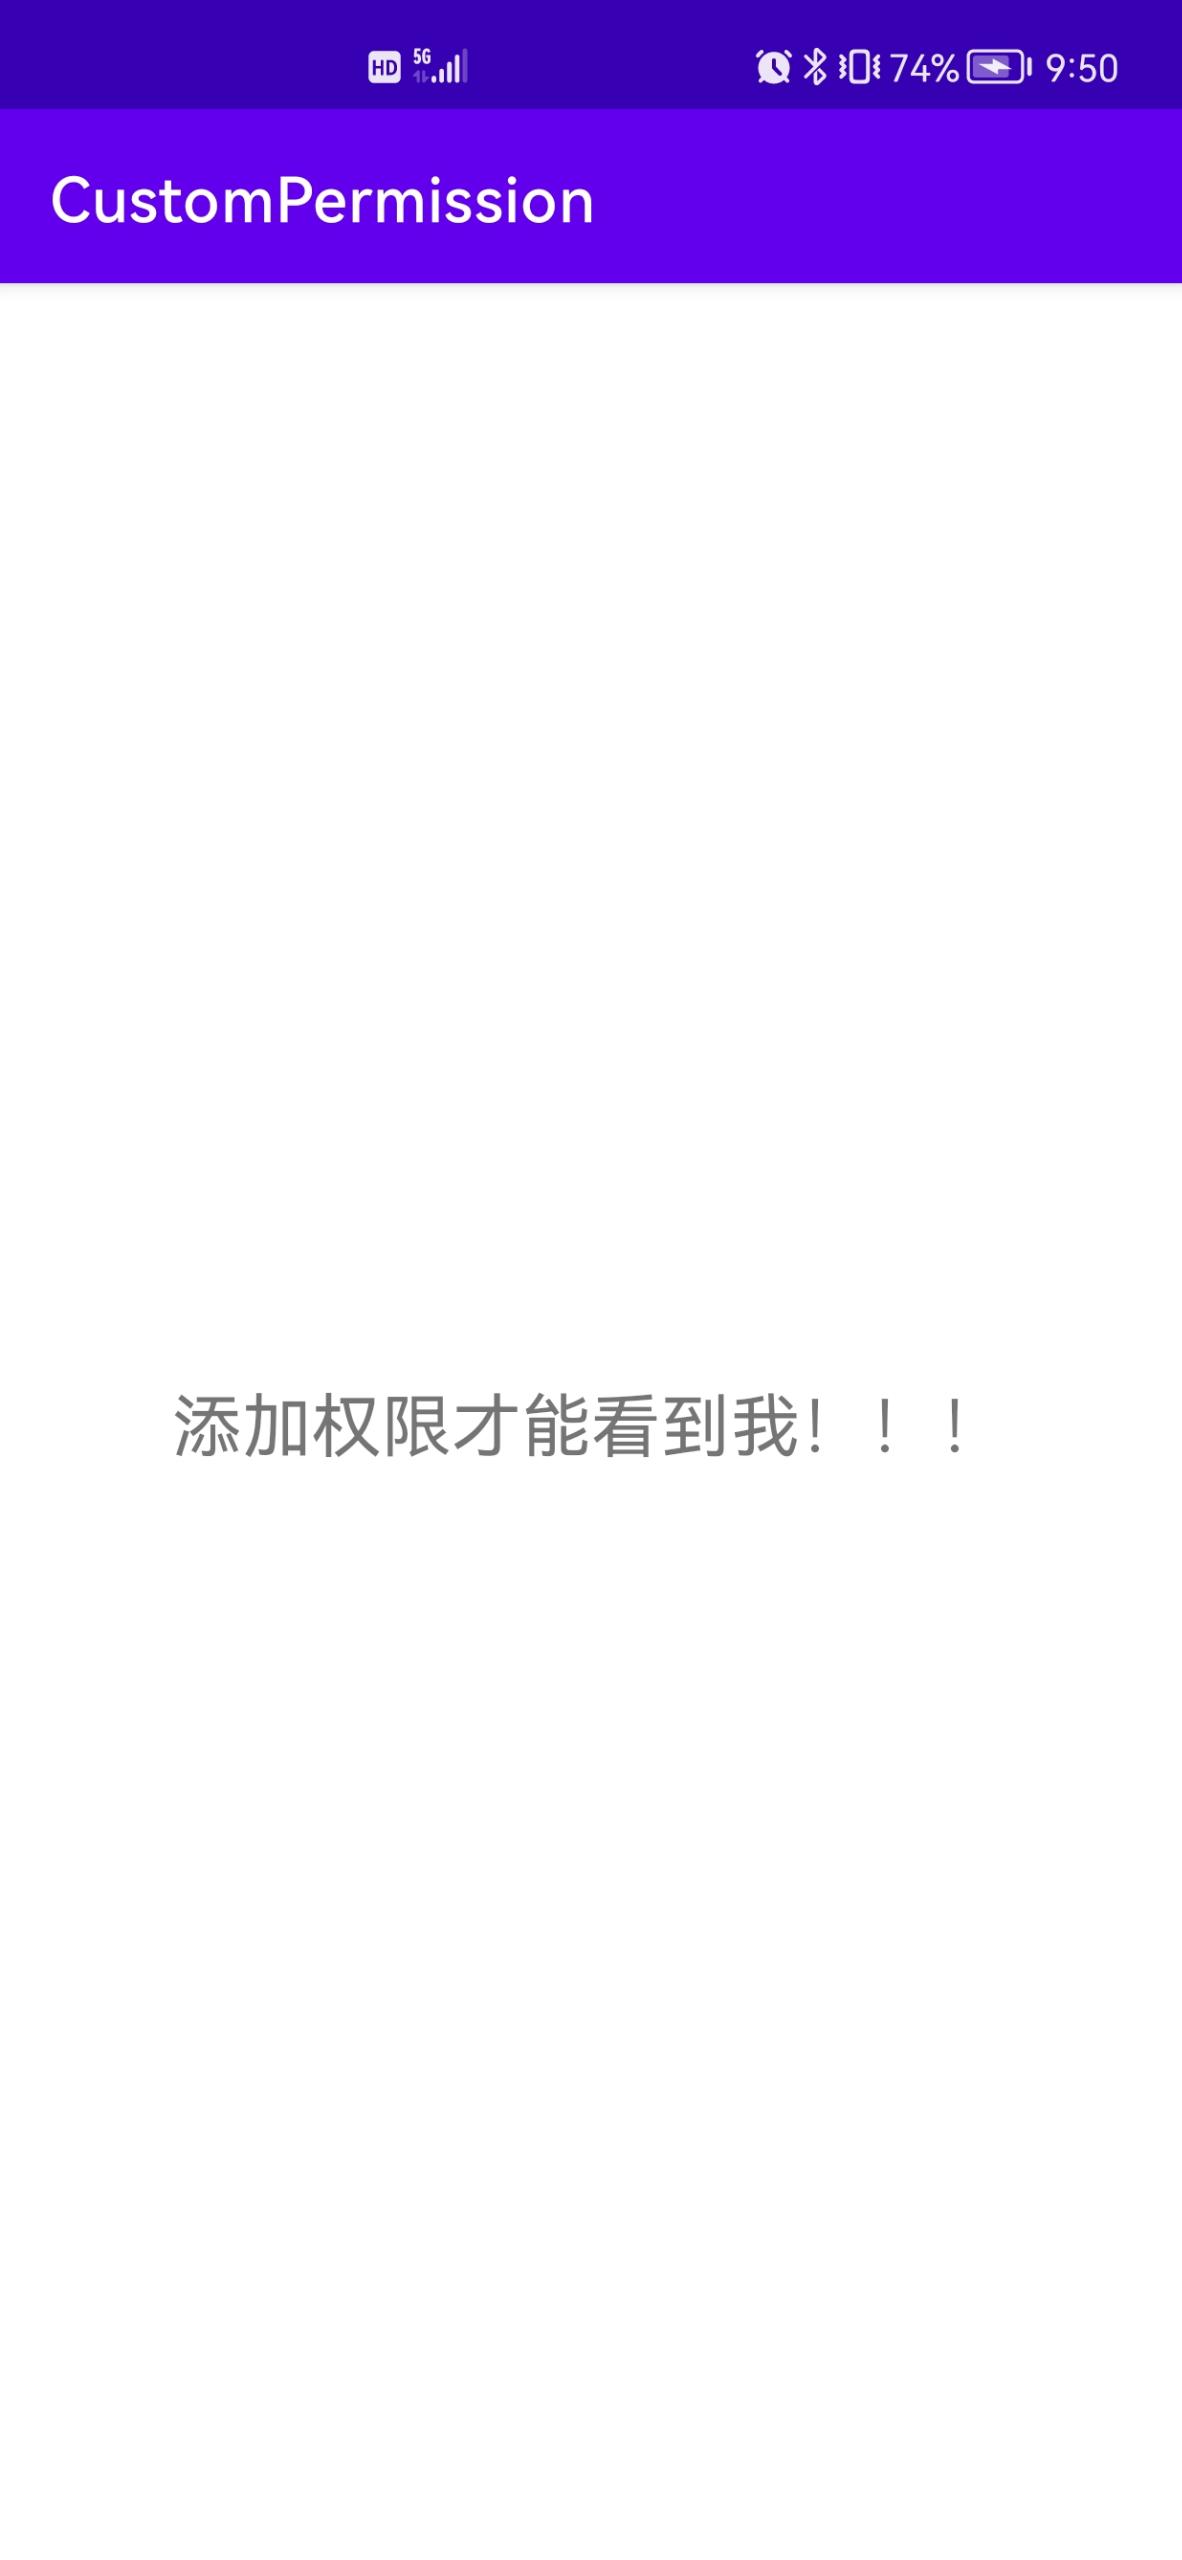
(2) Apply for access in the configuration file:
<?xml version="1.0" encoding="utf-8"?>
<manifest xmlns:android="http://schemas.android.com/apk/res/android"
    package="com.example.usepermission">

    <uses-permission android:name="com.example.custompermission.get2view"/>
    <application
        android:allowBackup="true"
        android:icon="@mipmap/ic_launcher"
        android:label="@string/app_name"
        android:roundIcon="@mipmap/ic_launcher_round"
        android:supportsRtl="true"
        android:theme="@style/Theme.UsePermission">
        <activity
            android:name=".MainActivity"
            android:exported="true">
            <intent-filter>
                <action android:name="android.intent.action.MAIN" />
                <category android:name="android.intent.category.LAUNCHER" />
            </intent-filter>
        </activity>
    </application>

</manifest>
Run the program and click the jump button. The effect is as follows:

