UI components
catalogue
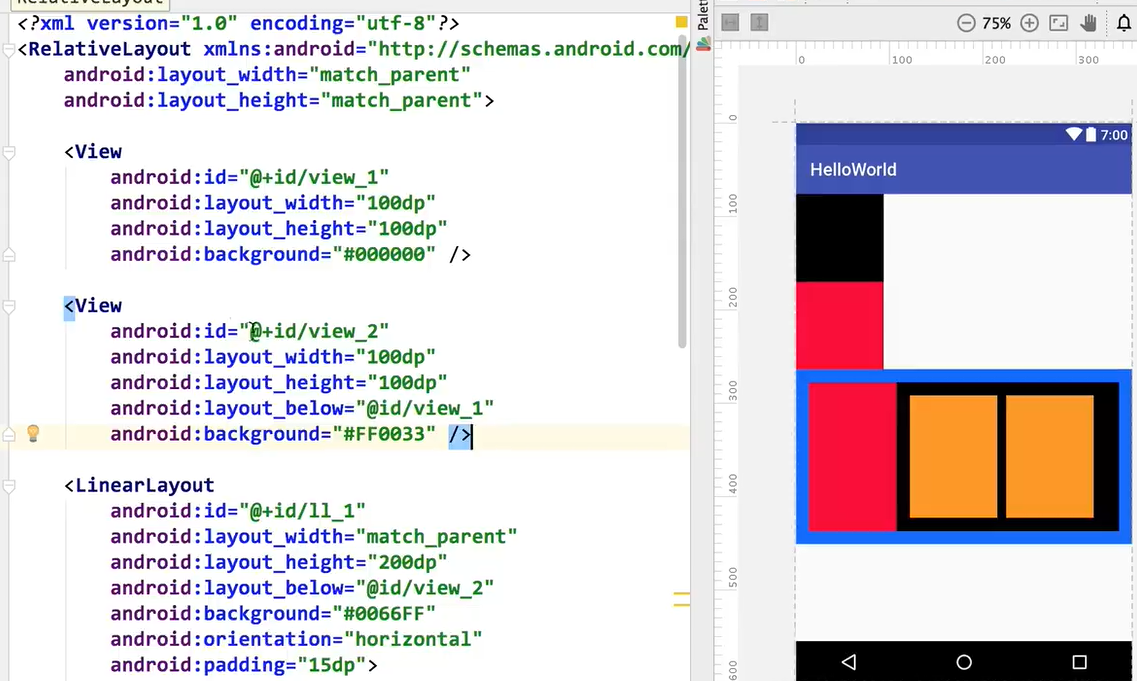
1. Layout manager: linear layout (default horizontal arrangement), relative layout
1. Layout manager: linear layout (default horizontal arrangement), relative layout
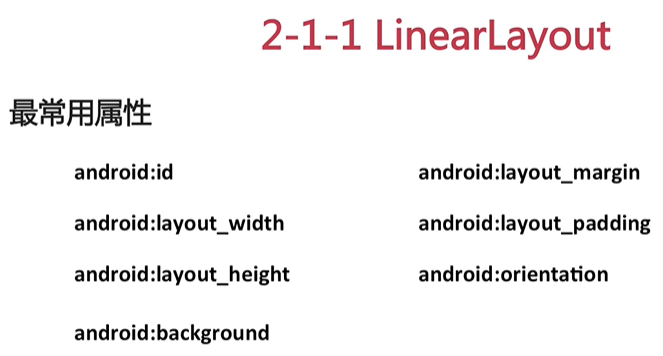
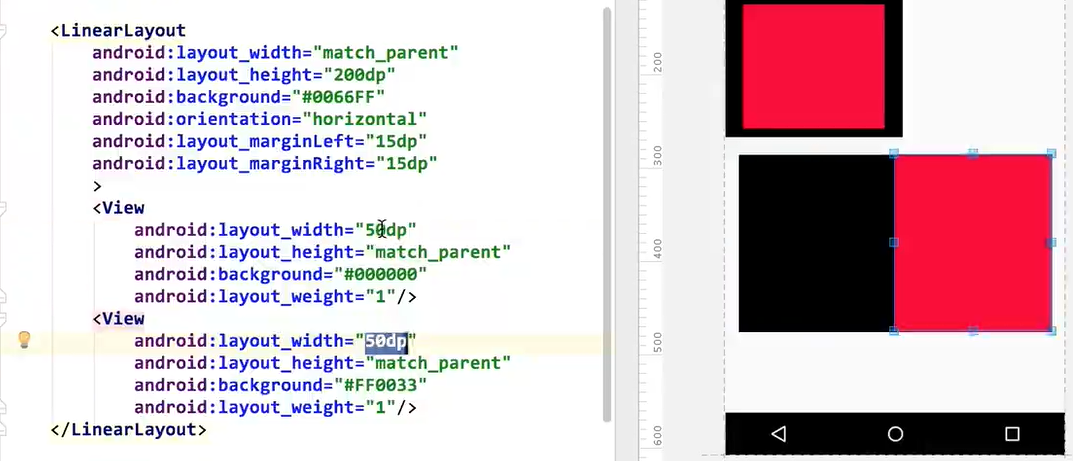
wrap_content: content and width. match_parent: the width of the previous section and the current section. Orientation: vertical, orientation: horizontal [unique to linear layout].
gravity: internal element alignment. layout_weight: weight (distribute the remaining contents according to the weight), in this example, half of the weight is on one side.
padding: inner margin.... Unit: dp..
android:layout_margin is the extra space for setting the top, bottom, left and right borders of the view
android:padding is used to set the distance between the content and the frame of the view
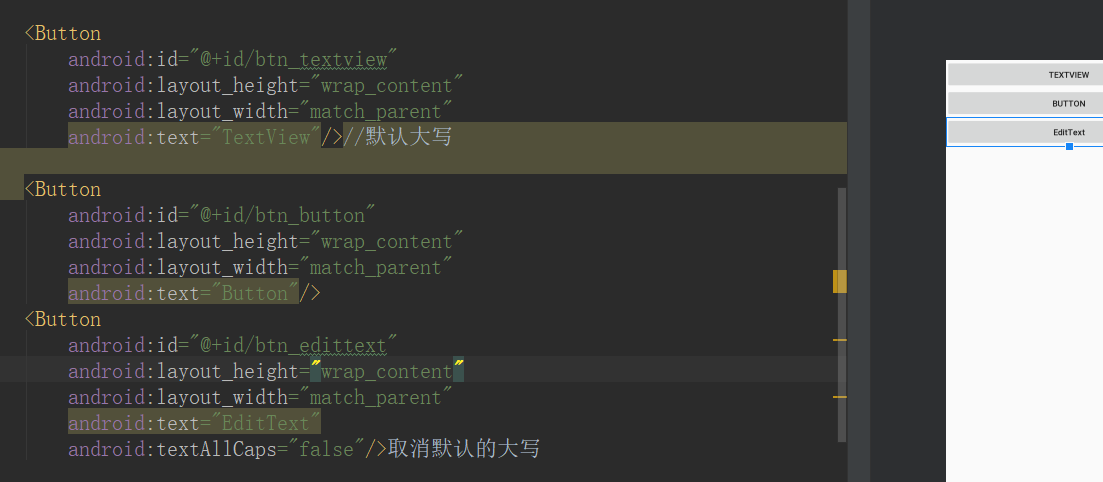
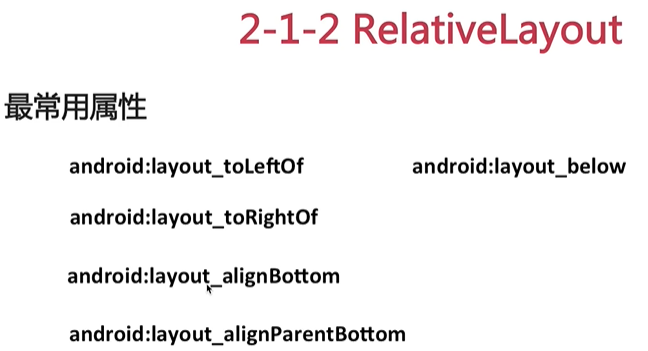
layout_alignParentBottlom = "true": align with the bottom of the secondary space.
2.TextView
Text size and color
Cannot display usage
Text + icon
Middle dash and underline
horse race lamp
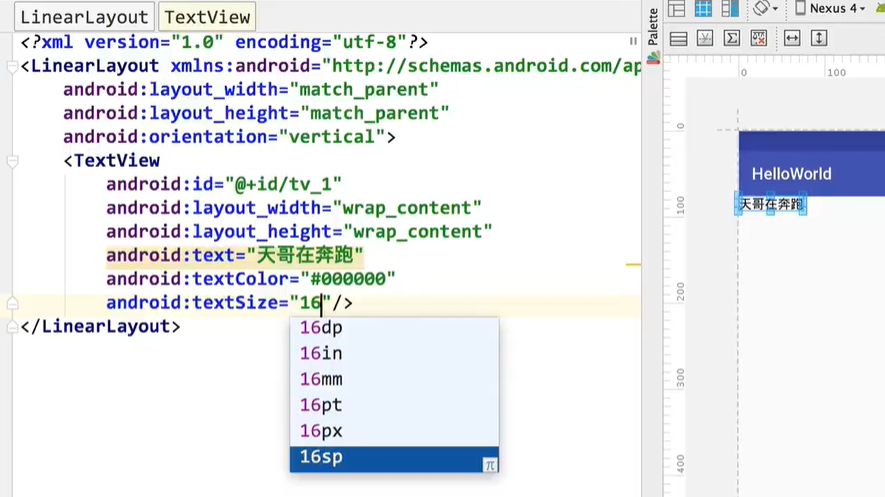
Textunit in: sp
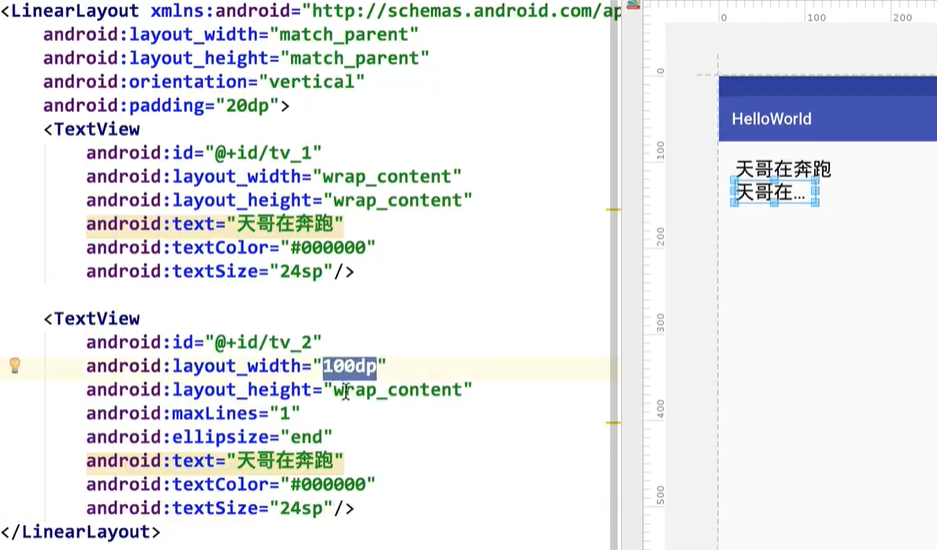
maxLines: control the number of lines. ellipsize: "end" the content can not be rendered, and the performance. layout_marginTop: interval from previous
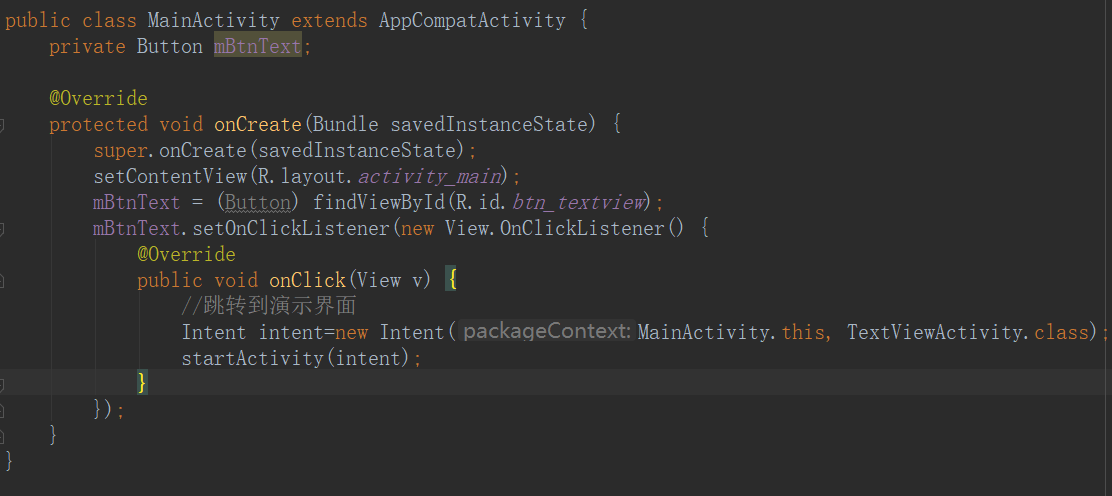
Jump the interface on MainActivity:
In textviewactivity Implemented in Java, underline and underline:
private TextView mTv4,mTv5;

    @Override
    protected void onCreate(Bundle savedInstanceState) {
        super.onCreate(savedInstanceState);
        setContentView(R.layout.activity_text_view);
        mTv4 = (TextView) findViewById(R.id.tv_4);
        mTv4.getPaint().setFlags(Paint.STRIKE_THRU_TEXT_FLAG);//strikethrough
        mTv4.getPaint().setAntiAlias(true);//Remove aliasing

        mTv5=(TextView) findViewById(R.id.tv_5);
        mTv5.getPaint().setFlags(Paint.UNDERLINE_TEXT_FLAG);//Underline
Running Lantern:
focusable=true: indicates focusable. Whether the cursor can be focused on a component, such as a button. If the cursor is moved, the button will become selected. If focusable is false, this component will be skipped and the next component will become selected.
focusableInTouchMode can get focus by touching.

3.Button
1) Text size, color
 <Button
        android:id="@+id/btn_1"
        android:layout_width="match_parent"
        android:layout_height="wrap_content"
        android:text="Button 1"
        android:textColor="#FFFFFF"
        android:textSize="20sp"
        android:background="#Ff0000 "/ > text size and color
2) Custom background shape
<Button
        android:id="@+id/btn_2"
        android:layout_width="match_parent"
        android:layout_height="wrap_content"
        android:text="Button 2"
        android:textColor="#F44336"
        android:textSize="20sp"
        android:background="@drawable/bg_btn2"
        android:layout_below="@id/btn_1"
        android:layout_marginTop="10dp" />
3) Custom press effect
 <Button
        android:id="@+id/btn_3"
        android:layout_width="match_parent"
        android:layout_height="wrap_content"
        android:text="Button 3"
        android:textColor="#FF9900"
        android:textSize="20sp"
        android:background="@drawable/bg_btn3"
        android:layout_below="@id/btn_2"
        android:layout_marginTop="10dp"/>

    <Button
        android:id="@+id/btn_4"
        android:layout_width="match_parent"
        android:layout_height="wrap_content"
        android:text="Button 4"
        android:textColor="#FFFFFF"
        android:textSize="20sp"
        android:background="@drawable/bg_btn4"
        android:layout_below="@id/btn_3"
        android:onClick="showToast"
        android:layout_marginTop="10dp"/>Pressing effect


bg_btn4.xml:
<?xml version="1.0" encoding="utf-8"?>
<selector xmlns:android="http://schemas.android.com/apk/res/android">
    <item android:state_pressed="true">
        <shape>
            <solid android:color="#AA6600"/>
            <corners android:radius="5dp"/>
        </shape>
    </item>

    <item android:state_pressed="false">
        <shape>
            <solid android:color="#FF9900"/>
            <corners android:radius="5dp"/>
        </shape>
    </item>

</selector>
4) Click event
onClick: prompt message appears.
In buttonactivity In Java
public class ButtonActivity extends AppCompatActivity {

    private Button mBtn3;

//    @Override
    protected void onCreate(Bundle savedInstanceState) {
        super.onCreate(savedInstanceState);
        setContentView(R.layout.activity_button);
        mBtn3 = findViewById(R.id.btn_3);
        mBtn3.setOnClickListener(new View.OnClickListener() {
            @Override
            public void onClick(View v) {
                    Toast.makeText(ButtonActivity.this,"btn_3 Click",Toast.LENGTH_SHORT).show();
            }
        });
    }

    public void showToast(View view){
        Toast.makeText(this,"btn_4 Click",Toast.LENGTH_SHORT).show();
    }
}
4. EditText (can be inputted)
1) Common properties
hint: prompt for information. intputType="textPassword" text encryption.
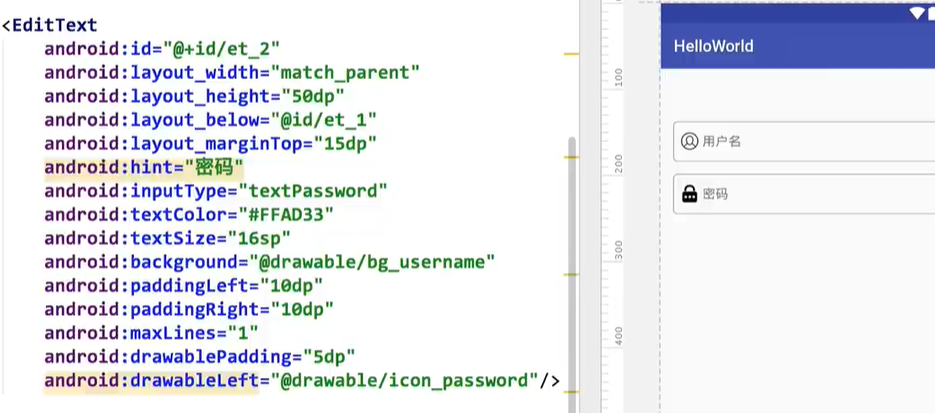
2) Listening events
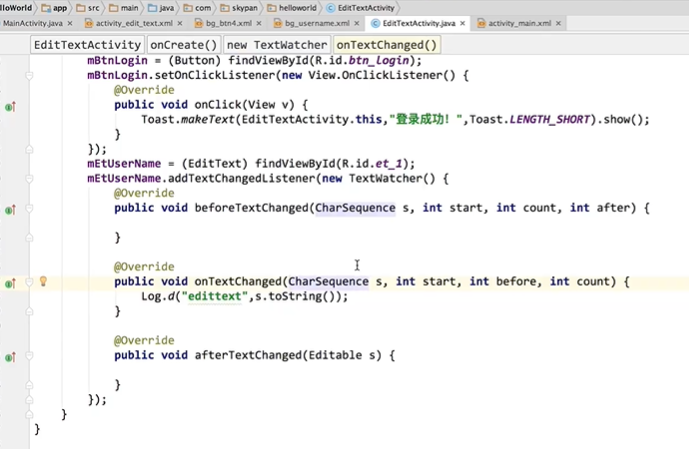
3) Login interface
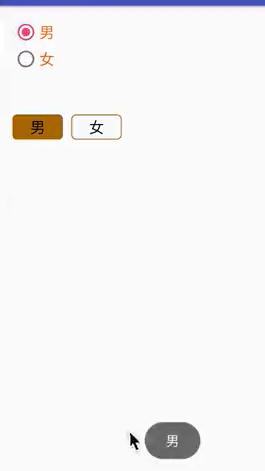
5.RdioButton
1) Common properties
Radio box: RadioGroup
checked="true" means: default selection. This example is the default selection.
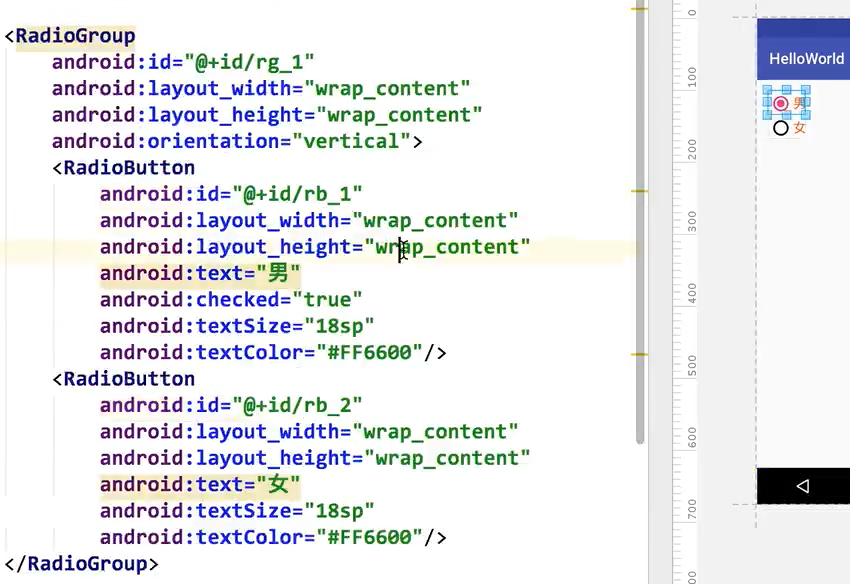
2) Custom style
 <RadioGroup
        android:id="@+id/rg_1"
        android:layout_height="wrap_content"
        android:layout_width="wrap_content"
        android:orientation="vertical">

        <RadioButton
            android:id="@+id/rb_1"
            android:layout_height="wrap_content"
            android:layout_width="wrap_content"
            android:text="male"
            android:textSize="18sp"
            android:checked="true"
            android:textColor="#FF6600" />

        <RadioButton
            android:id="@+id/rb_2"
            android:layout_height="wrap_content"
            android:layout_width="wrap_content"
            android:text="female"
            android:textSize="18sp"
            android:textColor="#FF6600" />

    </RadioGroup>

    <RadioGroup
        android:id="@+id/rg_2"
        android:layout_height="wrap_content"
        android:layout_width="wrap_content"
        android:orientation="horizontal"
        android:layout_below="@id/rg_1"
        android:layout_marginTop="50dp">

        <RadioButton
            android:id="@+id/rb_3"
            android:layout_height="30dp"
            android:layout_width="60dp"
            android:text="male"
            android:button="@null"
            android:gravity="center"
            android:textSize="18sp"
            android:checked="true"
            android:textColor="#000"
            android:background="@drawable/select_orange_radiobutton"/>

        <RadioButton
            android:id="@+id/rb_4"
            android:layout_height="30dp"
            android:layout_width="60dp"
            android:text="female"
            android:button="@null"
            android:gravity="center"
            android:textSize="18sp"
            android:textColor="#000"
            android:background="@drawable/select_orange_radiobutton"
            android:layout_marginLeft="10dp"/>

    </RadioGroup>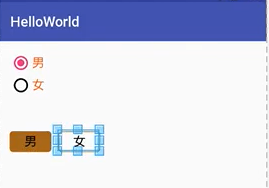
3) Listening events
public class RadioButtonActivity extends AppCompatActivity {

    private RadioGroup mRg1;

    @Override
    protected void onCreate(Bundle savedInstanceState) {
        super.onCreate(savedInstanceState);
        setContentView(R.layout.activity_radio_button);
        mRg1 = findViewById(R.id.rg_1);
        mRg1.setOnCheckedChangeListener(new RadioGroup.OnCheckedChangeListener() {
            @Override
            public void onCheckedChanged(RadioGroup group, int checkedId) {
                RadioButton radioButton = group.findViewById(checkedId);
                Toast.makeText(RadioButtonActivity.this,radioButton.getText(),Toast.LENGTH_SHORT).show();
            }
        });
    }
}
6. Check box
In activity_check_box.xml: in
 <TextView
        android:id="@+id/tv_title"
        android:layout_height="wrap_content"
        android:layout_width="wrap_content"
        android:text="Development language:"
        android:textColor="#000000"
        android:textSize="24sp"
        android:layout_marginBottom="20dp" />

    <CheckBox
        android:id="@+id/cb_1"
        android:layout_width="wrap_content"
        android:layout_height="wrap_content"
        android:text="Android"
        android:textSize="24sp"
        android:textColor="#FF6600"
        android:layout_below="@id/tv_title"
        android:layout_marginBottom="20dp"/>

    <CheckBox
        android:id="@+id/cb_2"
        android:layout_width="wrap_content"
        android:layout_height="wrap_content"
        android:text="ios"
        android:textSize="24sp"
        android:textColor="#FF6600"
        android:layout_below="@id/cb_1"
        android:layout_marginBottom="20dp"/>

    <CheckBox
        android:id="@+id/cb_3"
        android:layout_width="wrap_content"
        android:layout_height="wrap_content"
        android:text="H5"
        android:textSize="24sp"
        android:textColor="#FF6600"
        android:layout_below="@id/cb_2"
        android:layout_marginBottom="20dp"/>

    <CheckBox
        android:id="@+id/cb_4"
        android:layout_width="wrap_content"
        android:layout_height="wrap_content"
        android:text="other"
        android:textSize="24sp"
        android:textColor="#FF6600"
        android:layout_below="@id/cb_3" />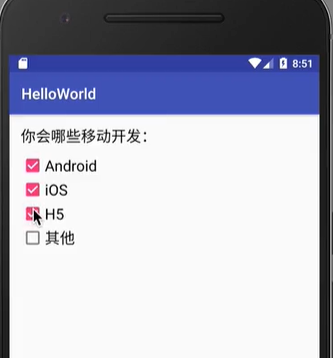
2) Set button style
In bg_checkbox.xml:
<selector xmlns:android="http://schemas.android.com/apk/res/android">
    <item android:state_checked="true" android:drawable="@drawable/icon_checkbox_true"/>
    <item android:state_checked="false" android:drawable="@drawable/icon_checkbox_false"/>
</selector>
7.ImageView
1) Other derived controls of button: tongglebutton Switch
activity_ image_ view. src: stores content in XML.
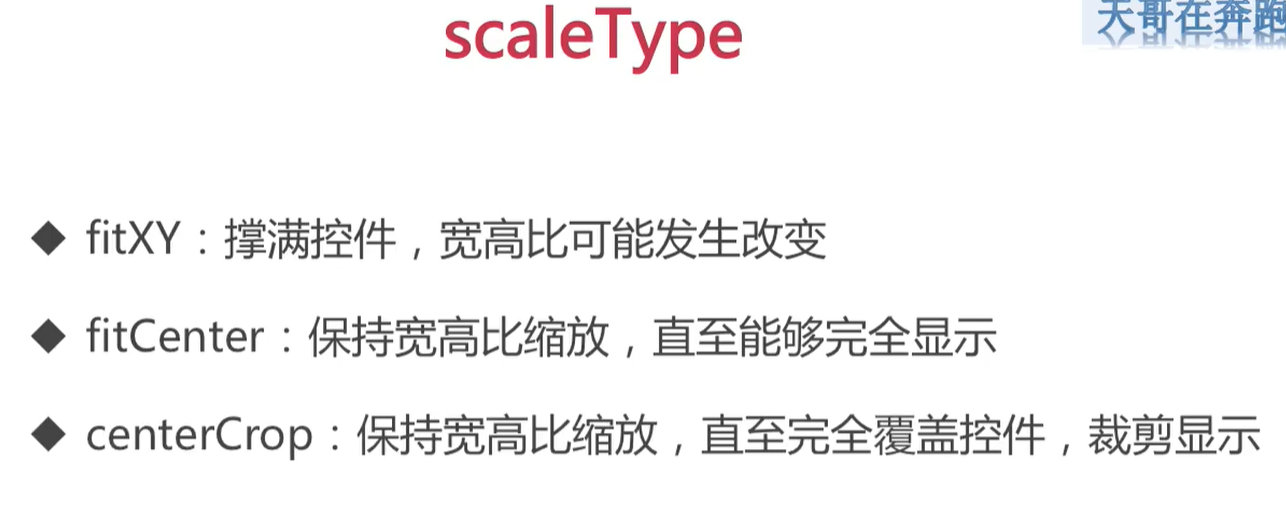
2) Common properties
3) Load network picture
In github: https://github.com/bumptech/glide
repositories {
  google()
  mavenCentral()
}

dependencies {
  implementation 'com.github.bumptech.glide:glide:4.12.0'
  annotationProcessor 'com.github.bumptech.glide:compiler:4.12.0'
}
Copy the above code in build Gradle corresponding position.
At the same time, it needs to be in Android manifest Add network request permission on XML
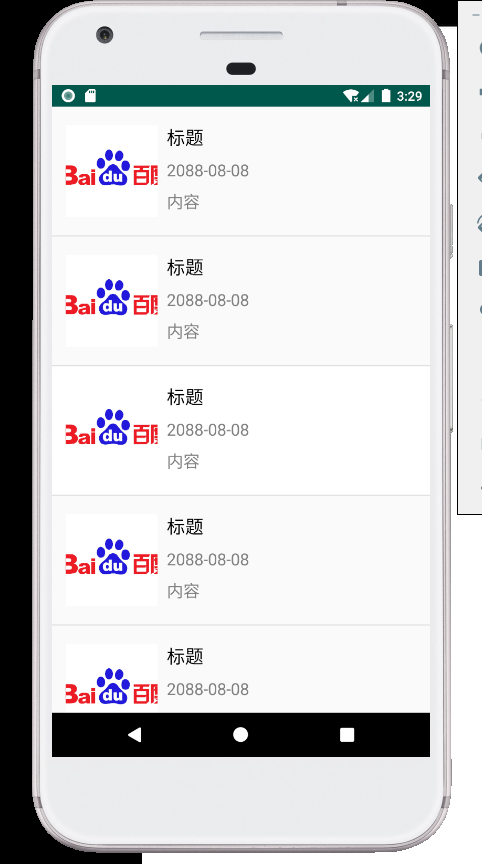
7. Listview
Adapter required: https://blog.csdn.net/xfxf996/article/details/80953275
Set mylistadp
public class MyListAdapter extends BaseAdapter {

     private Context mContext;
     private LayoutInflater mlayoutInflater;
     public MyListAdapter(Context context){
         this.mContext=context;
         mlayoutInflater=LayoutInflater.from(context);
     }


    @Override
    public int getCount() {//Indicates the length of the data
        return 10;
    }

    @Override
    public Object getItem(int position) {
        return null;
    }

    @Override
    public long getItemId(int position) {
        return 0;
    }

    static class ViewHolder{
         public ImageView imageView;
         public TextView tvTitle,tvTime,tvContent;
    }

    @Override
    public View getView(int position, View convertView, ViewGroup parent) {
         ViewHolder holder = null;
        if(convertView == null){
            convertView = mlayoutInflater.inflate(R.layout.layout_list_item,null);
            holder = new ViewHolder();
            holder.imageView = convertView.findViewById(R.id.iv);
            holder.tvTitle = convertView.findViewById(R.id.tv_title);
            holder.tvTime = convertView.findViewById(R.id.tv_time);
            holder.tvContent = convertView.findViewById(R.id.tv_content);
            convertView.setTag(holder);
        }else{
            holder = (ViewHolder) convertView.getTag();
        }
        //Assign a value to the control
        holder.tvTitle.setText("title");
        holder.tvTime.setText("2088-08-08");
        holder.tvContent.setText("content");
        Glide.with(mContext).load("https://docs.ebdoor.com/image/company/283/2836590_intro1.jpg").into(holder.imageView);
         return convertView;
    }
}
LayoutInflater.inflate:https://blog.csdn.net/sakurakider/article/details/80874011
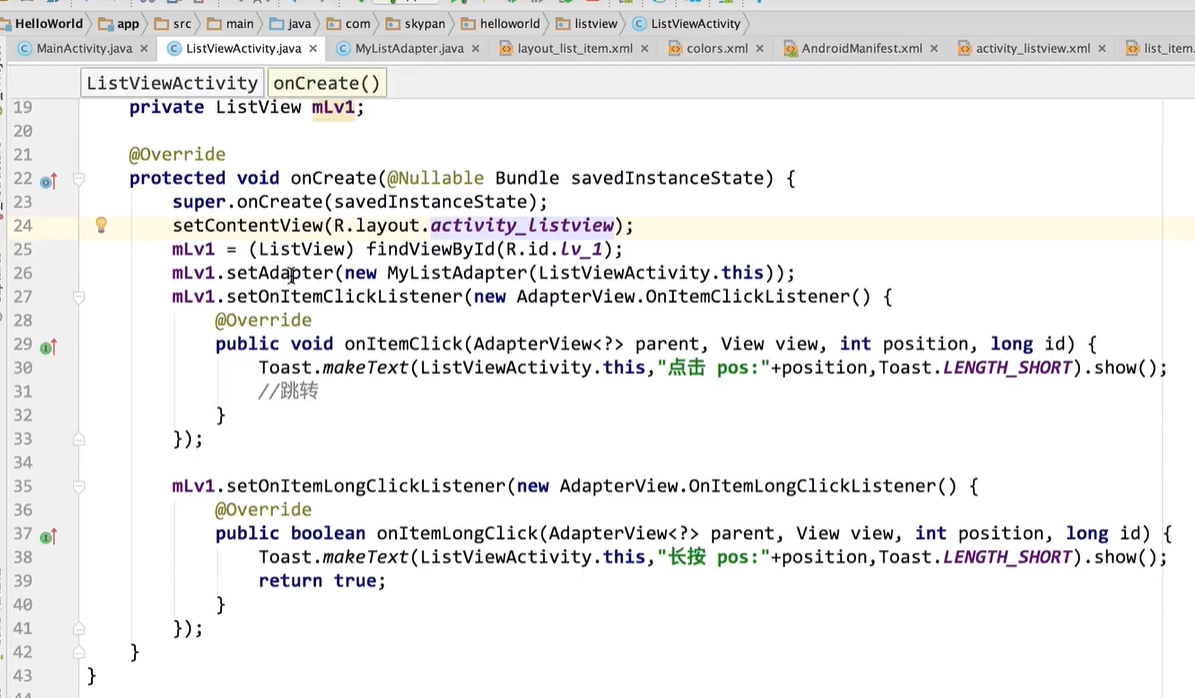
Set click event:
Effect presentation:
8.GridView
Android: numcolumns: indicates the number of columns