First of all, what is NDK development? When I hear this word, my first feeling is that it is tall. In fact, it is right. NDK is at the bottom of Android development and needs to be connected with C + +. It is not as flexible as application layer development, but as a developer, we must understand its simple use and why we use it?
Speaking of NDK, a key point that must be mentioned is JNI.
The original intention of JNI is to encapsulate a layer of interface for Java to call C, C + + and other local codes. We all know. The advantage of Java is cross platform, but as an advantage, at the same time, it is that the local interaction is followed by a short board. Java's cross platform special effects lead to its weak ability of local interaction, and some special effects related to the operating system cannot be completed by Java. Therefore, Java provides JNI specifically for teaching local code, which enhances the local interaction ability of Java language. Through Java JNI, users can call C, C + + and other related codes.
NDK is a collection of tools provided by Android. Through NDK, it is more convenient to access local code through JNI in Android, such as C or C + +. NDK also provides a cross compiler (the compiled program compiled on one platform is run on another platform, that is, the compiled environment, which is different from the running environment and belongs to cross, which is called cross), Developers only need to modify the mk file to generate the dynamic library of a specific cpu platform. Using NDK has the following benefits:
- Improve code security. (so package is hard to decompile)
- You can easily use the existing C/C + + open source library (such as ffmpeg for audio and video development)
- Facilitate the transplantation between platforms. (common in algorithm transplantation or the landing of an intelligent control system android end control product)
- Improve the execution efficiency of programs under certain specific conditions, but it can not significantly improve the efficiency of Android programs. (it's also easy to understand that a leading algorithm in the industry is probably written in C + + or C. at this time, it's better to use its processing logic in some scenarios. In the absence of sdk, you need to call this so package through ndk.)
Then let's start our main operation:
Android Studio 3.5
Now we want to create an ndk project. It's really much simpler. It doesn't need much process. Just create it directly. If you use mac, it will be easier.
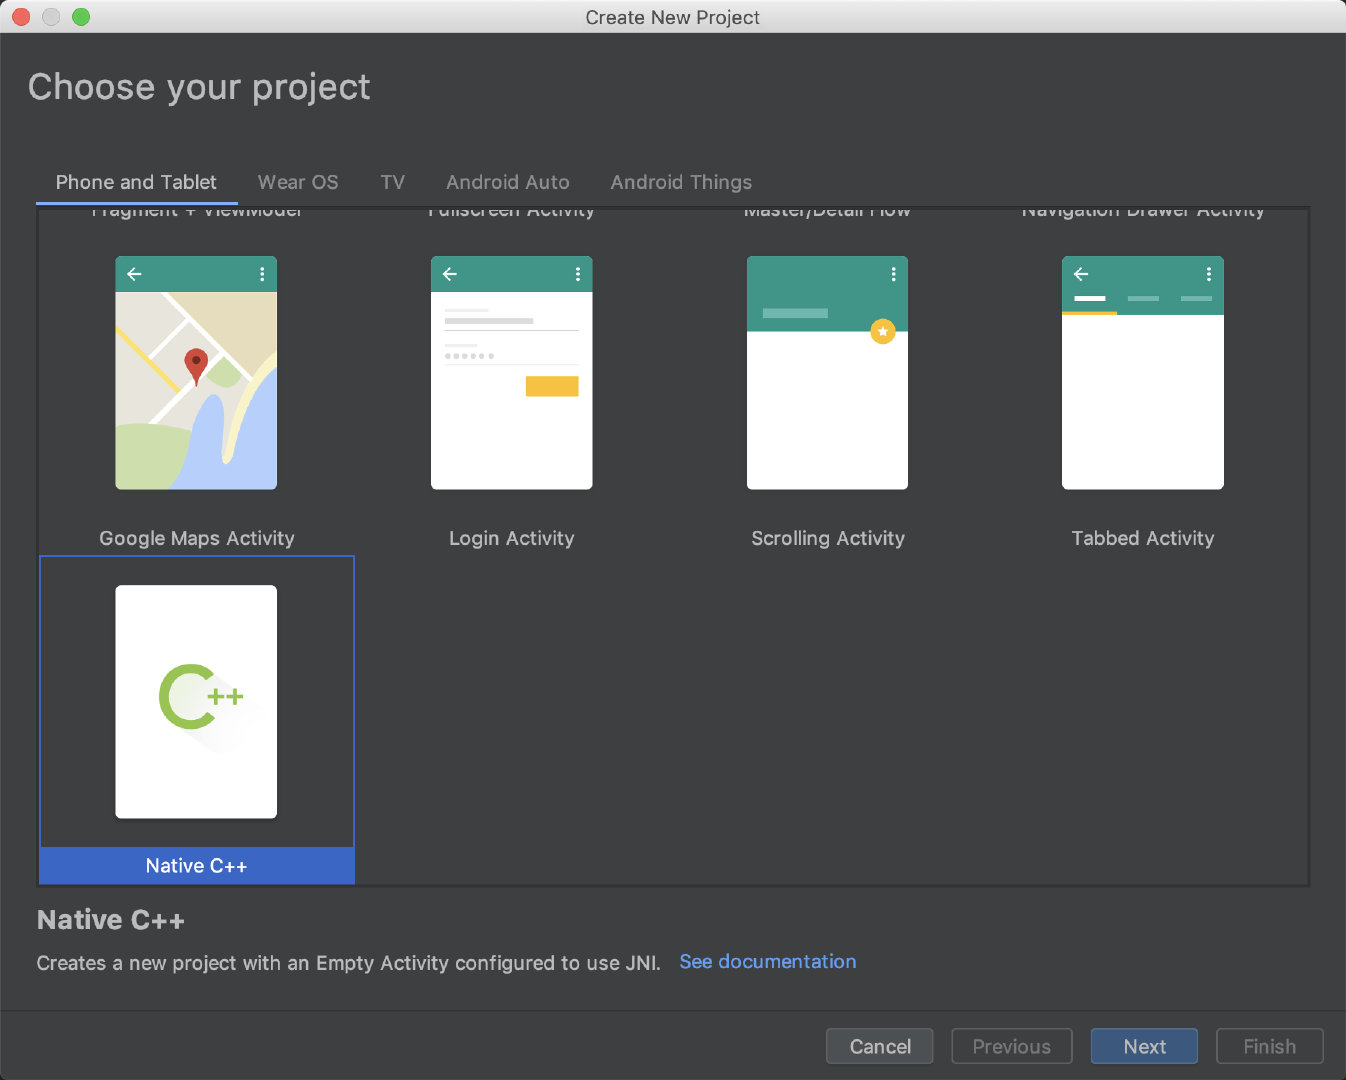
First, create a new project, choose Native C + +, and then go all the way. There's nothing to say

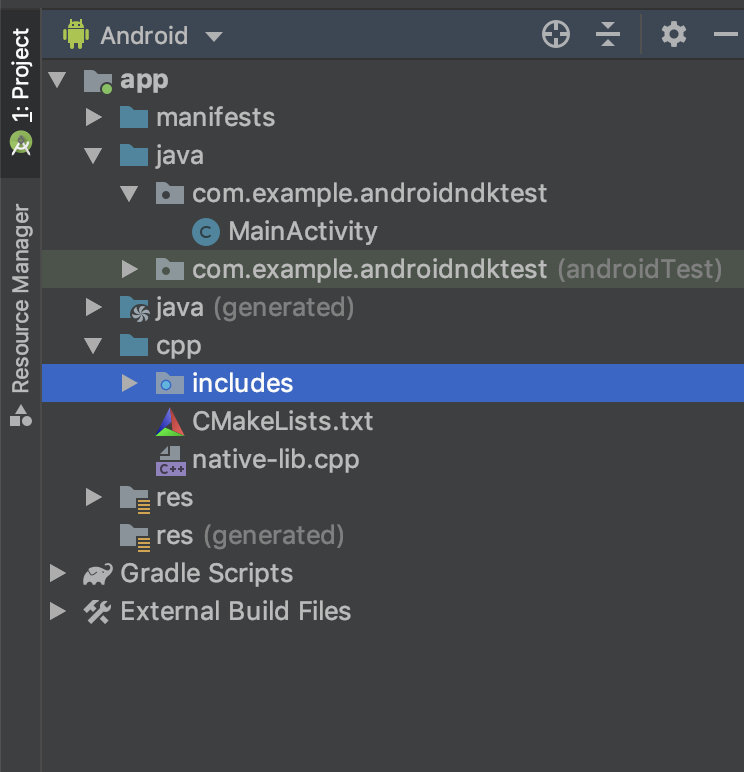
After a build, let's look at the current project directory

Add a folder called cpp, and then we will focus on cmakelists Txt and native lib.
Let's first look at the MainActivity sample code:
public class MainActivity extends AppCompatActivity {

  	//Load so package
    static {
        System.loadLibrary("native-lib");
    }

    @Override
    protected void onCreate(Bundle savedInstanceState) {
        super.onCreate(savedInstanceState);
        setContentView(R.layout.activity_main);

        // Example of a call to a native method
        TextView tv = findViewById(R.id.sample_text);
        tv.setText(stringFromJNI());
    }


  	//Corresponding native method
    public native String stringFromJNI();

}
It doesn't seem to matter. We focus on the notes and understand their meaning:
Next, let's see which function this stringFromJNI specifically refers to
Back to the native lib file, this is a c + + Code:
#include <jni.h>
#include <string>

extern "C" JNIEXPORT jstring JNICALL
Java_com_example_androidndktest_MainActivity_stringFromJNI(
        JNIEnv* env,
        jobject /* this */) {
    std::string hello = "Hello from C++";
    return env->NewStringUTF(hello.c_str());
}
It is also very simple, that is, it returns a string. On the syntax of C + +, students who need ndk development need to master it, because if there are occasional bug s, they have to turn over the specific implementation. If you just simply understand ndk development, you can simply understand the C + + syntax, because when we generally use the code, we don't need to know how to implement it, but just call it.
First, we need to know the naming convention of function names in jni:
Java_com_example_androidndktest_MainActivity_stringFromJNI Java_ Package name_ Class name_ Method name
A lot of people will feel confused about jcal
extern "c" specifies that the internal functions are compiled in the naming style of c language. Otherwise, when JNI is implemented in c + +, due to the different naming styles of functions in the compilation process of c and c + +, JNI cannot find specific functions according to the function name when linking
extern "C" The specified internal function is compiled in the naming style of C language. Otherwise, when JNI is implemented in C + +, due to the different naming styles of functions in the compilation process of C and C + +, JNI cannot find a specific function according to the function name when linking, so JNI call cannot be completed. Jniexport and jnicall are macros defined in JNI, which can be used in JNI H found in this header file jstring is a data type conversion, C
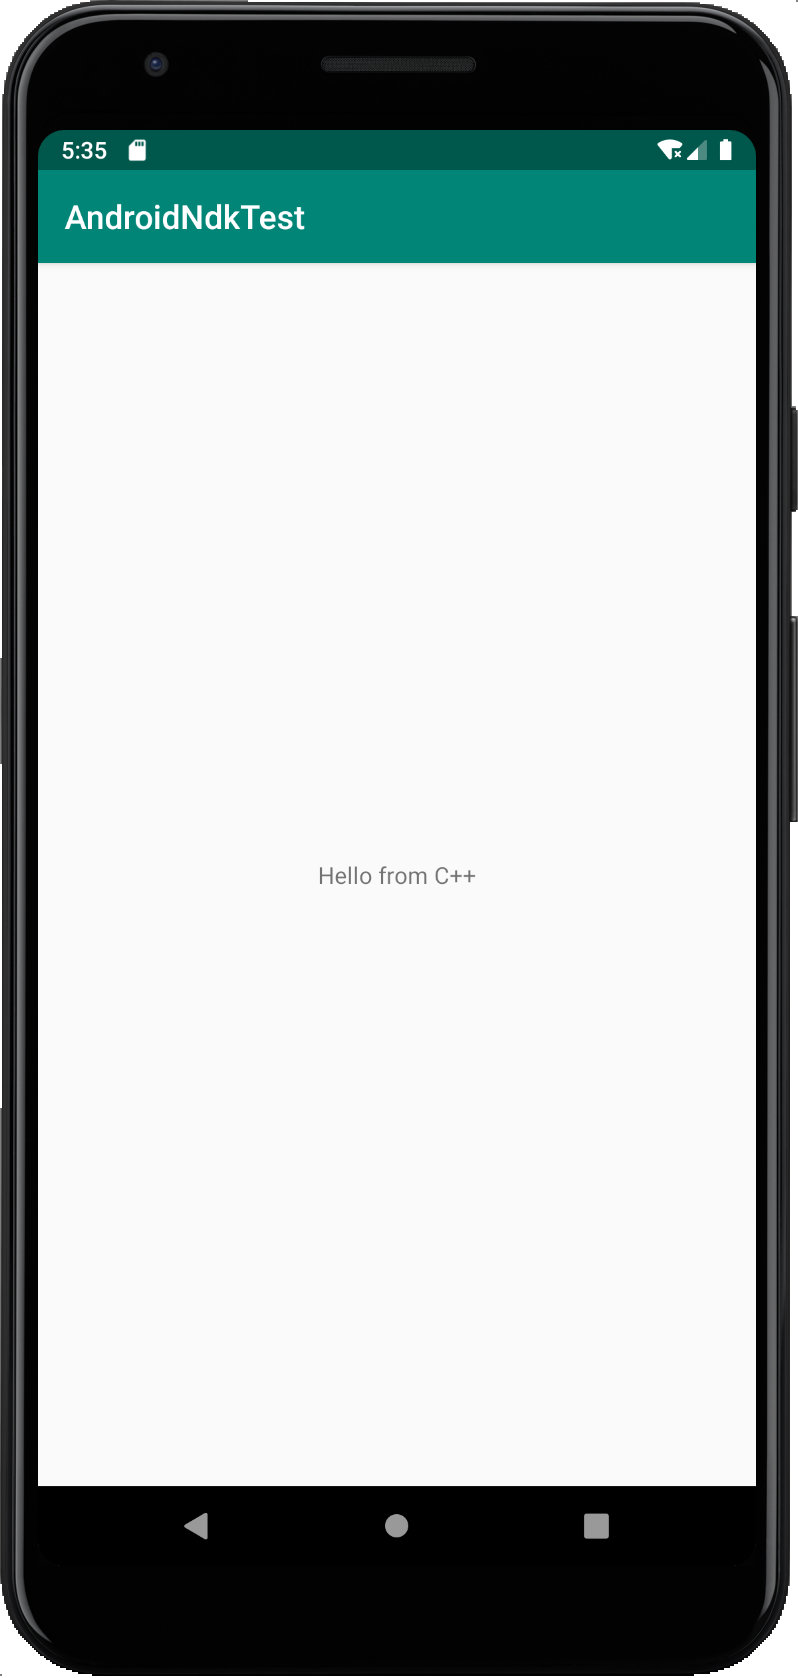
OK, now let's click Run to view the screen results:

Well, it's very simple. Of course, with the strong blessing of Android Studio, we have avoided many operations in the previous eclipse era, so it looks very simple. Now let's try to create a new cpp file ourselves, then copy the code in the default native lib, and change the function name and String string in it.

It's all red, right? Let's check cmakelist now Txt file
cmake_minimum_required(VERSION 3.4.1)

add_library( # Sets the name of the library.
             native-lib

             # Sets the library as a shared library.
             SHARED

             # Provides a relative path to your source file(s).
             native-lib.cpp

        )

find_library( # Sets the name of the path variable.
              log-lib

              # Specifies the name of the NDK library that
              # you want CMake to locate.
              log )
. . .

target_link_libraries( # Specifies the target library.
                       native-lib

                       # Links the target library to the log library
                       # included in the NDK.
                       ${log-lib} )
I have omitted the comments. Now let's look at the specific keywords:
add_library(
JniTest-lib
SHARED
JniTest.cpp)
The first parameter is the name of the library, which is taken by ourselves. The second is the mode. The third is the C + + code you want to compile. The newly added C + + file needs to be added here.
We will add the newly created file here as follows;
add_library( # Sets the name of the library.
        native-lib

        # Sets the library as a shared library.
        SHARED

        # Provides a relative path to your source file(s).
        native-lib.cpp

        native-test.cpp

        )
Sync new, then go to MainActivity, add our own method and call it, as follows:
public class MainActivity extends AppCompatActivity {

    // Used to load the 'native-lib' library on application startup.
    static {
        System.loadLibrary("native-lib");
    }

    @Override
    protected void onCreate(Bundle savedInstanceState) {
        super.onCreate(savedInstanceState);
        setContentView(R.layout.activity_main);

        // Example of a call to a native method
        TextView tv = findViewById(R.id.sample_text);
        tv.setText(stringTest());
    }

    /**
     * A native method that is implemented by the 'native-lib' native library,
     * which is packaged with this application.
     */
    public native String stringFromJNI();

    public native String stringTest();

}
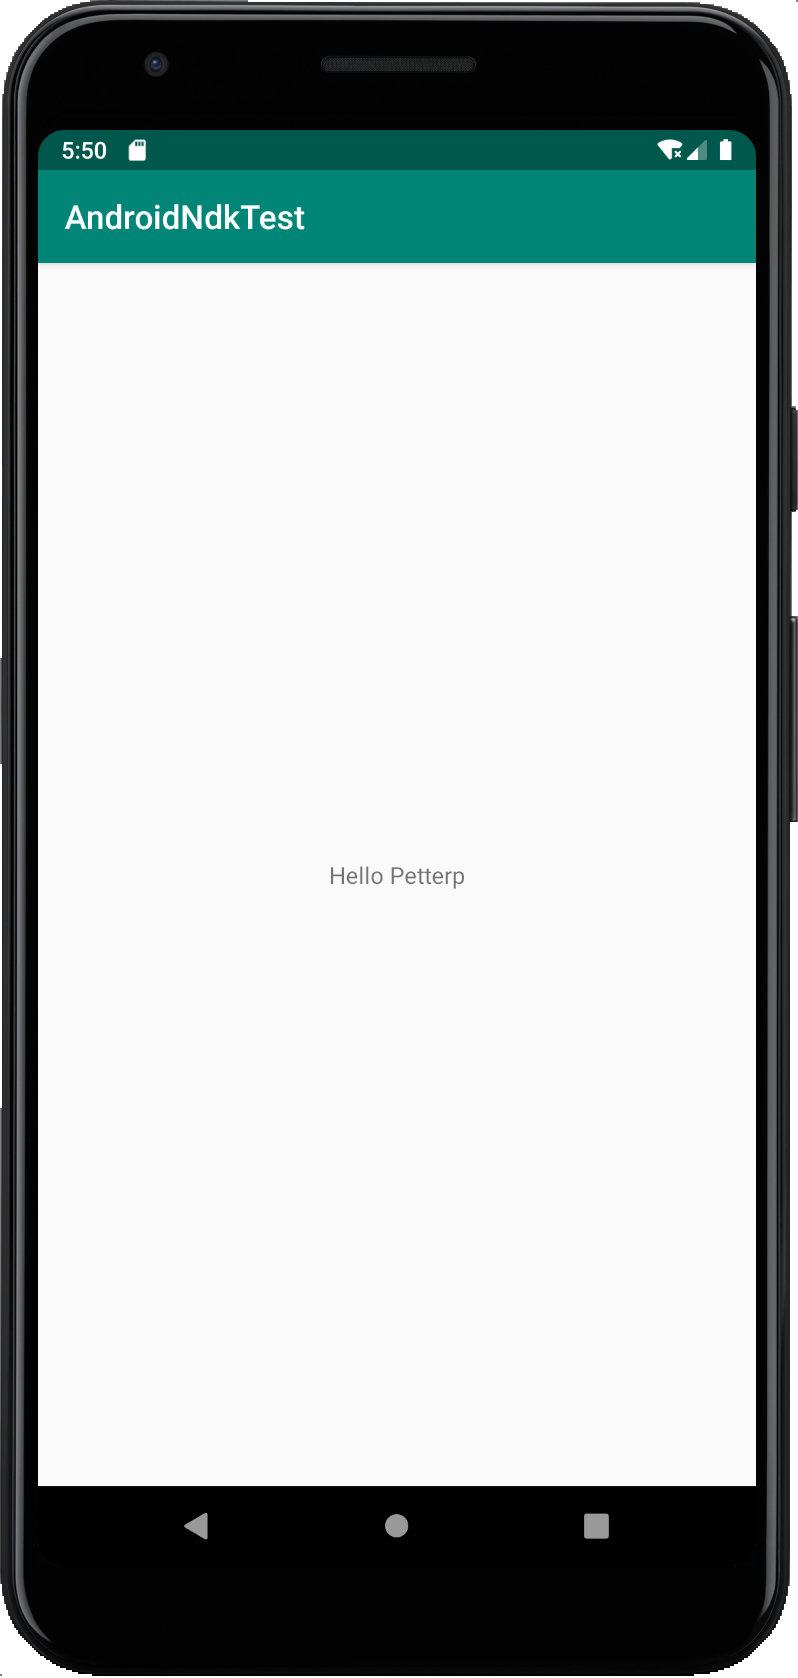
Run it and see the effect

The simplest demo of ndk usage comes out. For more usage, I will also write it if it is involved in the future. This article is just based on the idea of the relationship between ndk and jni and how to use it in android. It would be a great honor if I could help you.