I'm the catalog
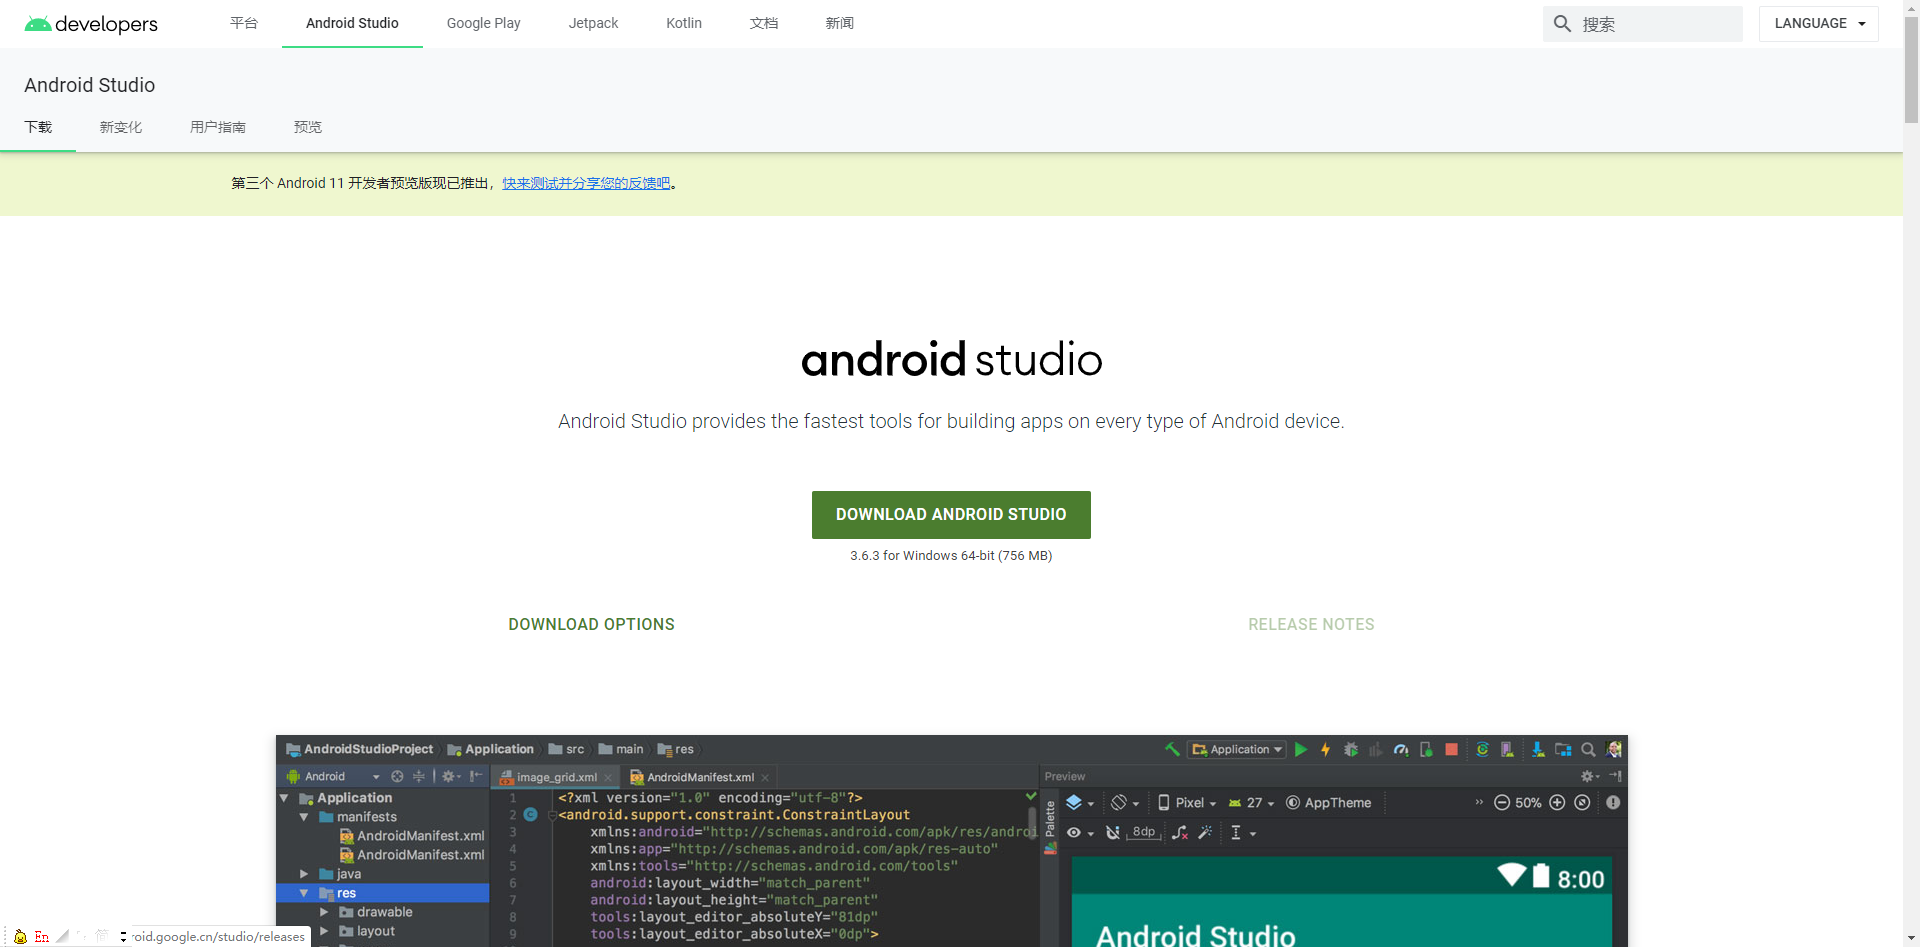
1, Download Android Studio
Download Android Studio directly Official website , if you can't climb over the wall, you can go to the online disk to download (now is May 22, 2020) Network disk address extraction code: pgqm:
2, New Android project
Select Empty Activity:
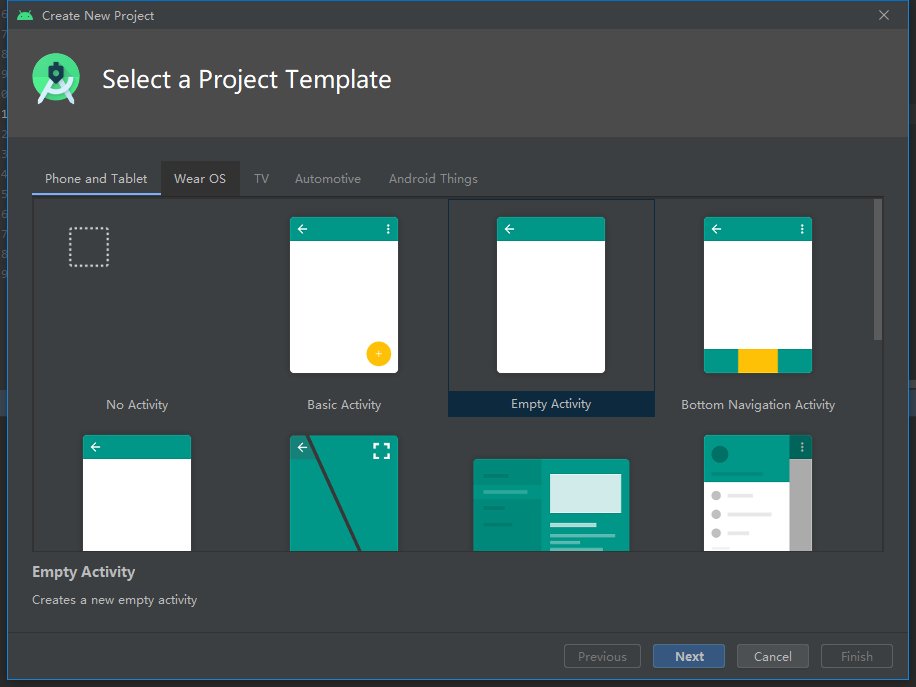
After the new project is created, the configuration file needs to be modified to integrate our H5 project.
3, What a complete android app needs
Here, you need to know what the most basic functions a complete App needs. I have listed the following:
- Access to the network
- Back off like an App
- Custom App icon, not a default Android robot
- Modify app name
- Change the main interface color to match your project
- Add H5 logic
1. Be able to access the network
This is actually a configuration item, which is AndroidManifest.xml Add one line, as follows:
<?xml version="1.0" encoding="utf-8"?>
<manifest>
    <application>
        ......
    </application>
    <uses-permission android:name="android.permission.INTERNET" />
</manifest>
In the example code, add a section of uses permission configuration.
2. Be able to go back, just like App
Add the following method to MainActivity, which actually overrides the method:
public class MainActivity extends AppCompatActivity {
    private WebView webview;
    @Override
    protected void onCreate(Bundle savedInstanceState) {
    	......
    }
    @Override//Set fallback
    public boolean onKeyDown(int keyCode, KeyEvent event) {
        if ((keyCode == KeyEvent.KEYCODE_BACK) && webview.canGoBack()) {
            webview.goBack();
            return true;
        }
        return false;
    }
}
Through the onKeyDown method of monitoring device, the function of fallback is realized, because it has no fallback key like Pc.
3. Customize the App icon, not a default Android robot
In my opinion, this is a very realistic requirement in the actual development. The business certainly hopes to see its own things like its own products. Start with the app Icon: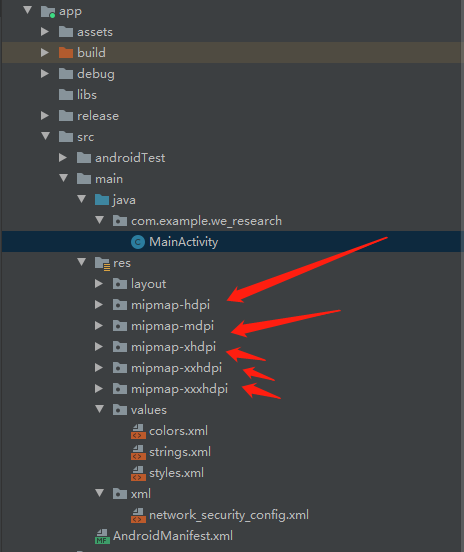
As shown in the figure above, there are five folders beginning with mipmap in the res folder, which are icons, one large and one small, but when modifying, only one image is needed, and then two different names are needed, probably like the front:
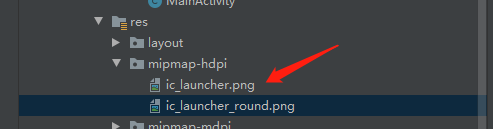
ic_launcher.png And ic_launcher_round.png These two pictures are default. We only need to replace the pictures with the same name.
4. Modify application name
Each project has its own name, so does H5 application. Therefore, this is also a hard requirement. It's easy to modify. It's still in the AndroidManifest.xml In the file:
<?xml version="1.0" encoding="utf-8"?>
<manifest xmlns:android="http://schemas.android.com/apk/res/android"
    package="com.example.we_research">

    <application
        android:allowBackup="true"
        android:icon="@mipmap/ic_launcher"
        android:label="apply name"
        android:roundIcon="@mipmap/ic_launcher_round"
        android:supportsRtl="true"
        android:networkSecurityConfig="@xml/network_security_config"
        android:theme="@style/AppTheme">
        <activity android:name=".MainActivity">
            <intent-filter>
                <action android:name="android.intent.action.MAIN" />
                <category android:name="android.intent.category.LAUNCHER" />
            </intent-filter>
        </activity>
    </application>
</manifest>
Replace android:label= "Application name" in "application name" is OK.
5. Change the color of the main interface to match your project
To make it look more perfect, you can also change the theme color of the app to make it match the H5 interface seamlessly. This looks as like as two peas App:

As shown in the figure above, locate res/values/colors.xml File, and then modify the color value:
<?xml version="1.0" encoding="utf-8"?>
<resources>
    <color name="colorPrimary">#6c6c6c</color>
    <color name="colorPrimaryDark">#000</color>
    <color name="colorAccent">#03DAC5</color>
</resources>
6. Add H5 logic
The last step is the most critical step. There are two ways to add H5 logic: the first is to put H5 logic in the Assets folder (this needs to be built by yourself); the second is to directly reference the H5 project link when there are published links, and then add the method in MainActivity:
public class MainActivity extends AppCompatActivity {
    private WebView webview;
    @Override
    protected void onCreate(Bundle savedInstanceState) {
        super.onCreate(savedInstanceState);
        webview = new WebView(this);
        webview.getSettings().setJavaScriptEnabled(true);
//        webview.loadUrl("file:///assets/index.html "); local resource reference
        webview.loadUrl("http://178.178.178.178/projectname/"); // Link reference
        setContentView(webview);
    }
}
In this way, a complete H5 integration scheme is completed.
Scatter flowers.jpg
4, Commissioning
Maybe some friends will care about a real problem, how to debug.
The newly installed Android Studio does not have a Module or a simulator. You need to install it yourself
If the Module cannot be found, you can find it by:
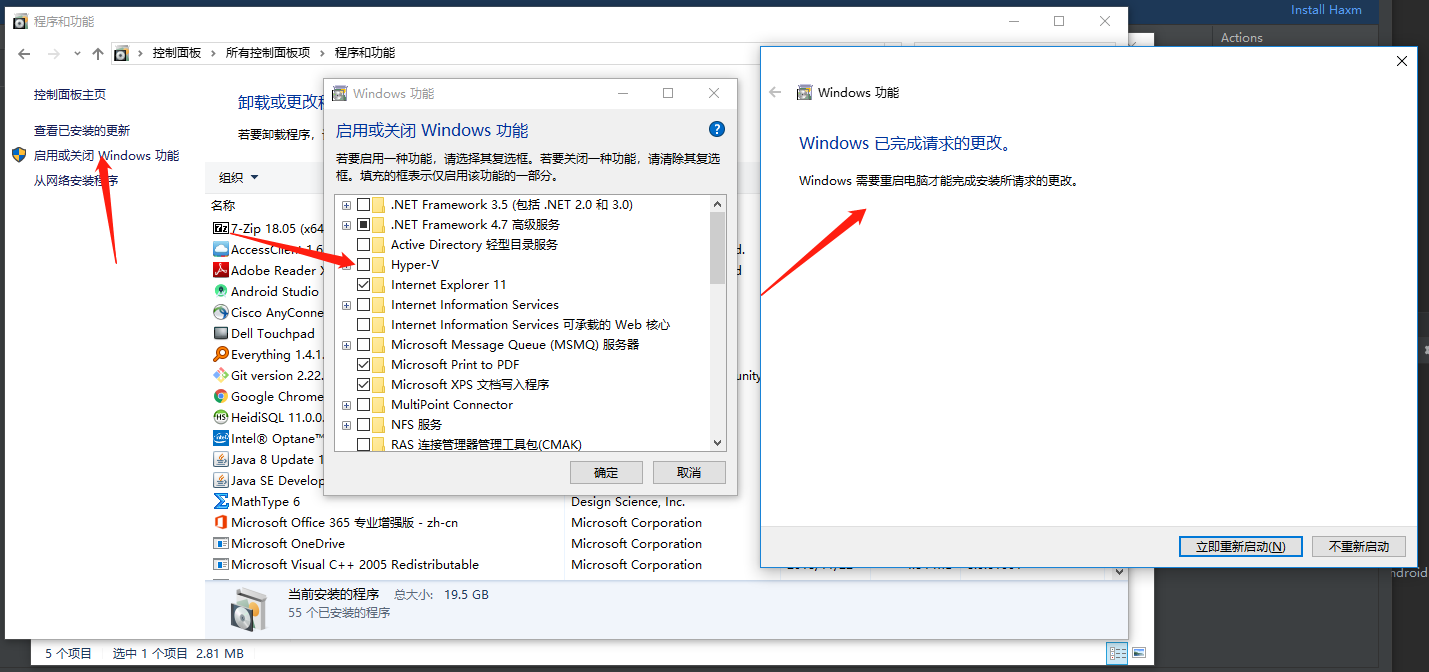
Then the simulator downloads the default virtual device, but here's a point to note: the 2020 version of Android studio requires Intel Hyper-V virtual technology, but the default Windows system is not open, so according to the steps in the front picture, open:
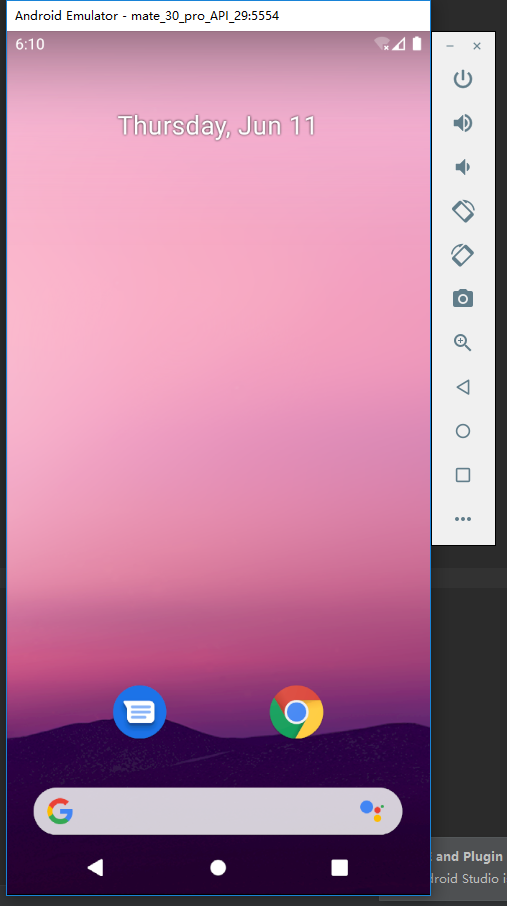
In this way, you can run and debug happily. Ha ha, a running chart is attached at the end:
In this way, it's a success. Please comment, like it, and collect it for three times~