Today, I started to learn small programs. I started to write apps in my own order. I didn't follow official wechat documents.
Some of the controls are a combination of official and online code shared by other students.
Basic overview
In this part, look at the official website to find out about the composition of the architecture page of the applet. It's not difficult. Open the wechat developer tool and create a QuickStart project.
Next, take a look at the official applet demo to see what functional styles are available. This corresponds to the development documents. Demo in Here:

Then you can start developing! Now press function to start learning~
tabBar
- Create several pages first. Pay attention to the folder and page name, and the configuration in app.json. The official documents are very detailed.
Note: in order for developers to reduce configuration items, the four files describing the page must have the same path and file name.
Create a folder for pictures, and put some small tabBar icons on it.
Write the configuration of tanBar in app.json. tabBar is the same as pages and window.
  "tabBar":{
    "color": "#ddd",
    "selectedColor": "#1AAD00",
    "backgroundColor": "#fff",
    "borderStyle": "black",
    "list":[
      {
        "pagePath": "pages/index/index",
       "iconPath": "images/footer-icon-01.png",
      "selectedIconPath": "images/footer-icon-01-active.png",
        "text": "home page"
      },
      {
        "pagePath": "pages/find/find",
        "iconPath": "images/footer-icon-03.png",
        "selectedIconPath": "images/footer-icon-03-active.png",
        "text": "find"
      },
      {
        "pagePath": "pages/mine/mine",
        "iconPath": "images/footer-icon-04.png",
        "selectedIconPath": "images/footer-icon-04-active.png",
        "text": "My"
      }
    ]
  }
Once compiled, tabBar appears~
Rotation chart
- Use the swiper control provided by wechat to add a control in the page wxml
  <view class="page-body">
    <view class="page-section page-section-spacing swiper">
      <swiper indicator-dots="{{indicatorDots}}"
        autoplay="{{autoplay}}" interval="{{interval}}" duration="{{duration}}">
        <block wx:for="{{background}}" wx:key="*this">
          <swiper-item>
            <image src='{{item.url}}' class='slide-image' mode='aspectFill' ></image>
          </swiper-item>
        </block>
      </swiper>
    </view>
- Style in wxss
.swiper {
 height: 400rpx;
 width: 100%;
}
.swiper image {
 height: 100%;
 width: 100%;
}
- Setting data in js
  data: {
    background:[
      {url:'../../images/banner/banner1.jpeg'},
      { url: '../../images/banner/banner2.png' },
      { url: '../../images/banner/banner3.png' },

    ],
    indicatorDots: true,
    vertical: false,
    autoplay: true,
    interval: 2000,
    duration: 500
  },
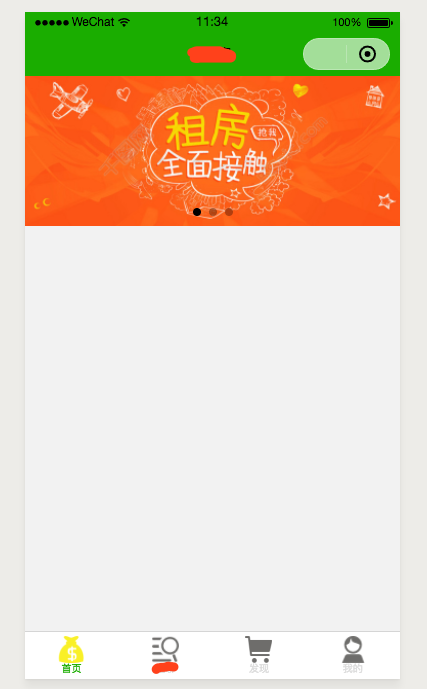
It's so simple. The carousel chart appears. It's really much simpler than iOS development!
What it looks like now (icons picked directly from other people's projects, please ignore the colourway ~):