0. Preface
In the previous four articles, we introduced the relationship between routing, controller and view in detail. In other words, how does the system parse the user's HTTP request into the controller, and then process the data in the controller, and return it to the view, and display it in the view. In this article, I will introduce the last part of the foundation, layout page and static resource introduction.
1. Layout page
In the controller and view section, we learned that_ ViewStart sets the value of the Layout property, which is used to set the Layout page. The so-called Layout page is the common code of the view. In the actual development, Layout page usually stores the page frame defined for the whole system, and the page of each view is written in the view.
Review the default_ The contents of ViewStart are:
@{
    Layout = "_Layout";
}
The default layout page specifies a page named_ Layout layout page. In the third part of this series, we learned that this view should be in the Shared folder. Let's go in and see what this view has:
<!DOCTYPE html>
<html lang="en">
<head>
<meta charset="utf-8" />
<meta name="viewport" content="width=device-width, initial-scale=1.0" />
<title>@ViewData["Title"] - MvcWeb</title>
<link rel="stylesheet" href="~/lib/bootstrap/dist/css/bootstrap.min.css" />
<link rel="stylesheet" href="~/css/site.css" />
</head>
<body>
<header>
<nav class="navbar navbar-expand-sm navbar-toggleable-sm navbar-light bg-white border-bottom box-shadow mb-3">
<div class="container">
<a class="navbar-brand" asp-area="" asp-controller="Home" asp-action="Index">MvcWeb</a>
<button class="navbar-toggler" type="button" data-toggle="collapse" data-target=".navbar-collapse" aria-controls="navbarSupportedContent"
aria-expanded="false" aria-label="Toggle navigation">
<span class="navbar-toggler-icon"></span>
</button>
<div class="navbar-collapse collapse d-sm-inline-flex flex-sm-row-reverse">
<ul class="navbar-nav flex-grow-1">
<li class="nav-item">
<a class="nav-link text-dark" asp-area="" asp-controller="Home" asp-action="Index">Home</a>
</li>
<li class="nav-item">
<a class="nav-link text-dark" asp-area="" asp-controller="Home" asp-action="Privacy">Privacy</a>
</li>
</ul>
</div>
</div>
</nav>
</header>
<div class="container">
<main role="main" class="pb-3">
@RenderBody()
</main>
</div>
<footer class="border-top footer text-muted">
<div class="container">
© 2020 - MvcWeb - <a asp-area="" asp-controller="Home" asp-action="Privacy">Privacy</a>
</div>
</footer>
<script src="~/lib/jquery/dist/jquery.min.js"></script>
<script src="~/lib/bootstrap/dist/js/bootstrap.bundle.min.js"></script>
<script src="~/js/site.js" asp-append-version="true"></script>
@RenderSection("Scripts", required: false)
</body>
</html>
This is the default layout page content. It looks a lot, but in addition to some html code, there are some key points to pay attention to.
1.1 RenderSection
RenderSection partial rendering: create a tag in the page to indicate that the page block will add content to the subview (or the actual rendering view of the route).
Let's take a look at the official notes from Microsoft:
In layout pages, renders the content of the section named name.
This means that in the layout page, the partial content named name is rendered.
Create a new distribution page named_ Layout1:
<html>
    <head>
        <title>Render test</title>
    </head>
    <body>
        @RenderSection("SectionDemo")
    </body>
</html>
There is nothing in this layout page, only one RenderSection. Now let's create a new controller:
using Microsoft.AspNetCore.Mvc;

namespace MvcWeb.Controllers
{
    public class RenderTestController : Controller
    {
        public IActionResult Index()
        {
            return View();
        }
    }
}
Create the corresponding view:
Views / RenderTest/Index.cshtml
Set layout page as_ Layout1:
@{
    Layout = "_Layout1";
}
First try to start the app, visit:
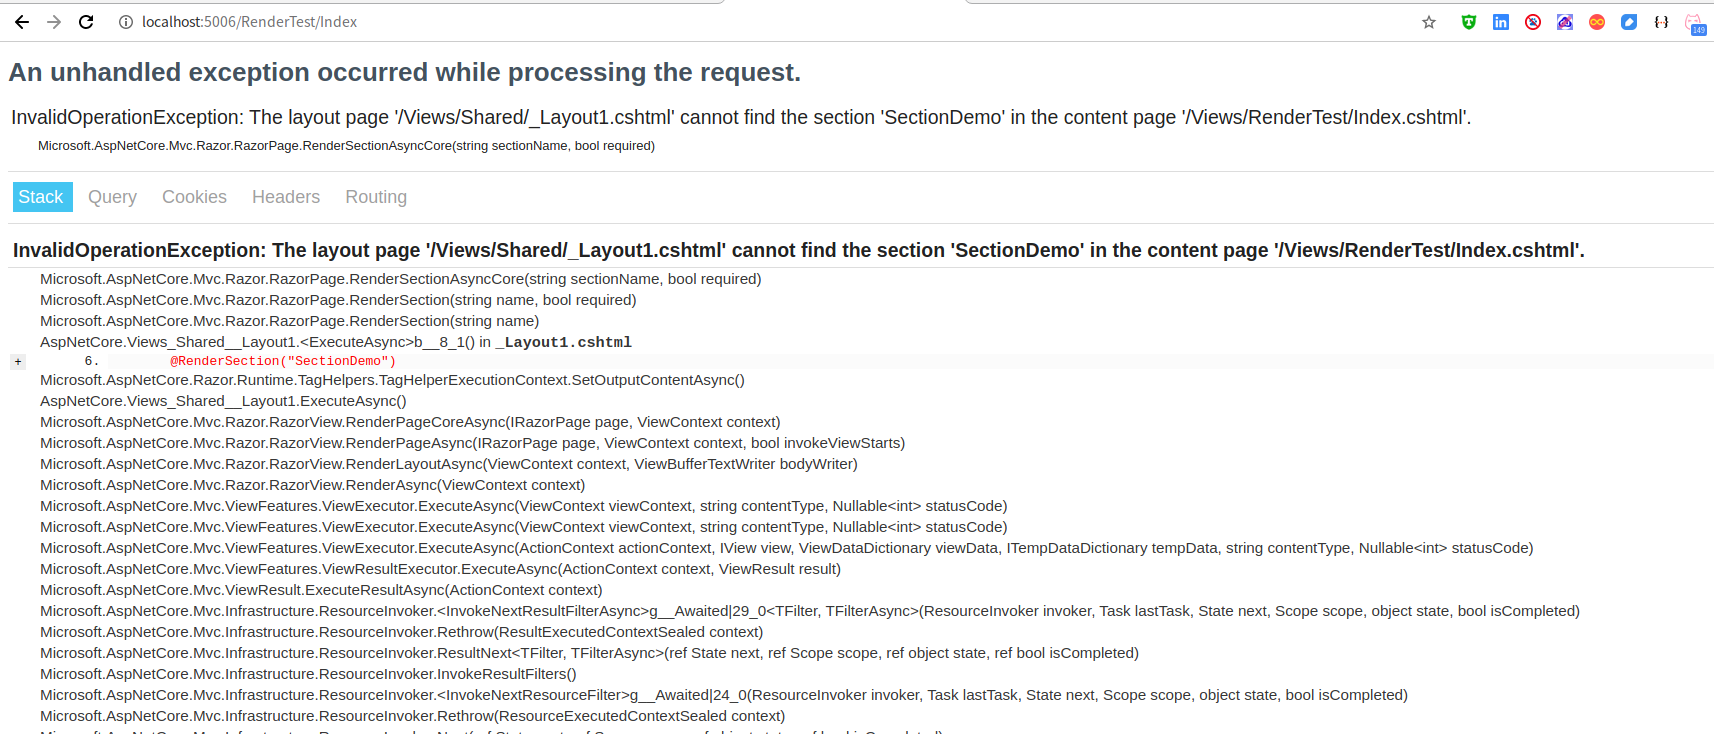
Normally, you should be able to see this page:

Take a closer look at the information, which means in RenderTest/Index.cshtml No partial content for SectionDemo was found in the view.
So, how do you set up partial content in a view?
@{
    Layout = "_Layout1";
}
@section SectionDemo{
    <h1>Hello</h1>

}
Use @ section < section name > followed by a pair of braces. The content in the middle of the braces is the content of this section.
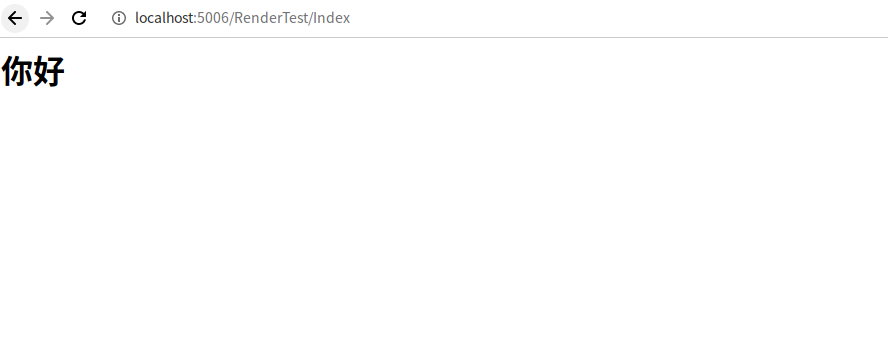
Restart the app and refresh the page. You can see the following page:

If no special requirements are made, the view must implement the partial block defined in the layout page. Of course, RenderSection also has a parameter, which can be used to set the segment is not necessary:
public HtmlString RenderSection(string name, bool required);
1.2 RenderBody
Take a look at the official notes from Microsoft:
In a Razor layout page, renders the portion of a content page that is not within a named section.
In short, if @ RenderBody is set in the layout page, all the code not wrapped by blocks in the view using this layout page will be rendered to the place where @ RenderBody is declared in the layout page.
Modification_ Layout1.cshtml:
<html>
    <head>
        <title>Render test</title>
    </head>
    <body>
        <h1>RenderBody test -before</h1>
        @RenderBody()
        <h1>RenderBody test -after</h1>
    </body>
</html>
Modify RenderTest/Index.cshtml :
@{
    Layout = "_Layout1";
}

RenderBody test
<h1>I am the content of the view!</h1>
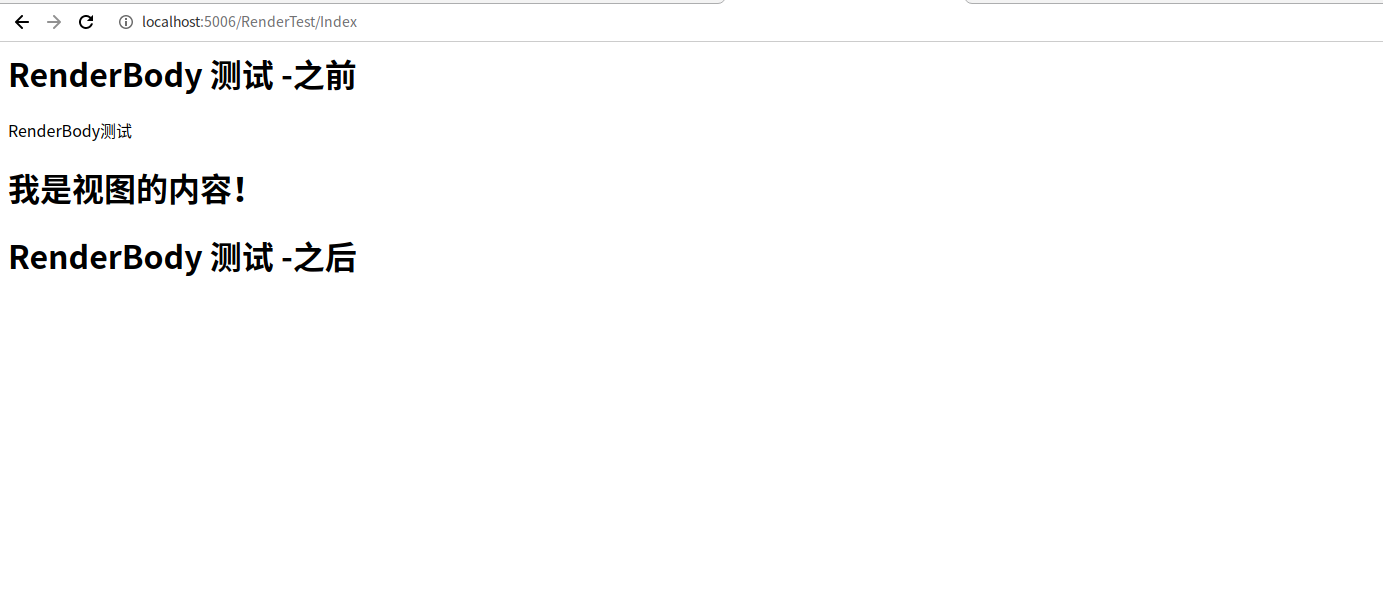
Restart the app and refresh the page you just visited:

You can see where the RenderBody renders.
2. Static resource introduction
In general, the introduction of static resources is consistent with the introduction of resources such as HTML reference js and css, but for scripts and stylesheets created by ourselves when we write the system, asp.net Core provides different processing methods. That is the server-side compression function.
asp.net The mvc default project of core 3.0 does not start this function, which requires our additional support.
2.1 enable support
First introduce BuildBundleMinifier
cd MvcWeb # Switch directory to MvcWeb project
dotnet add package BuildBundleMinifier
establish bundleconfig.json
[
    {
        "outputFileName": "wwwroot/css/site.min.css",
        "inputFiles": [
            "wwwroot/css/site.css"
        ]
    },
  	{
        "outputFileName": "wwwroot/js/site.min.js",
        "inputFiles": [
          "wwwroot/js/site.js"
        ],
        "minify": {
          "enabled": true,
          "renameLocals": true
        },
        "sourceMap": false
      }
]
Each node is allowed to set items:
- The bundled compressed file generated by outputFileName, usually with wwwroot in the path
- inputFiles array, containing the file path to be compressed to the output file, will be added in the order of adding
- Minify option for minify output type, optional. Enabled by default: true
- sourceMap indicates whether the source map is generated for the bundled file
- sourceMapRootPath path path of the source map file
2.2 use
Under normal circumstances, the compressed file path can be introduced into the layout page. However, in development, it is usually referred to as follows:
<environment exclude="Development">
    <link rel="stylesheet" href="~/css/site.min.css" asp-append-version="true" />
</environment>
<environment include="Development">
    <link rel="stylesheet" href="~/css/site.css" />
</environment>
Note: ASP append version means to append a version number to the reference path. This is a solution to the problem of html static resource caching. This step is determined by the program.
Environment means environment. Now you know that it's OK. I'll talk about it in the next part.
3. Static resource directory
We know that so far, our static resources are in the wwwroot directory. Can we modify or add other directories as static resource directories?
stay Startup.cs There is a line of code under the Configure method in the file:
app.UseStaticFiles();
This line of code means to enable static files, and the program automatically looks for resources from wwwroot. Then, we can start with this method and set our own static resources:
public static IApplicationBuilder UseStaticFiles(this IApplicationBuilder app, StaticFileOptions options);
We found another overloaded version of this method, which has a parameter class:
public class StaticFileOptions : SharedOptionsBase
{
    public StaticFileOptions();
    public StaticFileOptions(SharedOptions sharedOptions);
    public IContentTypeProvider ContentTypeProvider { get; set; }
    public string DefaultContentType { get; set; }
    public HttpsCompressionMode HttpsCompression { get; set; }
    public Action<StaticFileResponseContext> OnPrepareResponse { get; set; }
    public bool ServeUnknownFileTypes { get; set; }
}
Don't panic if you don't find what we want. It has a parent class. Let's go to its parent class again:
public abstract class SharedOptionsBase
{
    protected SharedOptionsBase(SharedOptions sharedOptions);
    public IFileProvider FileProvider { get; set; }
    public PathString RequestPath { get; set; }
    protected SharedOptions SharedOptions { get; }
}
It is clear that we need to provide a file provider. Let's find a suitable IFileProvider implementation class:
public class PhysicalFileProvider : IFileProvider, IDisposable
This class can meet our requirements. It is located in the namespace:
namespace Microsoft.Extensions.FileProviders
So, add a set of our own configurations:
using Microsoft.Extensions.FileProviders;

public void Configure(IApplicationBuilder app, IWebHostEnvironment env)
{
    // Omit other codes and add only the following
    app.UseStaticFiles(new StaticFileOptions
    {
        FileProvider = new PhysicalFileProvider(Path.Combine(Directory.GetCurrentDirectory(),"OtherStatic")),
    });
}
Create a folder named OtherStatic in the root directory of the project, and then create a folder in it, such as files, and add a file in the folder.
Then start app access:
http://localhost:5006/files/<Files you added(Include suffix)>
Then you can see in the browser that the file is responding correctly.
Of course, there is a problem here. If the files in other static have the same directory structure in wwwroot, the access will be problematic. In this case, you can set a request prefix for our new configuration:
app.UseStaticFiles(new StaticFileOptions
{
    FileProvider = new PhysicalFileProvider(Path.Combine(Directory.GetCurrentDirectory(),"OtherStatic")),
    RequestPath = "/other"
});
Restart the program and access:
http://localhost:5006/other/files/<Files you added(Include suffix)>
Then you can see the file you just responded to, revisit the previous path, and find the browser prompt 404.
4. Summary
In this article, we explained the content of layout page, compression binding of static resources and adding a new directory of static resources. Through these articles, let's asp.net Core MVC has a basic understanding. In the next chapter, we will re create a project and lead you to complete a fully functional web system based on the actual combat.
Please pay attention to more My blog Mr. Gao's Cabin
