brief introduction
Jpom is an automatic deployment software that integrates project management, system monitoring, project online construction, SSH management and multi machine deployment. After using the browser to log in, you can manage the project, and the key operation is convenient for operation and maintenance.

Why do I need Jpom
Most projects are actually deployed for operation and maintenance. The general method is to log in to the server, upload new project packages, and execute corresponding command management. If multiple projects are managed, repeat the above steps.
Shortcomings of traditional methods
- Need to log in to the server every time (professional software)
- Multiple management commands for multiple projects (not easy to remember and confuse)
- To view the running status of the project, you need to use the command again
- At the same time, in the face of multiple operation and maintenance, you need to know the server password (low security)
- Cluster projects need to operate step by step
After using Jpom
- Use the browser to log in and manage the project conveniently and quickly
- View the project running status and console log in real time in the form of interface
- The operation and maintenance department has a corresponding account and password, and does not need to know the server password (and there is an operation log)
- Cluster projects use project distribution to handle multi machine deployment with one click
- Automatic alarm for abnormal project status monitoring
- Build online without manually uploading project packages
Jpom architecture diagram

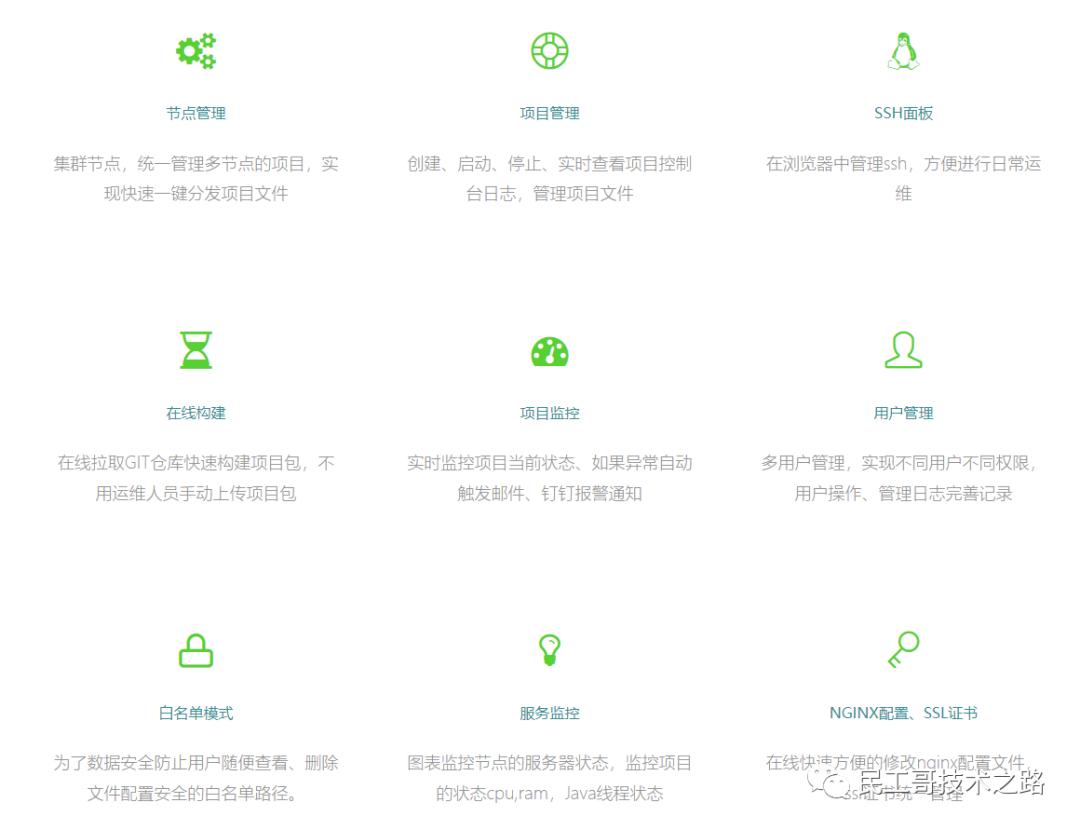
Main functions and features
install
The installation and deployment method is similar to that of Zabbix, and the server side and plug-in side need to be deployed.
Various installation methods are officially available:
- One click installation
- Binary package installation
- Source code compilation and installation
- docker installation
- Docker compose installation
It is recommended to use one click installation or docker installation, which is convenient and fast. The installation method provided in this article is one click installation.
- Server: 192.168.1.99
- Plug in end: 192.168.1.100
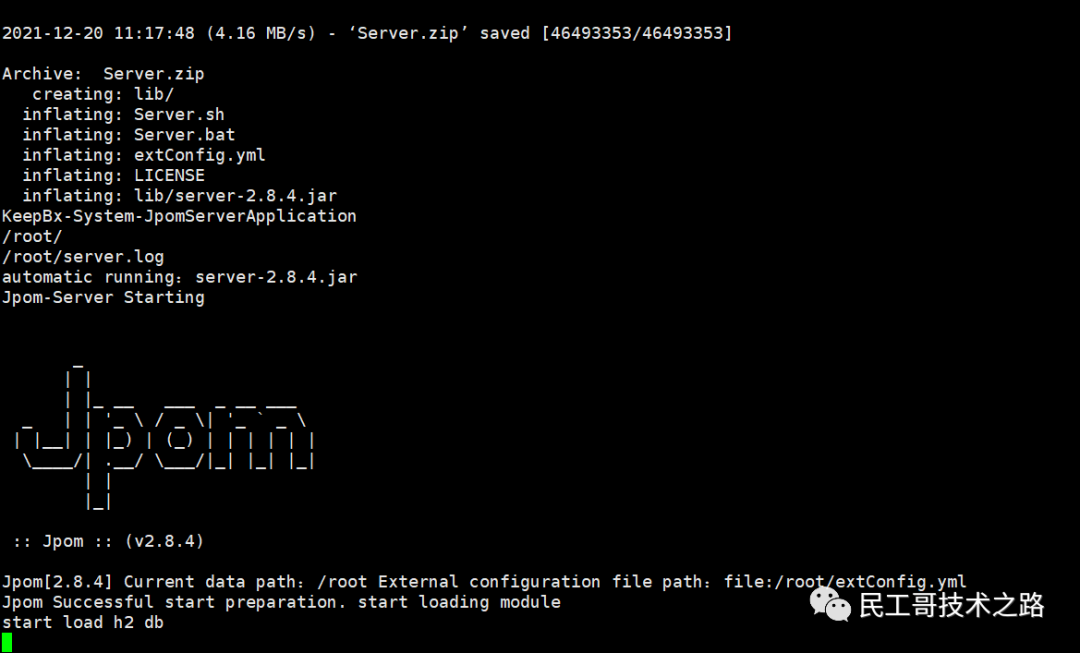
Server
[root@centos7 jpom-server]# yum install -y wget && wget -O install.sh https://dromara.gitee.io/jpom/docs/install.sh && bash install.sh Server
If there is no JDK and maven environment, or use the automatic installation method provided by the official:
yum install -y wget && wget -O install.sh https://dromara.gitee.io/jpom/docs/install.sh && bash install.sh Server jdk+mvn
[root@centos7 ~]# lsof -i :2122
COMMAND  PID USER   FD   TYPE DEVICE SIZE/OFF NODE NAME
java    3402 root   19u  IPv6  47083      0t0  TCP *:caupc-remote (LISTEN)
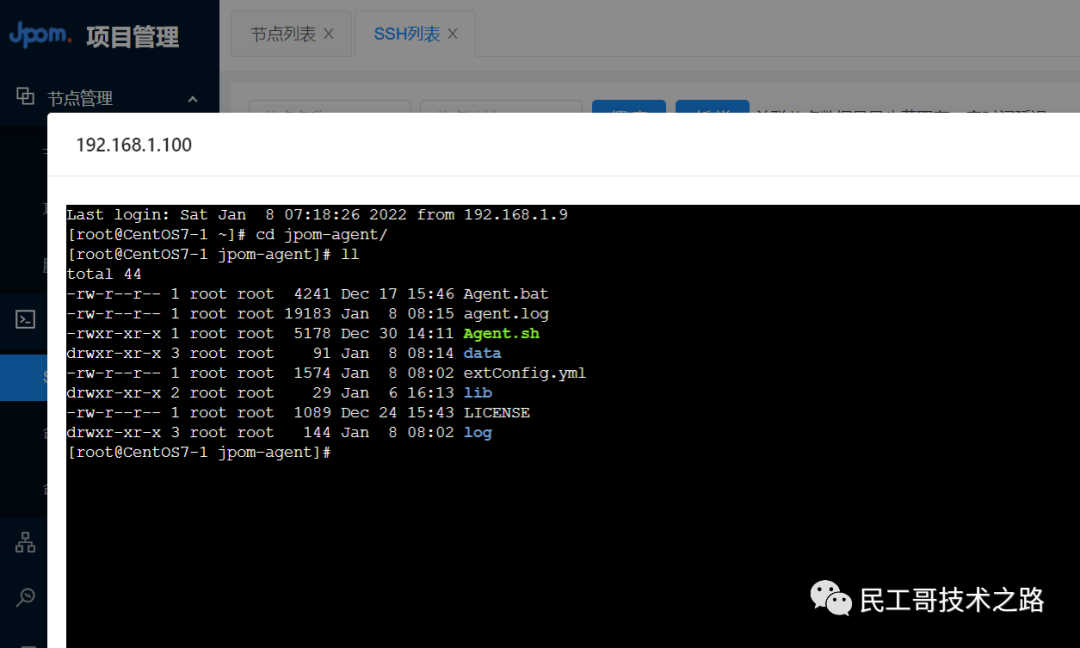
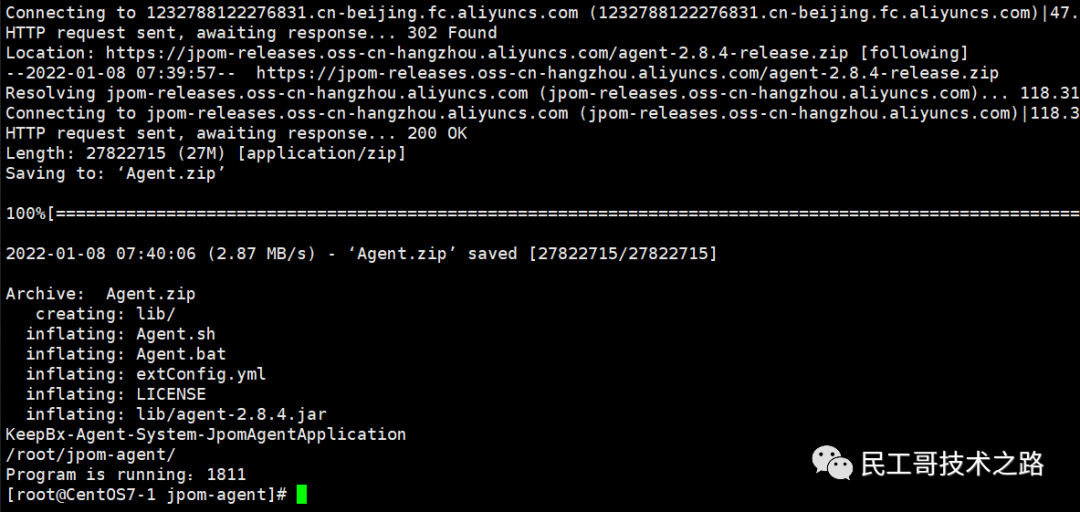
Plug in end
[root@CentOS7-1 jpom-agent]# yum install -y wget && wget -O install.sh https://dromara.gitee.io/jpom/docs/install.sh && bash install.sh Agent
[root@CentOS7-1 jpom-agent]# lsof -i :2123
COMMAND  PID USER   FD   TYPE DEVICE SIZE/OFF NODE NAME
java    1811 root   20u  IPv6  26409      0t0  TCP *:gtp-control (LISTEN)
Note: the server and plug-in should not be installed in the same directory. It is better to create corresponding directories respectively.
Management command
# Server
Server.sh start     start-up Jpom Server
Server.sh stop      stop it Jpom Server
Server.sh restart   restart Jpom Server
Server.sh status    see Jpom Server running status
Server.sh create    establish Jpom Application service of server( jpom-server)

# Plug in end
Agent.sh start     start-up Jpom Plug in end
Agent.sh stop      stop it Jpom Plug in end
Agent.sh restart   restart Jpom Plug in end
Agent.sh status    see Jpom Operation status of plug-in side
Agent.sh create    establish Jpom Application services on plug-in side( jpom-agent)
Explain the related terms of Jpom
Server
The server can be understood as a master control system of Jpom. Users directly access all nodes managed by the corresponding system. Generally, the server only needs to be installed once, and the server can manage multiple plug-ins.
Plug in side (Agent)
The plug-in side can be understood as a daemon that needs to be managed to the server in Jpom. The plug-in side is mainly used to monitor some basic information of the corresponding server, save some project information and relevant files of the corresponding project.
The server with plug-in installed can also be called a node in Jpom.
Ports: 2122, 2123
The default ports used in Jpom are 2122 and 2123
- 2122 is the default port of the server
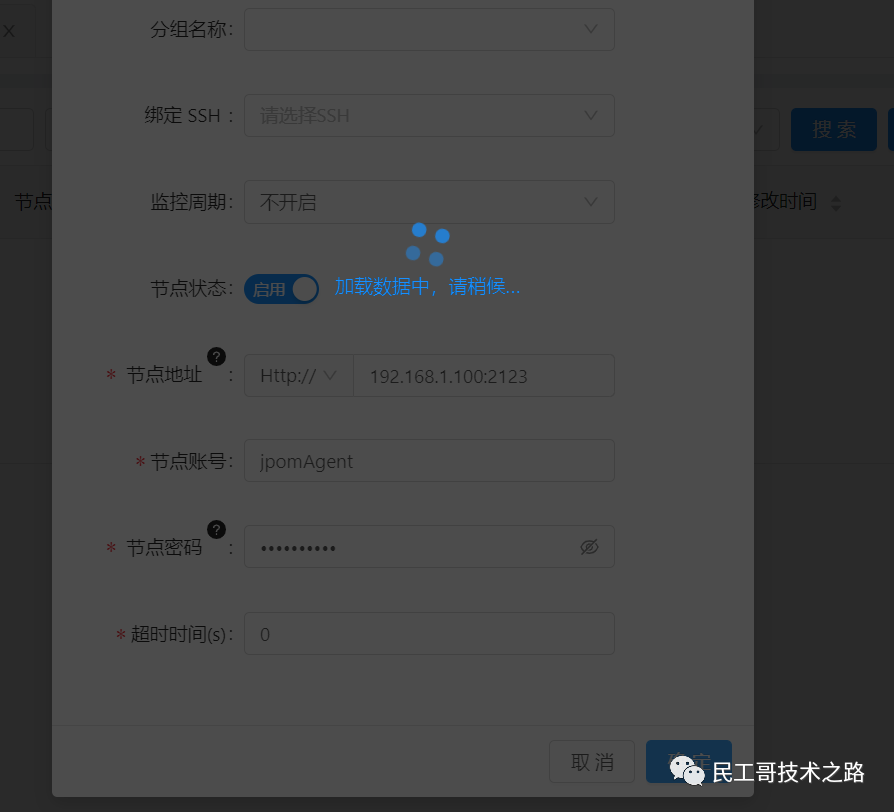
- 2123 is the default port of the plug-in side (when adding the node address, you need to fill in the corresponding IP:PORT)
Special statement: it is not recommended to open the plug-in port to the external network for access. It is recommended to use the internal network for communication between the server and the plug-in
use
After installation, you can use http://server-ip:2122 Manage WEB login:

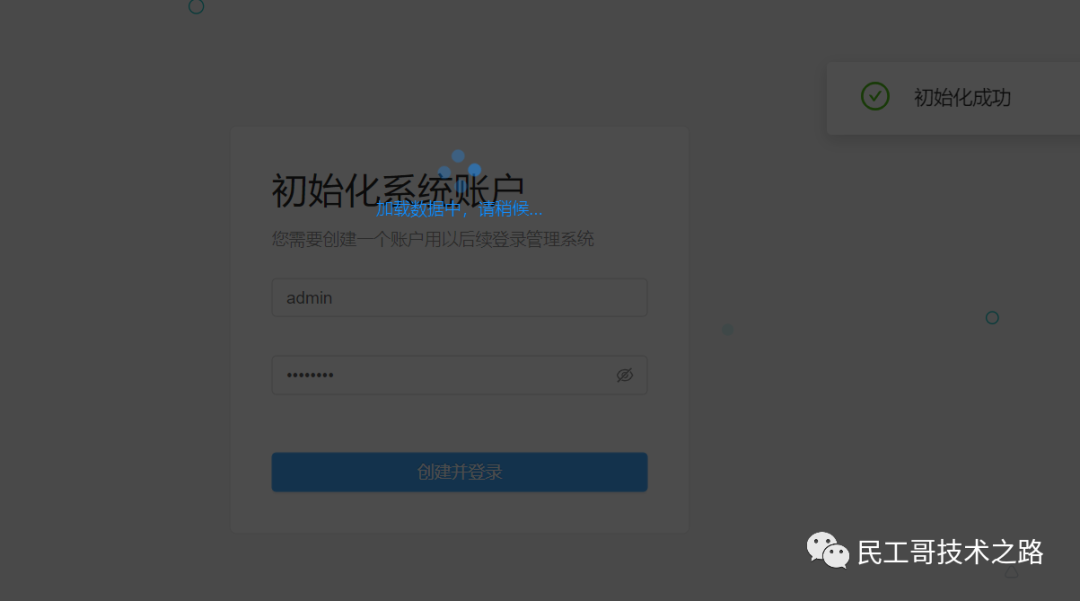
The interface after login is as follows:
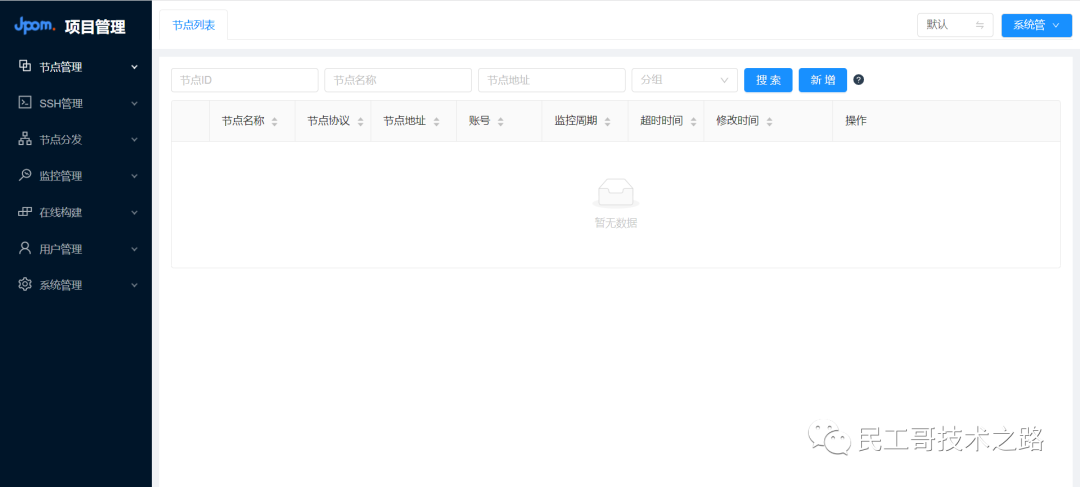
Add a node
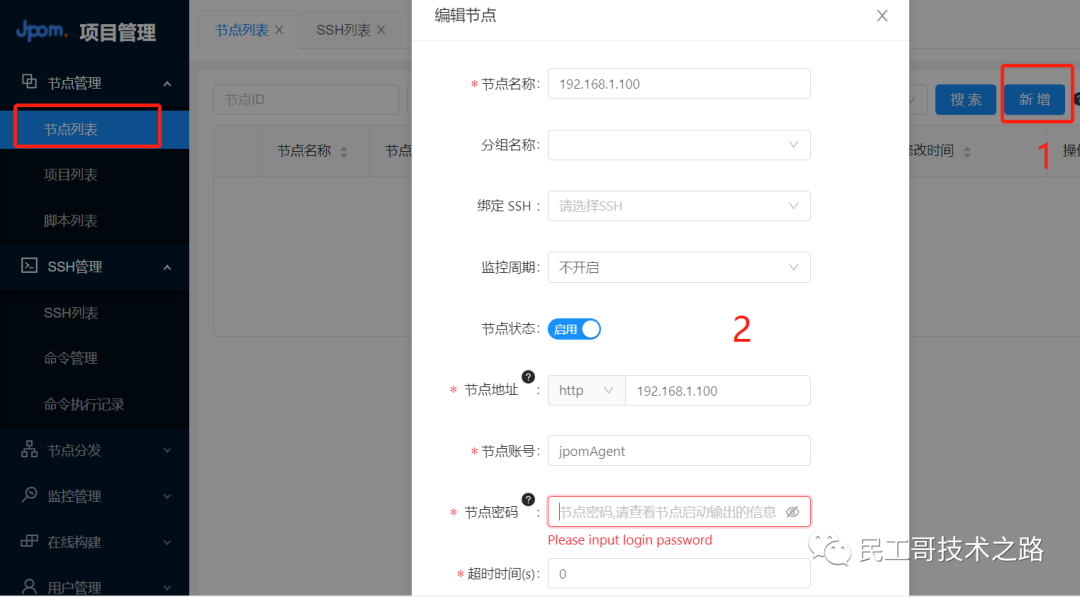
The password of the node can be viewed by notifying the following command:
[root@CentOS7-1 jpom-agent]# cat /root/jpom-agent/data/agent_authorize.json
{
 "agentName":"jpomAgent",
 "agentPwd":"ff6jz36j9t"
}
#This password is a string of passwords automatically generated by jpom when the plug-in side is started and saved in this agent_authorize.json file.
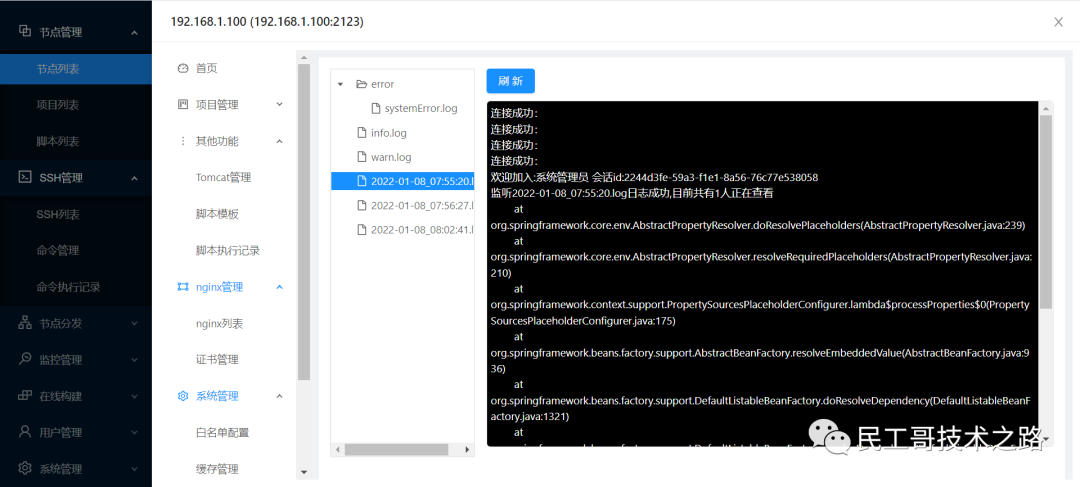
Click OK after filling in the relevant information
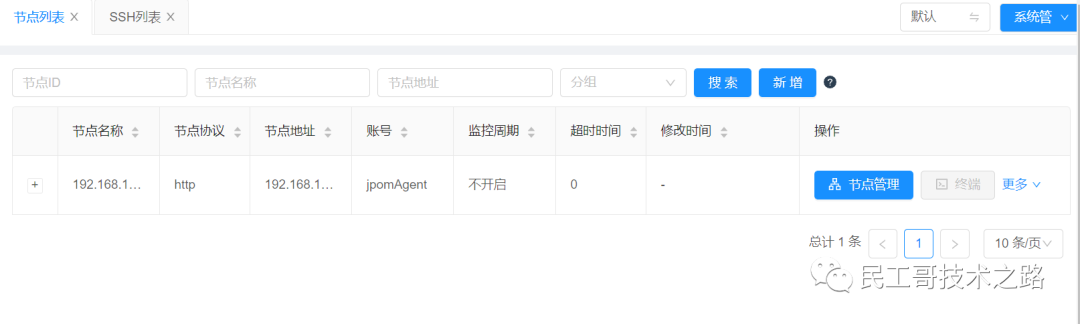
A series of management and subsequent distribution application management can be carried out for nodes
SSH management
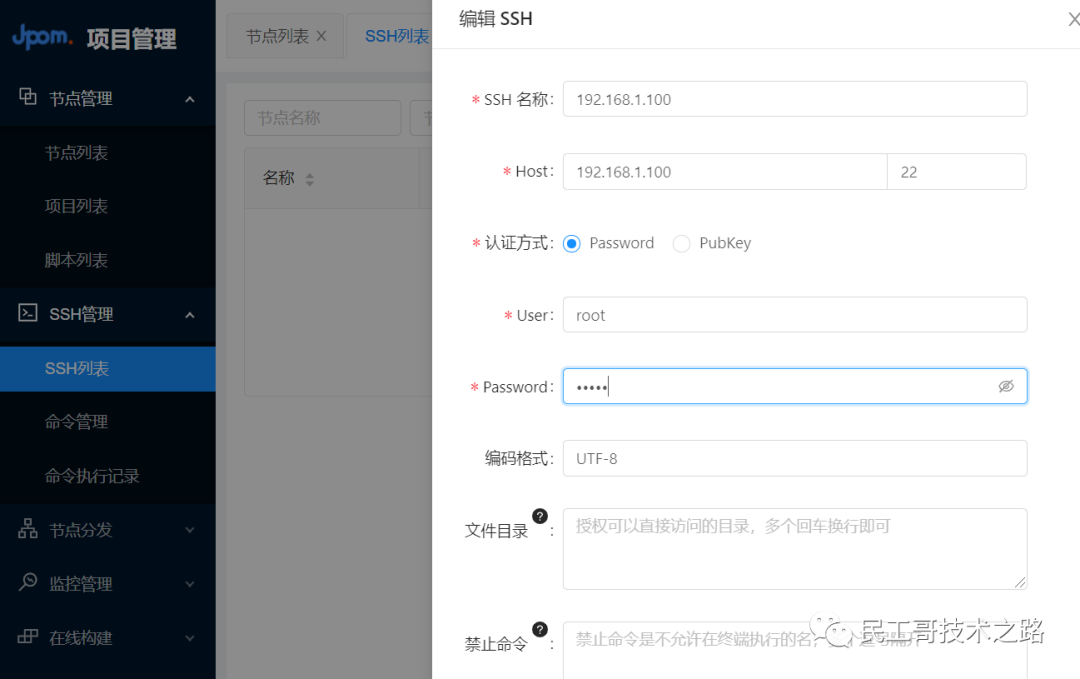
Remote management