Installation of JD K1 eight
I installed it directly through the following command:
1: Run the yum install command and wait for the installation
yum install -y java-1.8.0-openjdk-devel.x86_64
2: Check whether the installation is successful

Installing Rabbitmq
1: Enter the official website to view the version content

2: Go to github and download the corresponding rabbitmq installation package
Or download the installation package through wget
wget https://github.com/rabbitmq/rabbitmq-server/releases/download/v3.8.16/rabbitmq-server-3.8.16-1.el8.noarch.rpm
3: Download erlang package
wget https://github.com/rabbitmq/erlang-rpm/releases/download/v24.0/erlang-24.0-1.el8.x86_64.rpm
4: Download socat package
https://repo.almalinux.org/almalinux/8.3-beta/AppStream/x86_64/os/Packages/socat-1.7.3.3-2.el8.x86_64.rpm
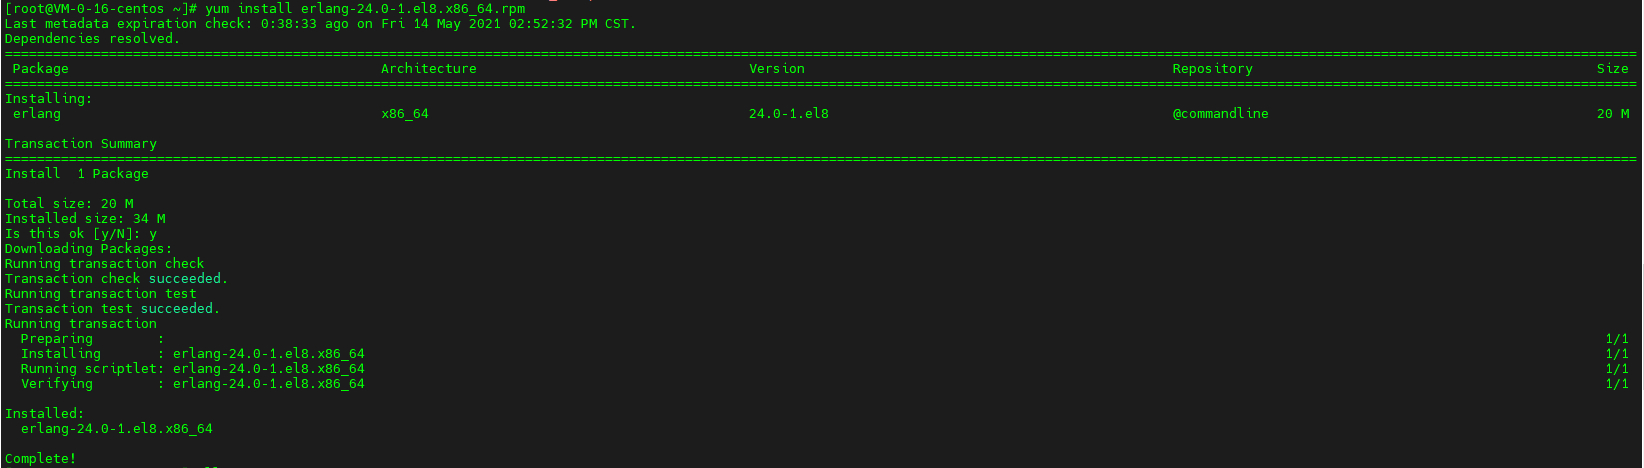
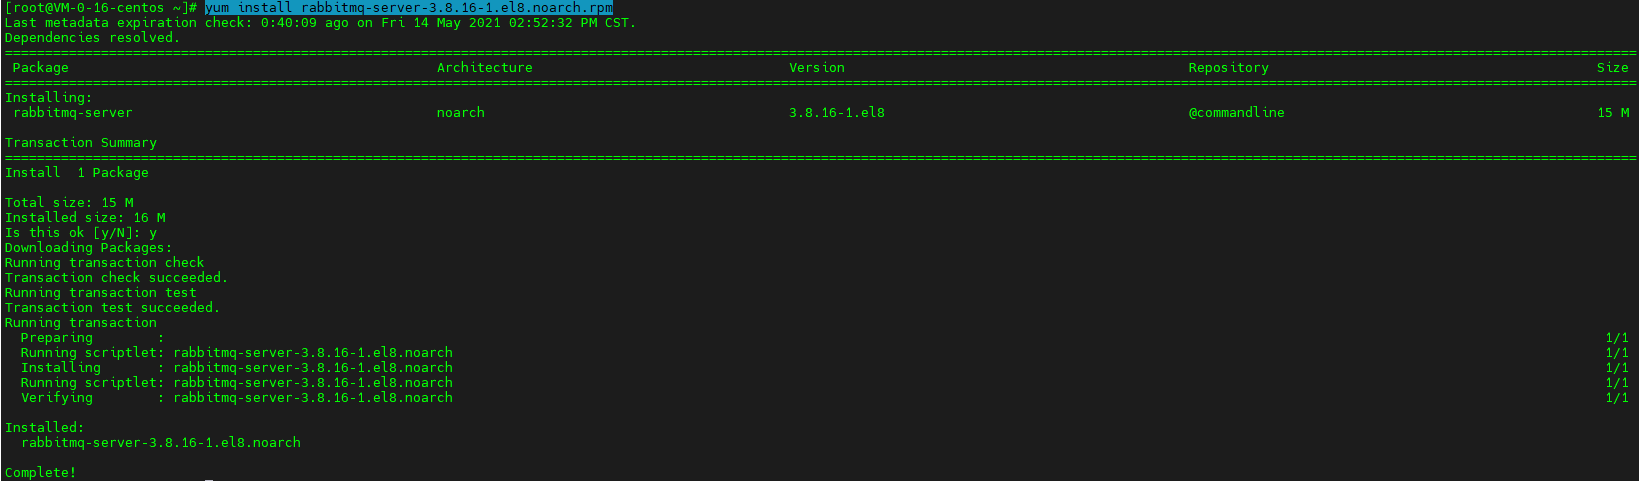
5: Install erlang, socat and rabbitmq server in sequence
yum install erlang-24.0-1.el8.x86_64.rpm
yum install socat-1.7.3.3-2.el8.x86_64.rpm

yum install rabbitmq-server-3.8.16-1.el8.noarch.rpm
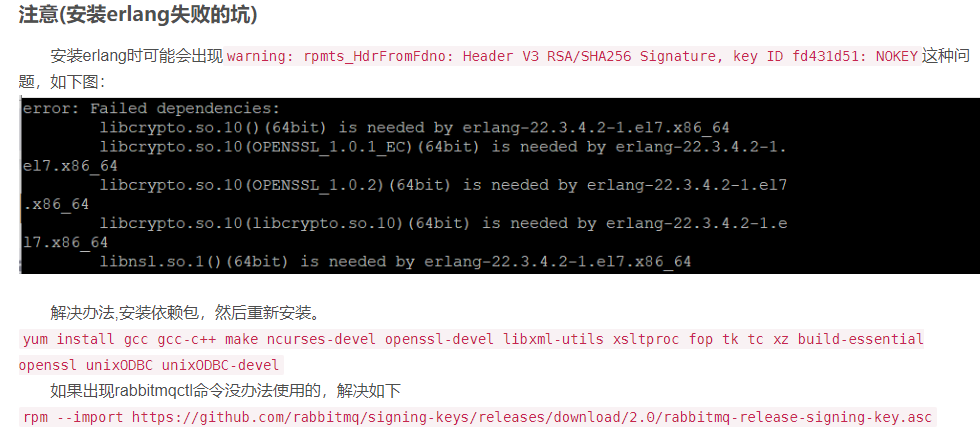
Problems in installing erlang (not encountered, but mentioned by others):
6: Start service
service rabbitmq-server start

7: Open interface management tool
rabbitmq-plugins enable rabbitmq_management

8: The default account admin does not enable remote access, so the new account is authorized
#Add user
#./rabbitmqctl add_user account password
rabbitmqctl add_user admin admin
#Assign a user tag (admin is the name of the newly created account that you want to give administrator permission)
rabbitmqctl set_user_tags admin administrator
#Set permission < enable remote access > (if remote connection is required, such as calling mq in java project, it must be configured, otherwise it cannot be connected to mq. Admin is the name of the account just created to grant remote access permission, and rabbitmq must be run to execute this command)
rabbitmqctl set_permissions -p "/" admin ".*" ".*" ".*"

Login successful
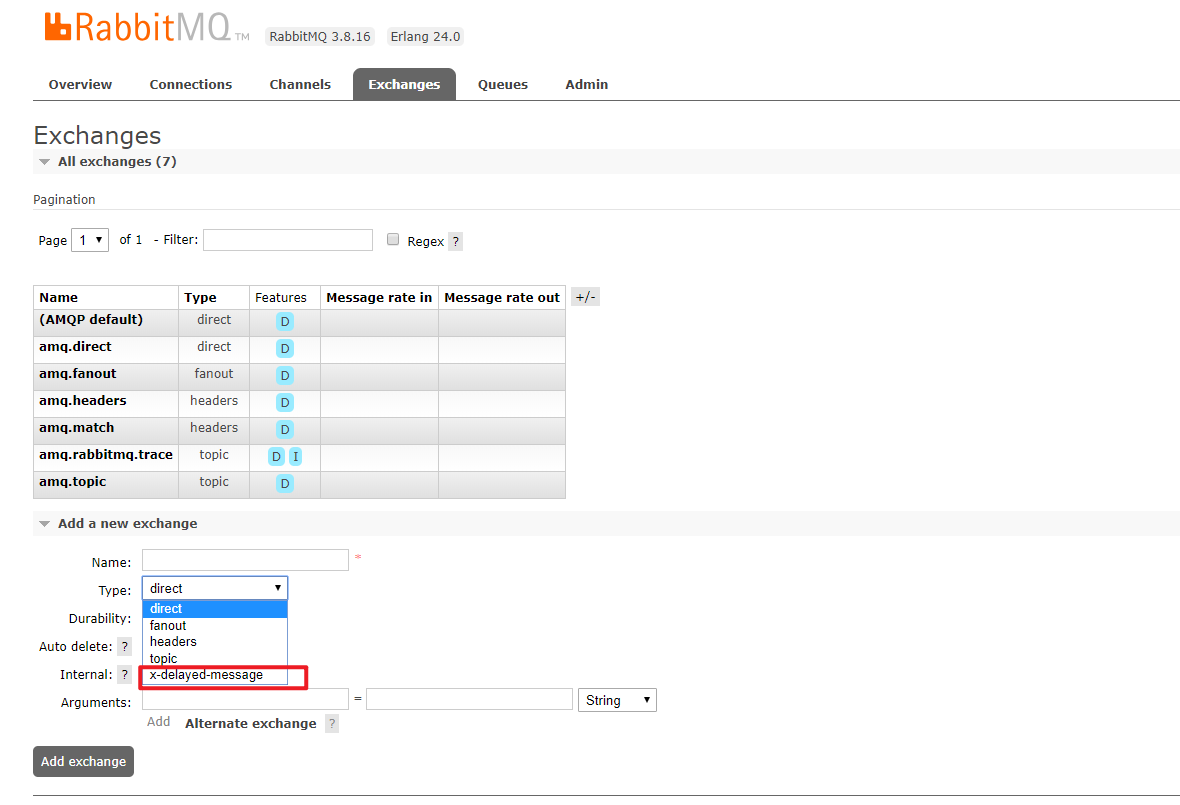
Then install the delay queue plug-in of rabbitmq, rabbitmq official website to view the installation content

You can still download with wget (after downloading, copy it to / usr/lib/rabbitmq/lib/rabbitmq_server-3.8.16/plugins directory, or directly wget in this folder):
wget https://github.com/rabbitmq/rabbitmq-delayed-message-exchange/releases/download/3.8.9/rabbitmq_delayed_message_exchange-3.8.9-0199d11c.ez

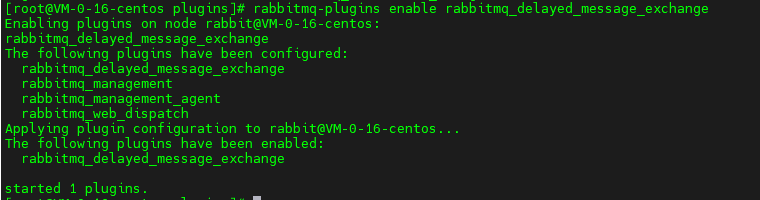
Launch plug-in
rabbitmq-plugins enable rabbitmq_delayed_message_exchange
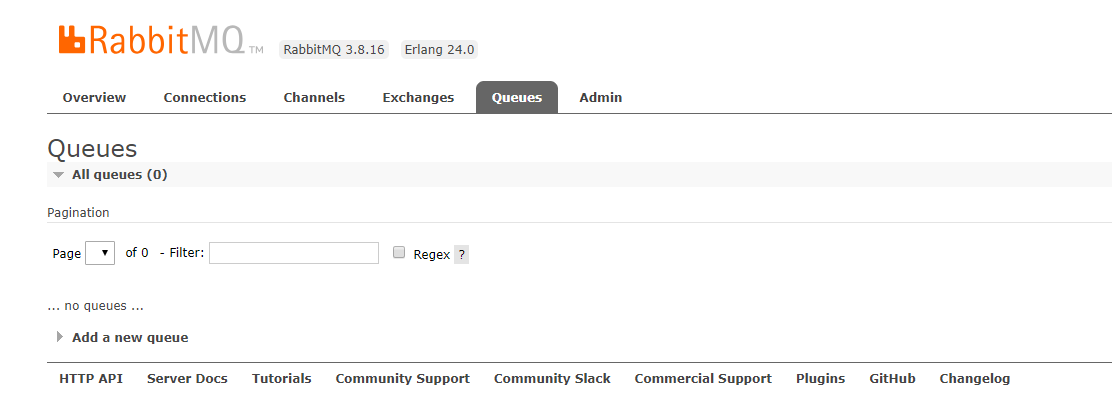
Enter view delay queue already exists (indicates success)
redis installation
1: Download redis installation package
Can go Official website Download,
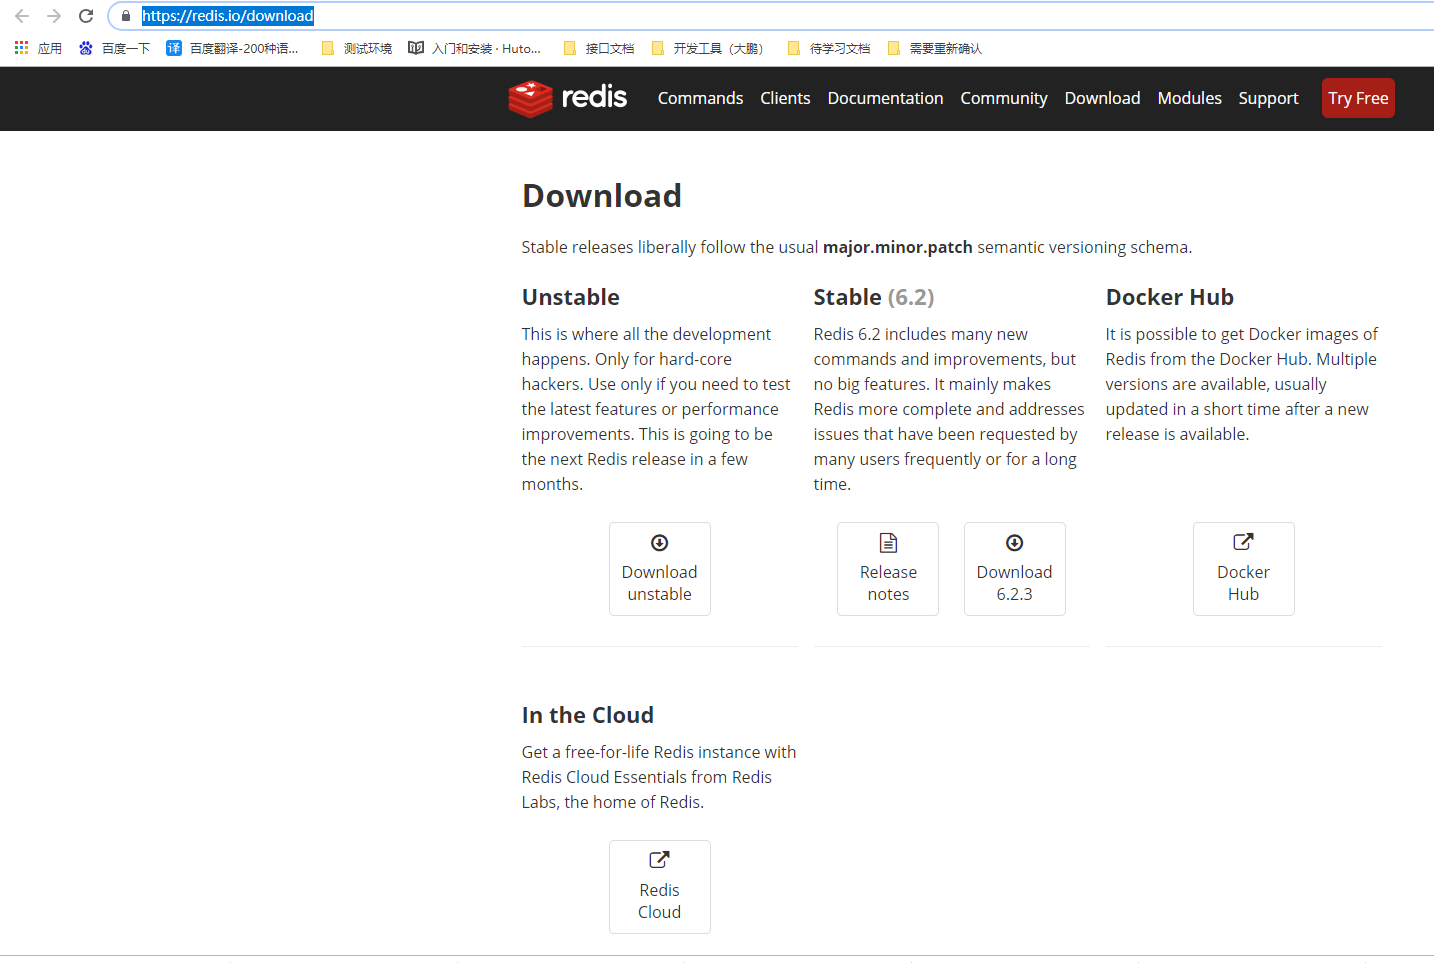
You can also download through wget:
wget http://download.redis.io/releases/redis-5.0.7.tar.gz
decompression
tar -zvxf redis-5.0.7.tar.gz
Move compressed files
mv /root/redis/redis-5.0.7 /usr/local/redis
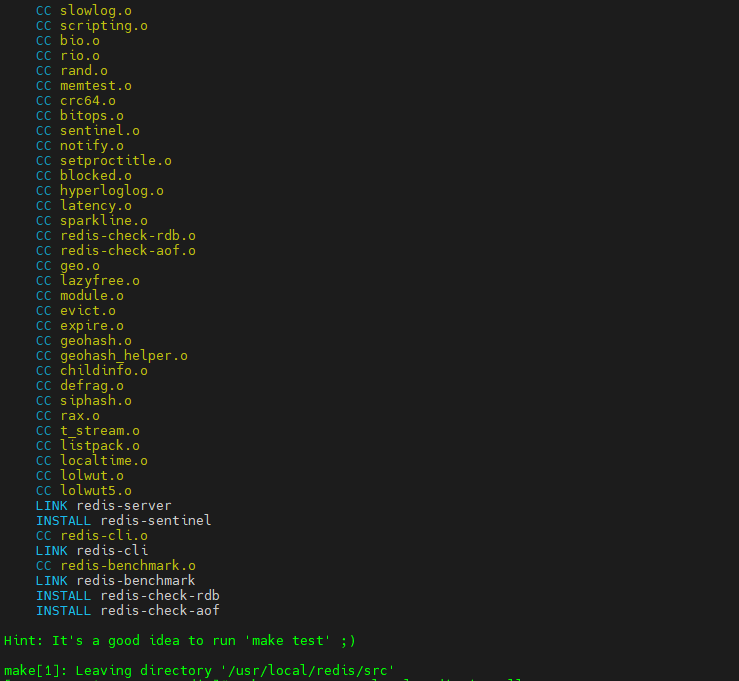
Compile under / usr/local/redis after moving
make
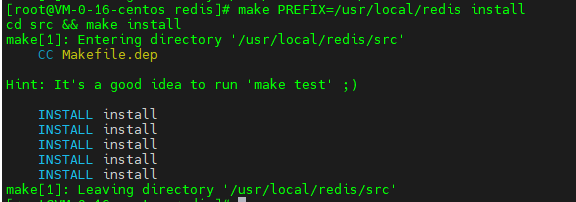
install
make PREFIX=/usr/local/redis install
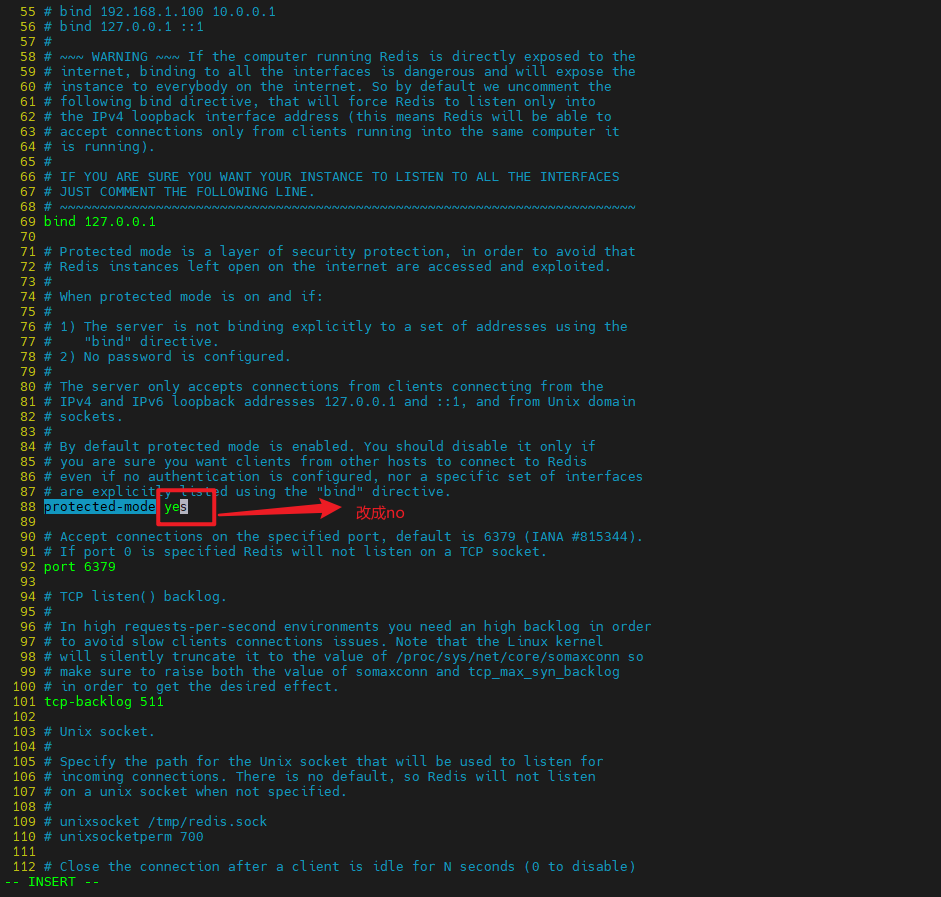
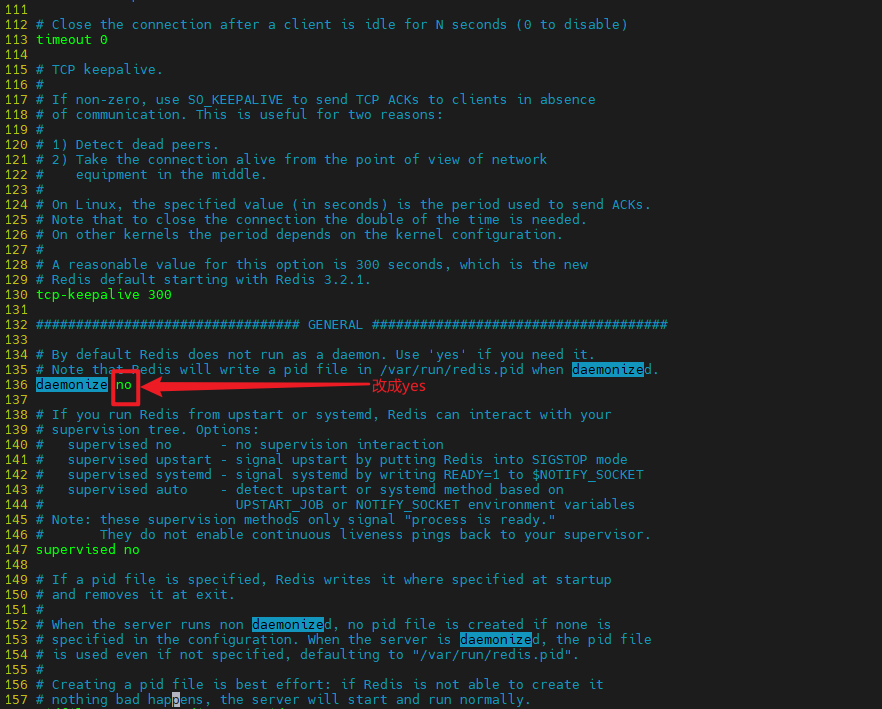
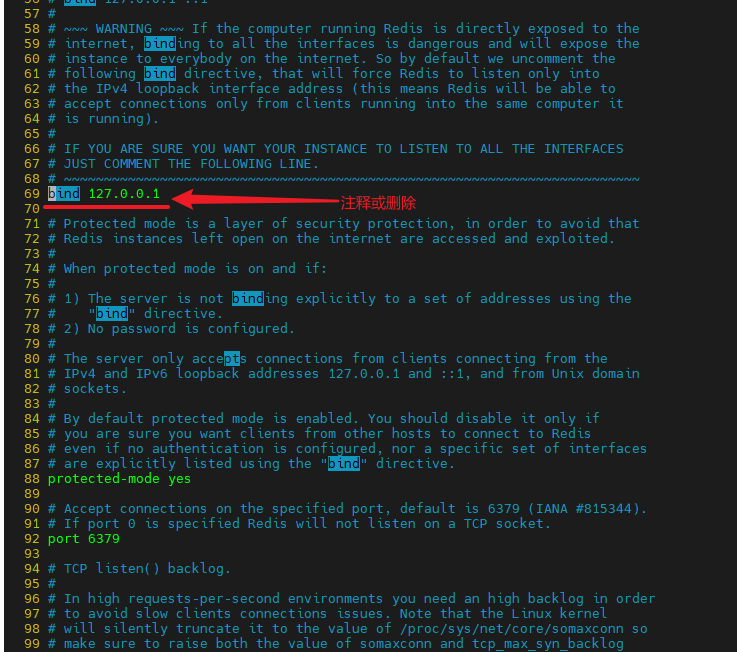
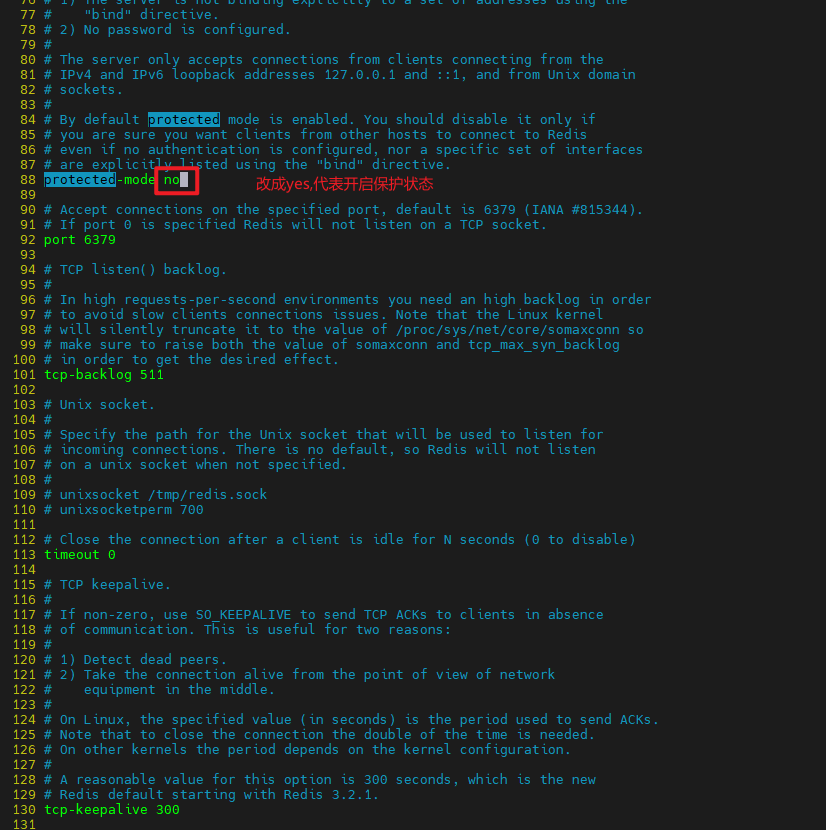
Modify profile
vim /usr/local/redis/redis.conf
The revised contents are as follows:
To set a password is to edit redis Contents of conf file

Start redis:
/usr/local/redis/bin/redis-server /usr/local/redis/redis.conf
Use it here/ Because I'm in the / usr/local/redis/bin directory

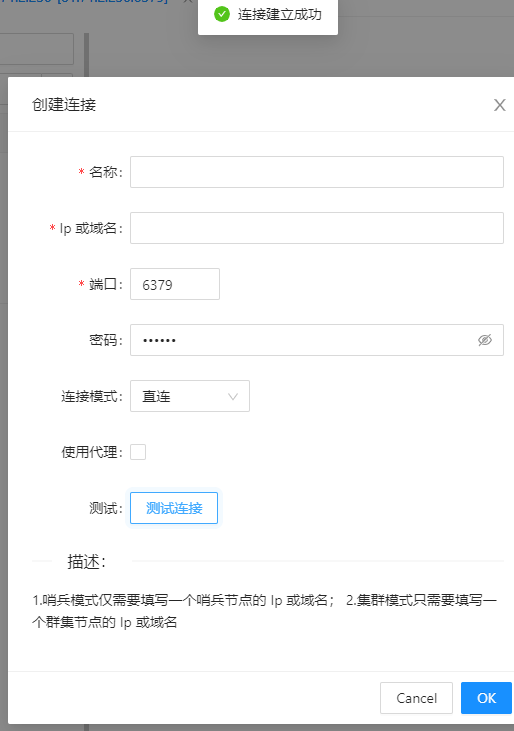
Test, enter the address and password to show that the connection is successful:
nginx installation:
Install dependent packages:
yum -y install gcc zlib zlib-devel pcre-devel openssl openssl-devel
Download nginx installation package
wget http://nginx.org/download/nginx-1.19.10.tar.gz
Unzip file
tar -vxf nginx-1.19.10.tar.gz
Configure the installation information. configure --prefix represents the installation path, -- with HTTP_ ssl_ Module install SSL, -- with http_ stub_ status_ Module to view the client status of nginx
./configure --prefix=/usr/local/nginx --with-http_ssl_module --with-http_stub_status_module
Compile and install nginx
make & make install
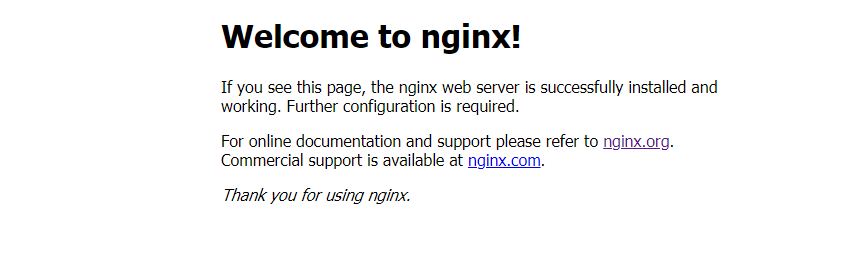
Start nginx: enter the installation location, find the corresponding file and run it. For example, for the above installation, I can also directly use the absolute path to start
/usr/local/nginx/sbin/nginx
After visiting, it's OK