Map and View of core concepts
Map is a container for managing layer and basemap references. View is used to display map layers and handle user interaction, pop-up windows, widgets and map locations. Generally speaking, it can be understood that map is responsible for the management of map data, while view is responsible for the display of map data and the interaction between map and users.
Map introduction
Maps are created by the Map class. The Map object is always passed to a View object. There are two View classes for displaying maps: MapView class for displaying 2D maps and SceneView class for displaying 3D maps.
Create Map
General method
One way to create a map is to create a new instance of the map class and specify a basemap and an optional set of layers.
Basemap and layer types will be described in detail in subsequent chapters.
const myMap = new Map({                // Create a Map object
  basemap: "streets-vector",
  layers: additionalLayers             // Optionally, add additional layers collection
});

const mapView = new MapView({          // The View for the Map object
  map: myMap,
  container: "mapDiv"
});
Through Web Map or Web Scene
The second way to create a map is to load web map (for 2D maps) or web scene (for 3D maps).
Web Map and Web Scene are JSON structures that contain map or scene settings. This includes settings for basemaps, layers, layer styles, pop ups, legends, labels, and so on. They are usually created through the ArcGIS Online map viewer or the ArcGIS Online scene viewer. ArcGIS Online or ArcGIS Enterprise assigns them a unique ID and stores them as portal items.
Example:
https://www.arcgis.com/home/item.html?id=41281c51f9de45edaf1c8ed44bb10e30
-
Create through WebMap
const webMap = new WebMap({ // Define the web map reference portalItem: { id: "41281c51f9de45edaf1c8ed44bb10e30", portal: "https://www.arcgis.com" // Default: The ArcGIS Online Portal } }); const view = new MapView({ map: webMap, // Load the web map container: "viewDiv" }); -
Create through WebScene
const webScene = new WebScene({                    // Define the web scene reference
  portalItem: {
    id: "579f97b2f3b94d4a8e48a5f140a6639b",
    portal: "https://www.arcgis.com"               // Default: The ArcGIS Online Portal
  }
});

const view = new SceneView({                       // Load the web scene
  map: webScene,
  container: "viewDiv"
});
View introduction
There are separate classes for creating views of map and scene: MapView and SceneView classes. MapView displays the 2D view of the map object, and SceneView displays the 3D view.
Create View
To make the map visible, the view object needs a map object and a string that identifies the div element or the id attribute referenced by the div element.
-
Create MapView
const mapView = new MapView({ // Create MapView object map: myMap, container: "mapViewDiv" }); -
Create a SceneView
const sceneView = new SceneView({      // Create SceneView object
  map: myMap,
  container: "sceneViewDiv"
});
Set the visual range of the map
The initial location of MapView and SceneView can be set by setting the center, zoom or scale properties when creating a view.
const view = new MapView({
  center: [ -112, 38 ],          // The center of the map as lon/lat
  zoom: 13                      // Sets the zoom level of detail (LOD) to 13
});
The location of the view can also be updated by updating properties after initialization.
When using SceneView (3D), you can define camera Property to set the position of the observer.
const view = new SceneView({
  camera: {
    position: [
       -122, // lon
         38, // lat
      50000  // elevation in meters
    ],
    heading: 95, // direction the camera is looking
    tilt: 65 // tilt of the camera relative to the ground
  }
});
Animate the view to change position
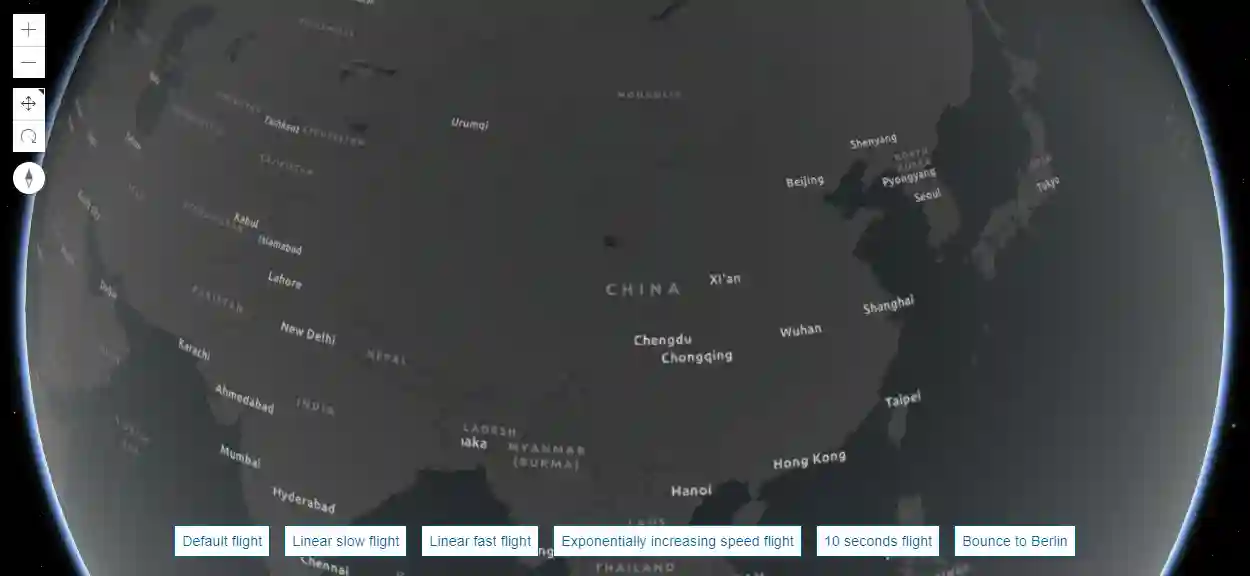
MapView's goTo method also changes the position of the view, but provides additional options to smooth the transition. This technique is often used to "fly" from one location on the surface to another, or zoom in to search results.
The goTo method can accept a Geometry, Graphic, or Viewpoint Object. Other options control the animation effect.
view.goTo({                            // go to point with a custom animation duration
  target: {
      center: [ -114, 39 ]
    }, {
      duration: 5000
  });
});
Effect preview:
Interact with view
View is also responsible for handling user interaction and displaying pop-up windows. View provides multiple event handlers for user interaction, such as mouse click, keyboard input, touch screen interaction, rocker and other input devices.
Example:
When the user clicks the map, the default behavior is to display the pre configured pop-up window in the layer. This behavior can also be implemented manually by code, that is, listening for click events and using the hitTest() method to find the elements clicked by the user.
view.popup.autoOpenEnabled = false;  // Disable the default popup behavior

view.on("click", function(event) { // Listen for the click event
  view.hitTest(event).then(function (hitTestResults){
    // Search for features where the user clicked
    if(hitTestResults.results) {
      view.popup.open({ // open a popup to show some of the results
        location: event.mapPoint,
        title: "Hit Test Results",
        content: hitTestResults.results.length + "Features Found"
      });
    }
  })
});
Add widgets and UI components
View is also a container for adding widgets and HTML Elements. view.ui provides a DefaultUI container to display the default widgets of the view. By using view ui. Add method, you can also add additional widgets and HTML Elements to the view.
Show me how to add a search widget:
  var searchWidget = new Search({
    view: view
  });

  // Add the search widget to the top right corner of the view
  view.ui.add(searchWidget, {
    position: "top-right"
  });