I PIL:Python image processing library
PIL(Python Imaging Library), which provides general image processing functions, has a large number of useful basic image operations, such as image scaling, clipping, rotation, color conversion and so on. The following will give specific examples of some PIL basic image operations.
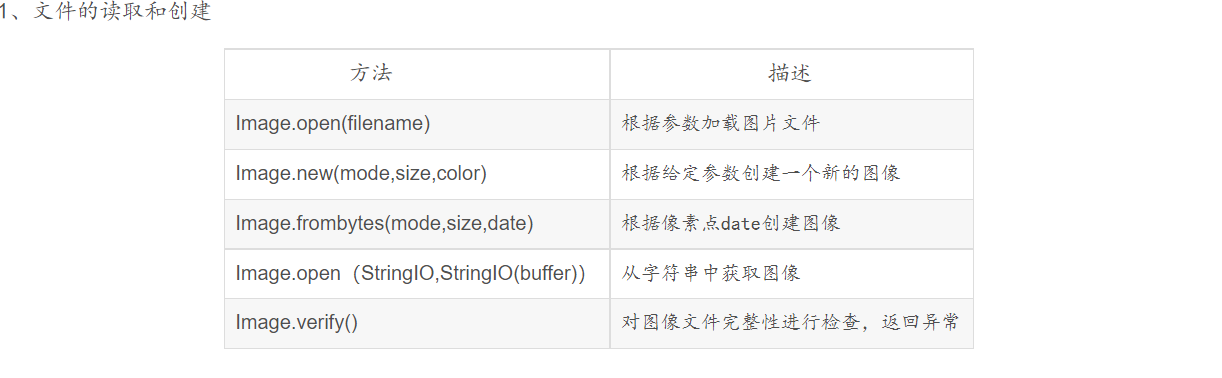
1. Read an image and display it
from PIL import Image
im = Image.open('image/car.png')   #Open original
im.show()        #Show original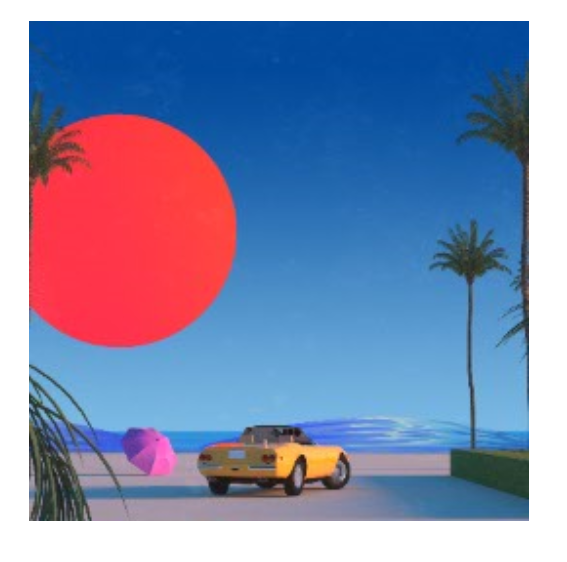
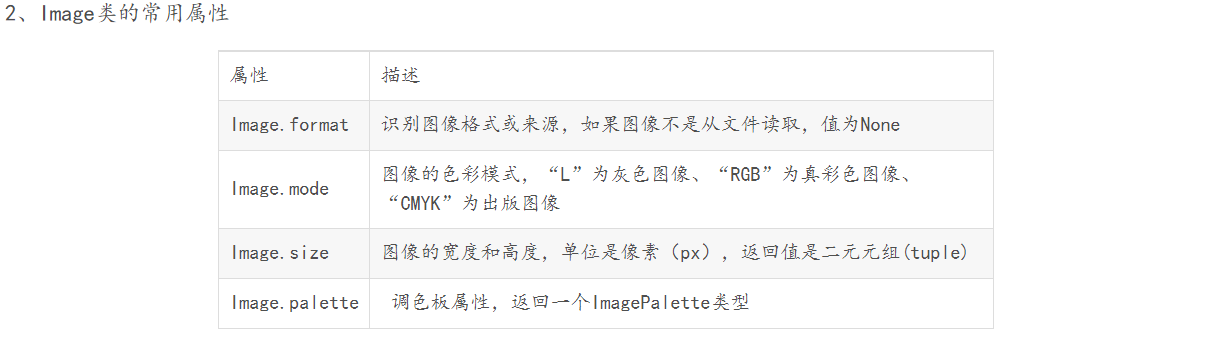
2. Image color conversion method
Conversion mode can be set in convert. Three commonly used modes are introduced: RGB mode: there are changes in three color channels: red (R), green (G) and blue (B); 1 mode: convert to binary image, either black or white. Each pixel is represented by 8 bits, 0 represents black and 255 represents white; L mode: converted to gray image, each pixel is represented by 8 bits, 0 represents black, 255 represents white, and 0 ~ 255 represents different gray levels. It should be noted that in PIL, RGB is converted to L through the following formula: L = R * 299/1000 + G * 587/1000 + B * 114/1000
im_gray = im.convert('L')     #Convert to grayscale image, other modes: im convert('1')  im. convert('RGB')
im_gray.show()         #Display grayscale image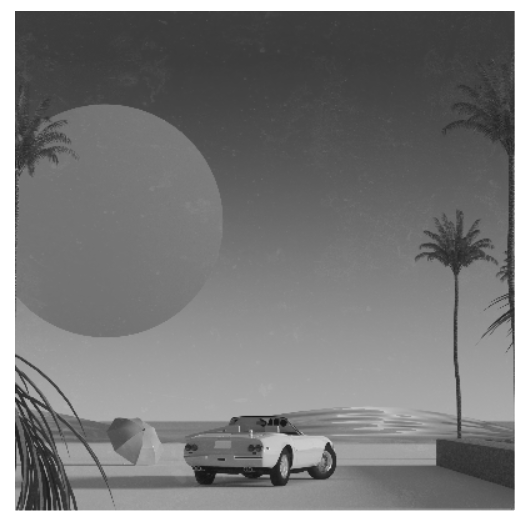
3. Resize and rotate images
im_small = im.resize((200,200))  #Adjust the size of the image. The parameters of this method are tuples
im_small.show()

im_rotate = im.rotate(45)  #Rotate the picture 45 degrees counterclockwise
im_rotate.show()
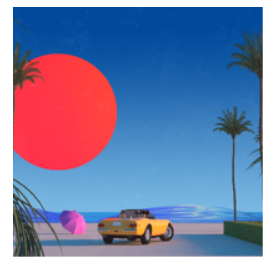

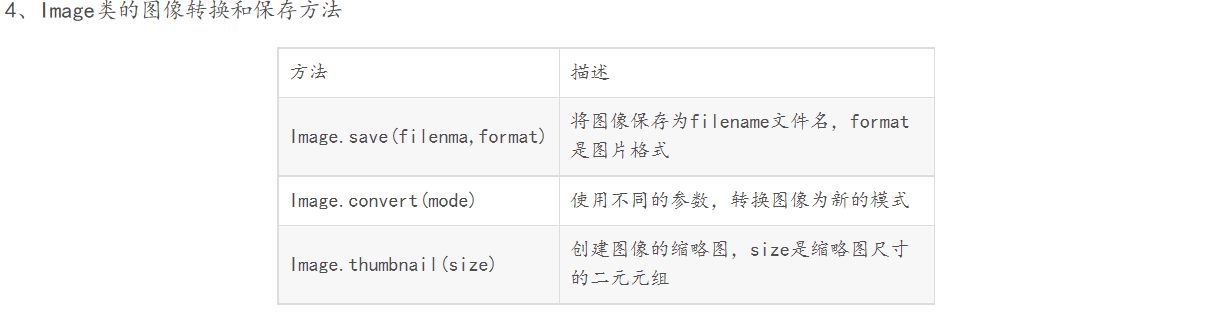
4. Create Thumbnail
im_tn=im.thumbnail((200,200)) #The thumbnail() method accepts a tuple parameter that specifies the size of the generated thumbnail, and then converts the image into a thumbnail that matches the size specified by the tuple parameter.
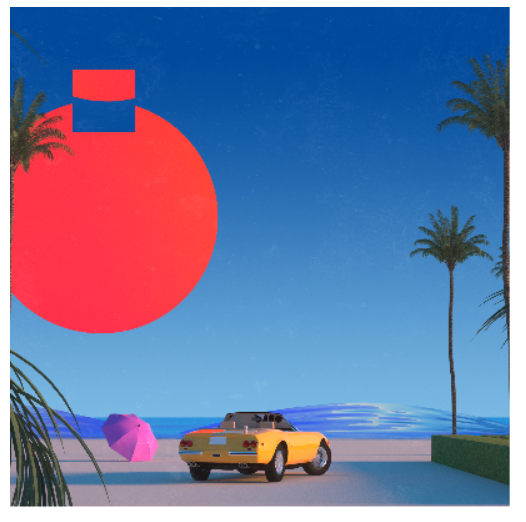
5. Copy and paste image area
Using the crop() method, you can cut out a specified area from an image
box = (50,50,100,100)
region = im.crop(box)
region.show()

The cut area is specified by quadruple. The coordinates of the quadruple are (left, top, right and bottom). Next, we rotate the upper area and put it back with paste()
region = region.transpose(Image.ROTATE_180)
im.paste(region,box)
im.show()
6. Read in an image and save it with the save() method
im = Image.open("image/car.png")
im.save("image/sun.jpg")
II Matplotlib: it is similar in Python MATLAB Drawing tools for
Matplotlib has more powerful drawing function than PIL and can draw high-quality charts. The PyLab interface contains many functions that are convenient for users to create graphics, which are often used in computer vision. Here is a simple chart example.
from PIL import Image
import numpy as np
from pylab import *

#Read image into array
im =array(Image.open("image/car.png"))

#Draw image
imshow(im)

#Drawn points
x =[50,50,200,200]
y =[100,200,300,200]

#Points drawn with red star markers
plot(x,y,'r*')  #'go -' green line with circle mark 'ks:' black dotted line with square mark

#Connect all points
plot(x[:4],y[:4])

#The axis is not displayed
#axis('off')

#Add a title to display the drawn image
title('sun.png')
show()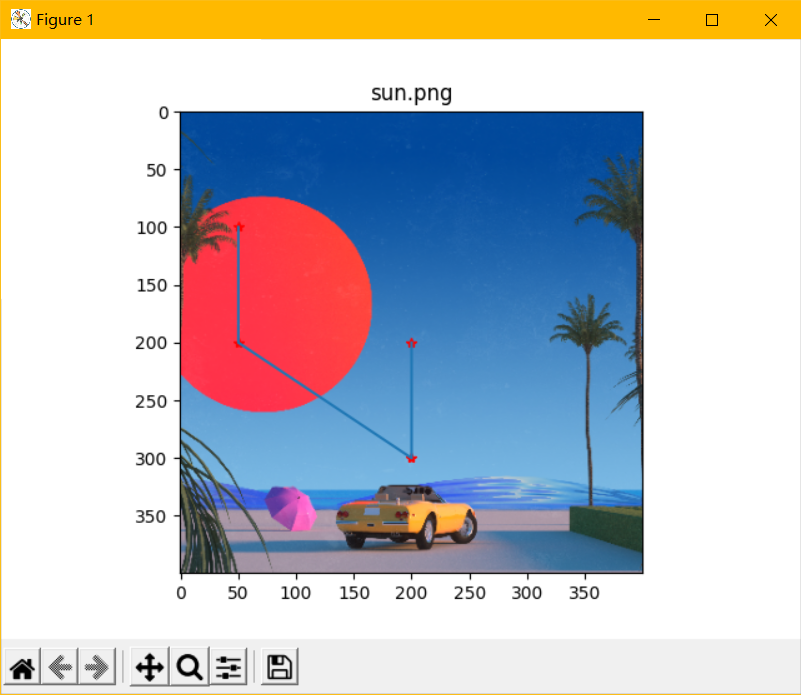
1. Draw image outline and histogram
Because the contour of the image needs to apply the same threshold to the pixel value of each coordinate [x,y], the image needs to be grayed first
from PIL import Image
import numpy as np
from pylab import *

#Read image into array
im =array(Image.open("image/car.png").convert('L'))

#Create a new image
figure()

#Do not use color information
gray()

#Displays the outline image in the upper left corner of the origin
contour(im,origin='image')
axis('equal')
axis('off')
show()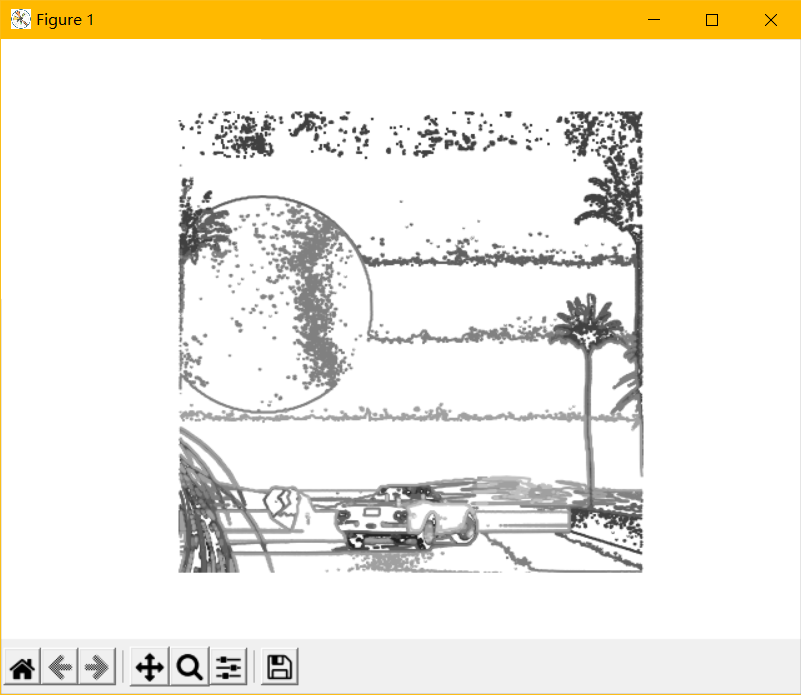
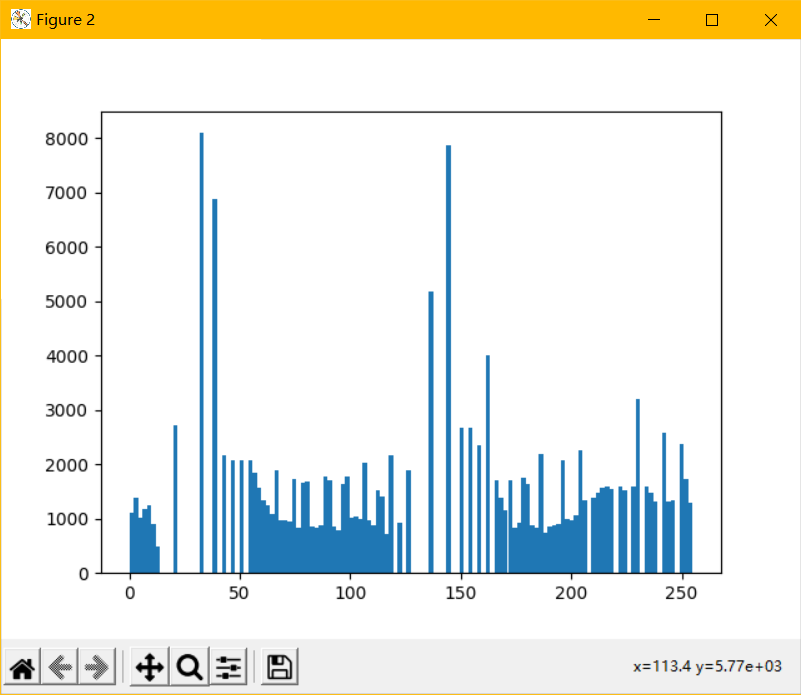
The histogram of the image is used to represent the distribution of the pixel value of the image and can be drawn with hist() function. It should be noted that hist() function only accepts one-dimensional array as input, so the input gray image must be flattened. Here, the flatten() method is used for flattening, and the flatten() method can convert any array into one-dimensional array according to the row priority criterion.
from PIL import Image
import numpy as np
from pylab import *
im =array(Image.open("image/car.png").convert('L'))
figure()
hist(im.flatten(),128)
show() 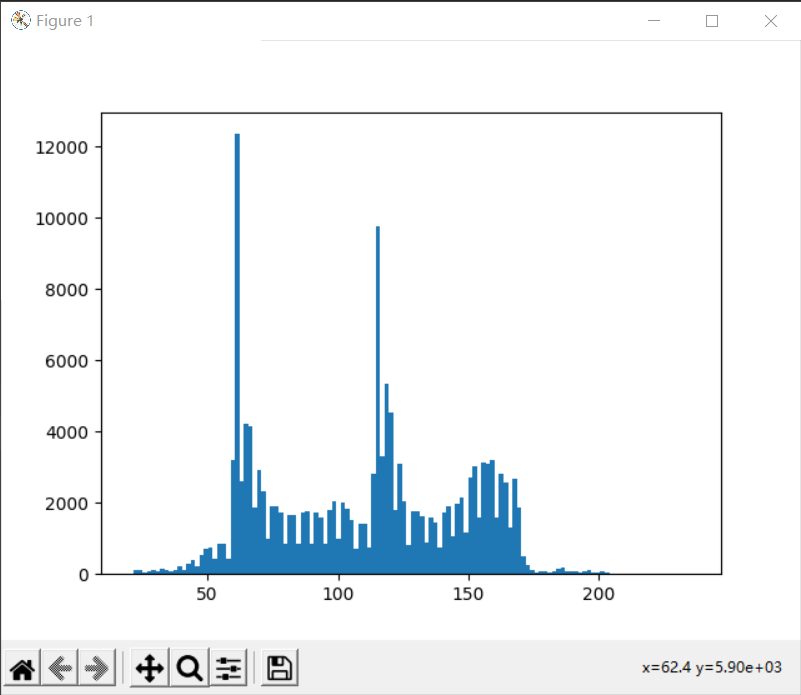
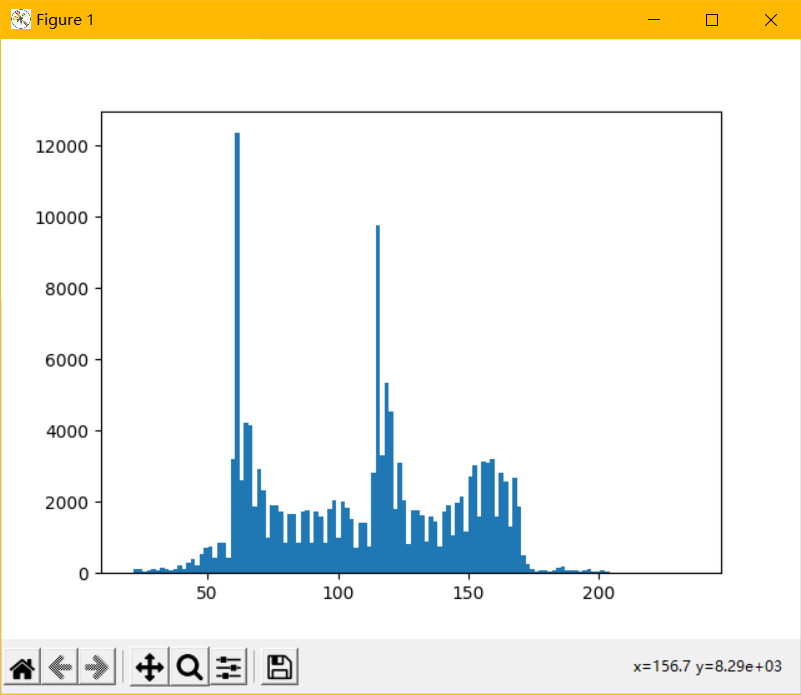
2. Histogram equalization
Histogram equalization is a simple and effective image enhancement technology. It changes the gray level of each pixel in the image by changing the histogram of the image. It is mainly used to enhance the contrast of the image with small dynamic range. Because the gray distribution of the original image may be concentrated in a narrow range, the image is not clear enough. For example, the gray level of an overexposed image is concentrated in the high brightness range, while underexposure will concentrate the gray level of the image in the low brightness range. Using histogram equalization, the histogram of the original image can be transformed into the form of uniform distribution (equalization), which increases the dynamic range of gray value difference between pixels, so as to enhance the overall contrast of the image. In other words, the basic principle of histogram equalization is to widen the gray value with more pixels in the image (i.e. the gray value that plays a major role in the picture), and merge the gray value with less pixels (i.e. the gray value that does not play a major role in the picture), so as to increase the contrast, make the image clear and achieve the purpose of enhancement.
from PIL import Image
import numpy as np
from pylab import *
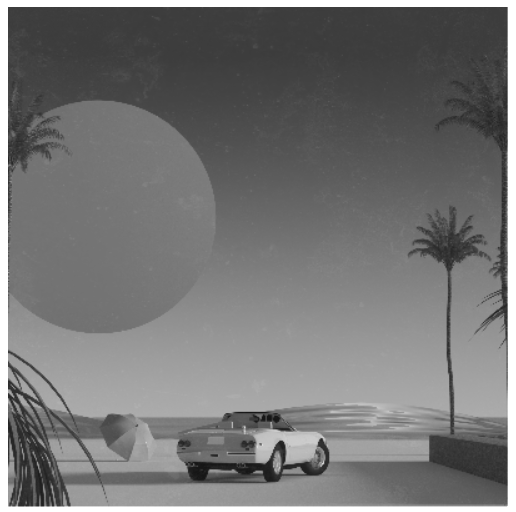
#Show original
im1=Image.open("image/car.png").convert('L')
im1.show()
im =array(Image.open("image/car.png").convert('L'))
#Calculate image histogram
figure(1)
hist(im.flatten(),128)
#show()
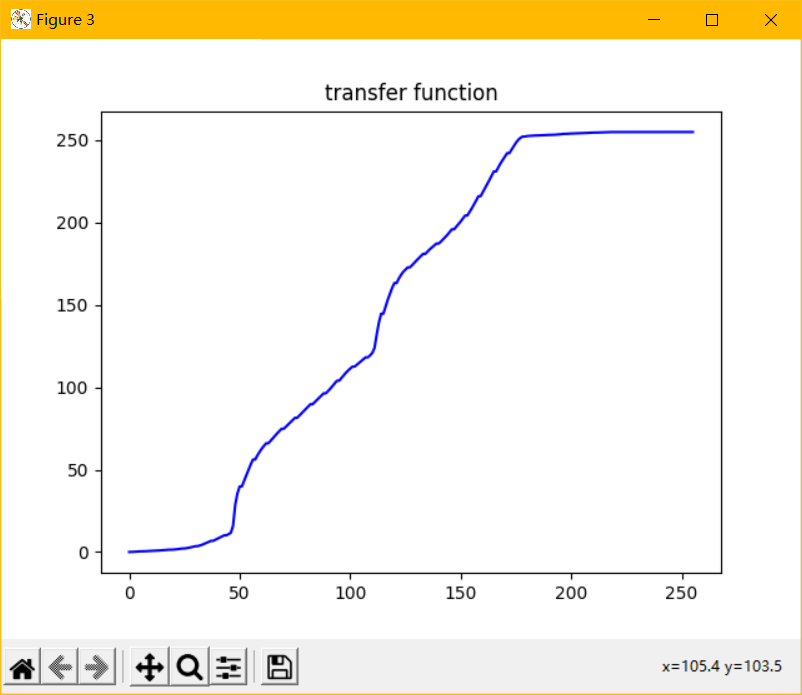
imhist,bins=histogram(im.flatten(),256)
cdf=imhist.cumsum() #Cumulative distribution function
cdf=255*cdf/cdf[-1] #normalization
#The linear interpolation of the cumulative distribution function is used to calculate the new pixel value
im2=interp(im.flatten(),bins[:-1],cdf)
figure(2)
hist(im2,128)
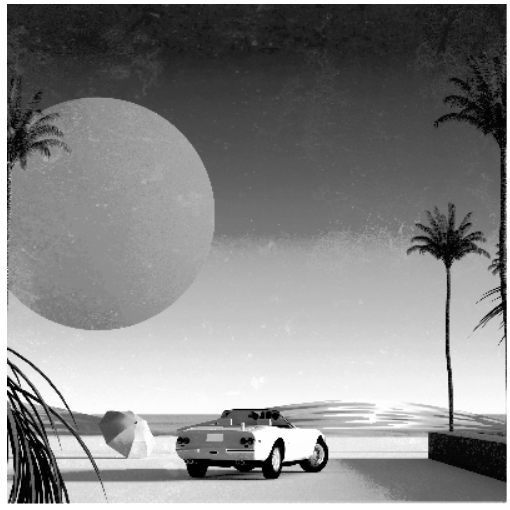
img = im2.reshape(im.shape)
img = Image.fromarray(img)
img.show()
figure(3)
plot(cdf, color = 'b')
title("transfer function")
show()
Histogram equalization histogram of original image
Original image # equalization image # transformation function
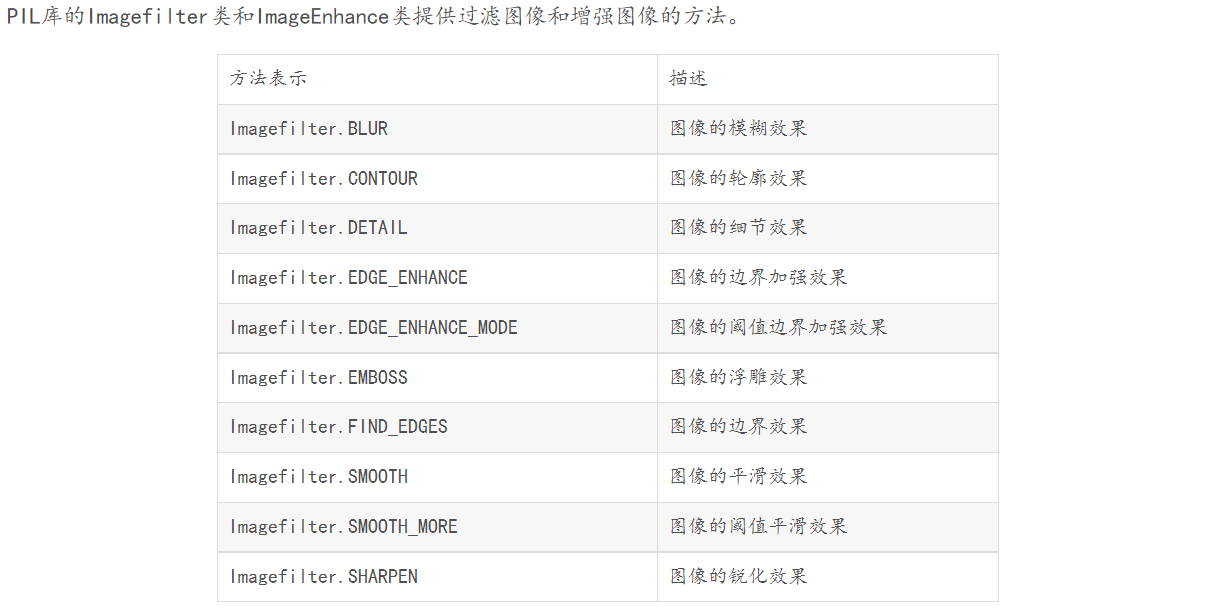
3. Filtering of PIL_ ImageFilter
In the current PIL version, the ImageFilter module supports ten types of filters:
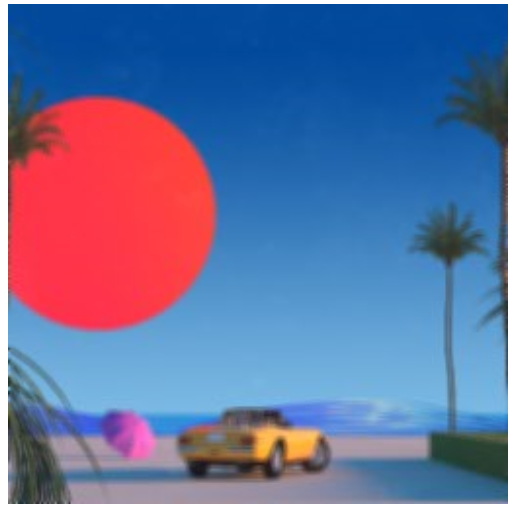
1. Blurr fuzzy filtering
from PIL import Image
from PIL import ImageFilter
im=Image.open("image/car.png")
im.show()
img= im.filter(ImageFilter.BLUR)
img.show()
Original drawing
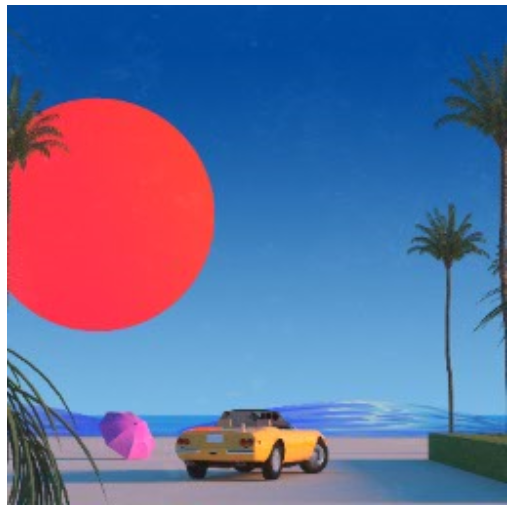
Image after fuzzy filtering
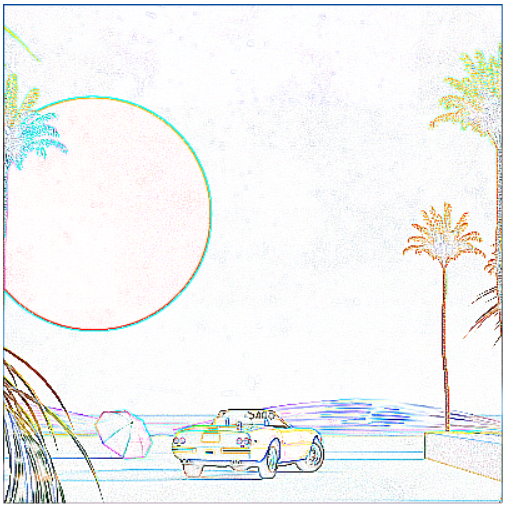
2.CONTOUR filter extracts all the contour information in the image
from PIL import Image
from PIL import ImageFilter
im=Image.open("image/car.png")
im.show()
img= im.filter(ImageFilter.CONTOUR)
img.show()
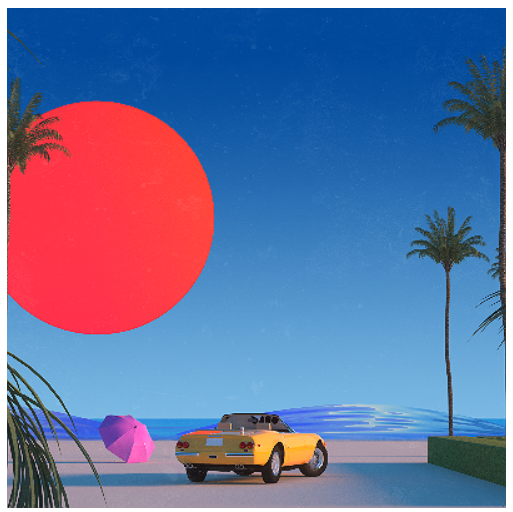
3.DETAIL is a detail enhancement filter, which will make the details in the image more obvious.
from PIL import Image
from PIL import ImageFilter
im=Image.open("image/car.png")
im.show()
img= im.filter(ImageFilter.DETAIL)
img.show()
4.EDGE_ENHANCE is edge enhancement filtering
from PIL import Image
from PIL import ImageFilter
im=Image.open("image/car.png")
img= im.filter(ImageFilter.EDGE_ENHANCE)
img.show()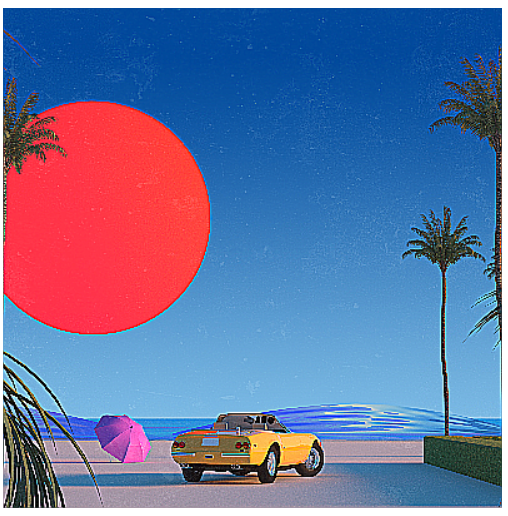
5.EDGE_ENHANCE_MORE is a depth edge enhancement filter, which will make the edge part of the image more obvious
from PIL import Image
from PIL import ImageFilter
im=Image.open("image/car.png")
img= im.filter(ImageFilter.EDGE_ENHANCE_MORE)
img.show()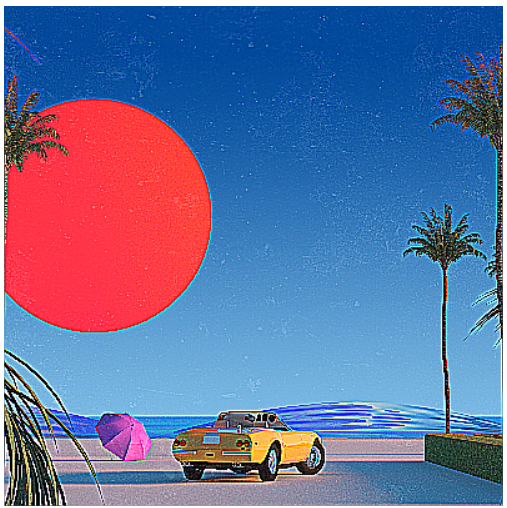
6.EMBOSS is relief filtering, which will make the image show relief effect
from PIL import Image
from PIL import ImageFilter
im=Image.open("image/car.png").convert('L')
img= im.filter(ImageFilter.EMBOSS)
img.show()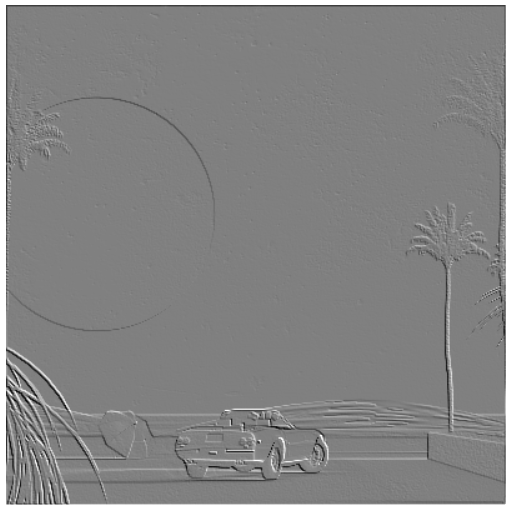
7.FIND_EDGES is a filter for finding edge information, which will find out the edge information in the image
from PIL import Image
from PIL import ImageFilter
im=Image.open("image/car.png").convert('L')
img= im.filter(ImageFilter.FIND_EDGES)
img.show()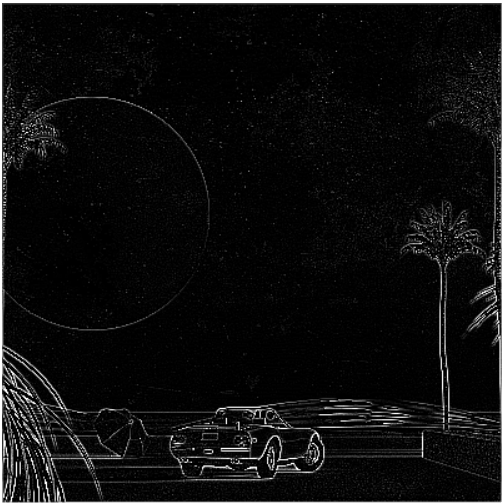
8.SMOOTH is a smooth filter, which highlights the wide area, low-frequency components and trunk parts of the image, or suppresses the image noise and interference high-frequency components, so as to make the image brightness gradually change, reduce the abrupt gradient and improve the image quality
from PIL import Image
from PIL import ImageFilter
im=Image.open("image/car.png")
img= im.filter(ImageFilter.SMOOTH)
img.show() 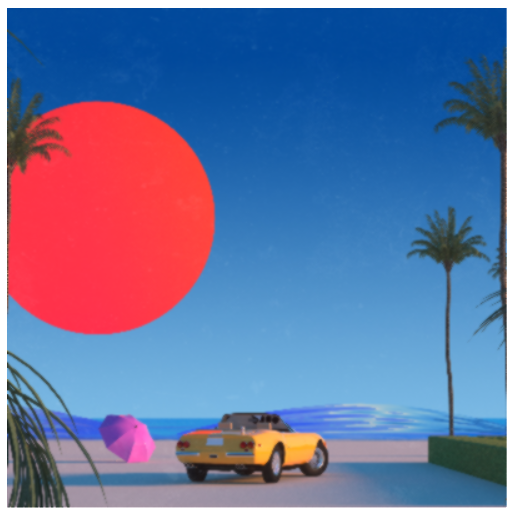
9.SMOOTH_MORE is a depth smoothing filter, which will make the image smoother
from PIL import Image
from PIL import ImageFilter
im=Image.open("image/car.png")
img= im.filter(ImageFilter.SMOOTH_MORE)
img.show()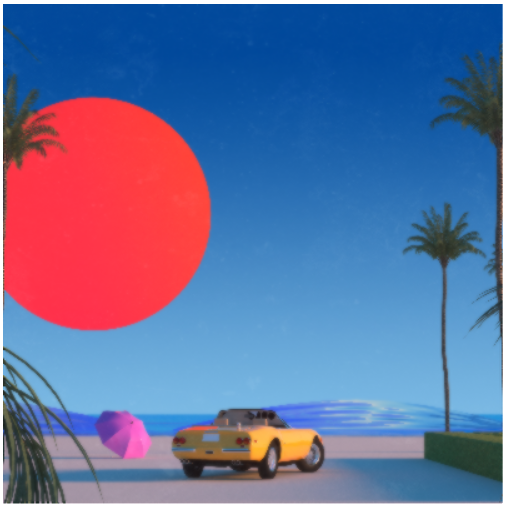
10.SHARPEN is sharpening filtering, which compensates the contour of the image, enhances the edge of the image and the part of gray jump, and makes the image clear.
from PIL import Image
from PIL import ImageFilter
im=Image.open("image/car.png")
img= im.filter(ImageFilter.SHARPEN)
img.show() 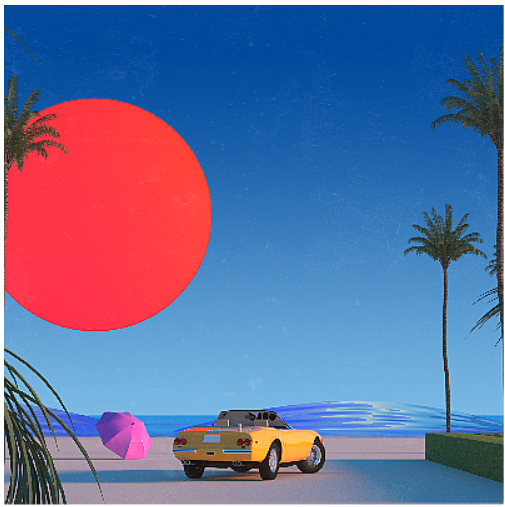
summary
PIL library can meet the functional requirements of image archiving and image processing:
Image archiving: batch processing of images, generation of image preview, image format conversion, etc;
Image processing: basic image processing, pixel processing, color processing, etc.
In PIL, any Image file can use Image object to represent the Image reading and creation methods of Image class.