Recently, I took over a job of adjusting the project framework. I was assigned to build the nacos registry; nacos registry is an open source component of alibaba. It provides the registry and configuration center functions of spring cloud alibaba microservice architecture, and provides a more intuitive visual interface; This article will introduce how to build a nacos cluster
1. Environmental preparation
Linux system: CentOS7-2009
Three hosts:
192.168.64.70
192.168.64.71
192.168.64.72
nacos: nacos-2.0.2
MySQL: MySQL8.0.15;
Address: 192.168.64.71:3306
Nacos download address: https://github.com/alibaba/nacos/tags
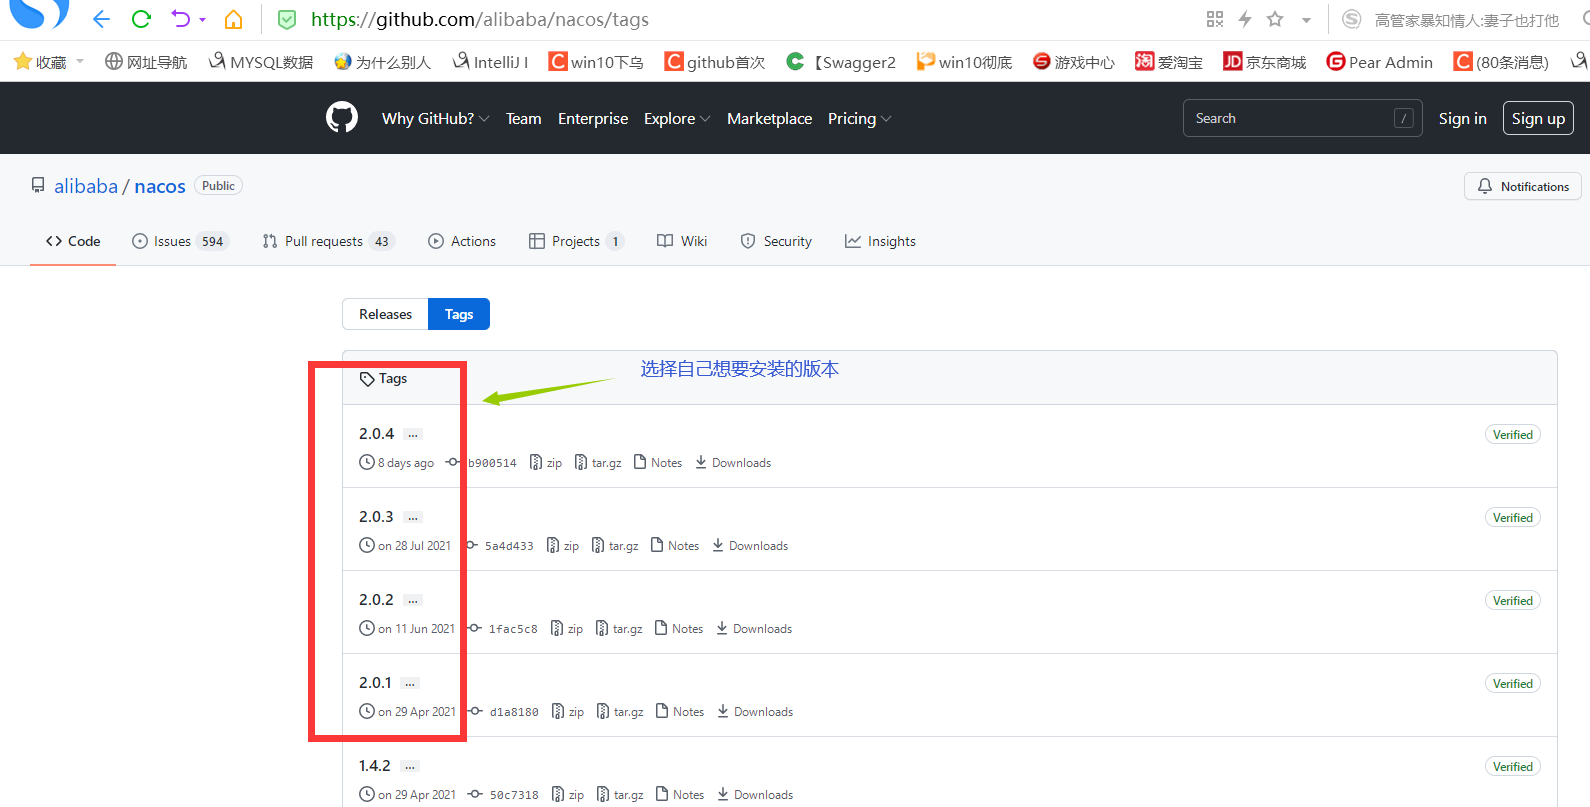
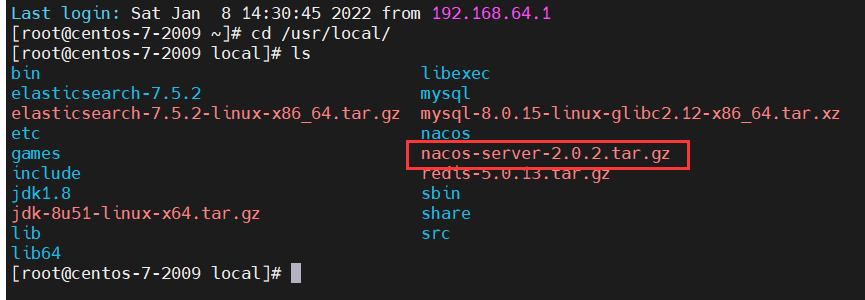
After downloading, upload it to the Linux server. Here, take / usr/local / path as an example
2. nacos cluster construction
Upload the nacos installation package and perform the following operations
# Enter the nacos upload directory
cd /usr/local/
# Unzip the installation package
tar -zxvf nacos-server-2.0.2.tar.gz
# After decompression, enter the nacos configuration directory
cd nacos/conf/
# Copy a copy of cluster Conf.example and name it cluster conf
mv cluster.conf.example cluster.conf

The work of nacos cluster mode is to store all registration or configuration information in the database, and each nacos node also obtains each user registration and configuration information from the database; Therefore, we need to prepare another database server. Here, take mysql as an example;
Under the conf folder of the nacos installation directory, there is a nacos mysql SQL script file. This script is a nacos database table structure script. We need to import it to the prepared MySQL server

After the mysql server is ready, modify the cluster in the conf directory Conf and application Properties configuration
Each server should be changed and consistent
# edit
vim cluster.conf
# Add the following configuration
192.168.64.70:8848		#These addresses are the addresses of all servers where nacos is installed and the port numbers set
192.168.64.71:8848
192.168.64.72:8848
# edit
vim application.properties
# Modify the following configurations
# Configure nacos to access uri (usually by default)
server.servlet.contextPath=/nacos
# Configure the nacos access port (generally 8848 by default)
server.port=8848
# Specify the database type (mysql is specified here)
spring.datasource.platform=mysql
# Number of database instances
db.num=1
# Database access address (i.e. prepared database server address)
db.url.0=jdbc:mysql://192.168.64.71:3306/nacos_config?characterEncoding=utf8&connectTimeout=1000&socketTimeout=3000&autoReconnect=true&useUnicode=true&useSSL=false&serverTimezone=UTC
# Database access user name
db.user.0=root
# Database access password
db.password.0=xiang@2021
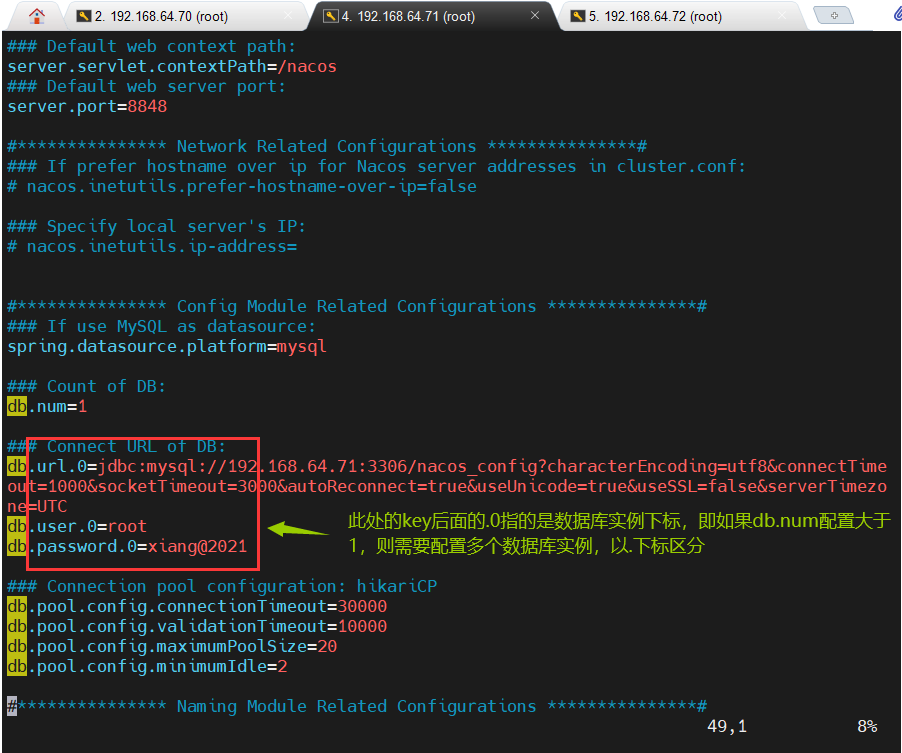
At this point, nacos is installed and each machine is started according to the following command
# get into
cd /usr/local/nacos/bin/
# Start nacos
sh startup.sh
The general command to start nacos is as follows:
- sh startup.sh -m mode: the mode has two options, standalone / cluster, which respectively represents the startup of single machine and cluster mode; The stand-alone mode does not need to rely on the database. The cluster mode needs to rely on the database. The default is the cluster mode
After successful startup, access nacos through ip: port number / nacos (pay attention to turn off the firewall of physical machine and virtual machine first). The following interface indicates successful startup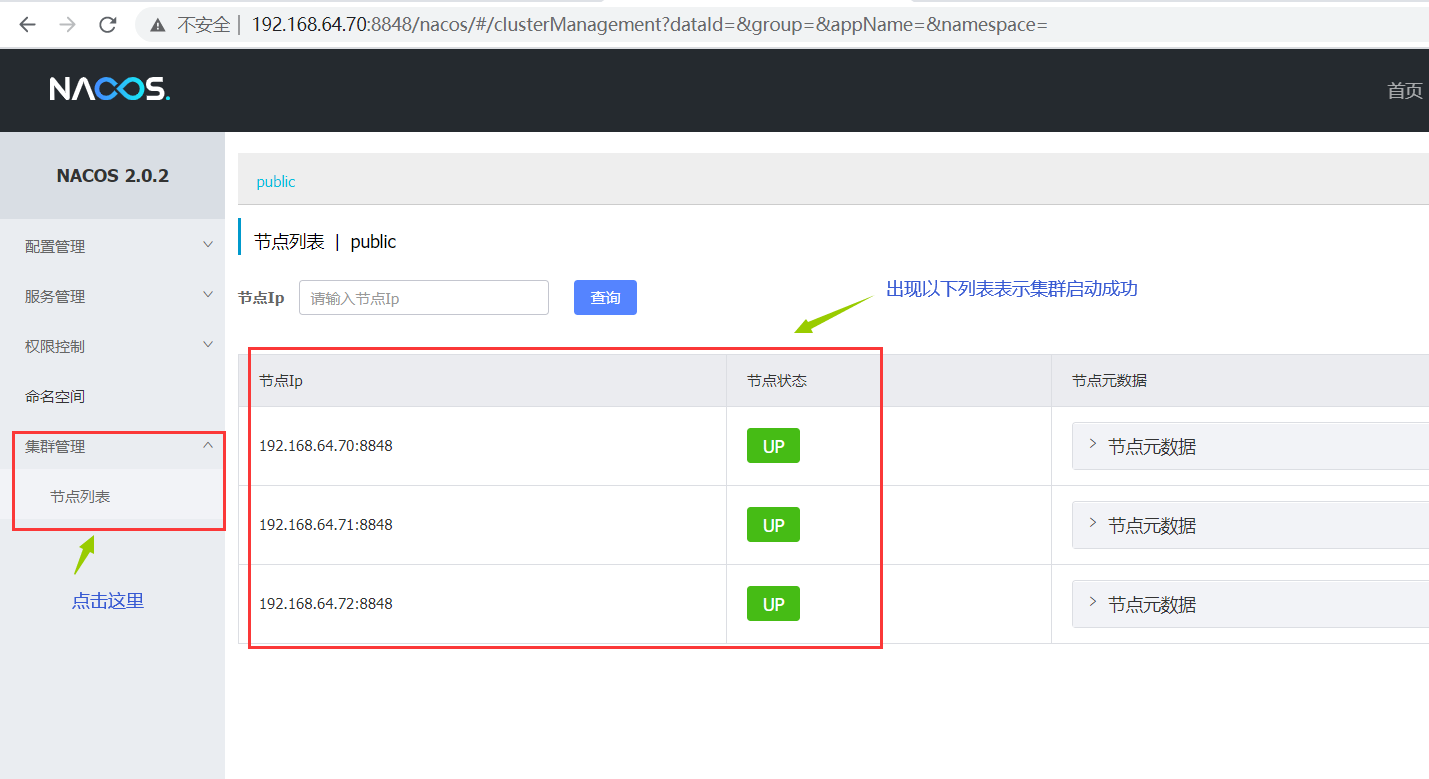
3. nacos is set to start automatically
After nacos is installed, it needs to be turned on and off manually. You can set the startup and self startup, and execute the following commands
# Edit startup script
vim /lib/systemd/system/nacos.service
# Add the following
[Unit]
Description=nacos
After=network.target

[Service]
Type=forking
Environment="JAVA_HOME=/usr/local/jdk1.8"
# - m standalone/cluster can be added after startup to indicate that it is started in stand-alone / cluster mode. The default is cluster
ExecStart=/usr/local/nacos/bin/startup.sh
ExecReload=/usr/local/nacos/bin/shutdown.sh
ExecStop=/usr/local/nacos/bin/shutdown.sh
PrivateTmp=true

[Install]
WantedBy=multi-user.target
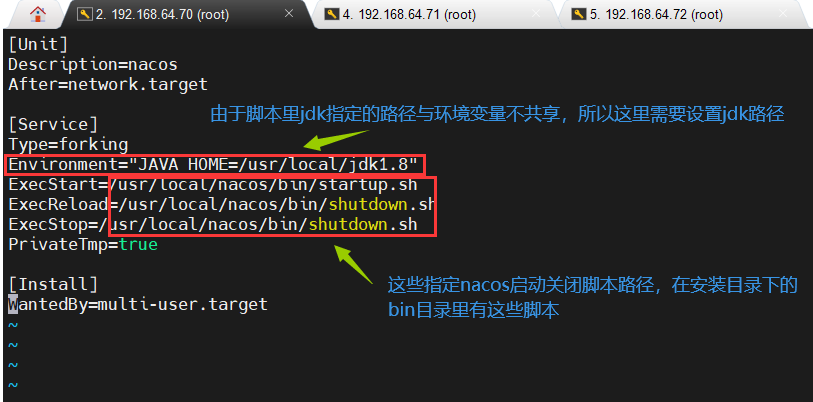
After configuration, start the service and execute the following command
#Reload service
systemctl daemon-reload
#Enable service
systemctl enable nacos.service
#Start service
systemctl start nacos.service