http://xybin.top/posts/9373.html
Part I: server side operation
1. Install git and nginx
yum install -y nginx git
2. Add a git user
#Add user
useradd git
#Set password
passwd git

# Configure sudo permissions for git users
chmod 740 /etc/sudoers
#Edit sudoers profile
vim /etc/sudoers
# Find root ALL=(ALL) ALL and add a line below it, usually at the bottom of the file
git ALL=(ALL) ALL

chmod 400 /etc/sudoers
3. Add ssh key to git user
su - git
mkdir -p ~/.ssh
touch ~/.ssh/authorized_keys
chmod 600 ~/.ssh/authorzied_keys
chmod 700 ~/.ssh
vim ~/.ssh/authorized_keys    #Paste the ssh key in
4. Create git warehouse to realize automatic deployment
Create git repository and use git hooks for automatic deployment
sudo mkdir -p /var/repo    #Create a new directory. This is the location of git warehouse
sudo mkdir -p /var/www/hexo
cd /var/repo  #Go to the folder of git warehouse
sudo git init --bare blog.git #Create a repository called blog
sudo vim /var/repo/blog.git/hooks/post-update
The internal of post update is as follows:
#!/bin/bash
git --work-tree=/var/www/hexo --git-dir=/var/repo/blog.git checkout -f
Authorize post update
cd /var/repo/blog.git/hooks/
sudo chown -R git:git /var/repo/
sudo chown -R git:git /var/www/hexo
sudo chmod +x post-update  #Give it executable permission
5. Configure nginx
cd /etc/nginx/conf.d/
vim blog.conf
blog. The contents of conf are as follows:
server {
    listen    80 default_server;
    listen    [::] default_server;
    server_name    127.0.0.1;#You can write your own domain name
    root    /var/www/hexo;
}
Check nginx syntax and overload nginx:
nginx -t
nginx: the configuration file /etc/nginx/nginx.conf syntax is ok
nginx: configuration file /etc/nginx/nginx.conf test is successful
nginx -s reload
6. Modify the default shell environment of git users
vim /etc/passwd
#Modify last line
#Change / bin/bash to / usr / bin / git shell

git:x:1002:1002::/home/git:/usr/bin/git-shell
7. Resolve domain name
Go to the supplier console where you purchased the domain name and resolve the domain name to your own server.
Part II: client operation
1. Install Git
windows: Download git from git's official website. After downloading git, there will be a Git Bash command line tool.
The download speed of the official website is slow. You can use image download
linux: it's very simple for linux. It only needs one line of code
sudo apt-get install git
After the installation is completed, use the git --version command to view the version
2. Install nodejs
Hexo needs to install nodeJs and npm tools inside.
windows: nodejs just select the LTS version.
linux:
sudo apt-get install nodejs
sudo apt-get install npm
After installation, open the command line
node -v
npm -v
Configure npm image
As the source of npm is abroad, it is inconvenient for domestic users to use it. Here are some excellent npm image resources in China, which domestic users can choose to use.
Domestic excellent npm image
Taobao npm image
- Search address: http://npm.taobao.org/
- registry address: http://registry.npm.taobao.org/
cnpmjs image
- Search address: http://cnpmjs.org/
- registry address: http://r.cnpmjs.org/
How to use
There are many ways to configure the registry address of npm. Here are several common methods according to different situations. Take Taobao npm image as an example:
1. Temporary use
npm --registry https://registry.npm.taobao.org install express
2. Durable use (recommended)
open cmd Use command:

npm config set registry https://registry.npm.taobao.org

// After configuration, you can use the following command to verify whether it is successful
npm config ls
// At this time: metrics registry =“ http://registry.npm.taobao.org/ "Indicates that the setting was successful
npm config get registry
// or
npm info express
3. Use through cnpm (you can also use cnpm)
npm install -g cnpm --registry=https://registry.npm.taobao.org
// use
cnpm install expresstall express
3. Install hexo
Create a folder blog, and then enter (cd) under this folder (or right-click git bash to open it directly under this folder).
Enter command
npm install -g hexo-cli
Check out the hexo version
hexo -v
So far, the installation is complete.
Initialize hexo
hexo init myblog
This myblog can take any name, and then
cd myblog //Enter the myblog folder
npm install
After the creation is completed, the specified folder directory contains:
- node_modules: dependent package
- public: store the generated page
- scaffolds: some templates for generating articles
- source: used to store your articles
- themes: themes
- _ config.yml: blog profile
hexo g
hexo server
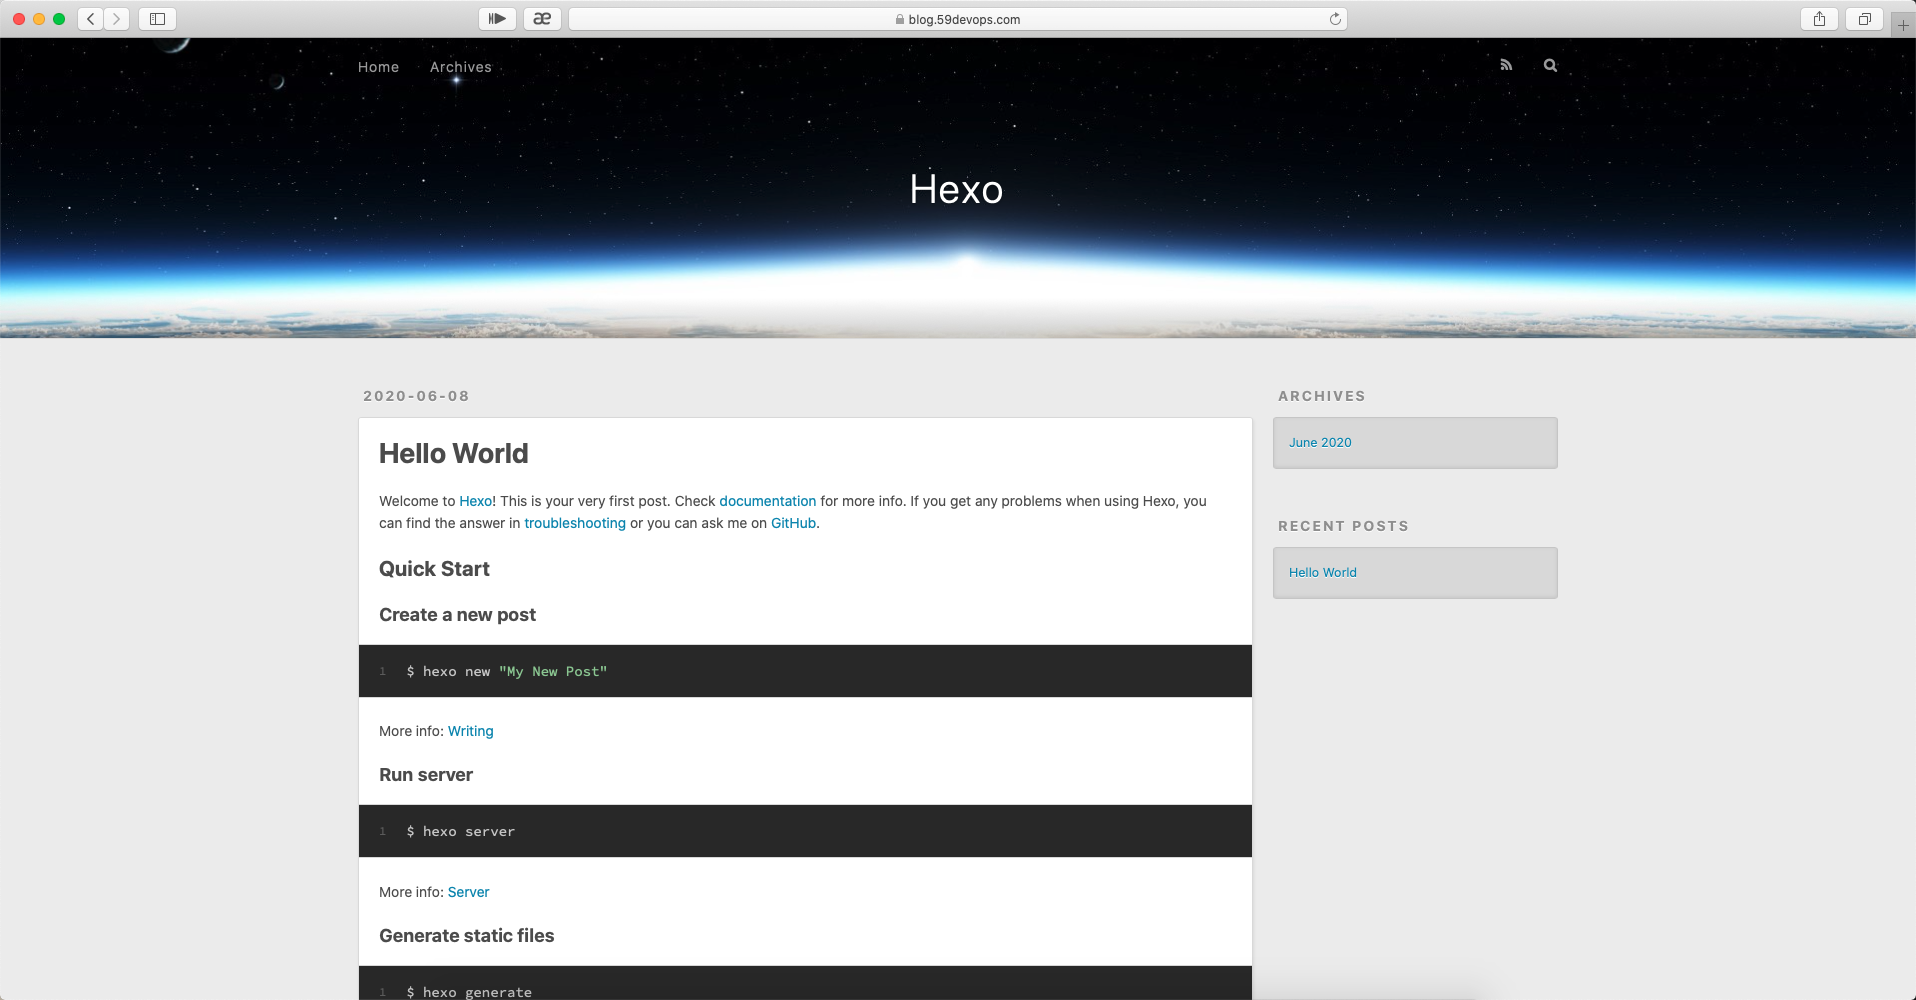
Start the hexo service and enter localhost:4000 in the browser to see the blog you generated
4. Deploy hexo to the server
After installing hexo, you can deploy the articles generated by hexo to the server and open the site configuration file_ config.yml, turn to the last and change to
deploy:
  type: git
  repo: git@***.***.***.***:/var/repo/blog.git # IP fill in the IP address of your server
  branch: master
Deploy Git must be installed before it can be deployed to Git with the command.
npm install hexo-deployer-git --save
then
hexo clean
hexo generate
hexo deploy
hexo clean You can eliminate the things you generated before, or you can not add them.
hexo generate Generate static articles, you can use hexo g abbreviation
hexo deploy Deployment article, you can use hexo d abbreviation
Note that you may need to enter email and name before deploy ing
git config --global user.email "Your email"
git config --global user.name "Your Name"
After the update, you can enter the domain name you set in your browser, and you can see your achievements
5. Publish personal articles
Then you can officially start writing articles.
hexo new newpapername
Then at source/_ Open the markdown file in post and you can start editing. When you're finished, try again
hexo clean
hexo generate
hexo deploy
Enter the password and you can see the update after uploading.