Build Nginx deployment vue project under Ubuntu
Previous: deploying SpringBoot under Ubuntu
Step 1: install nodejs on Ubuntu
-
Execute the apt install nodejs command to install nodejs.
- There are many examples in the article before the process. I won't say more. During the process, there will be a prompt to confirm the occupation of disk space. Enter Y to continue.
-
▲ execute the apt install nodejs legacy command to install the dependent package, which has the node command
- This command is marked because the package must be installed in previous versions
- However, due to this installation, the latest version of node is selected. When executing this command, the following prompt appears:
Key information: the package is missing, referenced by another package, and replaced by the following packageroot@iZwz92d94t8mb03s9z327hZ:~# apt install nodejs-legacy Reading package lists... Done Building dependency tree Reading state information... Done Package nodejs-legacy is not available, but is referred to by another package. This may mean that the package is missing, has been obsoleted, or is only available from another source However the following packages replace it: nodejs libnode64 E: Package 'nodejs-legacy' has no installation candidate - That is, the libnode64 package of nodejs replaces this package
- If you are not sure, execute the apt install libnode64 command again
Key information: it is the latest version.root@iZwz92d94t8mb03s9z327hZ:~# apt install libnode64 Reading package lists... Done Building dependency tree Reading state information... Done libnode64 is already the newest version (10.19.0~dfsg-3ubuntu1). libnode64 set to manually installed. 0 upgraded, 0 newly installed, 0 to remove and 7 not upgraded.
-
Try the node command
root@iZwz92d94t8mb03s9z327hZ:~# node
>
After entering the node command window, you can use.
-
To continue, execute the apt install npm command. npm is a package manager of node.
root@iZwz92d94t8mb03s9z327hZ:~# apt install npm
Reading package lists... Done
Building dependency tree
Reading state information... Done
The following additional packages will be installed:
...
-
Execute npm config list to view the npm configuration (confirm whether the installation is successful)
root@iZwz92d94t8mb03s9z327hZ:~# npm config list
; cli configs
metrics-registry = "https://registry.npmjs.org/"
scope = ""
user-agent = "npm/6.14.4 node/v10.19.0 linux x64"

; builtin config undefined
globalconfig = "/etc/npmrc"
globalignorefile = "/etc/npmignore"
prefix = "/usr/local"

; node bin location = /usr/bin/node
; cwd = /root
; HOME = /root
; "npm config ls -l" to show all defaults.
Step 2: install Nginx on Ubuntu
-
Execute apt install nginx to install Nginx
- I see someone who doesn't know why to install nginx. Here's a brief explanation. The role of nginx here is similar to that of apache and tomcat. It is a container. What are the similarities and differences between the specific principles? What is reverse proxy? What are the advantages? Baidu by myself, I'm still understanding
-
Access port 80 of the remote server (check whether the installation is successful) [the default port of nginx is 80]
My own remote server address is temporarily coded (the following articles may be published), because the new server is configured from 0, and many of them are default information. I'm afraid you will secretly change my data.
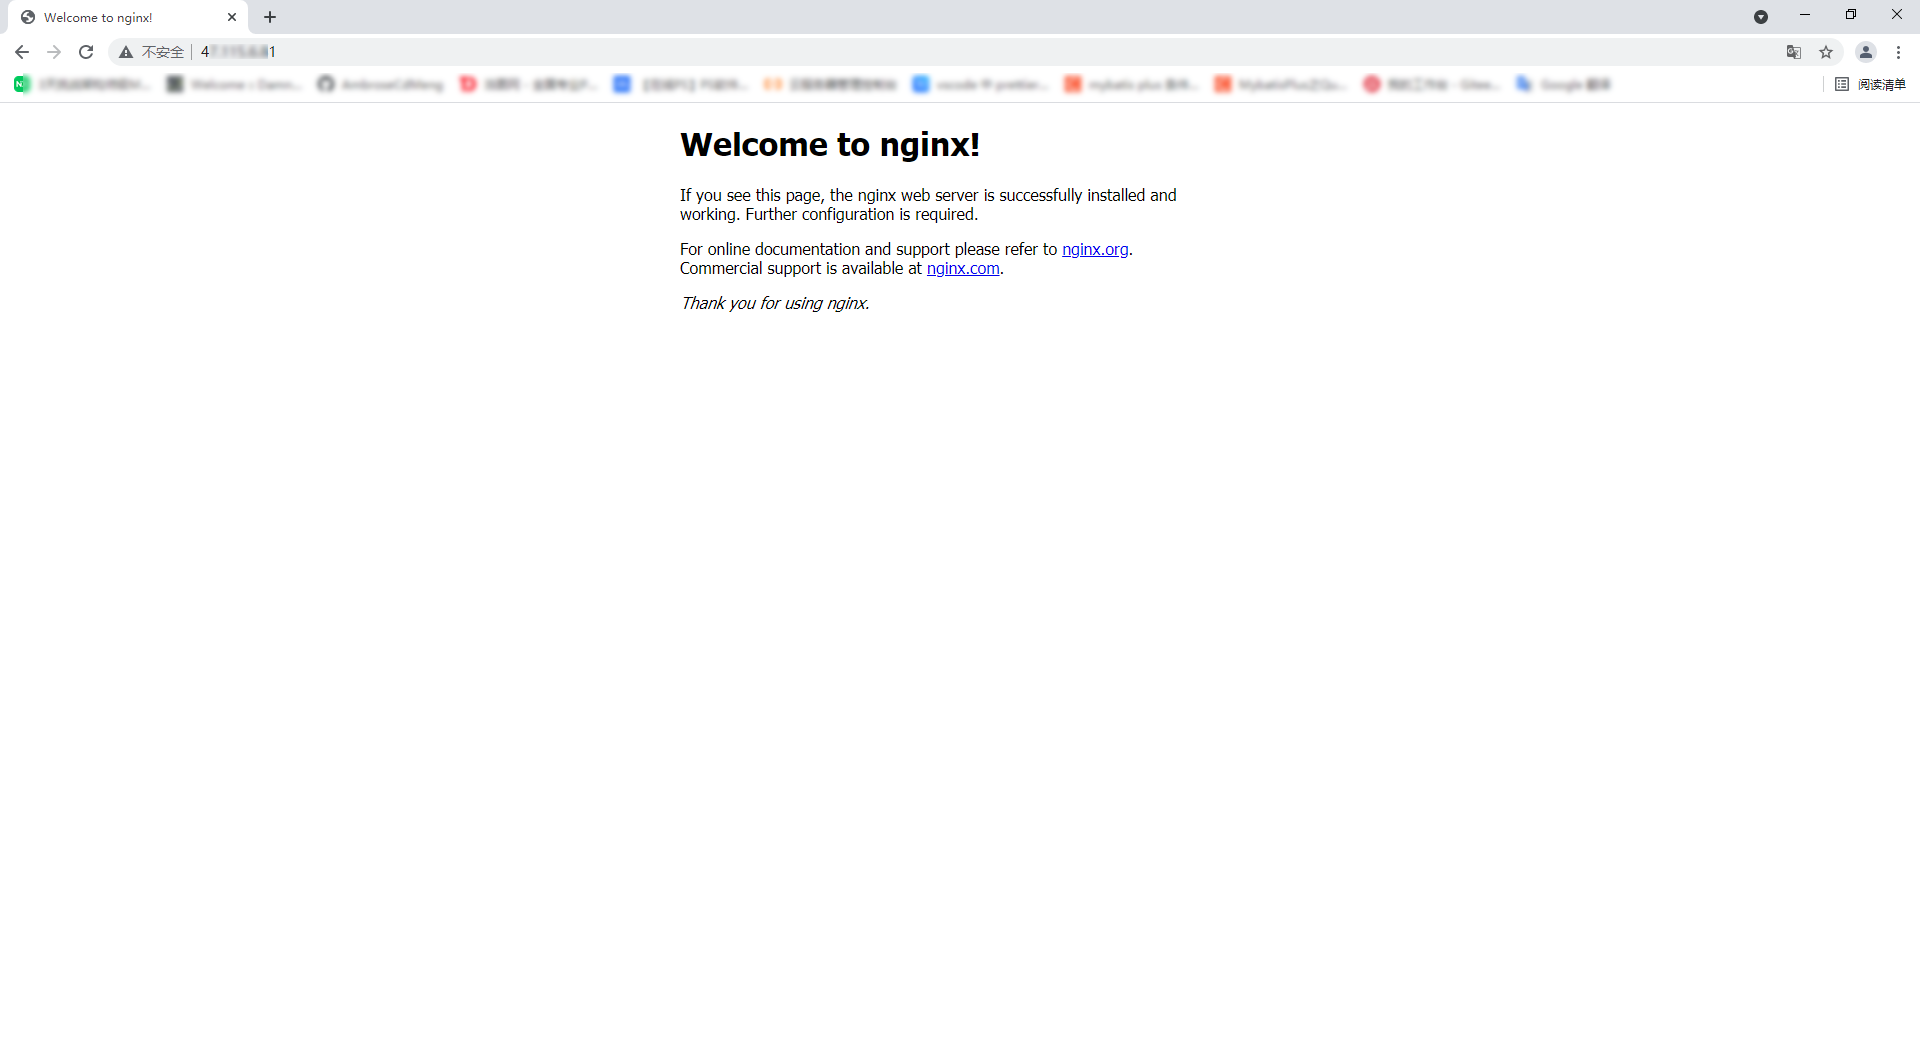
This interface is the default homepage of Nignx
Step 3: package the local machine (the machine where the front-end code is located), and upload the package file to the Ubuntu server
-
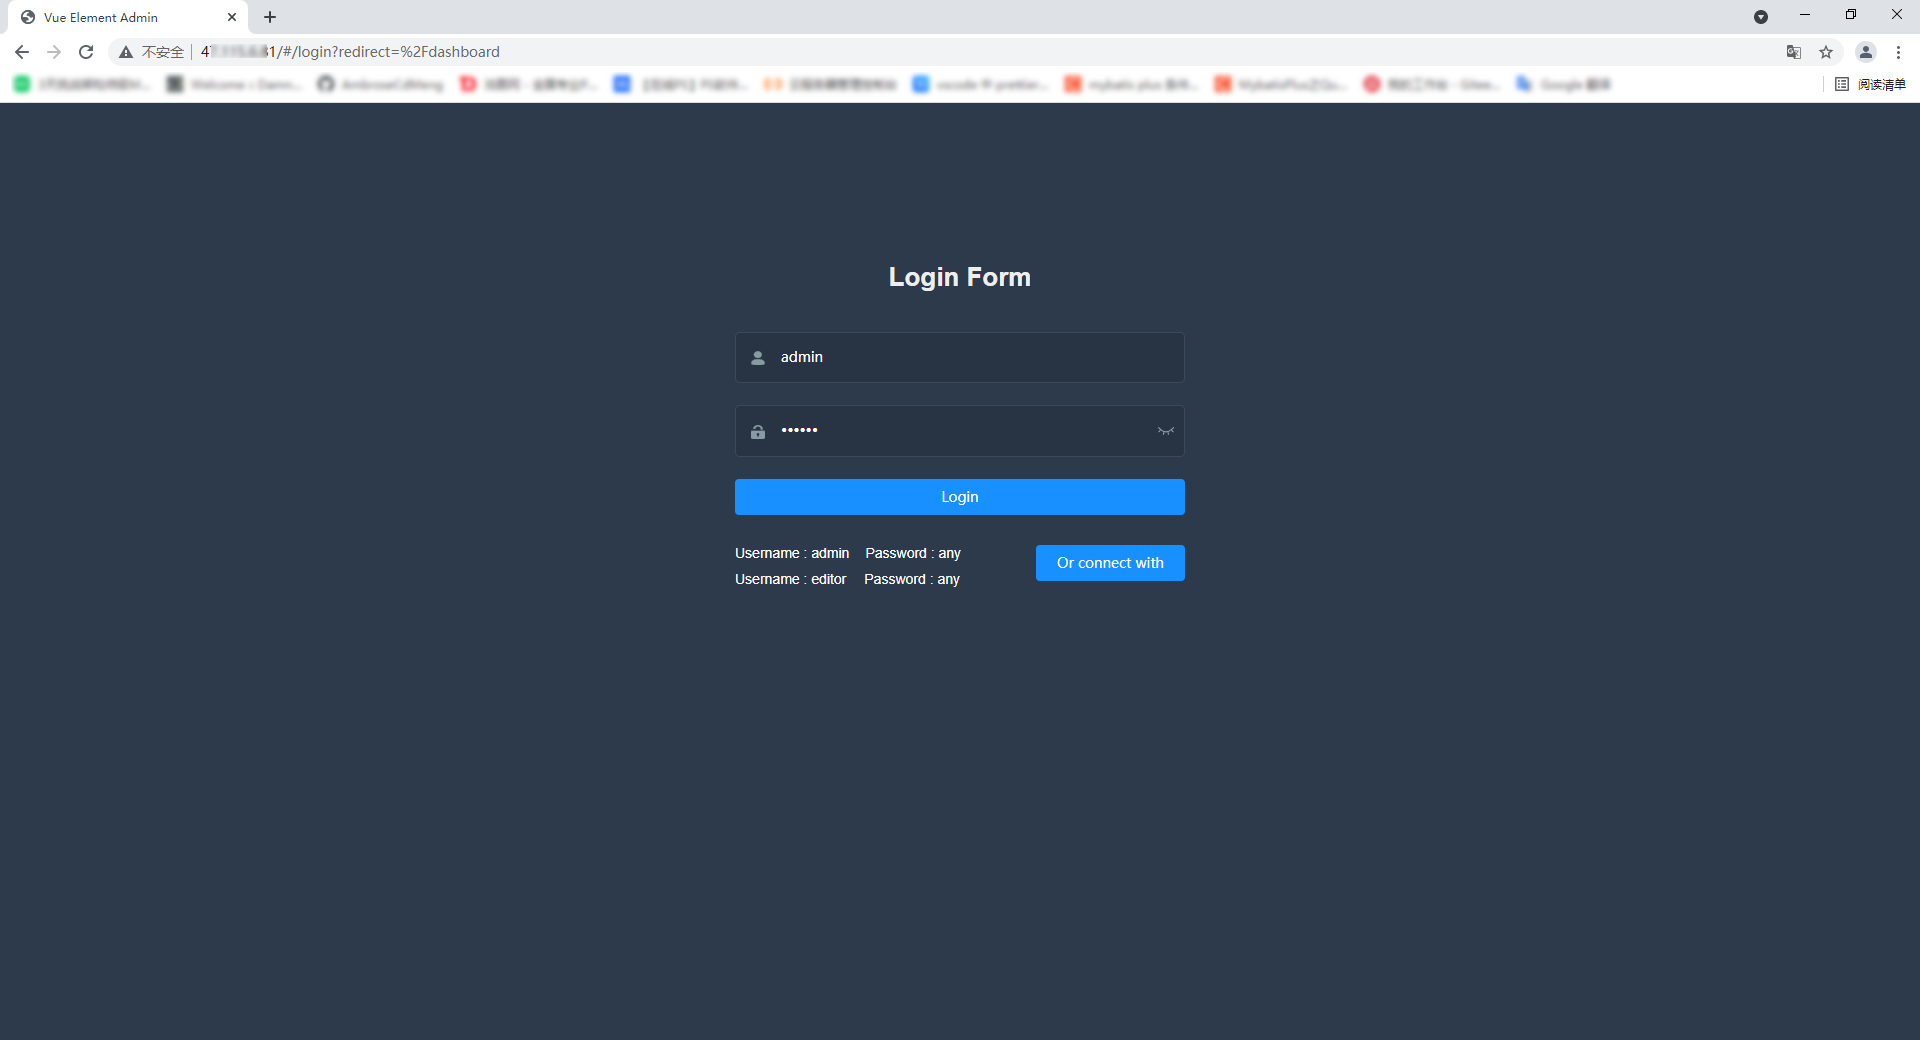
The creation of vue project has a separate tutorial, which is not the focus of this article. Here, take the famous vue management framework vue element admin as an example. Click to jump to GitHub.
-
clone to the local machine (remember to install node and npm on the local machine and configure the environment)
-
Open package. In the root directory JSON file, about the position of line 6, you will see a scripts attribute
...
"scripts": {
    "dev": "vue-cli-service serve",
    "lint": "eslint --ext .js,.vue src",
    "build:prod": "vue-cli-service build",
    "build:stage": "vue-cli-service build --mode staging",
    "preview": "node build/index.js --preview",
    "new": "plop",
    "svgo": "svgo -f src/icons/svg --config=src/icons/svgo.yml",
    "test:unit": "jest --clearCache && vue-cli-service test:unit",
    "test:ci": "npm run lint && npm run test:unit"
},
...
This contains some custom scripts. The left side of the colon is the script name and the right side is the script that will actually be executed.
-
Now it needs to be packaged to the server, so you should execute the npm run build:prod command (npm run is followed by the script name. Different project script names are configured differently. Run after you have seen it clearly)
PS D:\xxxxx\vue-element-admin-master> npm run build:prod

> vue-element-admin@4.4.0 build:prod D:\xxxxx\vue-element-admin-master
> vue-cli-service build


/  Building for production...
Wait patiently
DONE  Build complete. The dist directory is ready to be deployed.
INFO  Check out deployment instructions at https://cli.vuejs.org/guide/deployment.html
When DONE Build complete appears, a dist file will be generated in the project directory
★ in practice, if a vue project has not been developed before, it may not be so smooth. After downloading a new vue project and installing node, you may encounter various errors such as "no package found" and "network connection timeout". There are usually many solutions for these similar error reporting online, which will not be described in detail here,
Remind me:
1. Errors such as "network connection failure" are generally caused by foreign image sources being intercepted or the network speed is too slow. Domestic image sources can be switched;
2. Errors such as "package installation failed" or "cannot be found", because some packages depend on other environments, such as sass relying on python (this is unclear and uncertain, but it is possible), copy the basic error information, and then search the Internet to find the corresponding solution. -
Create a new directory on Ubuntu and upload the files in dist directory
-
New file mkdir filename command
-
After uploading
root@iZwz92d94t8mb03s9z327hZ:/opt/web/demo# ll
total 92
drwxr-xr-x 3 root root  4096 Jul 17 15:48 ./
drwxr-xr-x 3 root root  4096 Jul 17 15:47 ../
-rw-r--r-- 1 root root 67646 Jul 17 15:48 favicon.ico
-rw-r--r-- 1 root root  9127 Jul 17 15:48 index.html
drwxr-xr-x 6 root root  4096 Jul 17 15:48 static/
-
Step 4: modify the Nginx configuration file on Ubuntu and point to the web project
-
Execute CD / etc / Nginx / sites enabled to enter the Nginx configuration file directory
- The default configuration file for Nginx is in / etc / Nginx / sites enabled / default
-
Execute cat default to view the configuration file
# Default server configuration
#
server {
        listen 80 default_server;
        listen [::]:80 default_server;

        # SSL configuration
        #
        # listen 443 ssl default_server;
        # listen [::]:443 ssl default_server;
        #
        # Note: You should disable gzip for SSL traffic.
        # See: https://bugs.debian.org/773332
        #
        # Read up on ssl_ciphers to ensure a secure configuration.
        # See: https://bugs.debian.org/765782
        #
        # Self signed certs generated by the ssl-cert package
        # Don't use them in a production server!
        #
        # include snippets/snakeoil.conf;

        root /var/www/html;

        # Add index.php to the list if you are using PHP
        index index.html index.htm index.nginx-debian.html;

        server_name _;

        location / {
                # First attempt to serve request as file, then
                # as directory, then fall back to displaying a 404.
                try_files $uri $uri/ =404;
        }

        # pass PHP scripts to FastCGI server
        #
        #location ~ \.php$ {
        #       include snippets/fastcgi-php.conf;
        #
        #       # With php-fpm (or other unix sockets):
        #       fastcgi_pass unix:/var/run/php/php7.4-fpm.sock;
        #       # With php-cgi (or other tcp sockets):
        #       fastcgi_pass 127.0.0.1:9000;
        #}

        # deny access to .htaccess files, if Apache's document root
        # concurs with nginx's one
        #
        #location ~ /\.ht {
        #       deny all;
        #}
}


# Virtual Host configuration for example.com
#
# You can move that to a different file under sites-available/ and symlink that
# to sites-enabled/ to enable it.
#
#server {
#       listen 80;
#       listen [::]:80;
#
#       server_name example.com;
#
#       root /var/www/example.com;
#       index index.html;
#
#       location / {
#               try_files $uri $uri/ =404;
#       }
#}
The notes are written in great detail. The above is the default configuration of default server configuration. Many non essential configurations are commented out. You don't need to worry about them for the time being. You mainly focus on several configurations:
- listen 80: listen to port 80, which is the default port of the web. It can be omitted
- Default server: the default service. Multiple servers can exist in the configuration file, matching from top to bottom. If the default server is not explicitly specified, the first service is the default service
- root /var/www/html: the default root directory path (it is recommended to modify it to the path of your own project package according to the actual situation)
- You can also configure the root directory in the location, which takes precedence over the root matching in the server
- index index.html index.htm index.nginx-debian.html: These are some default home page names. Nginx will find them one by one. The homepage of the vue project deployed this time is index HTML already exists, so it doesn't need to be modified. If you deploy a php project, you need to add index.html php or custom homepage (login.html and so on)
- server_name _ : Is a virtual host name that supports regular expressions. Default_ Represents an invalid name and does not need to be changed for the time being.
-
Execute vim default to modify the configuration file
Modify root /var/www/html; It is root /opt/web/demo (that is, the directory in the last small step of step 3)
Step 5: restart the Nginx server
-
Execute service nginx restart to restart the Nginx server