We have planned two hosts in advance. They are:
server-1: 192.168.1.135
server-2: 192.168.1.136
server-1 is used as a client to collect logs, import them into MySQL database of server-2, and display the front-end web through Log Analyzer.
First is the configuration of server-2
Install LNMP
yum install nginx php -php-fpm php-mysql mysql-server mysql -y
// Why install php-fpm here, because php-fpm is the bridge between nginx and php, php-fpm (fast process management), php-fpm default process 127.0.0.1:9000,
// After installing PHP and php-fpm in a short time, configure the configuration file of nginx, let it encounter client PHP request, forward to php-fpm(127.0.0.1:9000),php-fpm let PHP parse complete, and finally to nginx.
Start the database
systemctl start mysqld
Join boot-up and self-start
systemctl enable mysqld
Configure database password
[root@server-2 ~]# mysql
Welcome to the MariaDB monitor. Commands end with ; or \g.
Your MariaDB connection id is 2
Server version: 5.5.60-MariaDB MariaDB Server
Copyright (c) 2000, 2018, Oracle, MariaDB Corporation Ab and others.
Type 'help;' or '\h' for help. Type '\c' to clear the current input statement.
MariaDB [(none)]> use mysql;
Reading table information for completion of table and column names
You can turn off this feature to get a quicker startup with -A
Database changed
MariaDB [mysql]> update user set password=password('123456') where user='root';
Query OK, 4 rows affected (0.00 sec)
Rows matched: 4 Changed: 4 Warnings: 0
MariaDB [mysql]> flush privileges;
Query OK, 0 rows affected (0.01 sec)
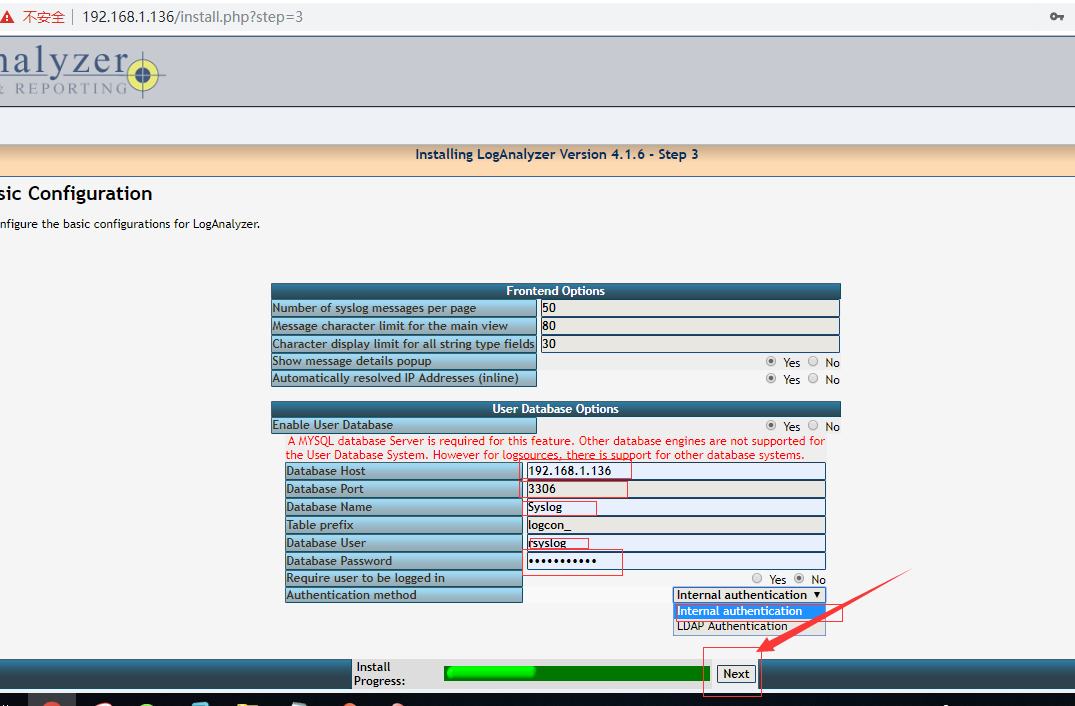
MariaDB [(none)]> grant all on *.* to 'rsyslog'@'%' identified by 'password123';//Create users and grant
Query OK, 0 rows affected (0.02 sec)
MariaDB [mysql]> exit;
ByeConfigure nginx
[root@server-2 ~]# cd /etc/nginx/
[root@server-2 nginx]# egrep -v "#|^$" nginx.conf.default >nginx.conf
[root@server-2 nginx]# vim nginx.conf
worker_processes  1;
events {
    worker_connections  1024;
}
http {
    include       mime.types;
    default_type  application/octet-stream;
    sendfile        on;
    keepalive_timeout  65;
    server {
        listen       80;
        server_name  localhost;
        location / {
            root   html;
            index  index.html index.htm;
        }
        location ~ \.php$ {
            root           html;
            fastcgi_pass   127.0.0.1:9000;
            fastcgi_index  index.php;
            fastcgi_param  SCRIPT_FILENAME  $document_root$fastcgi_script_name;
            include        fastcgi_params;
        }
        error_page   500 502 503 504  /50x.html;
        location = /50x.html {
            root   html;
        }
    }
Check configuration file syntax and start
[root@server-2 nginx]# nginx -t
nginx: the configuration file /etc/nginx/nginx.conf syntax is ok
nginx: configuration file /etc/nginx/nginx.conf test is successful
[root@server-2 nginx]# nginx
[root@server-2 nginx]# service php-fpm start
Redirecting to /bin/systemctl start php-fpm.service
Check port startup
[root@server-2 nginx]# ss -lnt
State      Recv-Q Send-Q                             Local Address:Port                                            Peer Address:Port
LISTEN     0      128                                    127.0.0.1:9000                                                       *:*
LISTEN     0      50                                             *:3306                                                       *:*
LISTEN     0      128                                            *:80                                                         *:*
LISTEN     0      128                                            *:22                                                         *:*
LISTEN     0      100                                    127.0.0.1:25                                                         *:*
LISTEN     0      128                                           :::22                                                        :::*
LISTEN     0      100                                          ::1:25                                                        :::*
stay firewalld Permissible port 80,3306,22 adopt
[root@server-2 ~]# firewall-cmd --zone=public --add-port=80/tcp --permanent
success
[root@server-2 ~]# firewall-cmd --zone=public --add-port=3306/tcp --permanent
success
[root@server-2 ~]# firewall-cmd --zone=public --add-port=22/tcp --permanent
success
[root@server-2 ~]# firewall-cmd --reload
success
View the Firewall Open Port List
[root@server-2 ~]# firewall-cmd --zone=public --list-ports
80/tcp 3306/tcp 22/tcp
Close selinux
[root@server-2 ~]# setenforce 0
[root@server-2 ~]# sed -i 's/SELINUX=enforcing/SELINUX=disabled/g' /etc/selinux/config
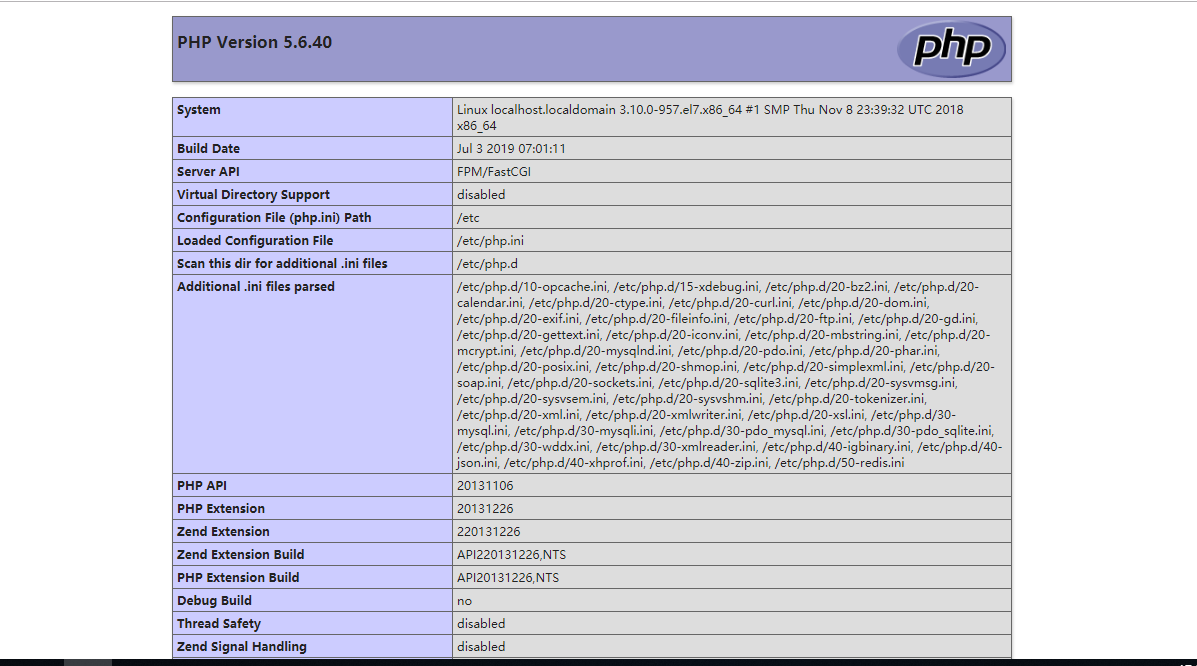
Create a PHP test page to check the connection between nginx and php.
[root@server-2 html]# echo "<?php phpinfo(); ?>" >test.php
Visit dynamic web pages
Client Configuration
192.168.1.135 on client host server-1
Check whether rsyslog is installed by default
[root@server-1 ~]# rpm -qa rsyslog
rsyslog-8.24.0-34.el7.x86_64
[root@server-1~]# Yum install rsyslog-mysql mysql-y//rsyslog uses this module to transfer data to MySQL database, which must be installed; minimal installation, no MySQL command, this operation is to have MySQL command, you can connect to the database.
Import library files, using rsyslog users
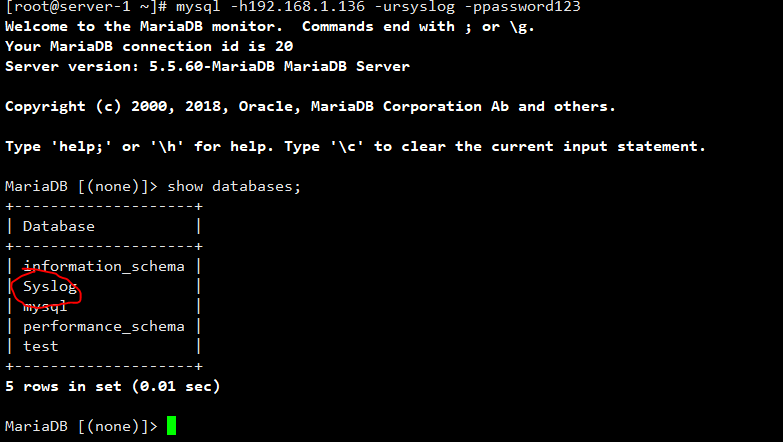
[root@server-1 ~]# mysql -h192.168.1.136 -ursyslog -ppassword123 </usr/share/doc/rsyslog-8.24.0/mysql-createDB.sql
Log in to the database to see if the library exists
vim /etc/rsyslog.conf
.......
#### MODULES ####
# The imjournal module bellow is now used as a message source instead of imuxsock.
$ModLoad imuxsock # provides support for local system logging (e.g. via logger command)
$ModLoad imjournal # provides access to the systemd journal
$ModLoad ommysql
#$ModLoad imklog # reads kernel messages (the same are read from journald)
#$ModLoad immark  # provides --MARK-- message capability
# Provides UDP syslog reception
$ModLoad imudp
$UDPServerRun 514
# Provides TCP syslog reception
#$ModLoad imtcp
#$InputTCPServerRun 514
......
#### RULES ####
# Log all kernel messages to the console.
# Logging much else clutters up the screen.
#kern.*                                                 /dev/console
# Log anything (except mail) of level info or higher.
# Don't log private authentication messages!
#*.info;mail.none;authpriv.none;cron.none                /var/log/messages
*.info;mail.none;authpriv.none;cron.none :ommysql:192.168.1.136,Syslog,syslog,password123
# The authpriv file has restricted access.
.......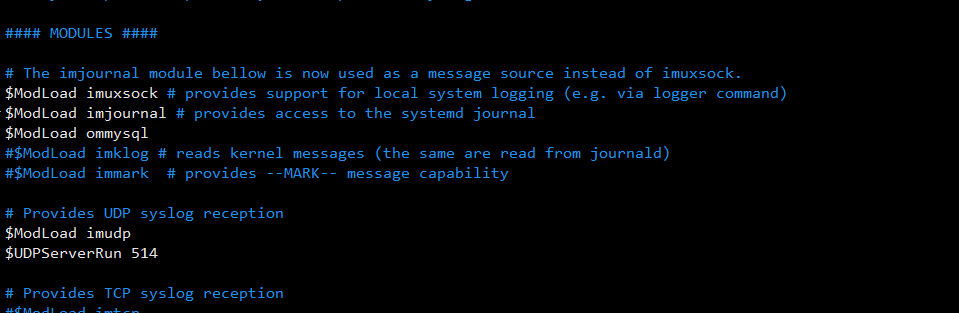
Add mysql module ommysql
Unannotate 514 port communication using udp protocol

Specify the host, database, username, password to send
Once configured, start rsyslog
systemctl start rsyslog
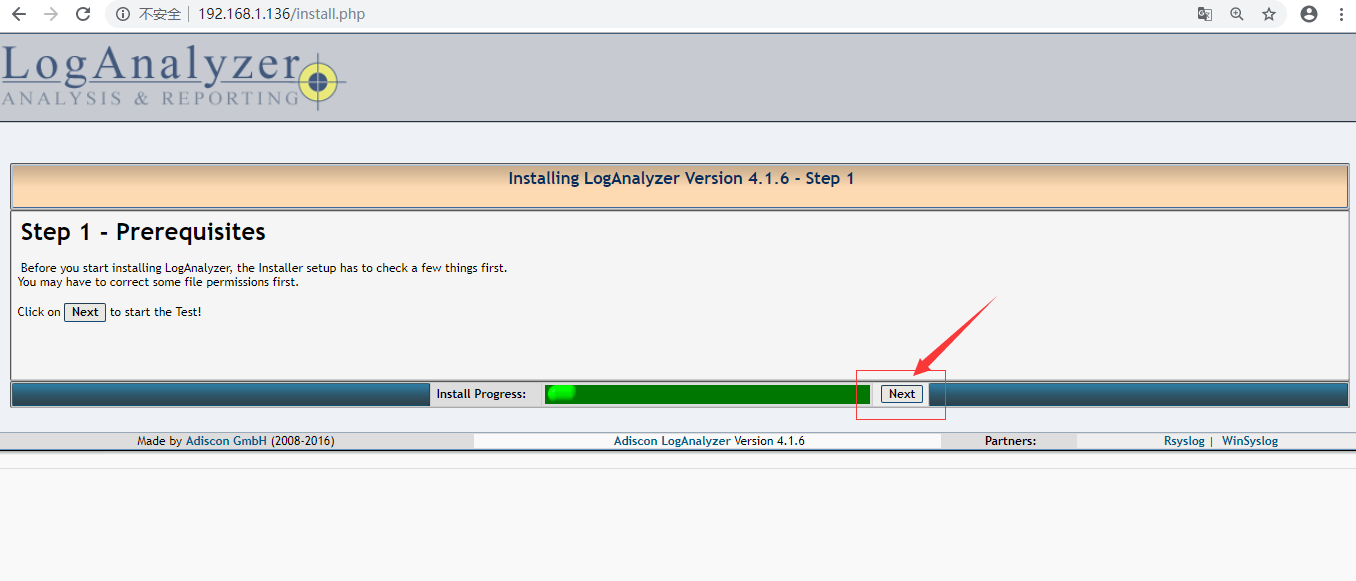
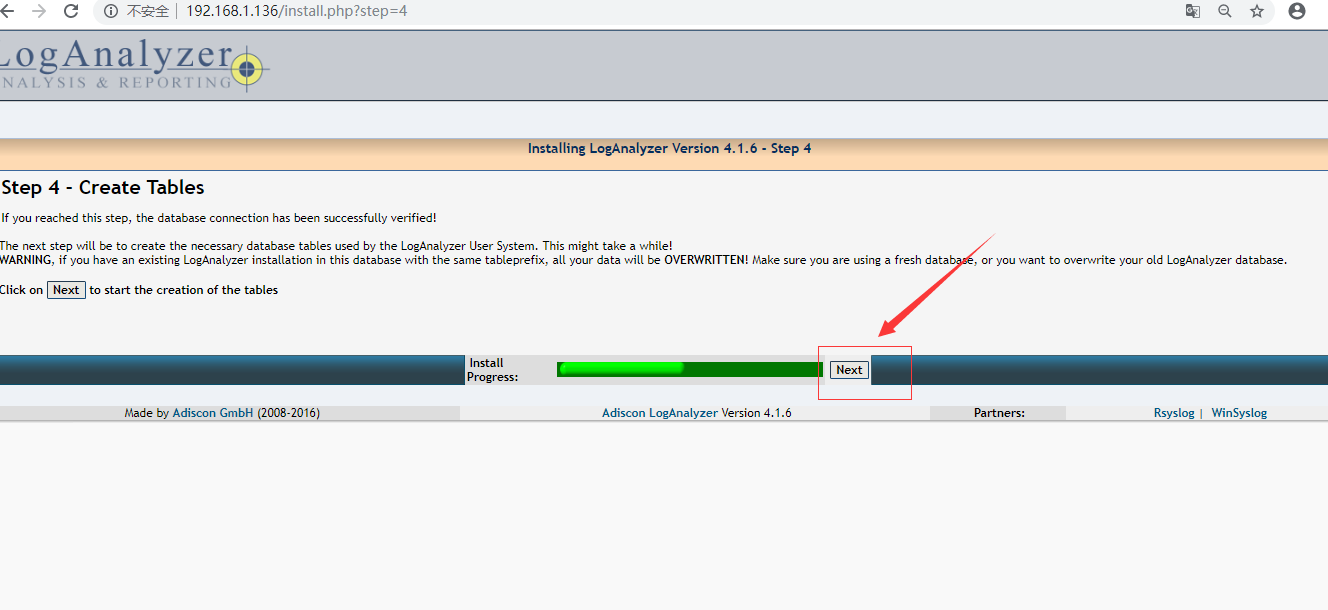
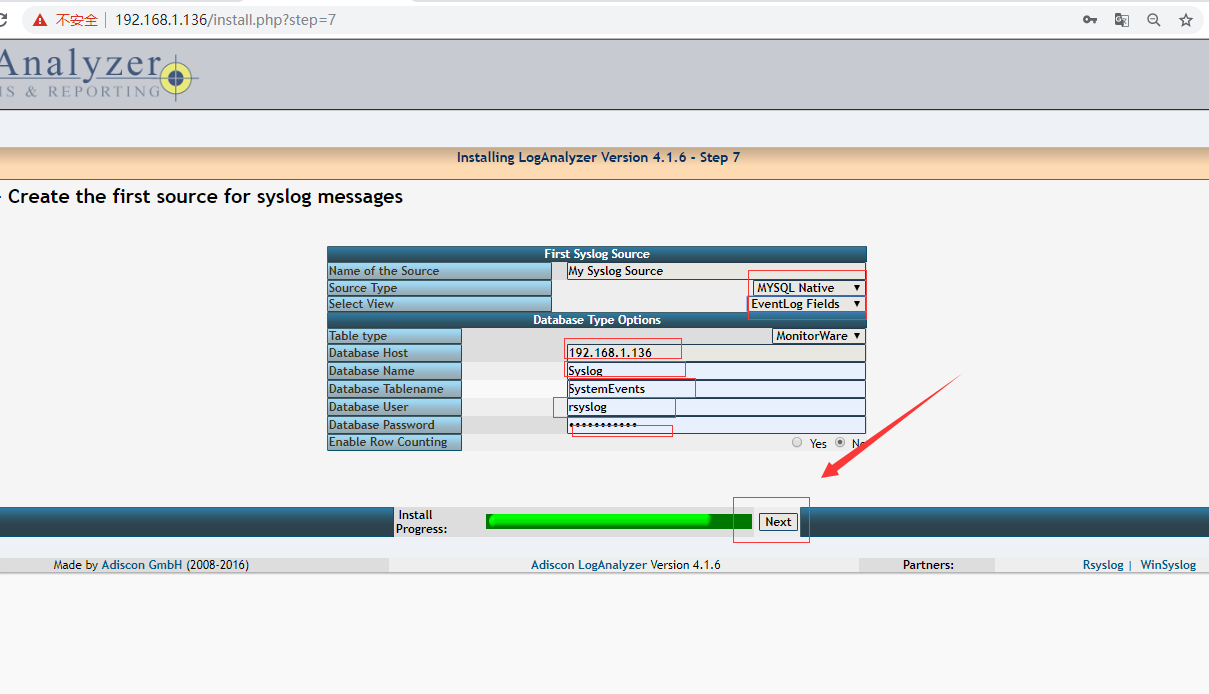
Install Log Analyzer on server-2 192.168.1.136
Download LogAnalyr v4.1.6: http://loganalyzer.adiscon.com/downloads/
[root@server-2 home]# wget http://download.adiscon.com/loganalyzer/loganalyzer-4.1.6.tar.gz# Download the installation package.
Install Log Analyzer
[root@server-2 home]# tar -xf loganalyzer-4.1.6.tar.gz
[root@server-2 home]# ll
total 2788
drwxrwxr-x. 5 root root 90 Nov 6 2017 loganalyzer-4.1.6
-rw-r--r--. 1 root root 2852860 Nov 6 2017 loganalyzer-4.1.6.tar.gz
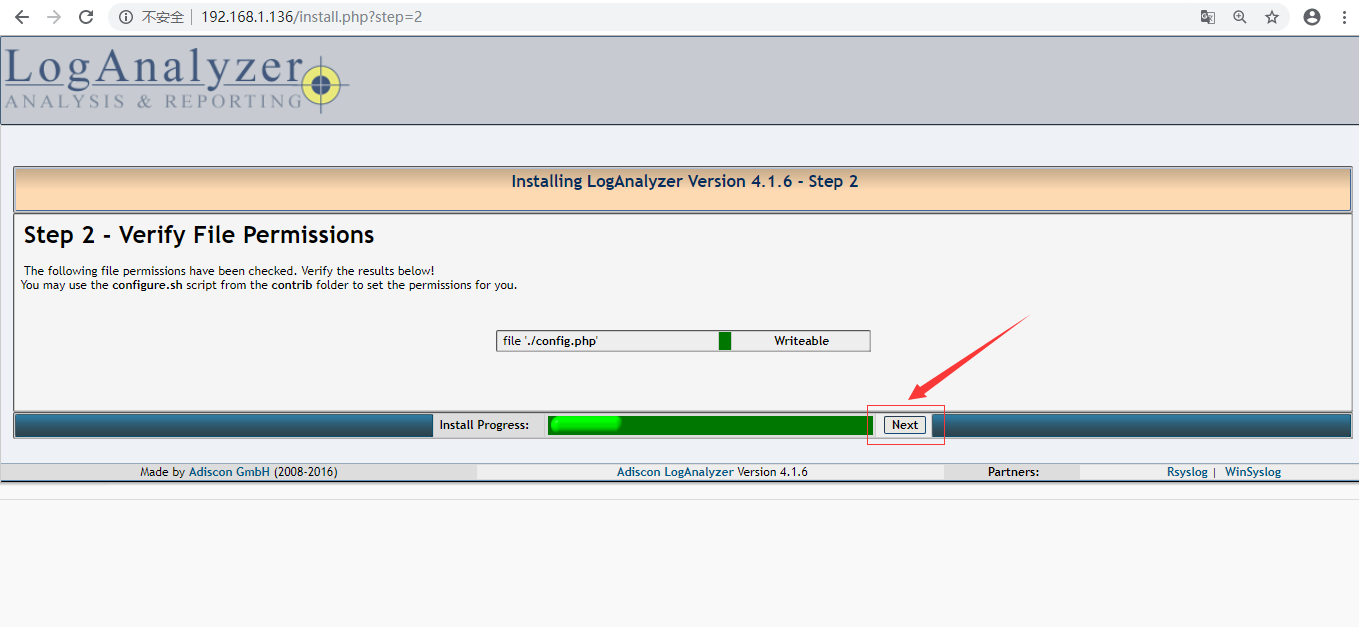
Configure loganalyze
cp -r /home/loganalyzer-4.1.6/src/* /usr/share/nginx/html/
cp -r /home/loganalyzer-4.1.6/contrib/* /usr/share/nginx/html/
cd /usr/share/nginx/html/
chmod +x *.sh
./configure.sh
./secure.sh
chmod 666 config.php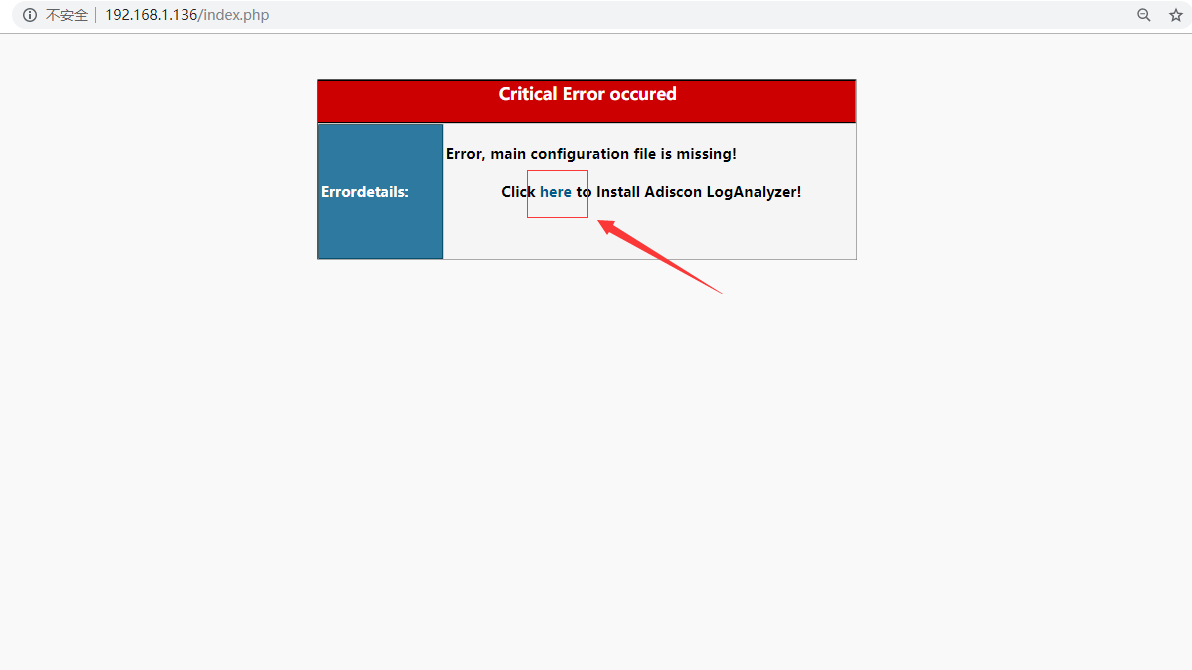
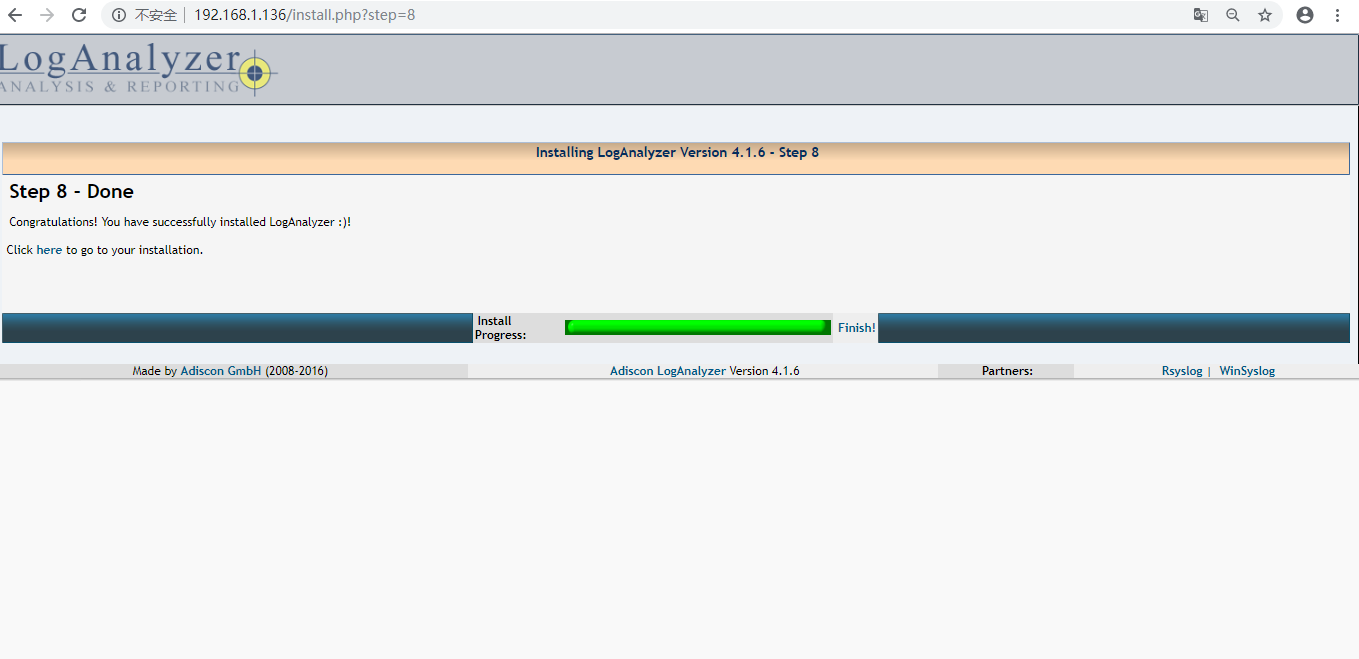
Build nginx+mysql+loganalyzer+rsyslog log server
Posted by Jassal on Mon, 05 Aug 2019 12:09:40 +0200