Set up RSS subscription service
You can subscribe to the information you want to get, which is convenient and fast, and you can avoid the useless information recommended by the recommendation algorithm.
Reference video: https://www.bilibili.com/video/BV1VK4y1m7CH#reply99076176496
Reference documents: https://loll.cc/rss
1. Prepare an ECS
If the website you subscribe to has an extranet, you should prepare a server that can access the extranet.
2. Log in to ECS (use SHELL remote tool)
yum update -y #Update all packages
3. Install pagoda
It is equivalent to making a visualization for the linux server, and you can quickly install some software (nginx, etc.)!
If the computer is good, students can ignore this step!
4. Visit the pagoda website( https://www.bt.cn/ )
Select the linux version and click Install now

5. Copy the installation command of the corresponding operating system and execute it!
uname -a #See what version of the linux operating system is
yum install -y wget && wget -O install.sh http://download. bt.cn/install/install_ 6.0. sh && sh install. SH # official website commands to install pagodas on centos
6. You will be successful when you see the following interface
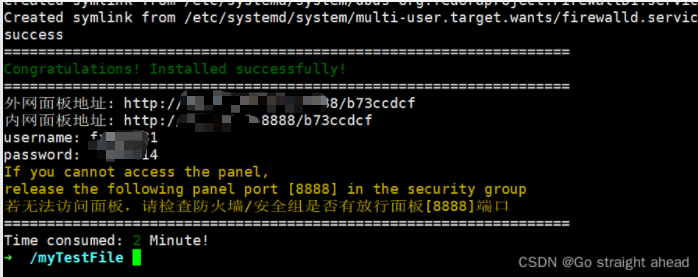
Write down the key information below
If you forget, you can enter the command bt default
Internet panel address: http://Server IP address: 8888/b73ccdcf
 Intranet panel address: http://Server intranet IP address: 8888/b73ccdcf
username: character string
password: character string
7. Enter the Internet panel address in the browser
Maybe you can't open the panel address (maybe the firewall of linux operating system is not open, so you need to open the corresponding port 8888)
If successful, the following interface can be seen when the browser enters the Internet address.
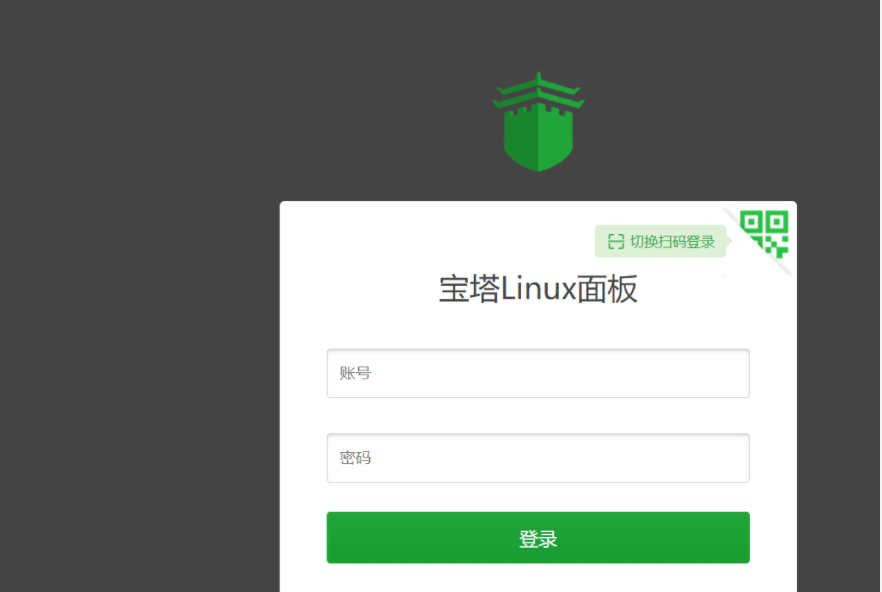
Enter the account and password you just wrote down to log in.
8. After login, it is generally required to bind the pagoda account
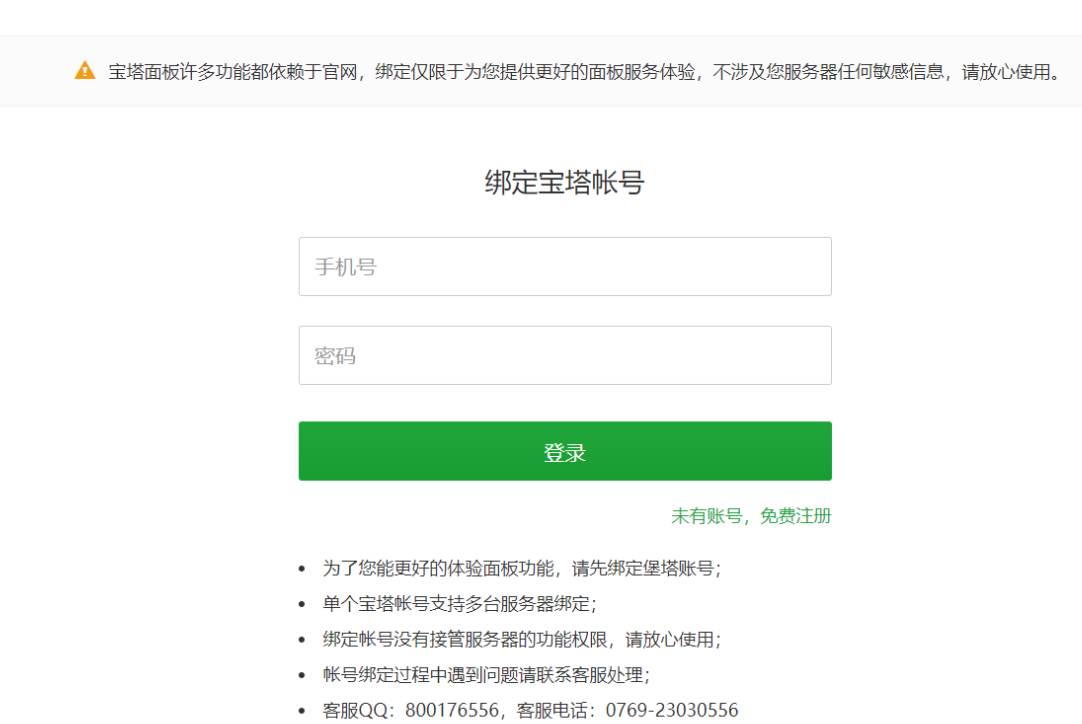
Bind the pagoda account password!
9. It is recommended to install some software
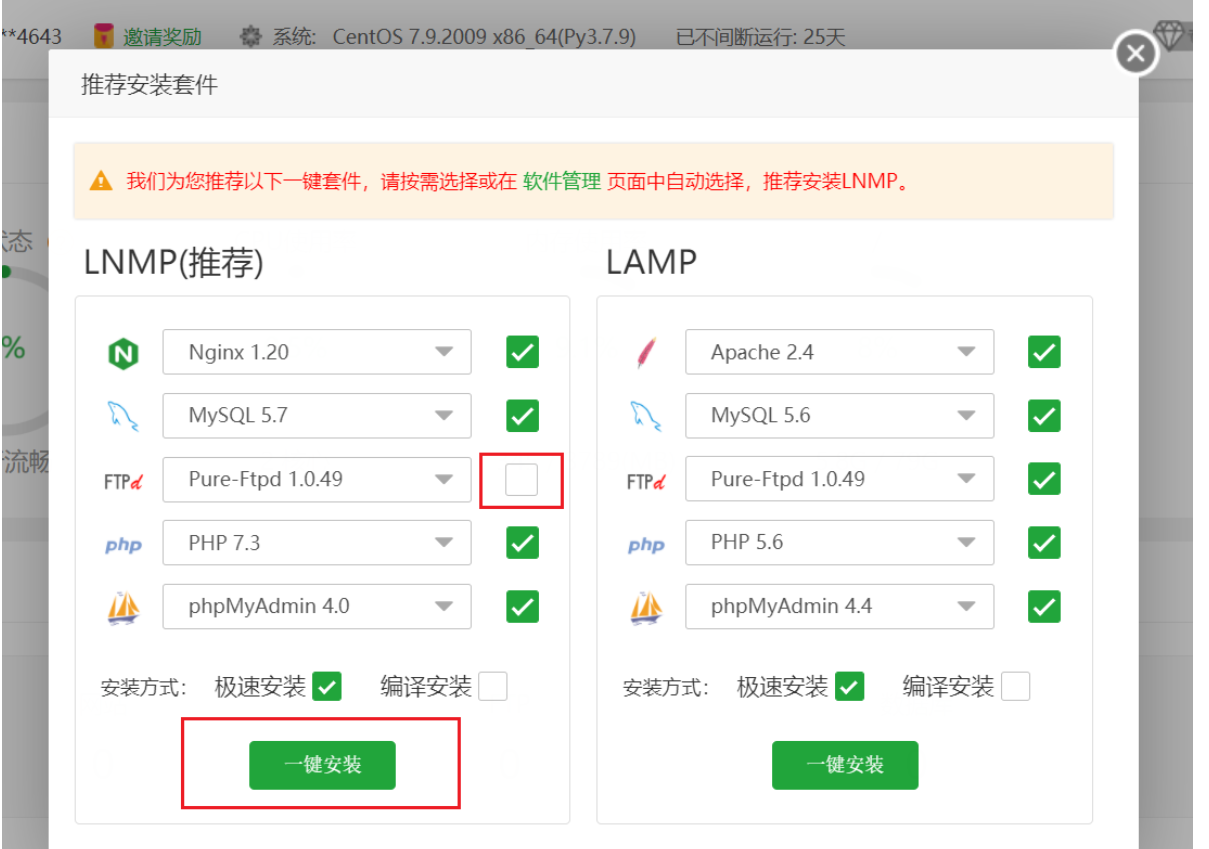
nginx is required (to configure the domain name later)
After one click installation, the following interface will be displayed (the task list is 4, which can be turned off and runs in the background)
10. Install and start docker
docker: it can be regarded as a small virtual machine, or a virtual computer. Equivalent to installing a computer on the server!
curl -fsSL https://get.docker.com/ | sh
sh -c 'yum install -y -q docker-ce-rootless-extras' #Install docker
systemctl start docker # Start docker
There is no information, that is, no error is reported (no error is generally successful in linux)
systemctl status docker # Check docker status

11. Install docker compose
docker compose: a tool to start and manage multiple docker containers!
Tiny RSS relies on PostgreSQL database service and mercury_fulltext full-text capture services, etc. these services are deployed with the help of Docker, so using Docker compose will greatly reduce the difficulty of our deployment.
sudo curl -L "https://github.com/docker/compose/releases/download/1.28.6/docker-compose-$(uname -s)-$(uname -m)" -o /usr/local/bin/docker-compose
# Install docker compose
Using domestic servers may fail to pull or pull very slowly (there is no problem with using servers that can access the external network)!
12. Increase the executable permission of docker compose
chmod +x /usr/local/bin/docker-compose # Increase the executable permission of docker compose

No other information indicates that the operation is successful!
13. Install tiny RSS
# Create ttrss directory and enter
mkdir ttrss && cd ttrss
14. Create docker-compose.com in ttrs folder YML and write the following
Pay attention to three places: one is port 181 and the other is the access address. Change it to the ip address of your server, and change the password of the database. It is very dangerous to expose the password in the public network!
Access through the domain name will be configured with nginx
version: "3"
services:
  database.postgres:
    image: postgres:13-alpine
    container_name: postgres
    environment:
      - POSTGRES_PASSWORD=selfcrossing # please change the password
    volumes:
      - ~/postgres/data/:/var/lib/postgresql/data # persist postgres data to ~/postgres/data/ on the host
    restart: always

  service.rss:
    image: wangqiru/ttrss:latest
    container_name: ttrss
    ports:
      - 181:80
    environment:
      - SELF_URL_PATH=http://Server IP address: 181/ # please change to your own domain
      - DB_HOST=database.postgres
      - DB_PORT=5432
      - DB_NAME=ttrss
      - DB_USER=postgres
      - DB_PASS=selfcrossing # please change the password
      - ENABLE_PLUGINS=auth_internal,fever # auth_internal is required. Plugins enabled here will be enabled for all users as system plugins
      - FEED_LOG_QUIET=true
    stdin_open: true
    tty: true
    restart: always
    command: sh -c 'sh /wait-for.sh $$DB_HOST:$$DB_PORT -- php /configure-db.php && exec s6-svscan /etc/s6/'

  service.mercury: # set Mercury Parser API endpoint to `service.mercury:3000` on TTRSS plugin setting page
    image: wangqiru/mercury-parser-api:latest
    container_name: mercury
    expose:
      - 3000
    restart: always

  service.opencc: # set OpenCC API endpoint to `service.opencc:3000` on TTRSS plugin setting page
    image: wangqiru/opencc-api-server:latest
    container_name: opencc
    environment:
      - NODE_ENV=production
    expose:
      - 3000
    restart: always

  # utility.watchtower:
  #   container_name: watchtower
  #   image: containrrr/watchtower:latest
  #   volumes:
  #     - /var/run/docker.sock:/var/run/docker.sock
  #   environment:
  #     - WATCHTOWER_CLEANUP=true
  #     - WATCHTOWER_POLL_INTERVAL=86400
  #   restart: always
15. Enter ttrs directory
Execute the following command
docker-compose up -d # Docker compse creates and starts multiple containers
Wait for the execution to complete (it will be slow and the container needs to be pulled)

Visit: http: / / service IP address: 181 / if successful, the corresponding page will appear!
docker-compose down #Stop container
docker-compose rm # Delete stopped containers
docker-compose up -d # Turn on the service again
15. Log in to tiny RSS
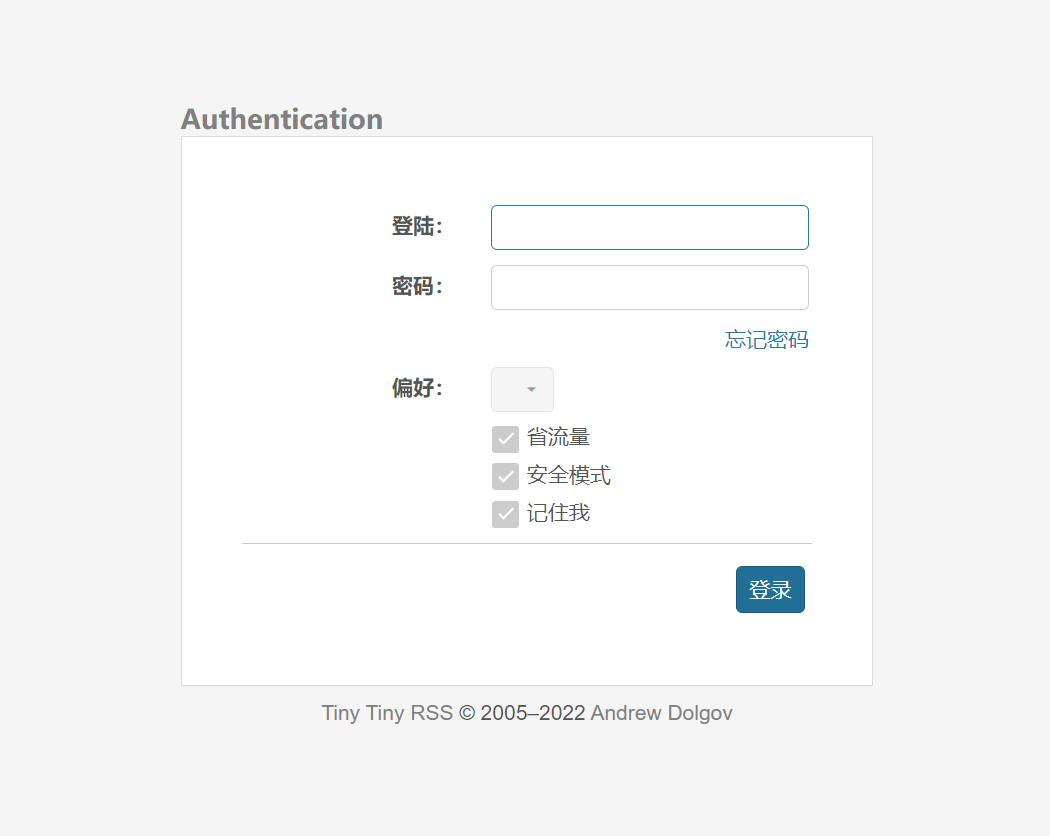
Default account password:
Account No.: admin
Password: password
16. Successfully accessed self built service

You can change the password in the preferences!
Remember to set the service port of the plug-in in the preferences
service.mercury:3000
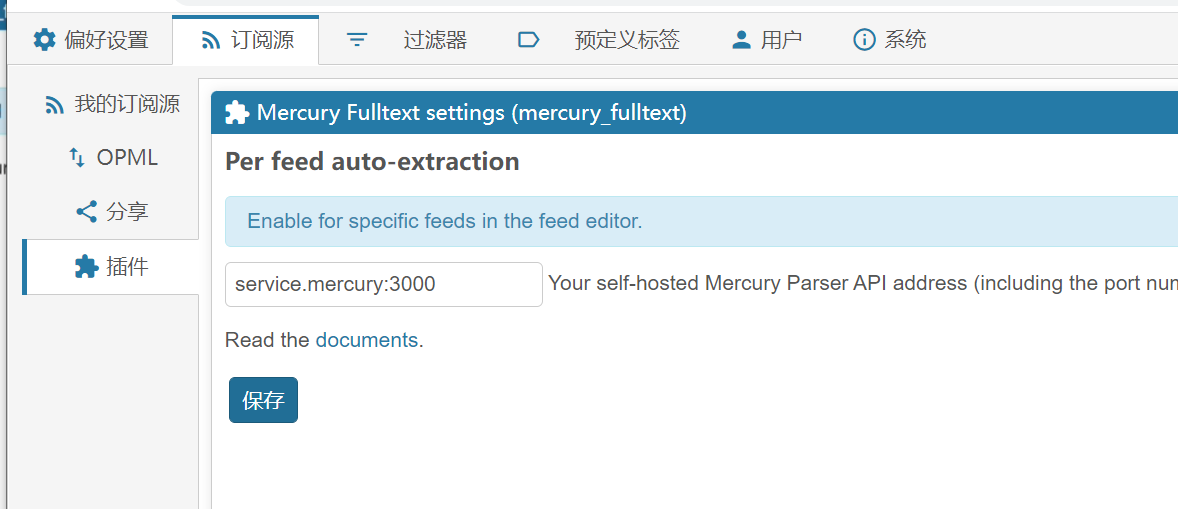
service.opencc:3000
