Recently, we need to build an indoor simulation environment for experiment debugging, so we want to record the relevant skills. If there are any mistakes, please criticize and correct them. Thank you.
Reference page: Using building editor in gazebo to create a building environment and use it for simulation
1. Configuration requirements
System: Ubuntu 14.04 (other versions are also good, this requirement is not strict)
ROS version: indigo version (this is related to gazebo version, each ROS will have a corresponding gazebo version, so it is better to use indigo version with gazebo) 
The template built is roughly as shown in the following figure: 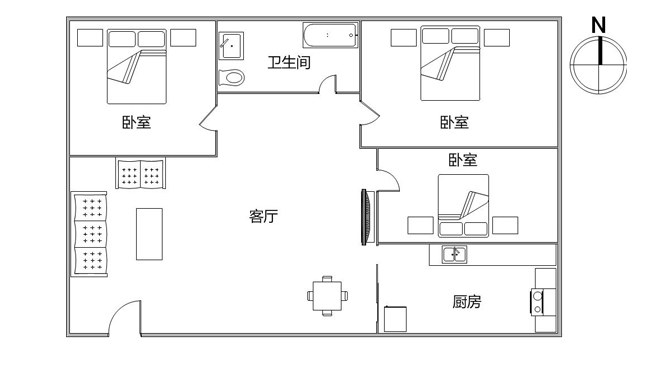
2. Creating models
(1) Open gazebo
$ gazebo
(2) Press Ctrl+B to open the building editor, or enter from the control panel 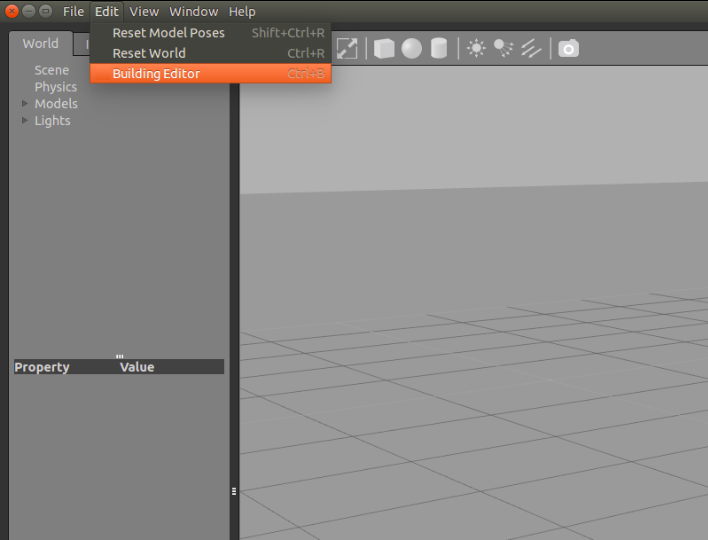
(3) Build the environment by using four control buttons: add wall, add Windows, add door and add stair in the upper left corner. 
(4) Right-click on the wall to open the wall inspector editor to edit information such as the length of the wall. 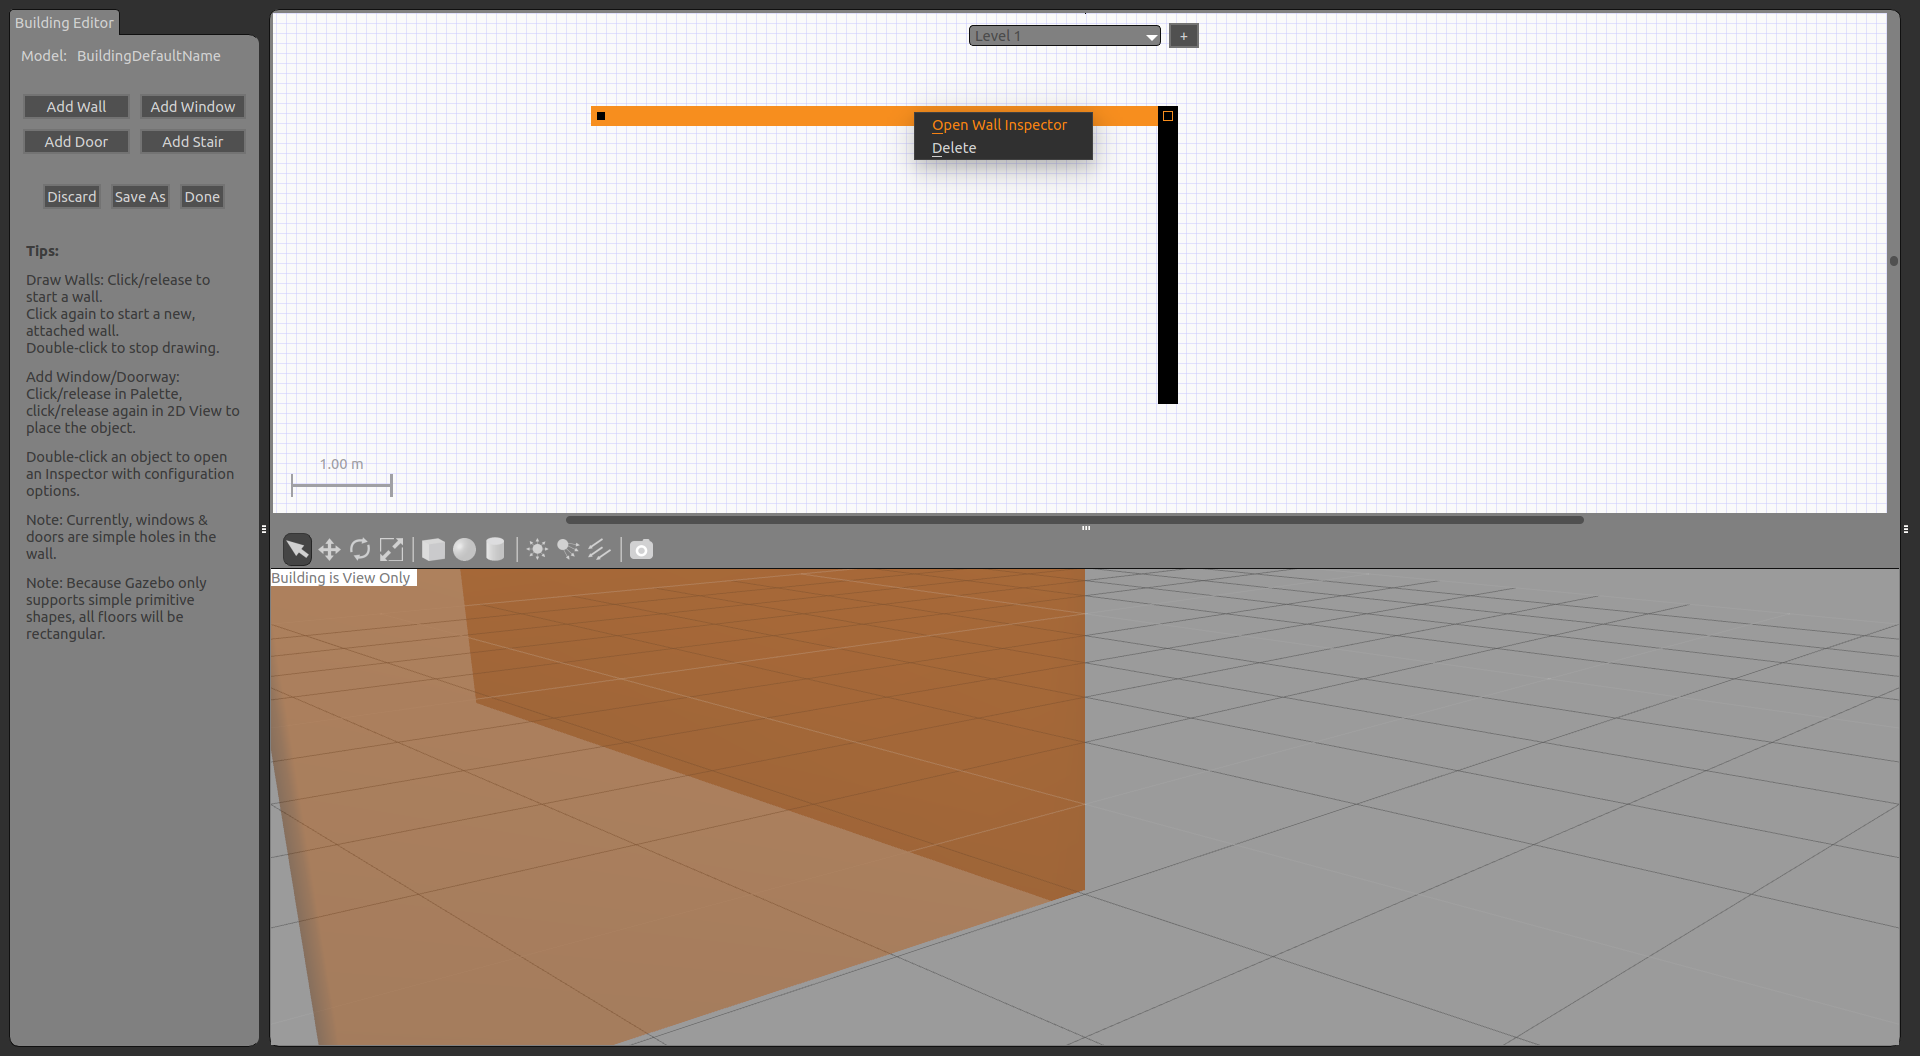

The parameters are expressed as follows: 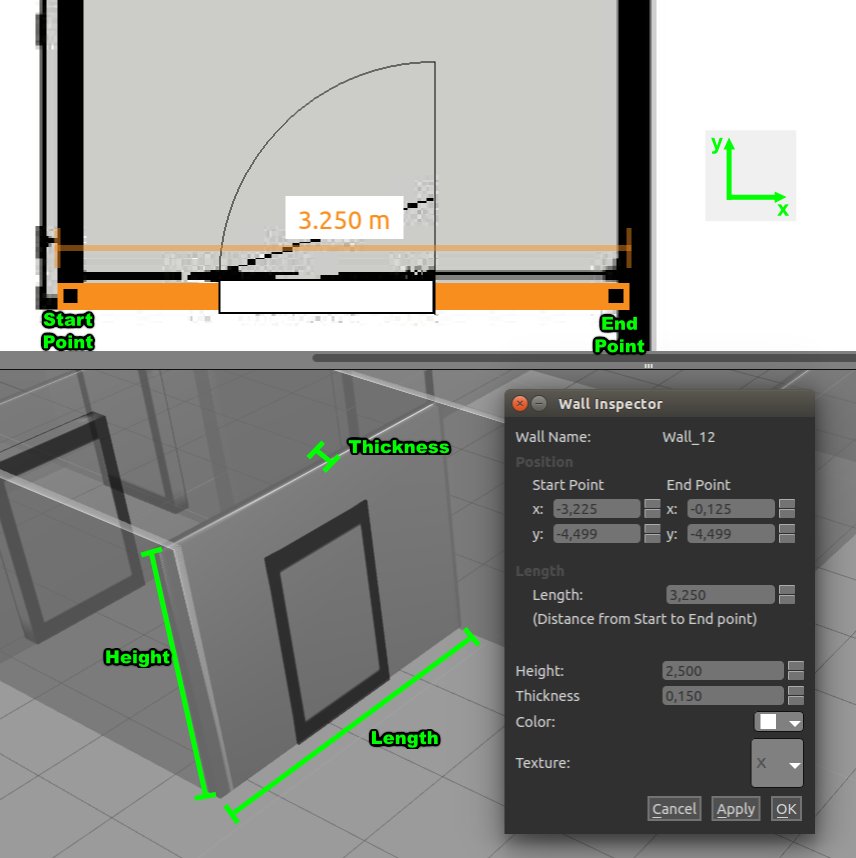
(5) When editing windows, you can also adjust them by right-clicking the editor. Each parameter means the following: 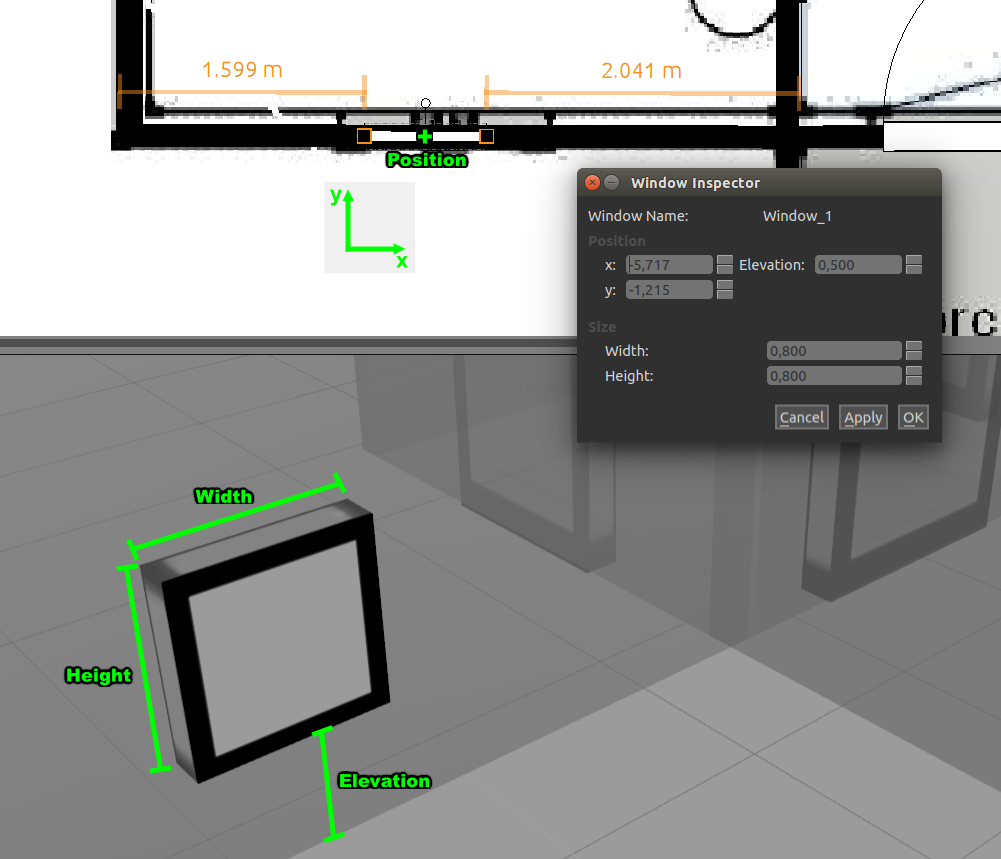
(6) Finally, a decent model has been built, like mine. 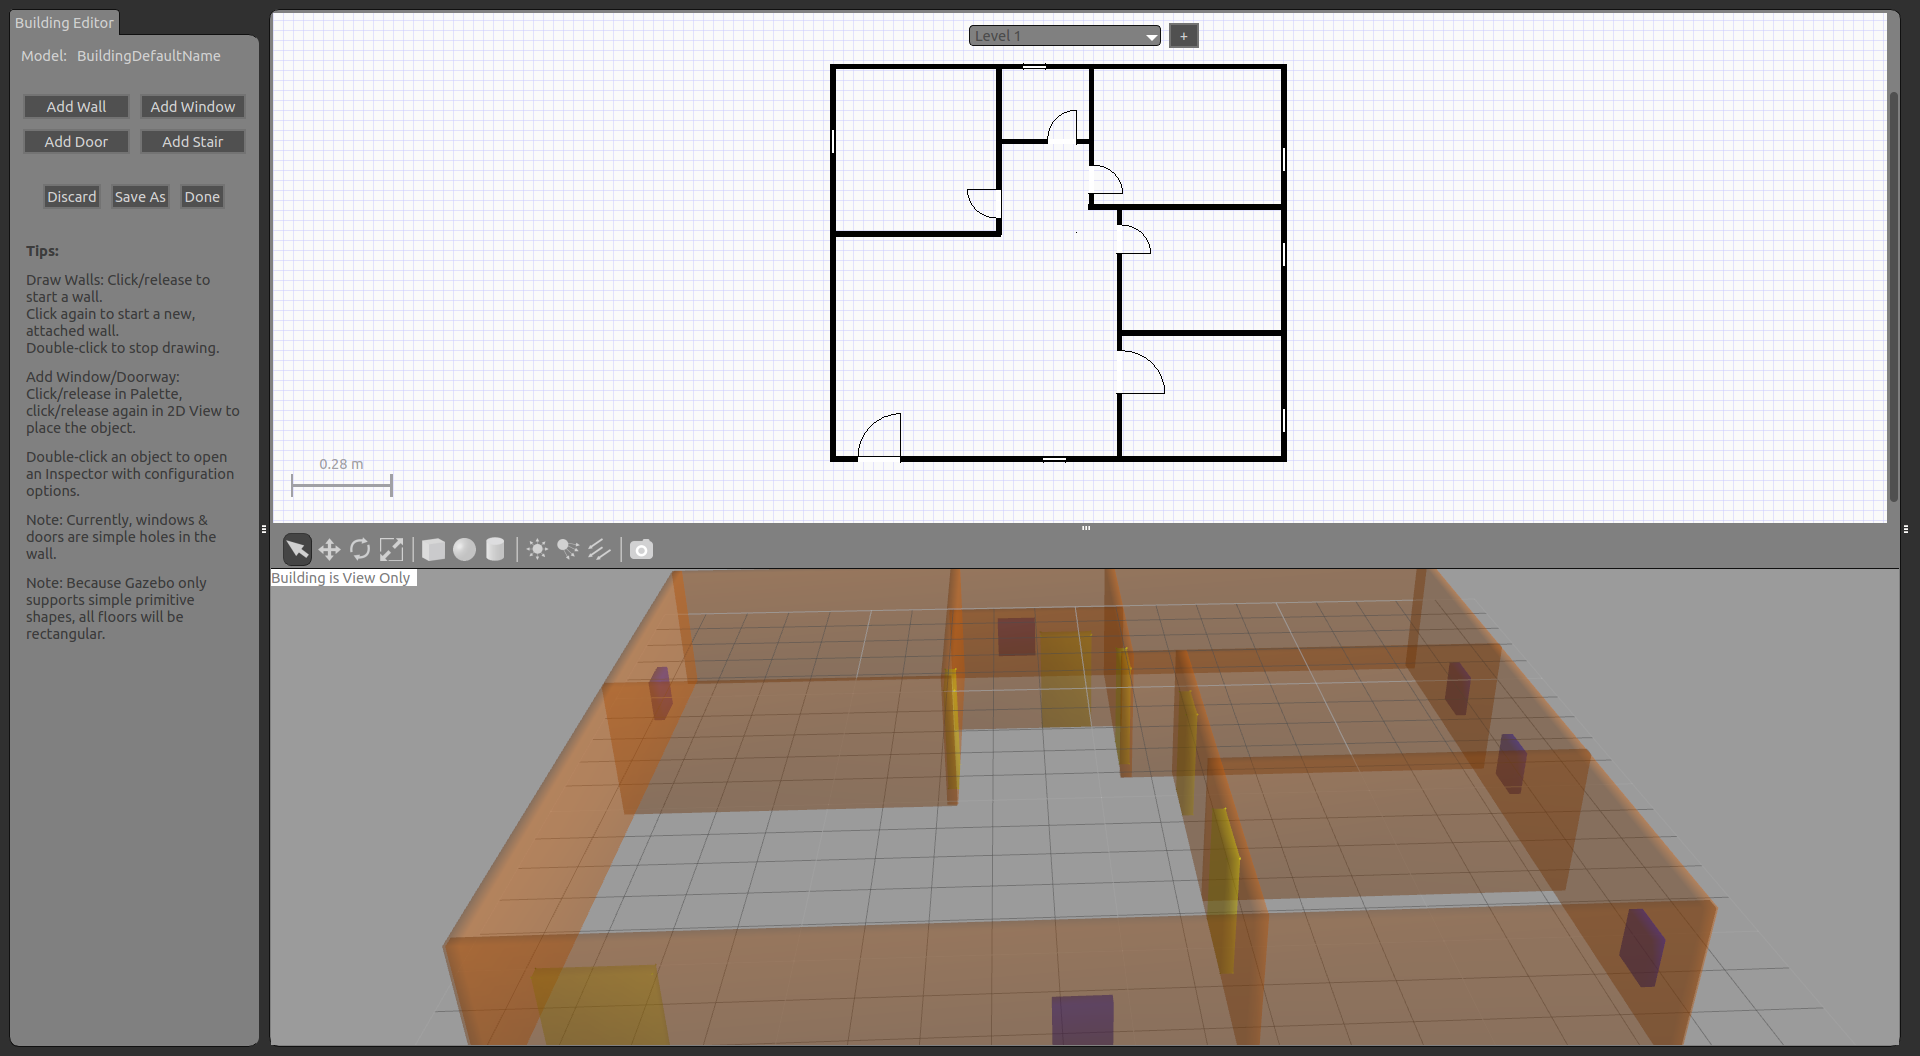
(7) Before saving, open the hidden directory with Ctrl+H key in the home directory, and create a new folder under the path of. gazebo/models to save the built model. My name is house_6. Note that the name of the model should be the same as the file name. Finally, it is saved as follows. 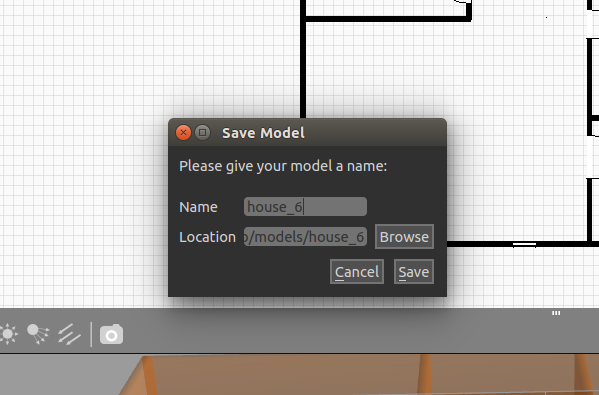
(8) After saving, you can exit the gazebo editor.
3. Edit model initialization file
(1) Enter. gazebo/models/house_6 in the same way again, and you will find that there is only one sdf file, which is not enough, and you need a config file. So create a new model.config (file name can only be this, can not be changed!) 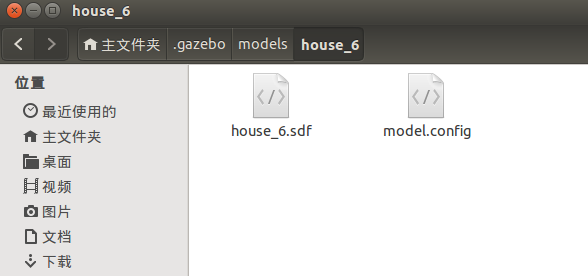
(2) In. gazebo/models/house_6/model.config, fill in the following information
<?xml version="1.0"?>

<model>
  <name>House 6</name>
  <version>1.0</version>
  <sdf version="1.4">house_6.sdf</sdf>


  <author>
    <name>XXXXXXXXX</name>
    <email>XXXXXXXXXX@qq.com</email>
  </author>

  <description>
    A model of a simple house for semi-navigation.
  </description>

</model>- 1
- 2
- 3
- 4
- 5
- 6
- 7
- 8
- 9
- 10
- 11
- 12
- 13
- 14
- 15
- 16
- 17
- 18
Believe you can understand, do not explain, you can change the information inside.
After that. Just save the exit.
4. Build your own environment
(1) Open the gazebo editor again and select it from the insert tab. You can see the model you just built. 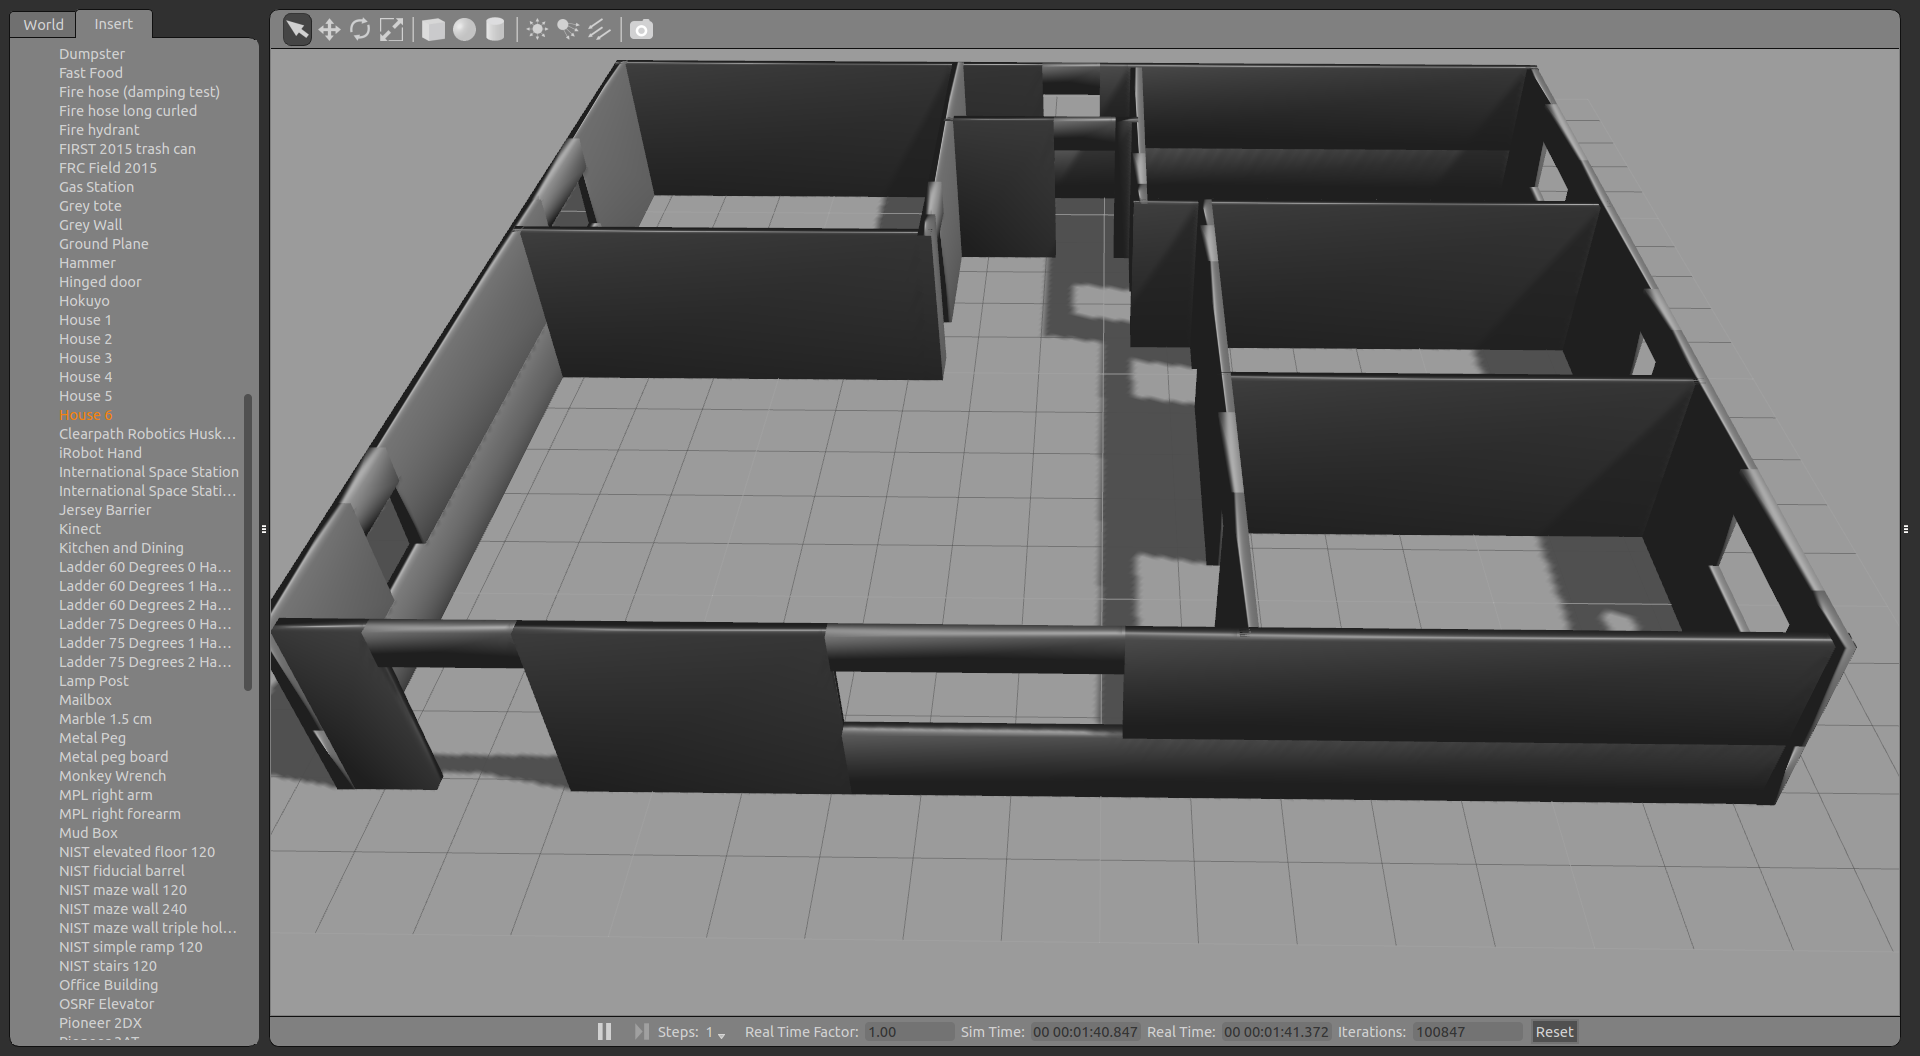
(2) Using the existing model of gazebo, we can continue to improve our environment and build our own world. My structure is as follows: 
There is no way to match colors, and the model base is not complete, so we can only do that.
Finally, save it as a world file, and it's done.
5. Use environment
(1) The launch file can be used to directly call the environment just built, and the new launch file can be written as follows:
<?xml version="1.0" encoding="UTF-8"?>
<launch>

  <!-- We resume the logic in empty_world.launch, changing only the name of the world to be launched -->
  <include file="$(find gazebo_ros)/launch/empty_world.launch">
    <arg name="world_name" value="$(find turtlebot_gazebo)/worlds/XXXX.world"/> <!-- Note: the world_name is with respect to GAZEBO_RESOURCE_PATH environmental variable -->
    <arg name="paused" value="false"/>
    <arg name="use_sim_time" value="true"/>
    <arg name="gui" value="true"/>
    <arg name="headless" value="false"/>
    <arg name="debug" value="false"/>
  </include>

</launch>
- 1
- 2
- 3
- 4
- 5
- 6
- 7
- 8
- 9
- 10
- 11
- 12
- 13
- 14
- 15
(2) gazebo simulation is mostly used for turtlebot, which can also be used for turtlebot. The new launch file is written as follows
<launch>
    <arg name="world_file"      default="$(find turtlebot_gazebo)/worlds/XXXXXX.world"/>

    <arg name="base"            default="kobuki"/> <!-- create, roomba -->
    <arg name="battery"         default="/proc/acpi/battery/BAT0"/>  <!-- /proc/acpi/battery/BAT0 -->
    <arg name="gui"                 default="true"/>
    <arg name="stacks"          default="hexagons"/>  <!-- circles, hexagons -->
    <arg name="3d_sensor"   default="KinectHokuyo"/>  <!-- kinect, asus_xtion_pro ,KinectHokuyo-->

    <include file="$(find gazebo_ros)/launch/empty_world.launch">
        <arg name="use_sim_time" value="true"/>
        <arg name="debug" value="false"/>
        <arg name="gui" value="$(arg gui)" />
        <arg name="world_name" value="$(arg world_file)"/>
    </include>

    <include file="$(find turtlebot_gazebo)/launch/includes/$(arg base).launch.xml">
        <arg name="base" value="$(arg base)"/>
        <arg name="stacks" value="$(arg stacks)"/>
        <arg name="3d_sensor" value="$(arg 3d_sensor)"/>
    </include>

    <node pkg="robot_state_publisher" type="robot_state_publisher" name="robot_state_publisher">
        <param name="publish_frequency" type="double" value="30.0" />
    </node>

</launch>- 1
- 2
- 3
- 4
- 5
- 6
- 7
- 8
- 9
- 10
- 11
- 12
- 13
- 14
- 15
- 16
- 17
- 18
- 19
- 20
- 21
- 22
- 23
- 24
- 25
- 26
- 27
Running the launch file, you can see that:
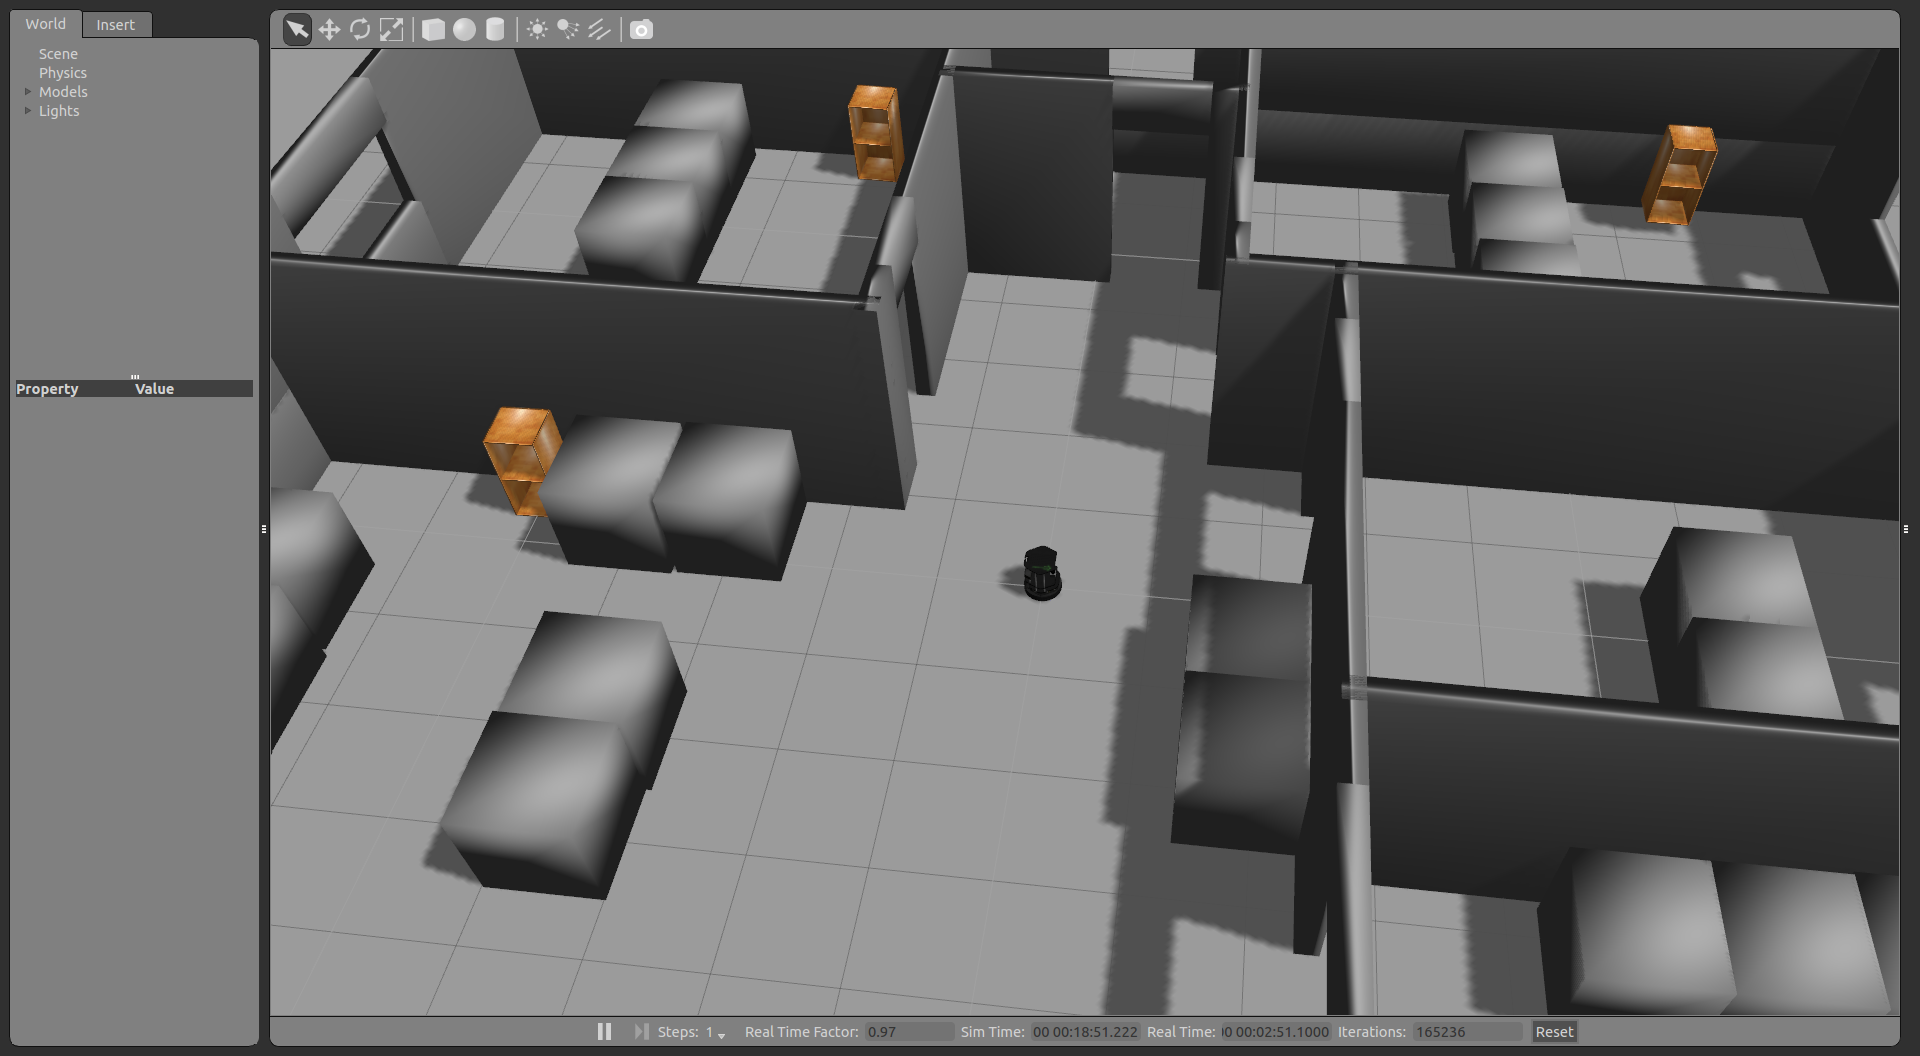
Be accomplished!!!