1 code formatting
The format of C language code needs to use clang format, which is integrated into llvm, so you need to install llvm first, Click here to download

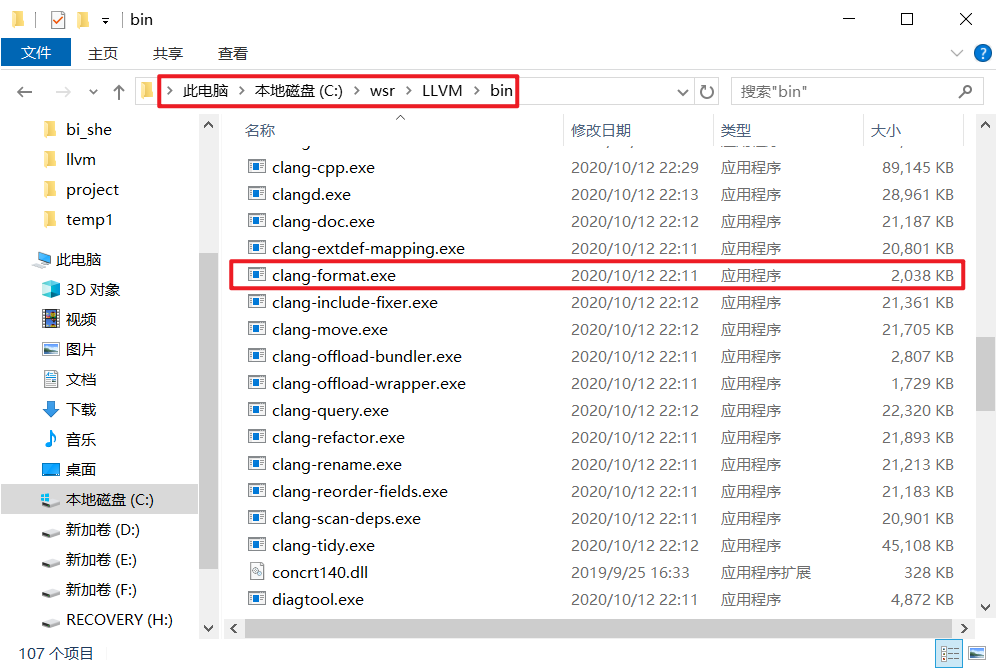
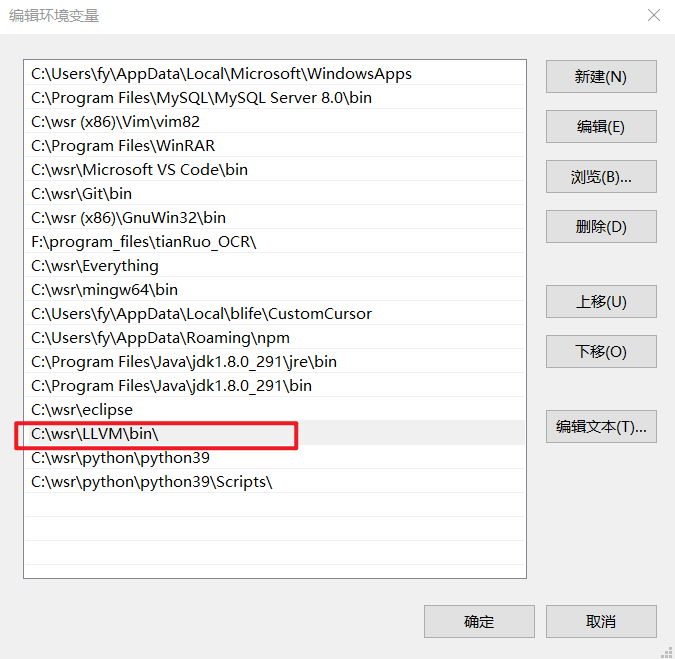
After downloading, run the installation file and add the bin directory to the environment variable path (restart the computer to make the newly added environment variable take effect). For example, the directory I installed is C:\wsr\LLVM\bin, and the clang format in the figure is the component required to format c code
1.1 initial experience of clang format
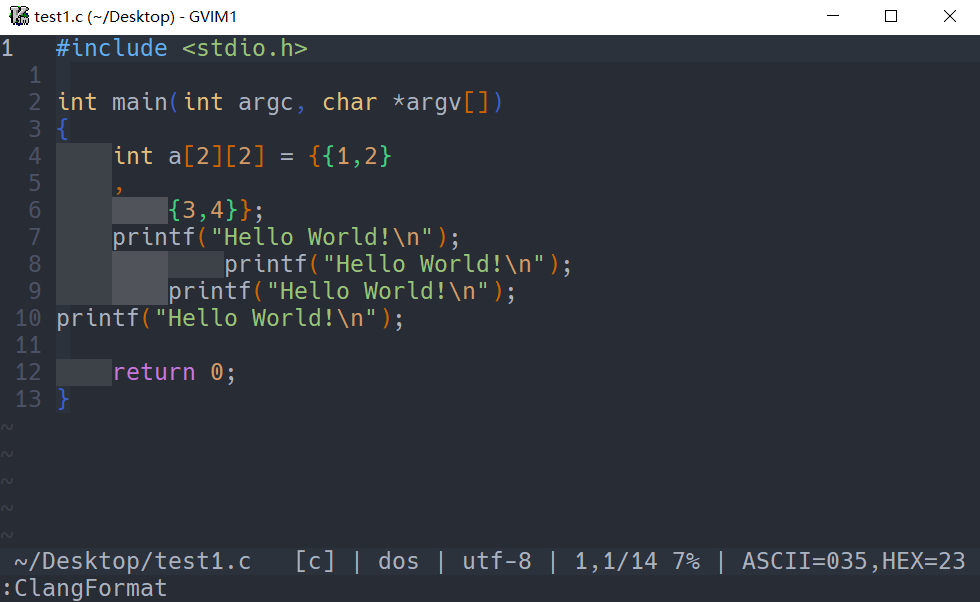
test1.c
#include <stdio.h>

int main(int argc, char *argv[])
{
    int a[2][2] = {{1,2}
    ,
        {3,4}};
    printf("Hello World!\n");
            printf("Hello World!\n");
        printf("Hello World!\n");
printf("Hello World!\n");

    return 0;
}
Open powershell or cmd. After setting the environment variable, without restarting the computer, you need to enter the bin directory of llvm and run the following command:
PS C:\Users\fy> cd C:\wsr\LLVM\bin\
PS C:\wsr\LLVM\bin> .\clang-format.exe -style=google -i C:\Users\fy\Desktop\test1.c
PS C:\wsr\LLVM\bin>
test1. The source code of C is formatted as
#include <stdio.h>

int main(int argc, char *argv[]) {
  int a[2][2] = {{1, 2}, {3, 4}};
  printf("Hello World!\n");
  printf("Hello World!\n");
  printf("Hello World!\n");
  printf("Hello World!\n");

  return 0;
}
Command interpretation
Usage: clang format - style = XXX - I * * * c
- -Style indicates style. The options are LLVM, Google, Chromium, Mozilla, WebKit and file, where file specifies the parameter file.
- -i means to write the formatted content to the original file.
For example:
PS C:\wsr\LLVM\bin> .\clang-format -style=Chromium -i C:\Users\fy\Desktop\test1.c
PS C:\wsr\LLVM\bin> .\clang-format -style=LLVM -i C:\Users\fy\Desktop\test1.c
PS C:\wsr\LLVM\bin> .\clang-format -style=google -i C:\Users\fy\Desktop\test1.c
PS C:\wsr\LLVM\bin> .\clang-format -style=WebKit -i C:\Users\fy\Desktop\test1.c
1.2 format c code in vim
1.2.1 configuring python for vim
First, open vim and enter: version in the command line mode to check whether the VIM used supports python and the supported python version
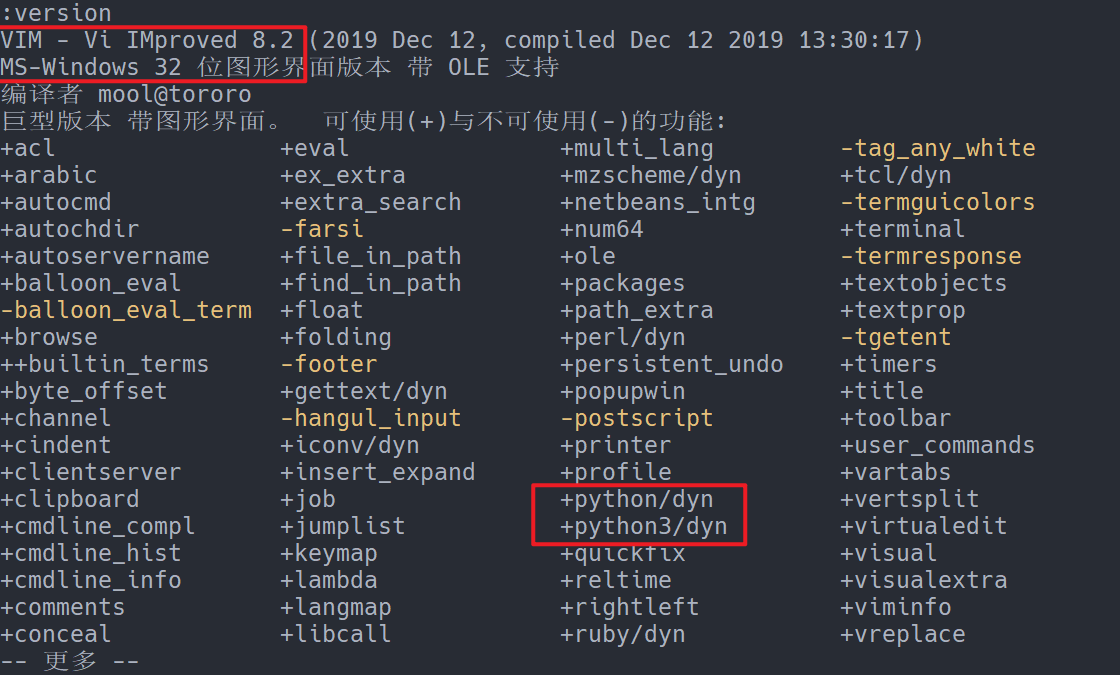
It can be seen from the output that the VIM I use is 32-bit vim8 2. This version supports python, and the python version used is python2 7 and python 3 6. Since the plug-ins used in the process of configuring the environment are related to the python version used by VIM, let's configure Python for VIM first.
Open Python official website and download 32-bit python2 7 and python 3 6. I downloaded 2.7.18 and 3.6.8:
https://www.python.org/ftp/python/3.6.8/python-3.6.8.exe
https://www.python.org/ftp/python/2.7.18/python-2.7.18.msi
After downloading, install the two versions of python separately (if other versions of python have been installed, do not uninstall). When installing here, customize the installation directory and do not set environment variables for it.
My custom installation directory is as follows:
C:\wsr (x86)\python\python27
C:\wsr (x86)\python\python36
Edit the vim configuration file vimrc, add the following setting items (if there is a space in the installation directory, add a \ beforethe space):
set pythondll=C:\wsr\ (x86)\python\python27\python27.dll
set pythonhome=C:\wsr\ (x86)\python\python27
set pythonthreedll=C:\wsr\ (x86)\python\python36\python36.dll
set pythonthreehome=C:\wsr\ (x86)\python\python36
Execute the command line of $Vic or% my so m to make the change effective.
1.2.2 install the code formatting plug-in
Install the code formatting plug-in vim-clang-format , open powershell and execute the command:
PS C:\Users\fy\vimfiles\pack\my_plugins\start> git clone https://github.com/rhysd/vim-clang-format.git vim-clang-format
Note: the plug-in manager is not used here to install plug-ins
Still in test1 C as an example
#include <stdio.h>

int main(int argc, char *argv[])
{
    int a[2][2] = {{1,2}
    ,
        {3,4}};
    printf("Hello World!\n");
            printf("Hello World!\n");
        printf("Hello World!\n");
printf("Hello World!\n");

    return 0;
}
In command line mode, execute: ClangFormat, and the source file will be formatted
Can also be in Set shortcut keys for VIM clang format in vimrc
let g:clang_format#style_options = {
            \ "AccessModifierOffset" : -4,
            \ "AllowShortIfStatementsOnASingleLine" : "true",
            \ "AlwaysBreakTemplateDeclarations" : "true",
            \ "Standard" : "C++11"}

" use <Leader>cf formatting code
autocmd FileType c,cpp,objc nnoremap <buffer><Leader>cf :<C-u>ClangFormat<CR>
autocmd FileType c,cpp,objc vnoremap <buffer><Leader>cf :ClangFormat<CR>
" Toggle auto formatting:
nmap <Leader>C :ClangFormatAutoToggle<CR>
2 automatic code completion
Automatic code completion requires the installation of plug-ins vim-snippets,ultisnips
PS C:\Users\fy\vimfiles\pack\my_plugins\start> git clone https://github.com/honza/vim-snippets.git vim-snippets
PS C:\Users\fy\vimfiles\pack\my_plugins\start> git clone https://github.com/SirVer/ultisnips.git ultisnips
After the installation is completed, you can use code auto completion in vim. Edit test2.0 using vim c:
Enter inc and press Tab
Enter main and press Tab
Enter printf and press Tab
......
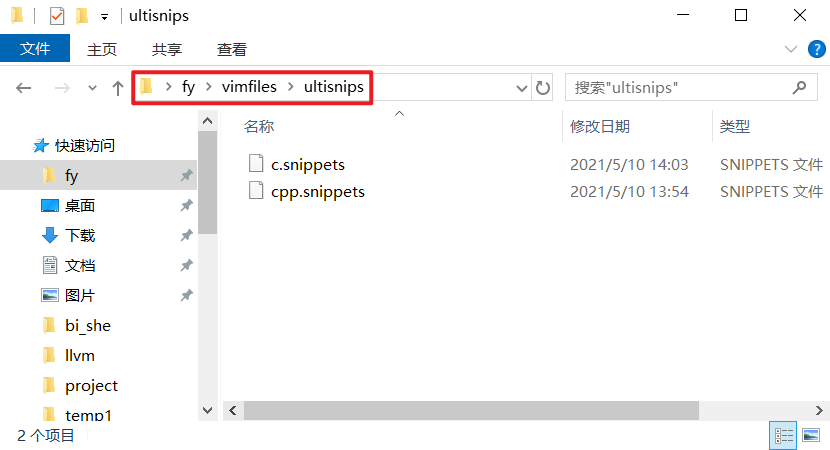
If you want to customize the code fragment, you can create a new folder ultisnips in the c:\users\username\vimfiles folder, and create new files c.snippets and CPP snippets……
c.snippets correspond to C language and CPP Snippets corresponds to C + +
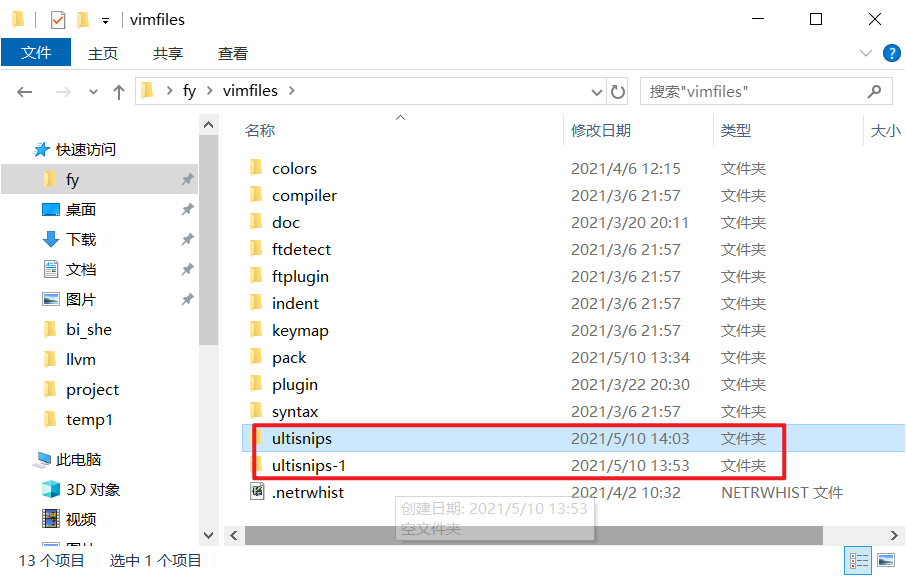
The name of the folder can be customized. If there are multiple folders, you can vimrc adds the following settings
let g:UltiSnipsSnippetDirectories=["ultisnips","ultisnips-1"]
The format of custom code fragment is:
snippet trigger_word [ "description" [ options ] ]

snippet abbreviation [ ""Description" [option] ]
code
endsnippet
For example, C:\Users\fy\vimfiles\ultisnips\c.snippets:
snippet if0
if ($1 == 0) {
	${2}
}
endsnippet
After defining the above code fragment, enter if0 when editing the code in the C source file, and then press Tab to add the code.