cas Official website: https://www.apereo.org/projects/cas
cas File: https://apereo.github.io/cas/Older-Versions.html
cas Download address: https://github.com/apereo/cas/releases
Mac build tomcat https :
http://blog.csdn.net/qq_33264648/article/details/63683660
cas server uses https by default, so tomcat implements https first.
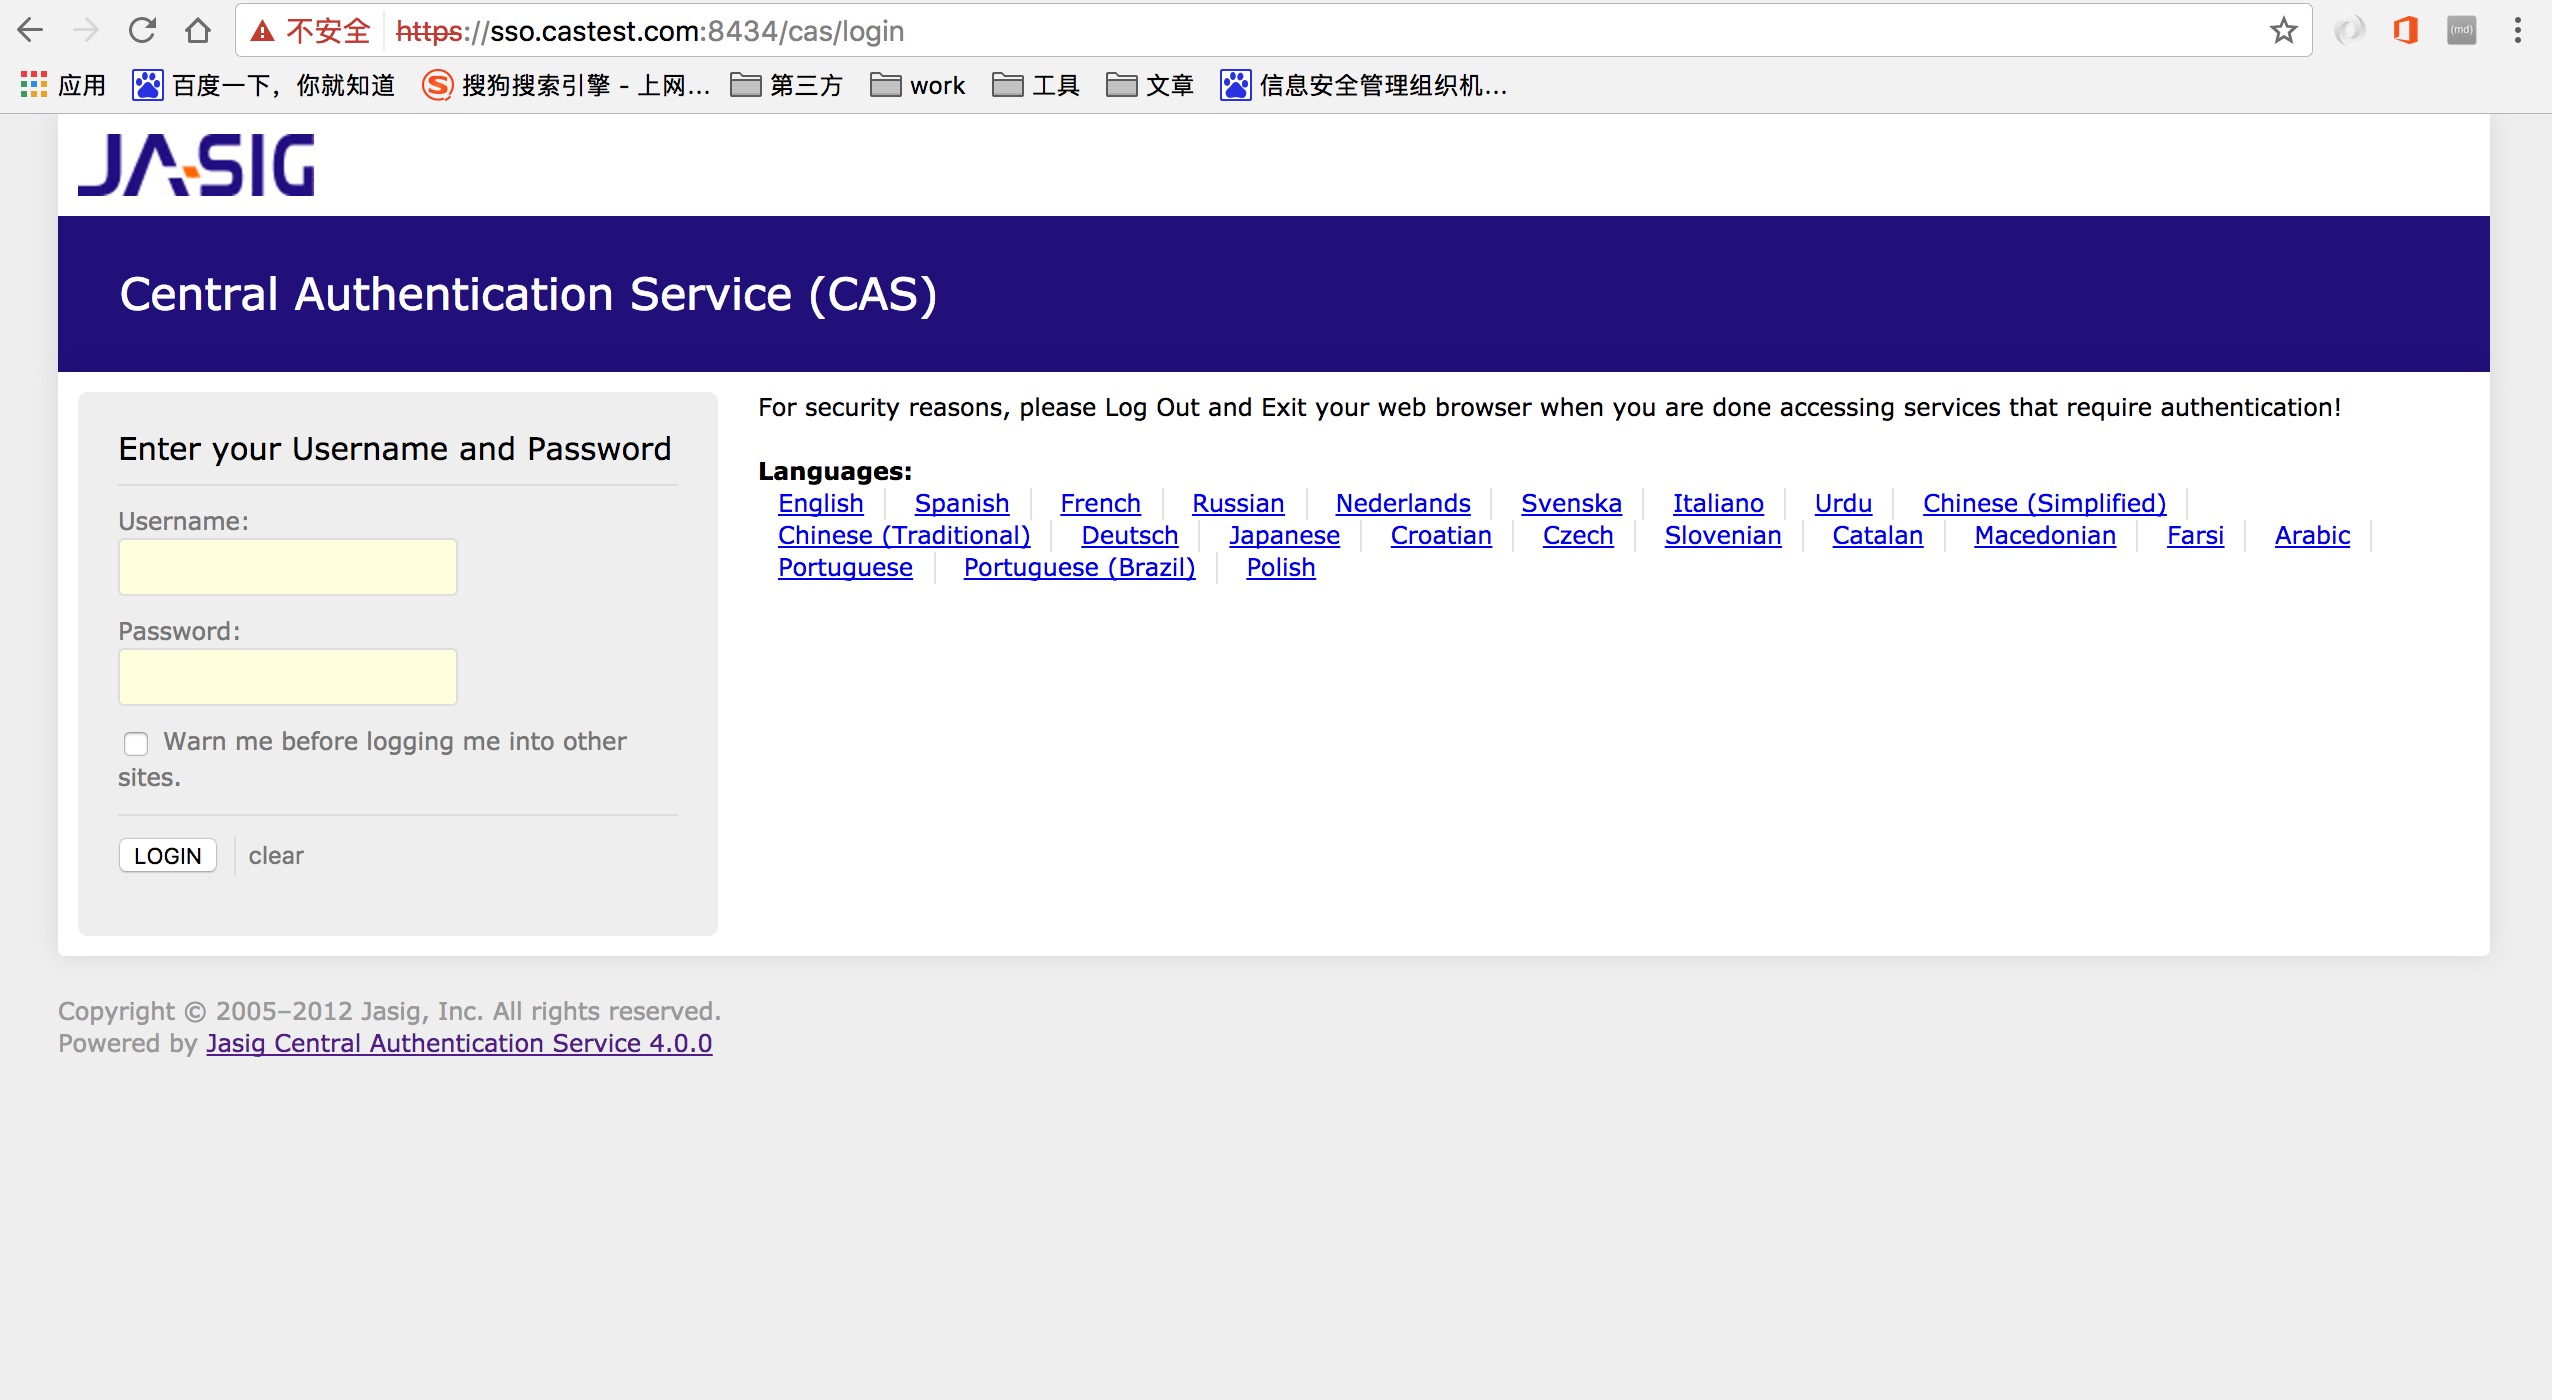
If you don't need to change cas server, you can download cas server package on the official website. There are war packages in it. Find the war package of wepapp, change its name to cas.war, put it in the webapps folder under the Tomcat folder, then start tomcat, open your favorite browser, and enter it in the address bar. https://sso.castest.com:8434/cas . sso.castest.com:8434 is configurable when tomcat configures https, which can be replaced by its own. At this time, the browser will display the default interface of cas, which can be used at this time.
But requirements are not always so simple, so we need to customize and modify what is in them.
Create a project
We don't need to download all the code in cas server. We can use rewriting (overwriting) to modify something in webapp. That's what the official website recommends.
First, create a new maven project and write it in the pom
    <modelVersion>4.0.0</modelVersion>

    <groupId>castest</groupId>
    <artifactId>test</artifactId>
    <version>1.0-SNAPSHOT</version>
    <packaging>war</packaging>

    <properties>
        <!-- Coding for File Copy -->
        <project.build.sourceEncoding>UTF-8</project.build.sourceEncoding>
        <project.reporting.outputEncoding>UTF-8</project.reporting.outputEncoding>
        <!-- Compile-time coding -->
        <maven.compiler.encoding>UTF-8</maven.compiler.encoding>
        <cas.version>4.0.0</cas.version>
    </properties>

    <dependencies>
        <dependency>
            <groupId>org.jasig.cas</groupId>
            <artifactId>cas-server-webapp</artifactId>
            <version>${cas.version}</version>
            <type>war</type>
            <scope>runtime</scope>
        </dependency>

        <dependency>
            <groupId>org.jasig.cas</groupId>
            <artifactId>cas-server-core</artifactId>
            <version>${cas.version}</version>
        </dependency>

        <dependency>
            <groupId>org.jasig.cas</groupId>
            <artifactId>cas-server-webapp-support</artifactId>
            <version>${cas.version}</version>
            <scope>compile</scope>
            <exclusions>
                <exclusion>
                    <groupId>*</groupId>
                    <artifactId>*</artifactId>
                </exclusion>
            </exclusions>
        </dependency>

        <dependency>
            <groupId>javax.servlet</groupId>
            <artifactId>servlet-api</artifactId>
            <version>2.5</version>
            <scope>compile</scope>
        </dependency>

        <dependency>
            <groupId>javax.servlet</groupId>
            <artifactId>jstl</artifactId>
            <version>1.1.2</version>
            <type>jar</type>
            <scope>runtime</scope>
        </dependency>

        <dependency>
            <groupId>taglibs</groupId>
            <artifactId>standard</artifactId>
            <version>1.1.2</version>
            <type>jar</type>
            <scope>runtime</scope>
        </dependency>
    </dependencies>

    <build>
        <finalName>cas</finalName>
        <plugins>
        </plugins>
    </build>
The cas server I chose was version 4.0, and version 4.1.10 or more was compiled using grade. Copy all resources and webapps in cas-server-webapp into your own project, and that's the final directory structure. 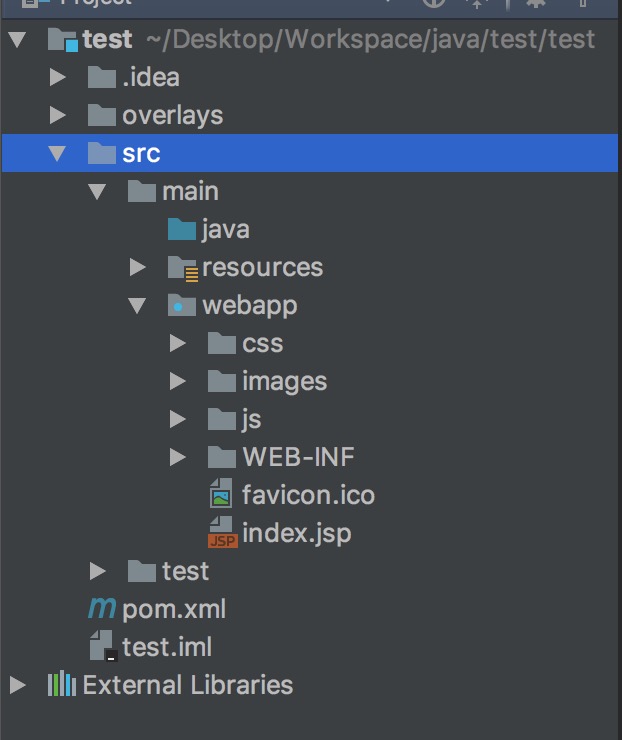
At this point, you may need to build a module. 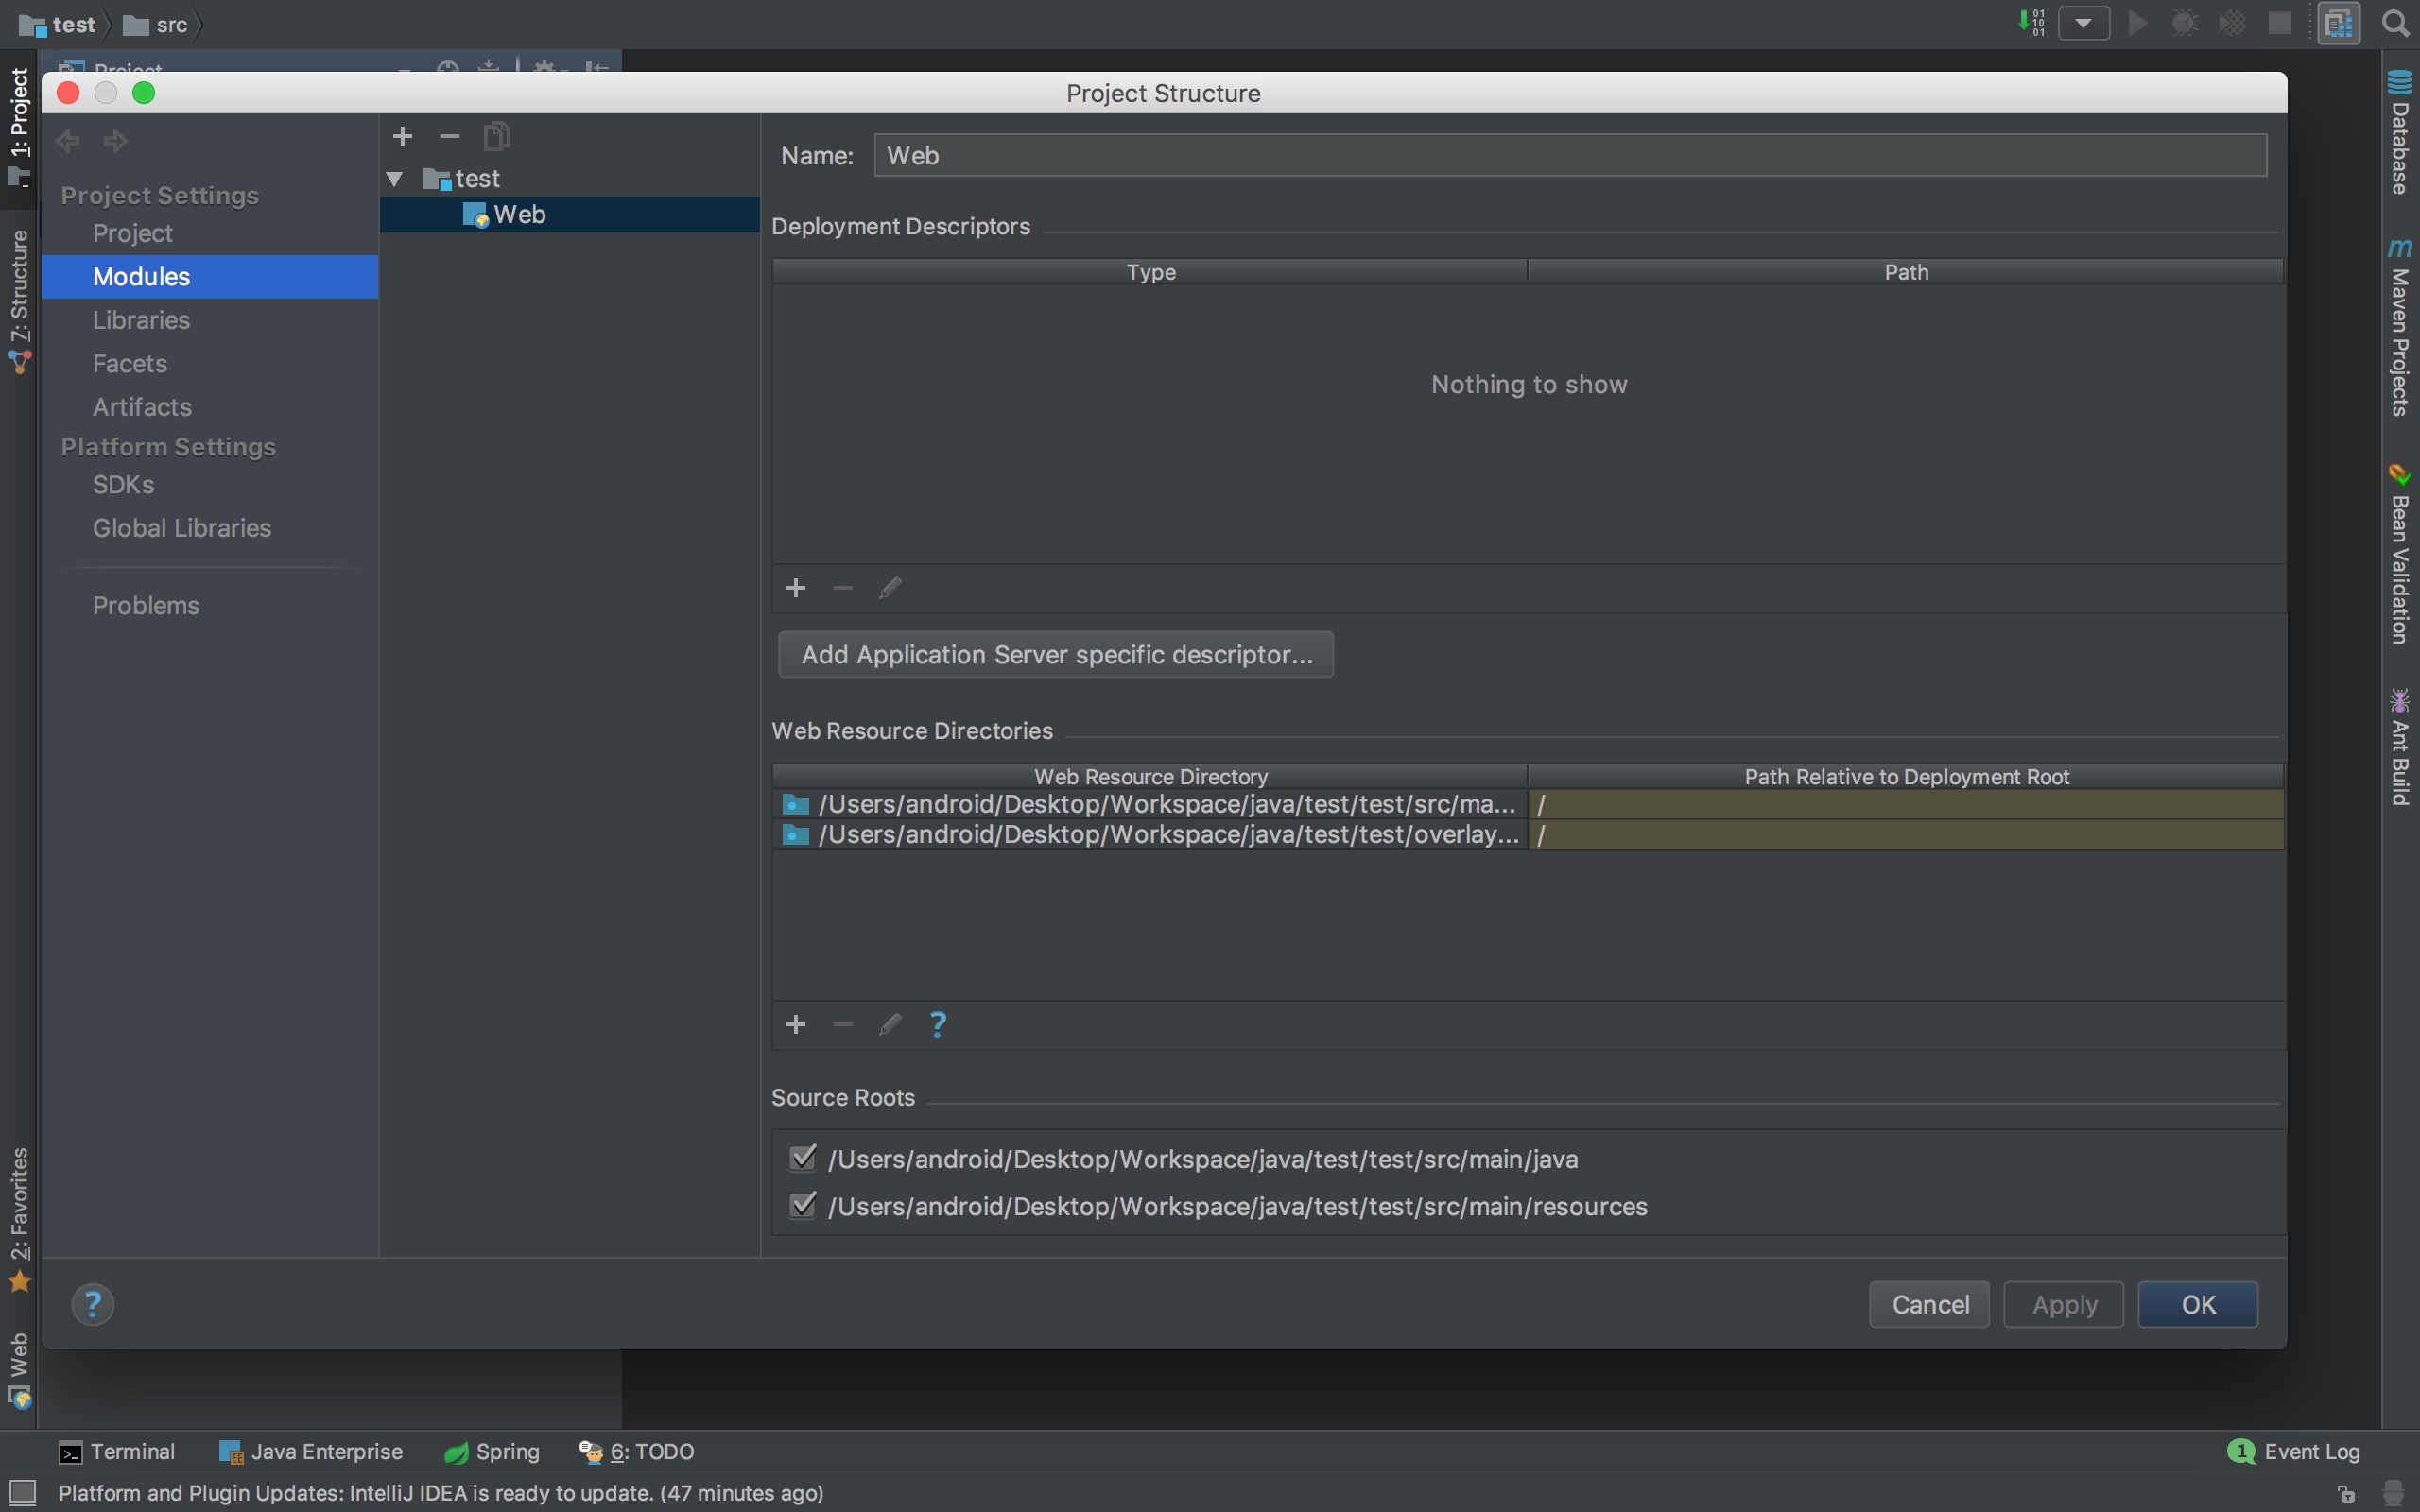
Create a new spring module. After you create it, click on the + number below to add all the information.
Click apply, then click ok, OK. 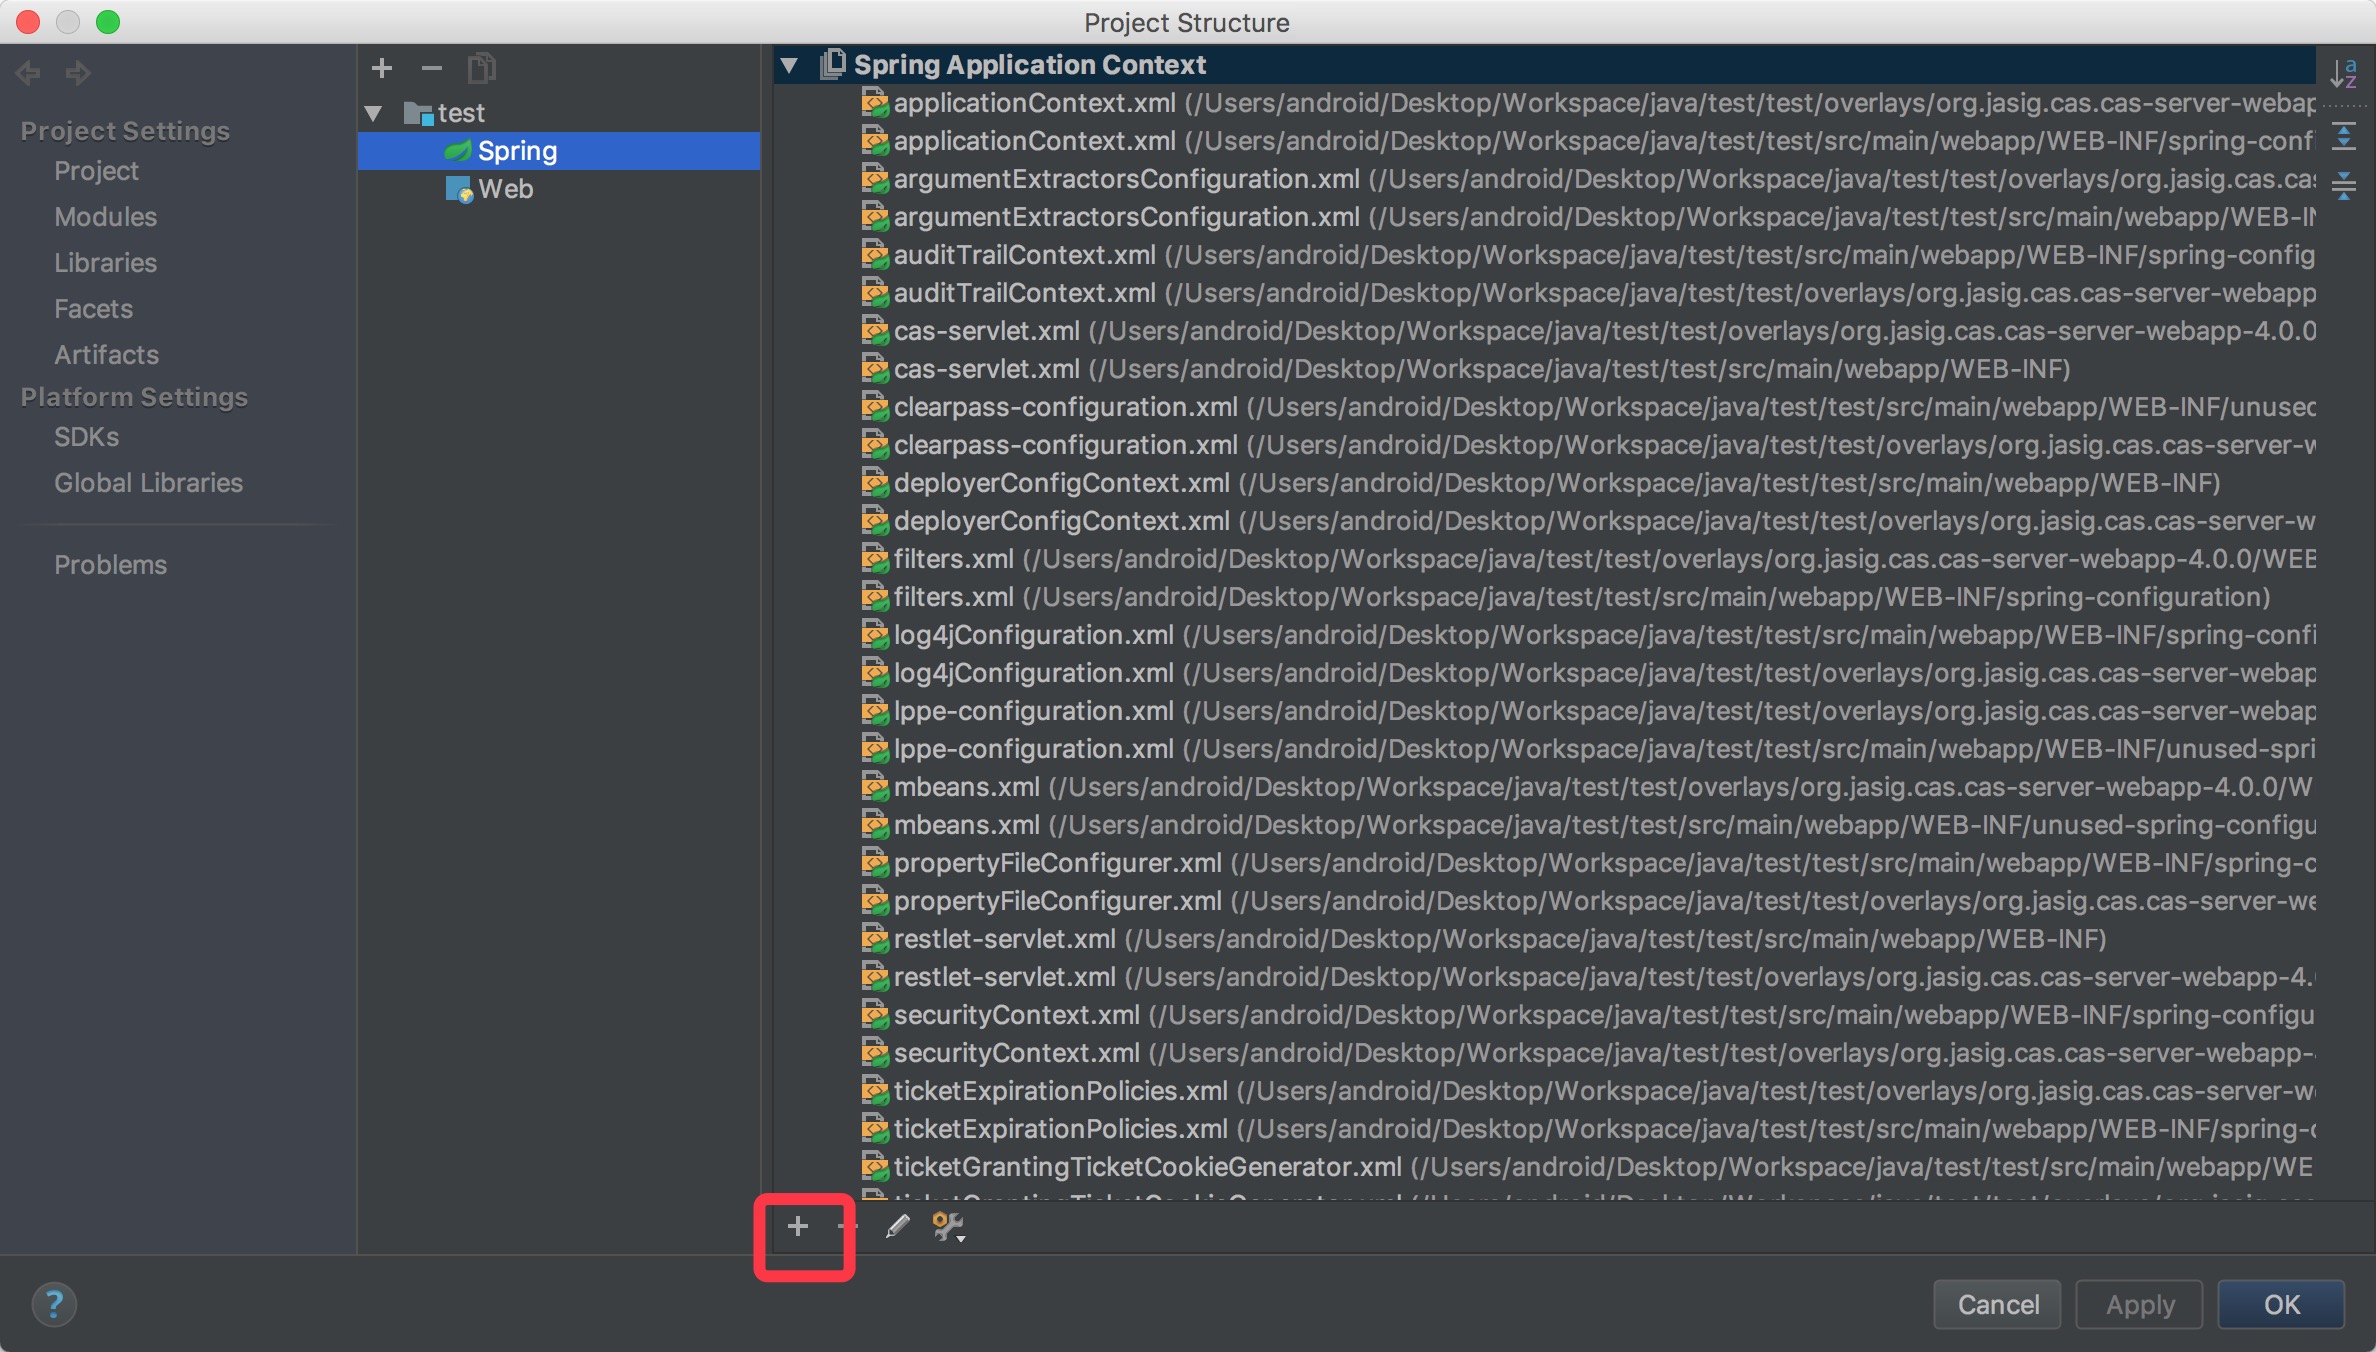
Then generate the war package and try it. 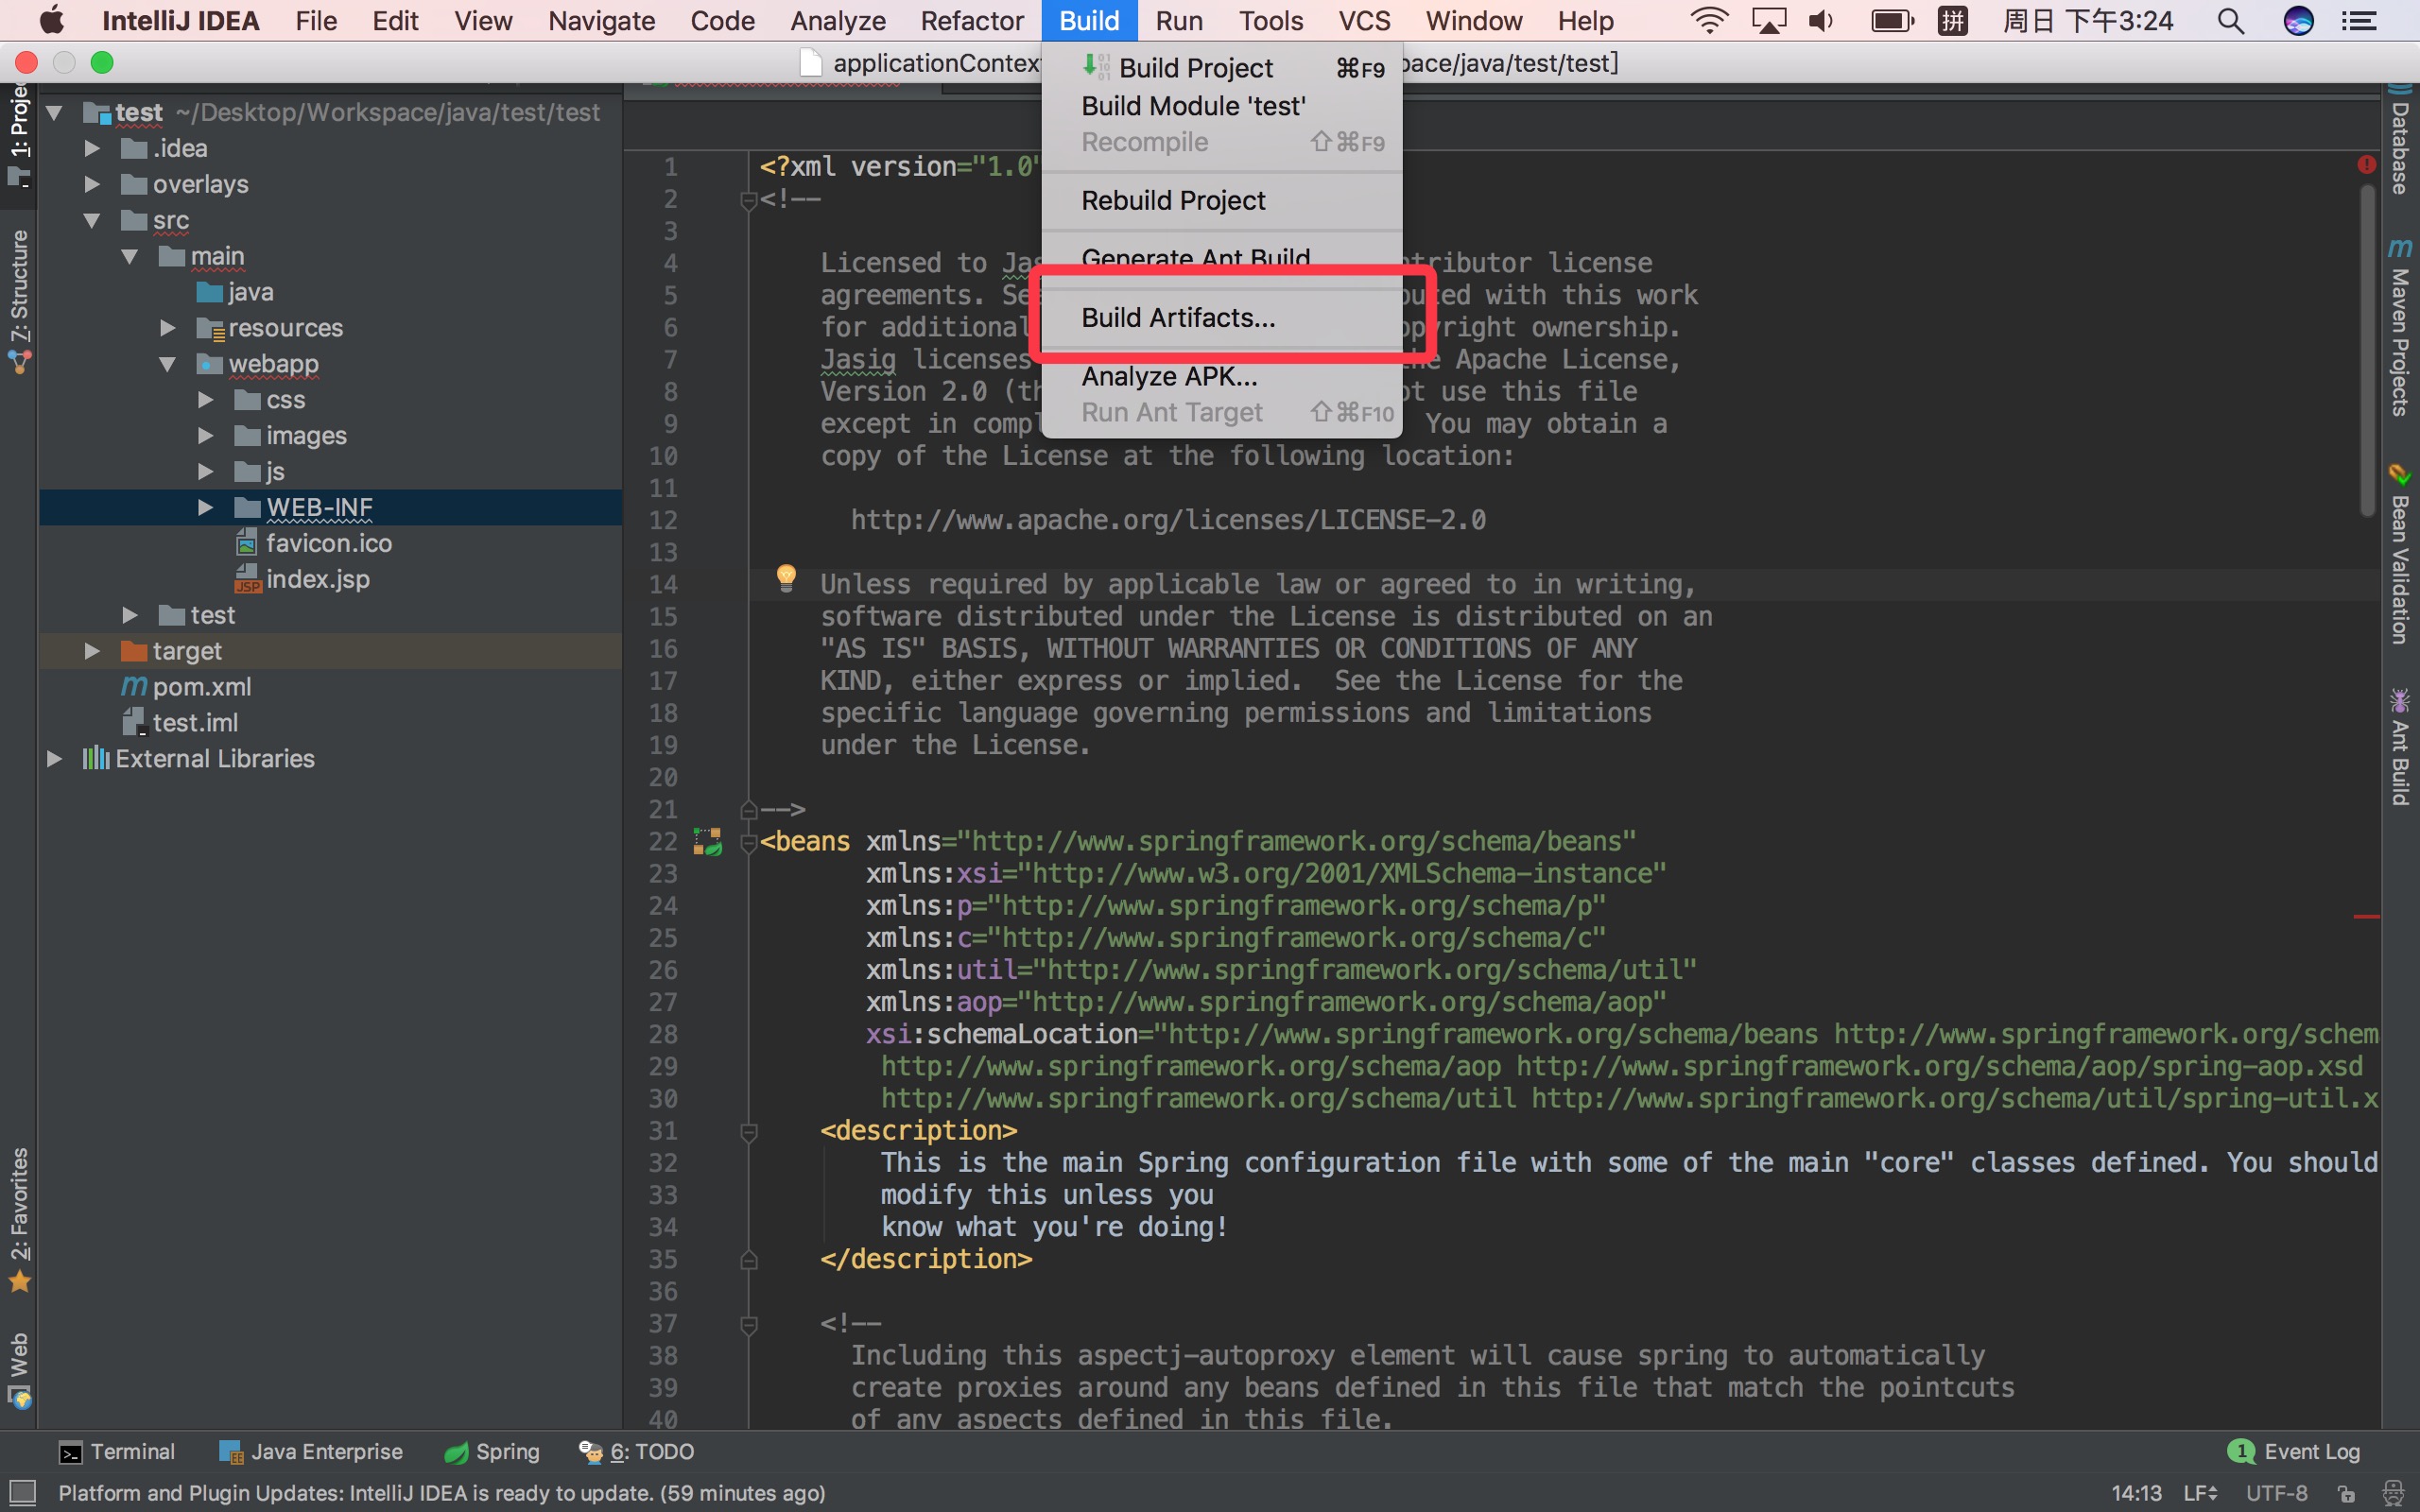
Once the build is successful, you can see the target folder in the project file directory on the left with a cas.war in it. Put it in the webapp folder under the Tomcat folder, and then start tomcat. Enter in the browser: https://sso.castest.com:8434/cas The cas login page will appear. The default user password is: casuser,Mellon