explain:
1. Prepare three virtual machines, refer to: Construction of CentOS7 cluster environment (taking 3 sets as an example)
2. Configure secret free login between virtual machines: Reference: CentOS7 cluster configuration password free login
3. Install jdk on virtual machines separately: Reference: CentOS7 cluster installation jdk1 eight
Ready to start building hadoop cluster, the following operations are performed on the first machine node1:
1. Upload and unzip the hadoop installation package
1.1 upload the installation package to / development / software
mkdir -p /develop/software
mkdir -p /develop/server
cd /develop/software
rz

1.2 unzip the installation package to / development / server
tar -zxvf hadoop-2.7.5.tar.gz -C /develop/server/
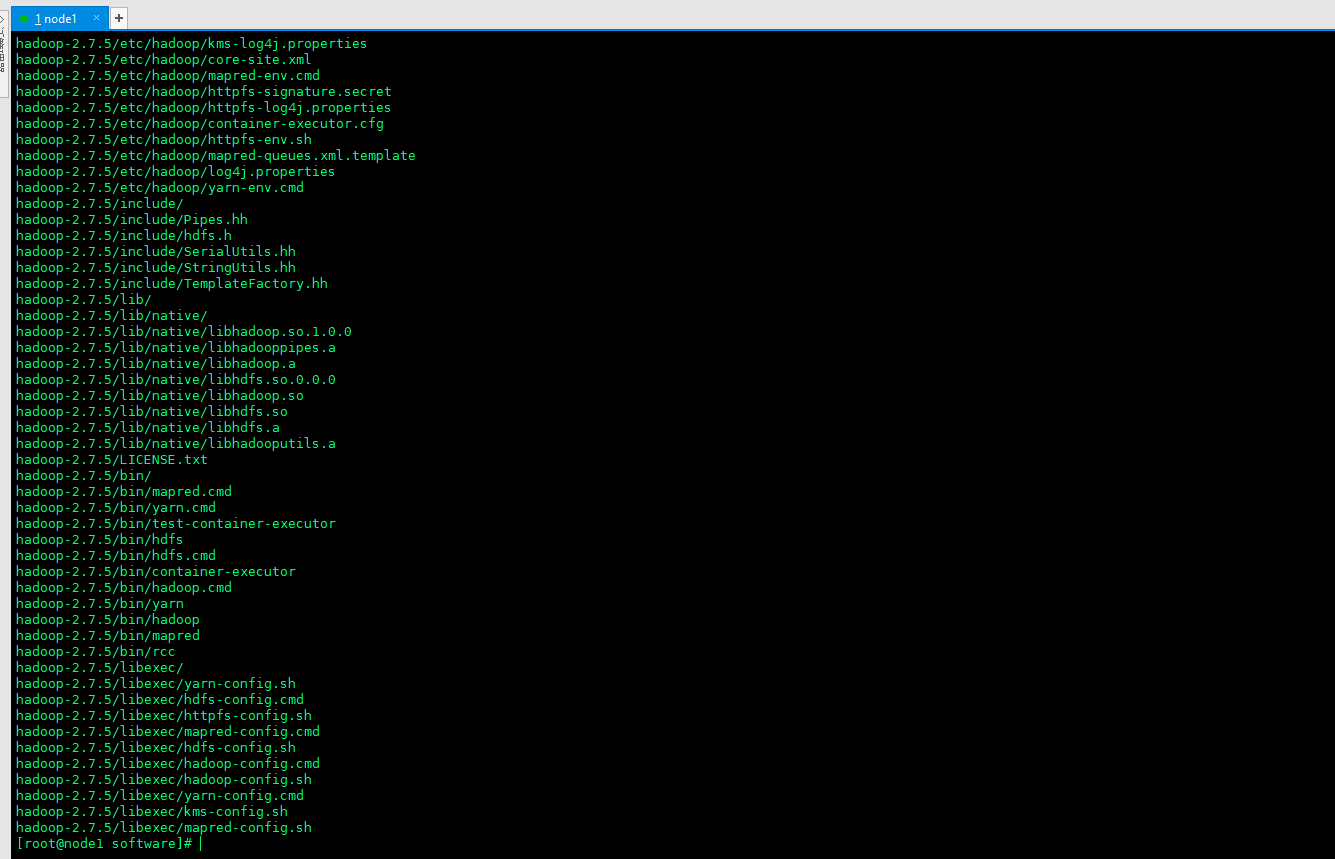
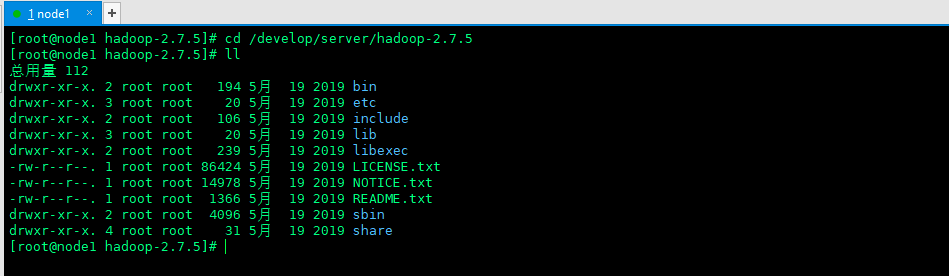
1.3 switch to the decompression directory and view the extracted files
cd /develop/server/hadoop-2.7.5
ll
2. Modify hadoop configuration file
2.1 switch to the etc/hadopp directory of hadoop and modify hadoop env sh
cd /develop/server/hadoop-2.7.5/etc/hadoop/
ll
vim hadoop-env.sh

2.2hadoop-env. Configuration jdk path of SH file
export JAVA_HOME=/develop/server/jdk1.8.0_241

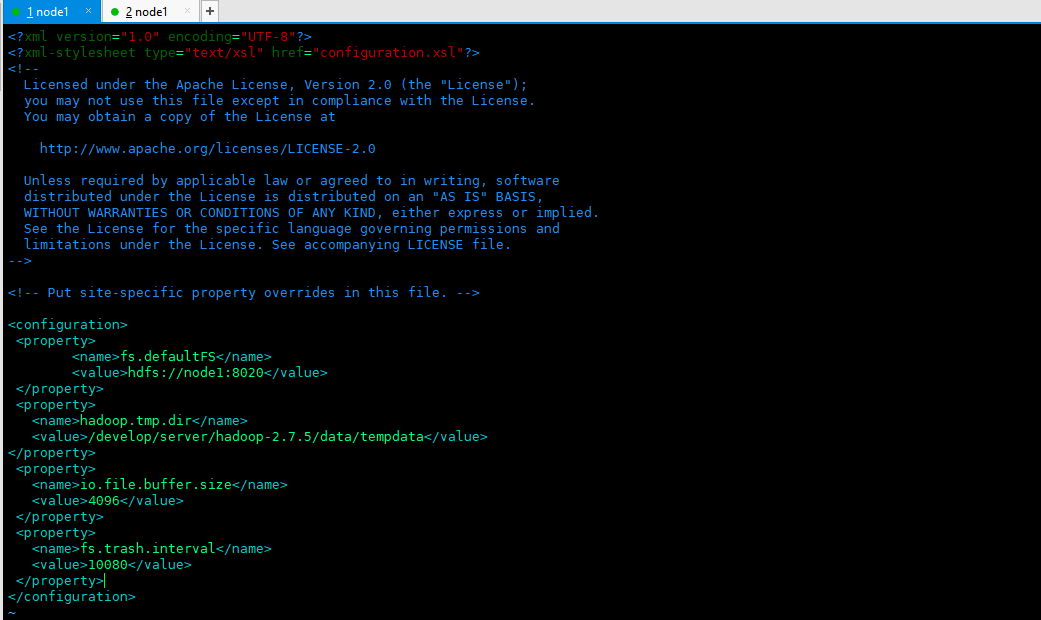
2.3 configure core site XML (the core configuration file of hadoop) configure the following in < configuration > < / configuration >
<!-- set up Hadoop File system for -->
<property>
	<name>fs.defaultFS</name>
	<value>hdfs://node1:8020</value>
 </property>
<!-- to configure Hadoop Data storage directory -->
 <property>
   <name>hadoop.tmp.dir</name>
   <value>/develop/server/hadoop-2.7.5/data/tempdata</value>
</property>
<!--  Buffer size -->
 <property>
   <name>io.file.buffer.size</name>
   <value>4096</value>
 </property>
<!--  hdfs Trash can mechanism, in minutes -->
 <property>
   <name>fs.trash.interval</name>
   <value>10080</value>
 </property>
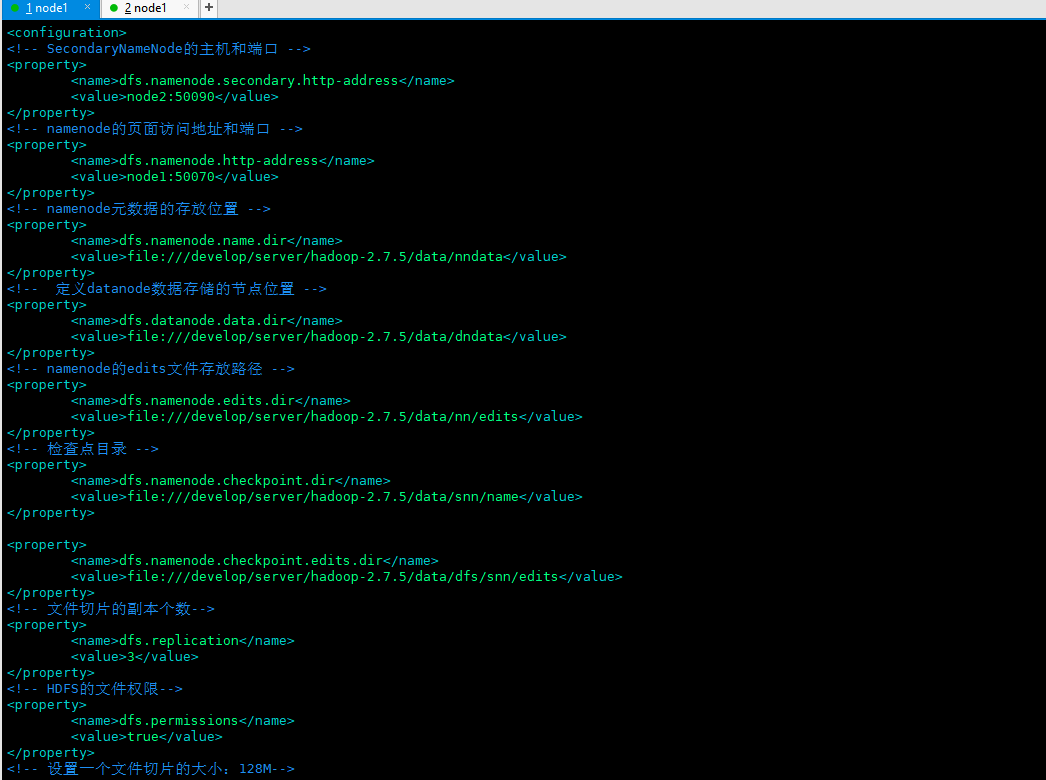
2.4 configure hdfs site XML (core configuration file of hdfs). Configure the following contents in < configuration > < / configuration >. Note that secondaryNameNode and Namenode should not be placed on the same machine
<!-- SecondaryNameNode Host and port for -->
<property>
	<name>dfs.namenode.secondary.http-address</name>
	<value>node2:50090</value>
</property>
<!-- namenode Page access address and port -->
<property>
	<name>dfs.namenode.http-address</name>
	<value>node1:50070</value>
</property>
<!-- namenode Storage location of metadata -->
<property>
	<name>dfs.namenode.name.dir</name>
	<value>file:///develop/server/hadoop-2.7.5/data/nndata</value>
</property>
<!--  definition datanode Node location of the data store -->
<property>
	<name>dfs.datanode.data.dir</name>
	<value>file:///develop/server/hadoop-2.7.5/data/dndata</value>
</property>
<!-- namenode of edits File storage path -->
<property>
	<name>dfs.namenode.edits.dir</name>
	<value>file:///develop/server/hadoop-2.7.5/data/nn/edits</value>
</property>
<!-- Checkpoint directory -->
<property>
	<name>dfs.namenode.checkpoint.dir</name>
	<value>file:///develop/server/hadoop-2.7.5/data/snn/name</value>
</property>

<property>
	<name>dfs.namenode.checkpoint.edits.dir</name>
	<value>file:///develop/server/hadoop-2.7.5/data/dfs/snn/edits</value>
</property>
<!-- Number of copies of file slice-->
<property>
	<name>dfs.replication</name>
	<value>3</value>
</property>
<!-- HDFS File permissions for-->
<property>
	<name>dfs.permissions</name>
	<value>true</value>
</property>
<!-- Set the size of a file slice: 128 M-->
<property>
	<name>dfs.blocksize</name>
	<value>134217728</value>
</property>

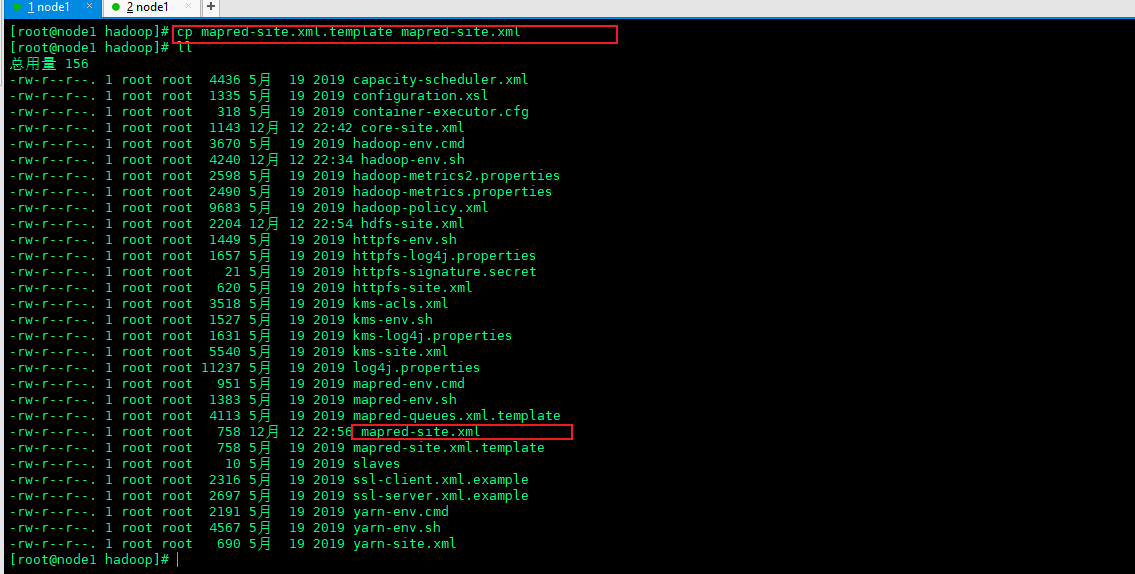
2.5 copy mapred site xml. Template and change the name to mapred site xml
cp mapred-site.xml.template mapred-site.xml
ll
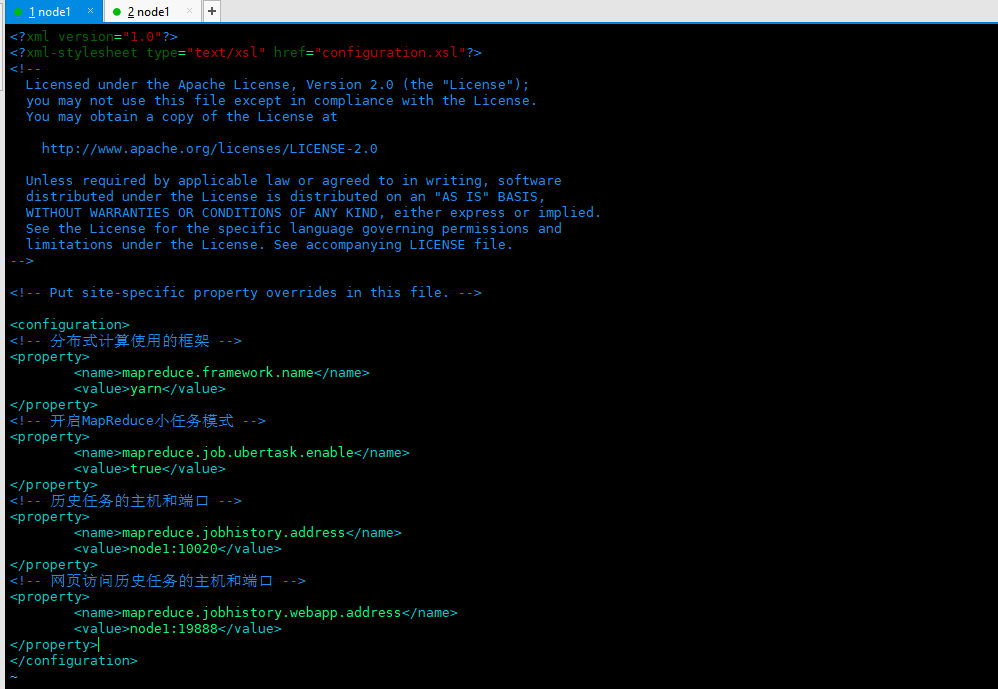
2.6 configuring mapred site XML (the core configuration file of MapReduce), configure the following in < configuration > < / configuration >
<!-- Framework for distributed computing -->
<property>
	<name>mapreduce.framework.name</name>
	<value>yarn</value>
</property>
<!-- open MapReduce Small task mode -->
<property>
	<name>mapreduce.job.ubertask.enable</name>
	<value>true</value>
</property>
<!-- Hosts and ports for historical tasks -->
<property>
	<name>mapreduce.jobhistory.address</name>
	<value>node1:10020</value>
</property>
<!-- Host and port for web access history tasks -->
<property>
	<name>mapreduce.jobhistory.webapp.address</name>
	<value>node1:19888</value>
</property>
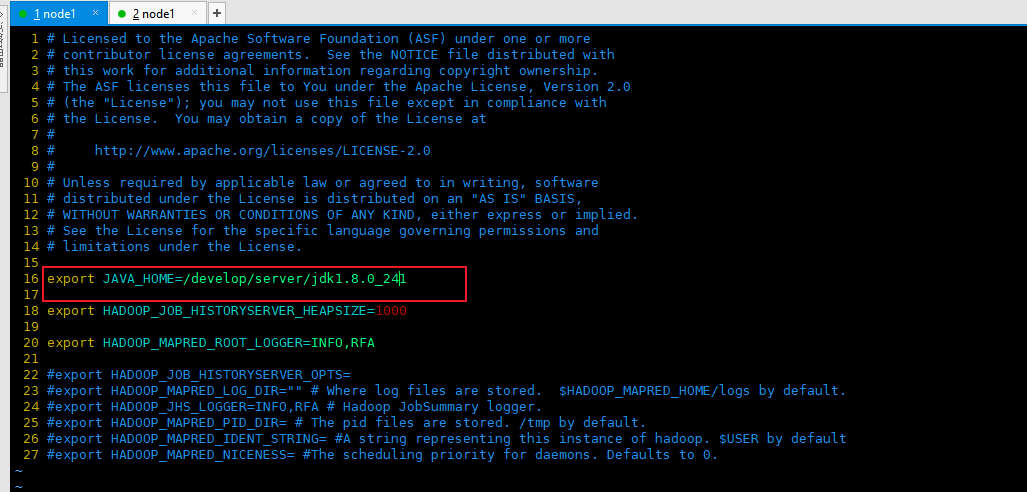
2.7 configuring mapred env SH, specify JAVA_HOME
export JAVA_HOME=/develop/server/jdk1.8.0_241
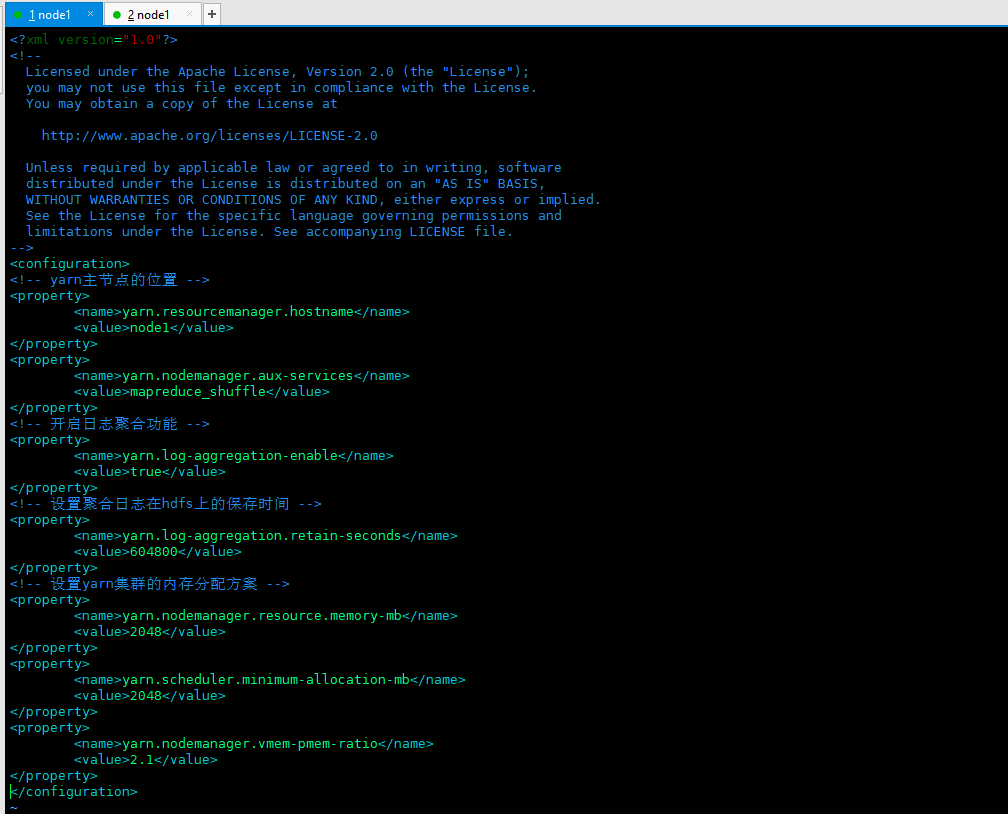
2.8 configure YARN site XML (the core configuration file of YARN), configure the following in < configuration > < / configuration >
<!-- yarn Location of master node -->
<property>
	<name>yarn.resourcemanager.hostname</name>
	<value>node1</value>
</property>
<property>
	<name>yarn.nodemanager.aux-services</name>
	<value>mapreduce_shuffle</value>
</property>
<!-- Enable log aggregation -->
<property>
	<name>yarn.log-aggregation-enable</name>
	<value>true</value>
</property>
<!-- Set aggregation log in hdfs Save time on -->
<property>
	<name>yarn.log-aggregation.retain-seconds</name>
	<value>604800</value>
</property>
<!-- set up yarn Memory allocation scheme of cluster -->
<property>
	<name>yarn.nodemanager.resource.memory-mb</name>
	<value>2048</value>
</property>
<property>
	<name>yarn.scheduler.minimum-allocation-mb</name>
	<value>2048</value>
</property>
<property>
	<name>yarn.nodemanager.vmem-pmem-ratio</name>
	<value>2.1</value>
</property>
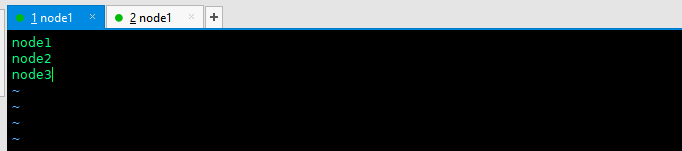
2.9 configure slaves. The slave file records the cluster host name. Delete the original content and configure the following content
node1
node2
node3
3. Create data storage directory
mkdir -p /develop/server/hadoop-2.7.5/data/tempdata
mkdir -p /develop/server/hadoop-2.7.5/data/nndata
mkdir -p /develop/server/hadoop-2.7.5/data/dndata
mkdir -p /develop/server/hadoop-2.7.5/data/nn/edits
mkdir -p /develop/server/hadoop-2.7.5/data/snn/name
mkdir -p /develop/server/hadoop-2.7.5/data/dfs/snn/edits
4. Document distribution
4.1 distribute the installed and configured hadoop to the other two machines
scp -r hadoop-2.7.5/ node2:$PWD
scp -r hadoop-2.7.5/ node3:$PWD
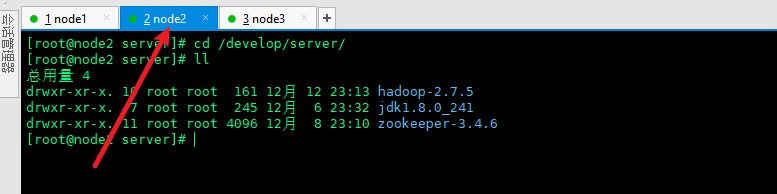
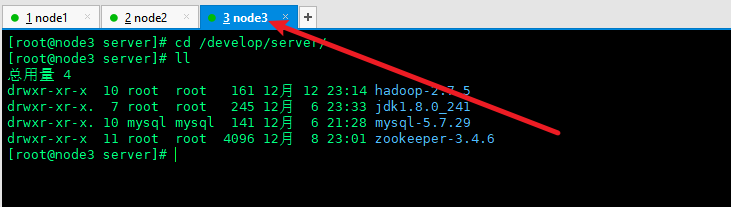
4.2 view the distributed documents on the other two machines
cd /develop/server/
ll
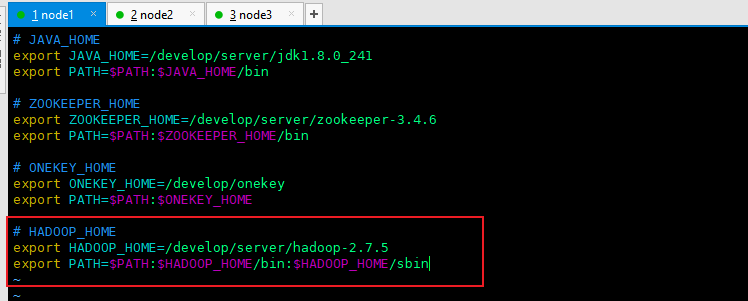
4.3 configure hadoop environment variables on three machines respectively
vim /etc/profile.d/my_env.sh
# HADOOP_HOME
export HADOOP_HOME=/develop/server/hadoop-2.7.5
export PATH=$PATH:$HADOOP_HOME/bin:$HADOOP_HOME/sbin
4.4 refresh environment variables
source /etc/profile

4.5 the other two machines are also configured with environment variables
5. Start hadoop cluster
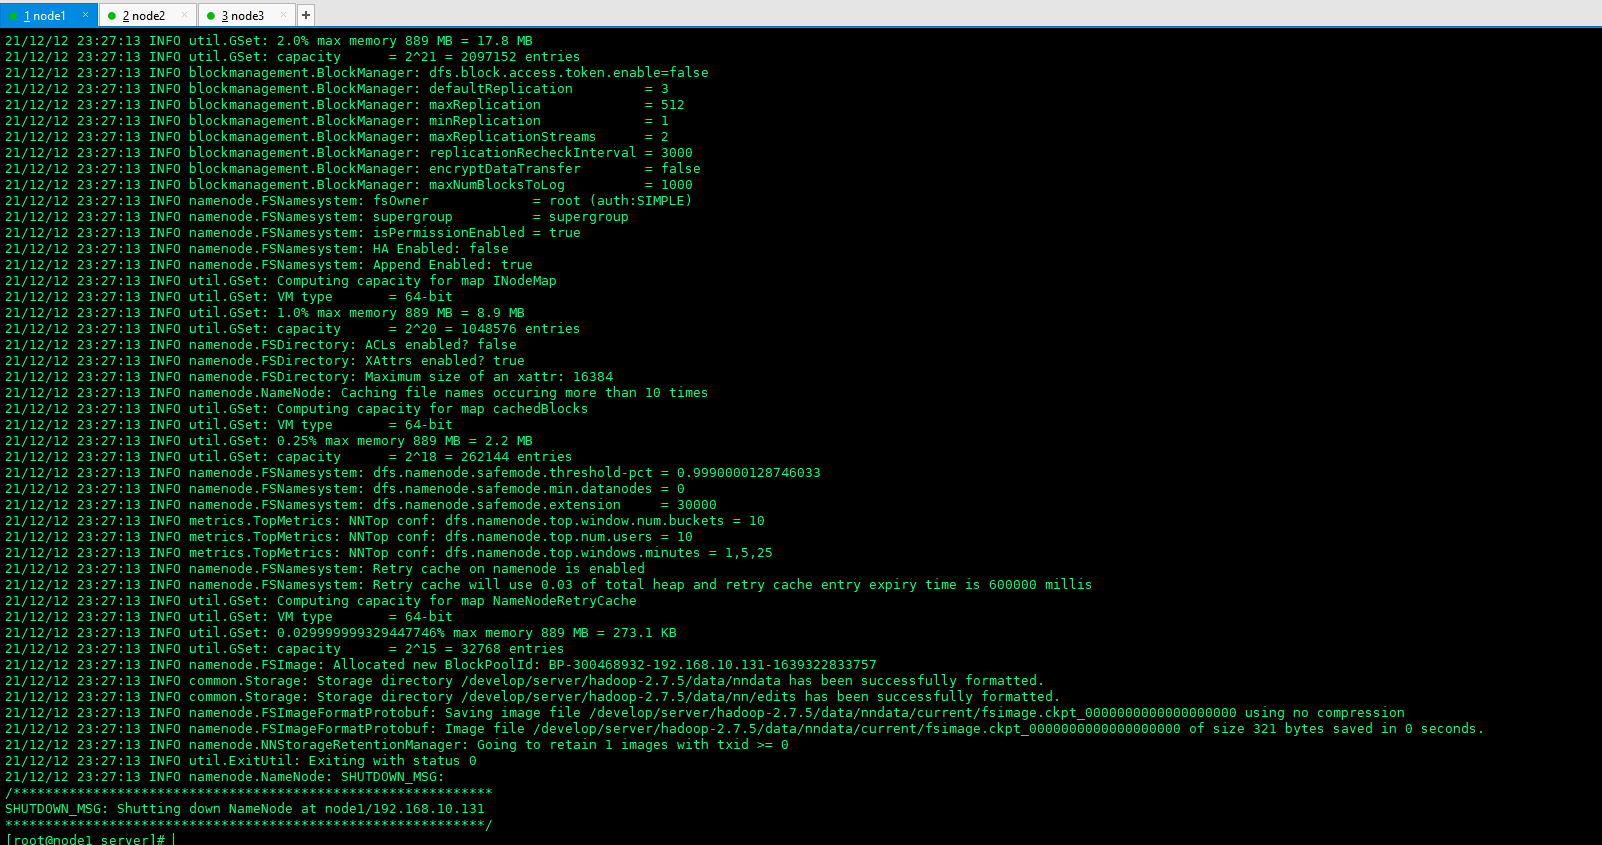
5.1 format is required when starting hdfs for the first time. Execute the following command in node1
hadoop namenode -format
5.2 start relevant services. The following startup methods are single startup
5.2. 1 start namenode, and node1 executes the following command
hadoop-daemon.sh start namenode

5.2. 2 start datanode on the three machines respectively. On node1, node2 and node3, use the following commands to start datanode respectively
hadoop-daemon.sh start datanode


5.2. 3 start the resource manager on node1
yarn-daemon.sh start resourcemanager

5.2. 4 start YARN nodemanager on node1, node2 and node3 with the following commands
yarn-daemon.sh start nodemanager


5.2. 5 start the secondarynamenode on node2
hadoop-daemon.sh start secondarynamenode

5.2. 6 start the historyserver on node1
mr-jobhistory-daemon.sh start historyserver

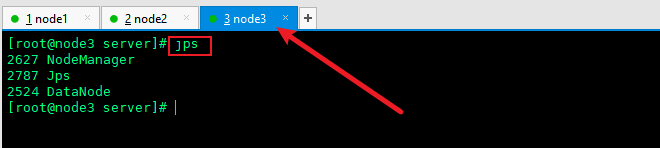
5.3 check the service startup and execute the jps command on the three machines respectively


5.4 shut down services
If you want to shut down the service, just change the start in the above command to stop
6. One click Startup script: to be improved
Now, the hadoop cluster is set up