1. Preface
When I first entered the industry, I directly used Qt for C + + software development. After getting used to Qt light color style, especially the theme of virtual function italics. Then turn to VS, whether the dark or light theme of vs makes the author feel strongly unaccustomed.
Moreover, the installation of VS is sometimes criticized. It was good before installing vs2017. You can download offline packages. However, after vs2017, you need to download the Visual Studio Installer first, and then download and install the necessary components. Sometimes, the download of Visual Studio Installer fails in China. Vs is indeed powerful. Stack analysis, memory snapshot, and even parallel stack are now commonly used by the author. However, vs is too bloated and huge. It takes time to download, and the installation memory takes off directly.
In view of the above three reasons, the author has been looking for the lightest integrated development environment of C + +. hw worked for two months, and the deep use of vscode gave me hope. This article will introduce in detail how to use vscode to build the lightest C + + development environment.
2. Preparation
Vscode is too powerful. Because of its powerful expansibility, it is very complete in function. Although it is an editor, thanks to its rich plug-ins and active plug-in community, vscode lacks everything except compiler and debugger.
How to download and install vscode? Needless to say, Baidu vscode can be downloaded and installed on the official website. However, it is recommended to check add code to environment variable during installation. In addition, there is another problem. Sometimes the download of vscode official website is very slow. Readers can solve it by downloading slow keywords in Baidu vscode. It seems that you want to modify some prefix of the download link.
Therefore, in order to solve the problems of compiler and debugger, there are several mainstream C + + compilers:
- msvc: Microsoft's compiler, which is also vs's own compiler.
- gcc: the most commonly used compiler on linux.
- clang: compiler rookie. Because of its modern design, it performs exceptionally well in some aspects.
msvc needless to say, I haven't tried how to separate msvc from vs, but since I decided to build the lightest C + + development environment, I don't need msvc. Therefore, focus on GCC. Fortunately, there is also a gcc compiler on Windows, which is the famous MinGW.
The download address of MinGW is as follows: MinGW-64 download address.
If you download the native MinGW directly, you need to download it from sourceForge, but the download speed is moving. Therefore, MSYS2 is recommended for downloading MinGW.
MSYS2 is a linux like environment integrating clang and gcc on Windows. You can download MinGW and some corresponding common third-party libraries through pacman command, which is very convenient to use. Moreover, the domestic download of MSYS2 is very fast. You can also switch the domestic source for Library Download. Therefore, the author recommends using MSYS2 to download and install MinGW. If you want to switch to clang later, MSYS2 can also meet the requirements.
After MSYS2 is downloaded and installed, its directory structure is roughly as follows:
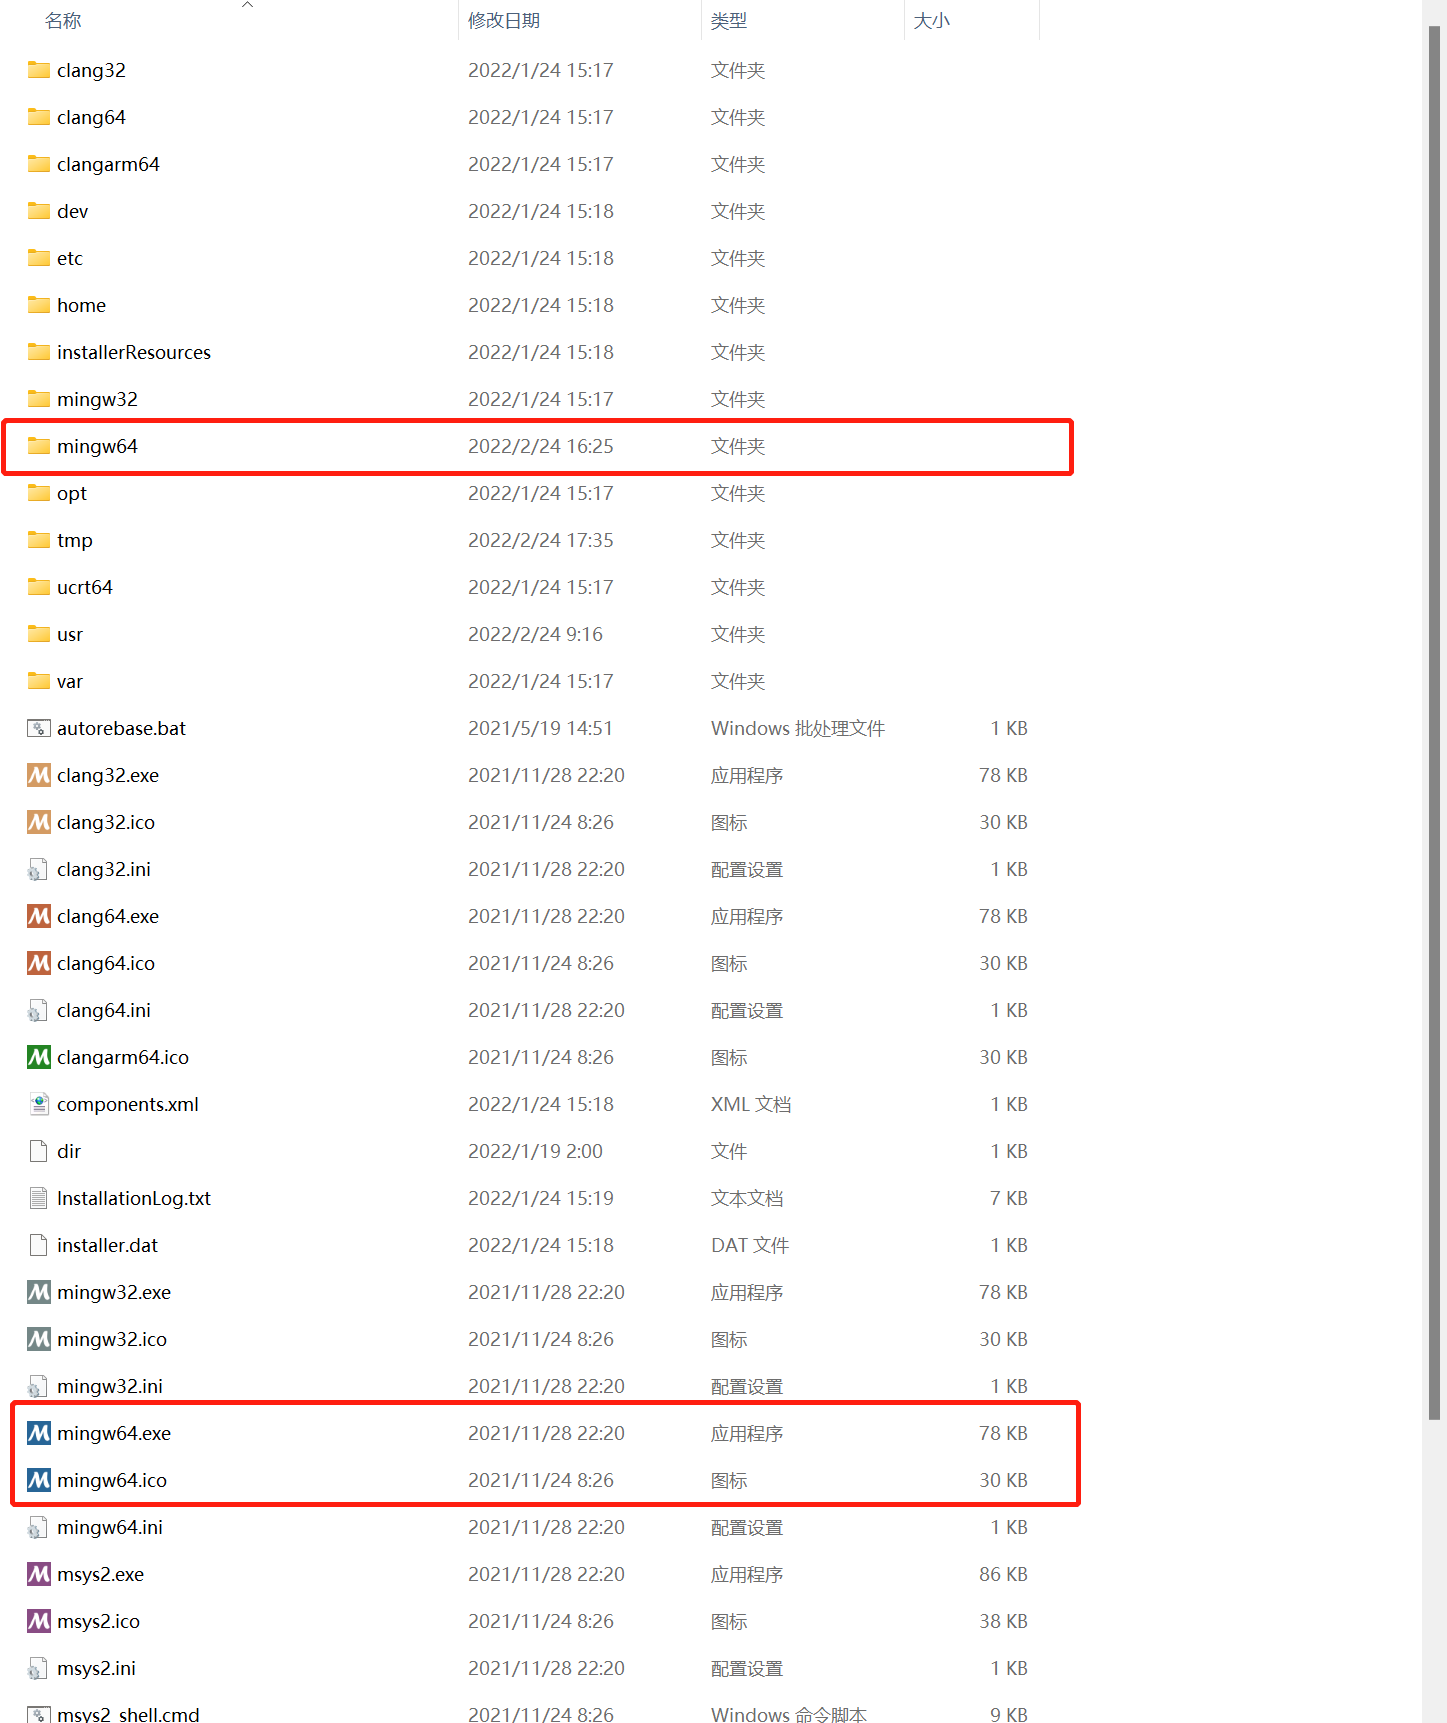
Directory, mingw64 exe is the exe to start MinGW terminal. After entering MSYS2 terminal, you can install MinGW GCC by entering the following command:
pacman -S mingw-w64-x86_64-toolchain
After entering the above command, you can see the following output:
$ pacman -S mingw-w64-x86_64-toolchain
:: There are 19 members in group mingw-w64-x86_64-toolchain:
:: Repository mingw64
   1) mingw-w64-x86_64-binutils  2) mingw-w64-x86_64-crt-git
   3) mingw-w64-x86_64-gcc  4) mingw-w64-x86_64-gcc-ada
   5) mingw-w64-x86_64-gcc-fortran  6) mingw-w64-x86_64-gcc-libgfortran
   7) mingw-w64-x86_64-gcc-libs  8) mingw-w64-x86_64-gcc-objc
   9) mingw-w64-x86_64-gdb  10) mingw-w64-x86_64-gdb-multiarch
   11) mingw-w64-x86_64-headers-git  12) mingw-w64-x86_64-libgccjit
   13) mingw-w64-x86_64-libmangle-git  14) mingw-w64-x86_64-libwinpthread-git
   15) mingw-w64-x86_64-make  16) mingw-w64-x86_64-pkgconf
   17) mingw-w64-x86_64-tools-git  18) mingw-w64-x86_64-winpthreads-git
   19) mingw-w64-x86_64-winstorecompat-git

Enter a selection (default=all):
After entering Y, relevant tools will be installed, and the output is roughly as follows:
:: Proceed with installation? [Y/n] Y
(19/19) checking keys in keyring                   [#####################] 100%
(19/19) checking package integrity                 [#####################] 100%
(19/19) loading package files                      [#####################] 100%
(19/19) checking for file conflicts                [#####################] 100%
(19/19) checking available disk space               [#########################] 100%
:: Processing package changes...
( 1/19) reinstalling mingw-w64-x86_64-binutils      [#########################] 100%
( 2/19) reinstalling mingw-w64-x86_64-headers-git   [#########################] 100%
( 3/19) reinstalling mingw-w64-x86_64-crt-git       [#########################] 100%
( 4/19) reinstalling mingw-w64-x86_64-libwinpth...  [#########################] 100%
( 5/19) reinstalling mingw-w64-x86_64-gcc-libs      [#########################] 100%
( 6/19) reinstalling mingw-w64-x86_64-winpthrea...  [#########################] 100%
( 7/19) reinstalling mingw-w64-x86_64-gcc           [#########################] 100%
( 8/19) reinstalling mingw-w64-x86_64-gcc-ada       [#########################] 100%
( 9/19) reinstalling mingw-w64-x86_64-gcc-libgf...  [#########################] 100%
(10/19) reinstalling mingw-w64-x86_64-gcc-fortran   [#########################] 100%
(11/19) reinstalling mingw-w64-x86_64-gcc-objc      [#########################] 100%
(12/19) reinstalling mingw-w64-x86_64-gdb           [#########################] 100%
(13/19) reinstalling mingw-w64-x86_64-gdb-multiarch [#########################] 100%
(14/19) reinstalling mingw-w64-x86_64-libgccjit     [#########################] 100%
(15/19) reinstalling mingw-w64-x86_64-libmangle-git [#########################] 100%
(16/19) reinstalling mingw-w64-x86_64-make          [#########################] 100%
(17/19) reinstalling mingw-w64-x86_64-pkgconf       [#########################] 100%
(18/19) reinstalling mingw-w64-x86_64-tools-git     [#########################] 100%
(19/19) reinstalling mingw-w64-x86_64-winstorec...  [#########################] 100%
So far, the code editor and compiler have been installed. Don't forget to add the / msys2 path / mingw64 / bin directory above to the environment variable. If you need other tools such as debugger, please continue to look down, otherwise you can skip to section 3 directly.
- To install gdb debugger for MSYS2:
pacman -S mingw-w64-x86_64-gdb - MSYS2 install make and cmake
pacman -S mingw-w64-x86_64-make
pacman -S mingw-w64-x86_64-cmake
It is necessary to install make, but it is not make after download Exe, but MinGW make exe.
Installing cmake is just to avoid having to go to the cmake official website to download cmake installation files, which is very slow.
3. Some common plug-ins of vscode
3.1 main C + + plug-ins
After vscode download and installation, common plug-ins for C + + development are as follows:
- C/C++:

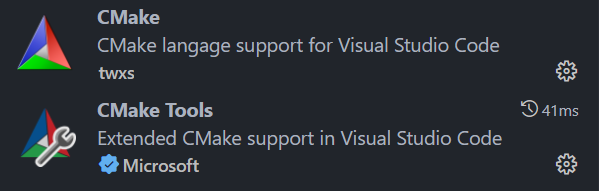
- cmake plug-in:
Note: for CMakeTools plug-in, the following settings are recommended:

The meaning of this setting is to set the construction directory of CMake to the upper folder of the workspace folder, with the workspace name+_ The Build workspace is named after the Build folder.
If you only develop C + +, the core plug-ins are these three. Among them, the C/C + + plug-in is the plug-in directly supported by vscode for C/C + +, and the cmake and cmake tools plug-ins are the plug-ins directly supported by cmake.
If you don't need to use cmake for engineering construction, you don't need to download cmake related plug-ins, but in this case, you need to write workspacefolder / vscode/task. JSON and workspacefolder / vscode/launch. JSON these two files for project construction configuration. Because these two files are troublesome to write and there are few relevant tutorials, the author recommends using cmake for engineering construction. At the same time, cmake provides better support for multi file projects.
However, the trouble is that if you use cmake for engineering construction, you need to write cmakelists yourself Txt, you need to understand cmake syntax. However, for most C + + programs, the use of third-party libraries is essential, and now the mainstream third-party library construction language is cmake. Therefore, cmake cannot be bypassed by any C + + developer.
In view of this, the author strongly recommends readers to learn cmake.
3.2 some auxiliary plug-ins
In the process of C + + development, if you encounter some special requirements, such as automatically generating the definition of class member functions, you can use the following two plug-ins:
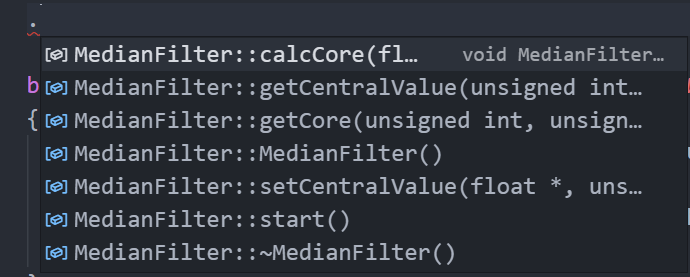
Automatically generate the definition plug-in of class member function:
-
C/C++ Definition Autocompletion

The main function of the plug-in is to press according to the function declaration in the header file Automatically generate function definitions.
As shown in the figure below:
-
There is also a plug-in that automatically generates all member functions, but forgot its name. It has been downloaded more times than the above one, but I feel it is not easy to use. Update later when you remember
As for the plug-in for automatic code completion, the author recently found a magical AI auxiliary plug-in, which is also recommended here. The introduction is to use AI for context recognition and automatically create code segment candidates. There are many AI assisted code writing plug-ins in vscode plug-in mall, but I personally think the following plug-ins may be easier to use:
AI auxiliary plug-in - Tabnine

One more word from the author: Although the AI auxiliary plug-in is magical and powerful, its networking may be more accurate. In terms of security, please use it carefully. This may also be the author's one-sided word for AI laymen, so please check it by yourself.
In addition, if readers are not satisfied with the current vscode theme (icon theme, color theme, etc.), there are extremely rich theme plug-ins in the vscode plug-in mall, and one will be suitable for you.
4. Single document project example
The above C + + development environment has been built. The following will introduce how to carry out real engineering development.
Assume that the workspace is as shown in the following figure:
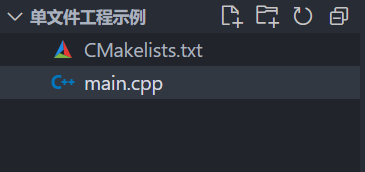
By writing cmakelists Txt, you can build a single file.
Among them, cmakellists The contents of TXT are as follows:
cmake_minimum_required(VERSION 3.20)

project(SingleFileProjectExample)

add_executable(${PROJECT_NAME} main.cpp)
main. The contents of CPP are as follows:
#include <iostream>

int main()
{
    std::cout << "Hello World." << std::endl;

    return 0;
}
One thing to note here is that the CMakeTools plug-in adds cmakelists when it opens the workspace for the first time Txt file, CMakeConfiguration will not be triggered automatically. When CMakelists.txt file is written Txt file and reopen the workspace with vscode before CMakeConfiguration is triggered. The details are as follows:
- When an empty workspace is opened for the first time, the relevant information of CMakeTools in the editor status bar is not displayed:

- Add cmakelists Txt file, reopen the workspace, and CMakeTools plug-in triggers CMakeConfiguration. The information is as follows:
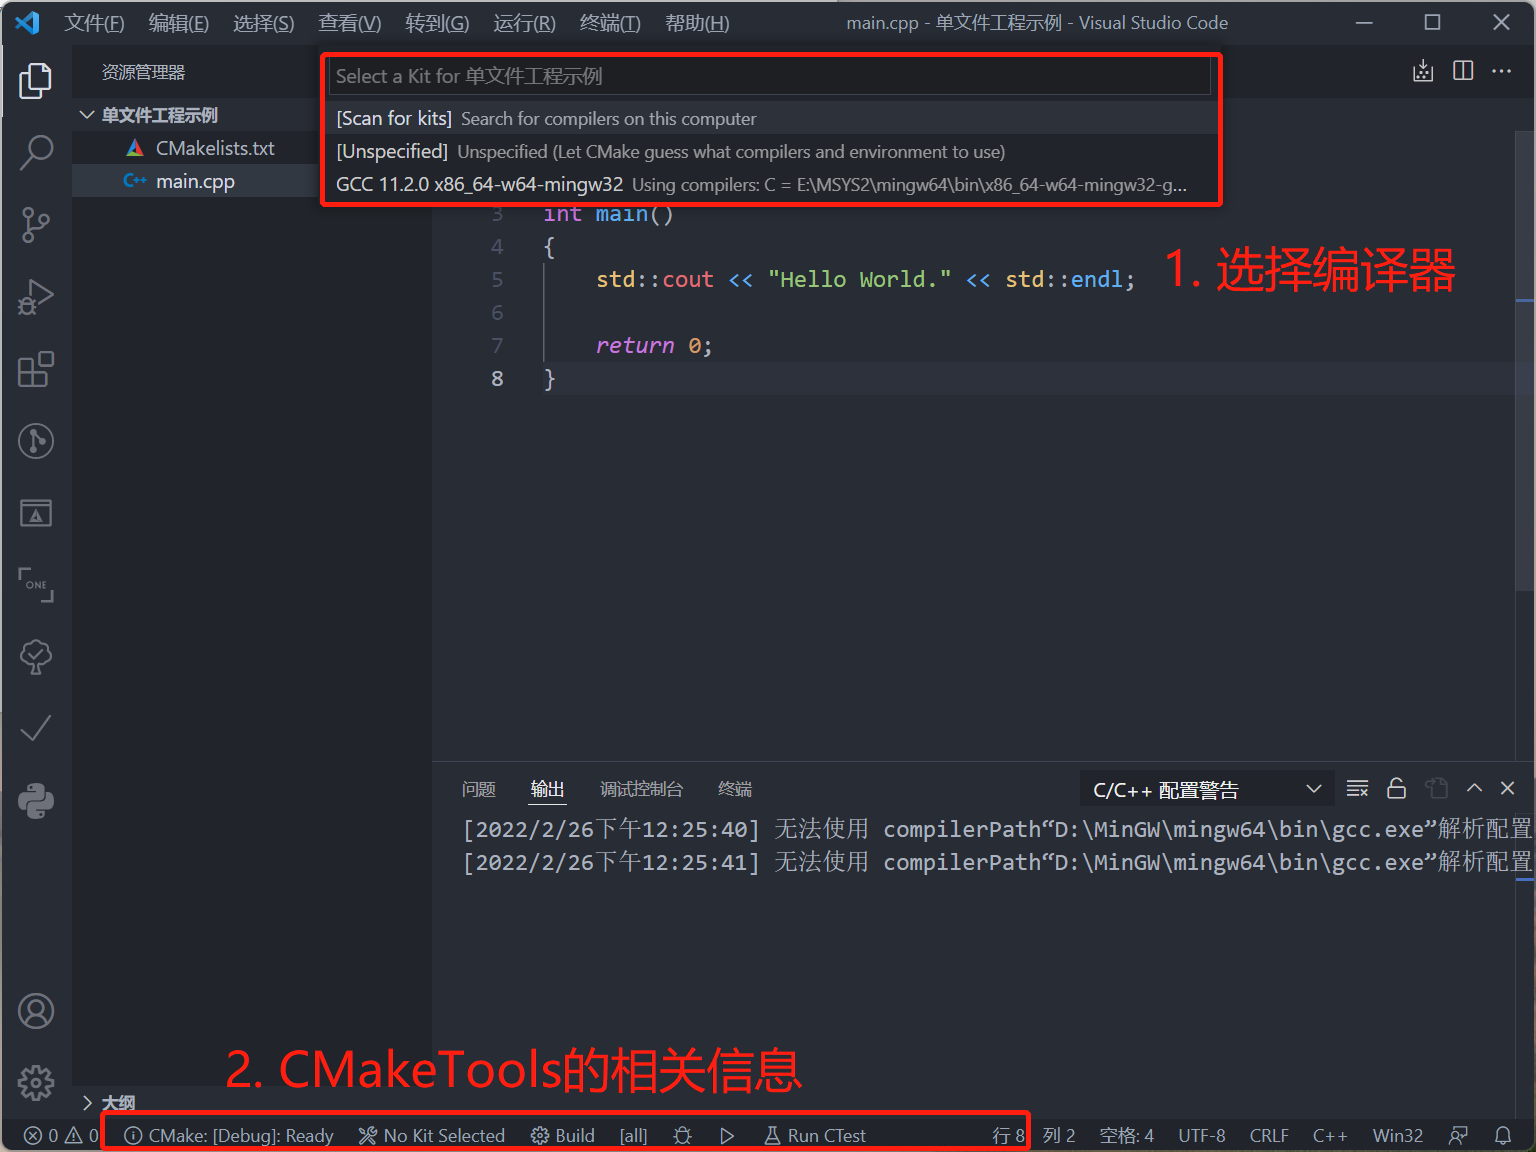
After selecting the gcc compiler, click the debug button or run button in the status bar to debug or run the program. As shown in the figure below:

You can see that the project has run successfully.
5. Multi document engineering example
The example of multi file project is as follows. You only need to modify cmakelists Txt file:
5.1 workspace structure
The example structure of multi file project is as follows:
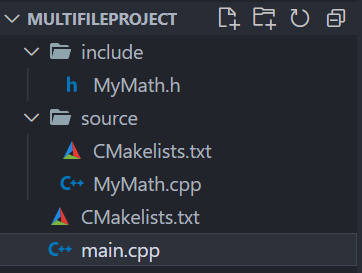
This is done according to the writing method of the general third-party library. The header file is placed in the include directory, the source file is placed in the source folder, and the outermost layer is cmakelists Txt file.
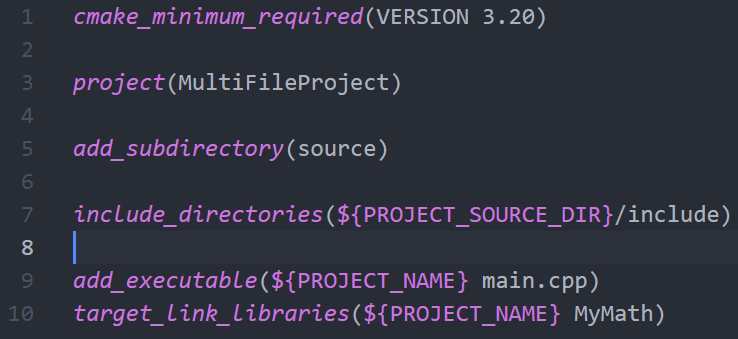
5.2 CMakelists.txt
-
Cmakellists constructed by engineering Txt file is as follows:
-
Cmakelists. In the source folder Txt file is as follows:

5.3 code file
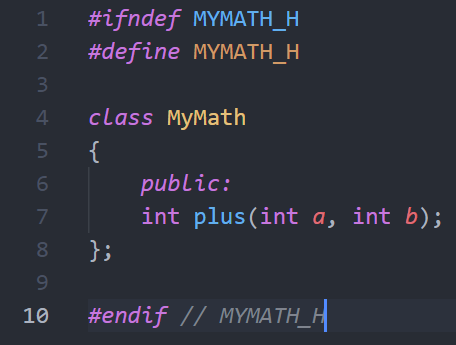
- MyMath.h
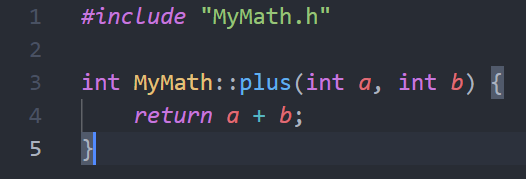
- MyMath.cpp
- main.cpp

5.4 operation results
The operation results are as follows:

6. Conclusion
It is not difficult for vscode+MinGW to build a C + + development environment, and the overall size is only about 1G. Compared with the huge size of vs, which can move 5~6G, this set is really lightweight.
All resources of this set have been uploaded, and friends in need can go to download: Download address
In addition, typing is not easy. Can you point a favor and go???