brief introduction
This project is based on easyX library to achieve a C + + version of the classic tank war game interface.
Download, installation and use of easyX Library
The full name of easyX is EasyX Graphics Library. It is a free drawing library for Visual C + +. It supports VC6 0 ~ vc2019, easy to use, low learning cost and wide application fields.
The download link of easyX is attached:
https://easyx.cn/download/EasyX_20210224.exe
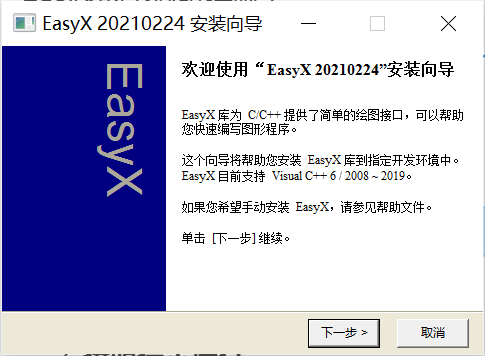
- Double click to open the executable:

- Follow the prompts

If you select the compiler to install, it will generally be detected automatically. After installation, you can check it in the compiler and enter the following code. If there is no error, the installation is successful#include<graphics.h> int main() { initgraph(650, 650);//Create a 650 × 650 canvas system("pause"); }
General idea
First of all, before we create any game, there must be a general idea, that is, the process of realizing the game. In the process of realizing this tank war, the author mainly gives me the following ideas:
- First, we need to create a canvas to construct the basic interface required by our game.
- Homogeneous, layout relevant menus and maps in the constructed canvas to initialize the game interface.
- Finally, the game related functions are realized.
- Therefore, the code written by the author mainly includes three functions: start scene, initialize map and start game.
#include<graphics.h>
int main()
{
	initgraph(650, 650);//Create a 650 × 650 canvas
	menu() //Initialization menu
	init_map(&map[0][0], 26, 26);//Initialize map
	play();//The game begins
	system("pause");
}
Implement initialization menu
Effect drawing first
To achieve this effect, I divided it into three parts:
- logo part
- Description part
- Start part
Implement the logo part
Find the effect picture of the logo on the network,

Load picture on canvas:
//Display logo
IMAGE logo_img; //Define an IMAGE object logo_img
loadimage(&logo_img, _T("logo.bmp"), 433, 147);//Load picture into logo_img go inside
putimage(110, 20, &logo_img); //display picture
Implementation description
The description part includes the external box and the description in it. You can directly use the fillrectangle function and outextxy function in easyX to directly the code:
setlinecolor(WHITE);//Sets the color of the box border line
setfillcolor(BLACK);//Sets the color of the box fill
fillrectangle(220, 200, 300, 240);
settextstyle(25, 0, _T("Song typeface"));//Set font type
outtextxy(230, 210, _T("explain"));//display font
Implementation start
Don't say much, just go to the code:
fillrectangle(350, 200, 430, 240);
outtextxy(360, 210, _T("start"));
Some simple operations of initialization interface
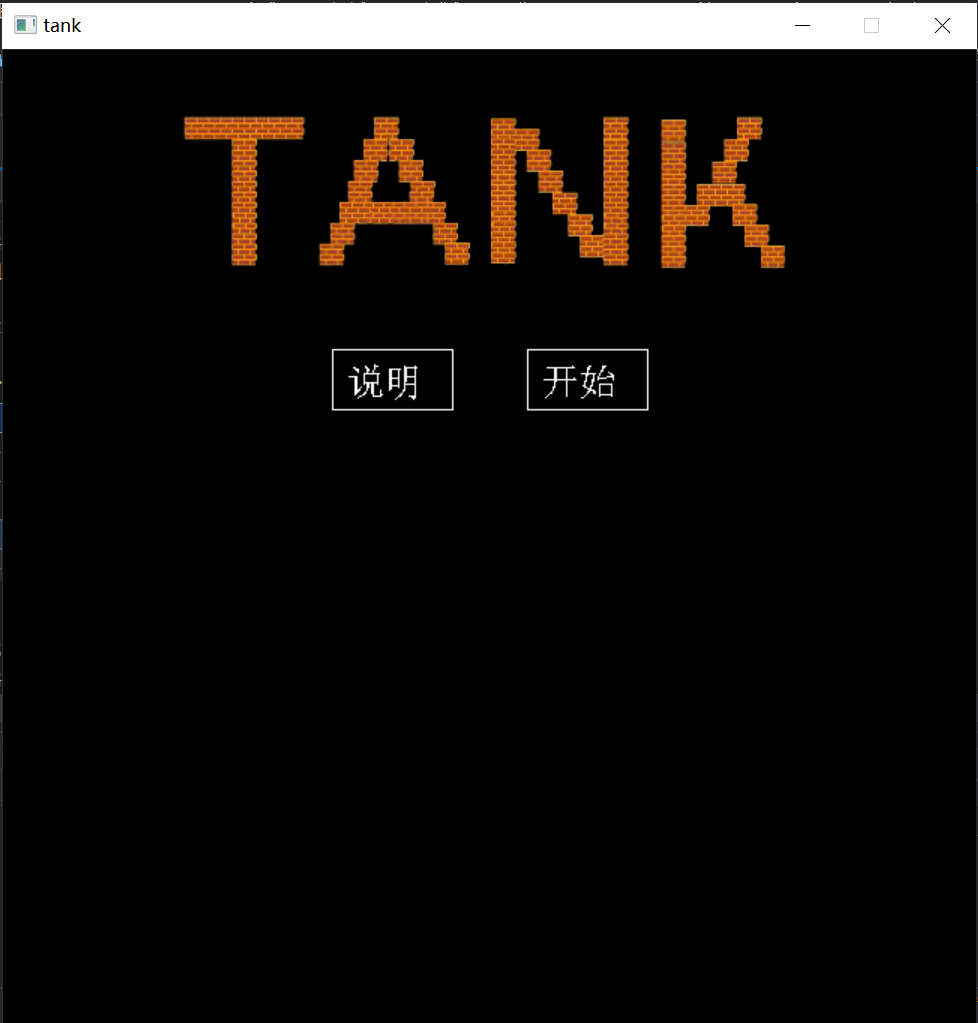
If your previous code is correct, you should have obtained the following results after running:
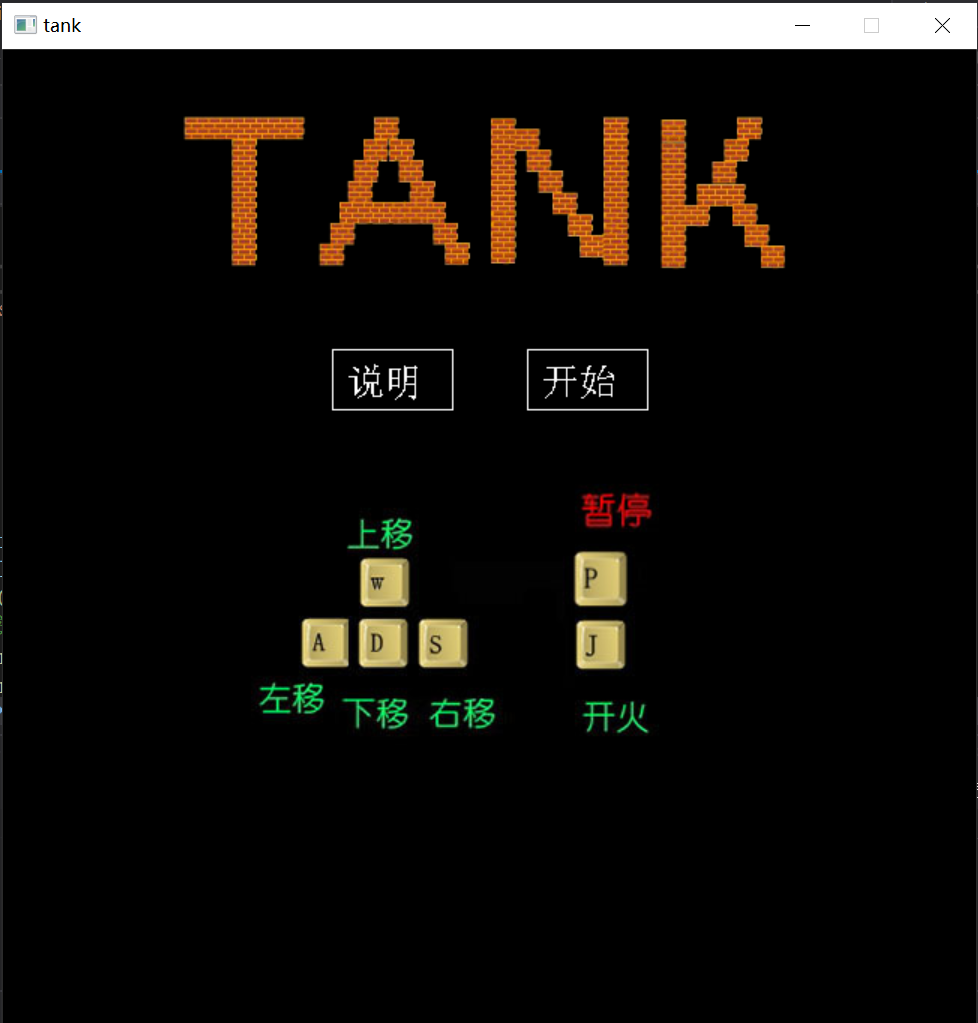
However, our normal game interface does not want this. We want this effect:

Therefore, the processing of mouse information is also carried out to realize that the content of the description menu can appear as soon as the mouse reaches the position where the description is located. At the same time, we also hope that when we click the start button, we can directly open a new interface for game operation. Well, without much to say, just go to the code:
MOUSEMSG mouse; //Define the mouse of a MOUSEMSG object to obtain mouse information
IMAGE illustrate_img;//Define an IMAGE class
loadimage(&illustrate_img, _T("illustrate.jpg"), 300, 300);//Load picture
while (1) {
	mouse = GetMouseMsg();
	switch (mouse.uMsg) {
	case WM_MOUSEMOVE:
		if (mouse.x > 220 && mouse.x < 300 && mouse.y > 200 && mouse.y < 240) {
			putimage(150, 250, &illustrate_img);
		}
		else {
			solidrectangle(150, 250, 450, 550);
		}
		break;
	case WM_LBUTTONDOWN:
		if ((mouse.x > 350 && mouse.x < 430) && (mouse.y > 200 && mouse.y < 240)) {
			cleardevice();//empty
		}
		else
		{
			break;
		}
		return;
	}
}
//Note: the content in the while loop is mainly to obtain and analyze the operation of the mouse. Because the mouse moves frequently, the MOUSEMSG variable mouse must update the mouse state at all times. The switch statement is used to analyze the mouse state:
- WM_ The MouseMove statement is used to determine the mouse movement position
- WM_ The lbuttown statement is used to judge the mouse click
So far, we can implement a basic tank war initialization interface.
Implement the game interface
Implement game map
Those who have played the tank war game know that the first thing we look at after entering the game is the game map, and a big difference between different levels is the map.
So how to realize the map is very important.
If you want to realize a fancy game interface, pictures must be indispensable. Therefore, my idea is to realize the map of the game by loading map pictures. I don't say much. I'll respect the code first:
void init_map2(int* map, int rows, int cols)
{
	IMAGE img_home, img_wall_1, img_wall_2;
	loadimage(&img_home, _T("home.jpg"), 50, 50);
	loadimage(&img_wall_1, _T("wall1.jpg"), 25, 25);//Irresistible wall
	loadimage(&img_wall_2, _T("wall2.jpg"), 25, 25);//Removable wall

	for (int i = 0; i < rows; i++)
	{
		for (int j = 0; j < cols; j++)
		{
			if (*(map + i * cols + j) == 1)
			{
				putimage(25 * j, 25 * i, &img_wall_2);
			}
			else if (*(map + i * cols + j) == 2)
			{
				putimage(25 * j, 25 * i, &img_wall_1);
			}
			else if (*(map + i * cols + j) == 3)
			{
				putimage(25 * j, 25 * i, &img_home);

				*(map + i * cols + j) = 4;
				*(map + i * cols + j + 1) = 4;
				*(map + (i + 1) * cols + j) = 4;
				*(map + (i + 1) * cols + j + 1) = 4;
			}
		}
	}
}
*//Note: * in the game, the background map should include three parts, namely eagle and two kinds of walls (removable wall and non removable wall), so in this project, three IMAGE objects are constructed:
img_home
img_wall_1
img_wall_2
To load pictures of the nest (Eagle), removable wall, and non removable wall.
How should the loaded pictures be displayed and where should they be displayed? This is the function realized in the post sequence loop. Scan the map array defined at the beginning through a double loop to judge whether a certain coordinate should display a picture. The humble author presents the map array code online:
int map[26][26] = {
	{0, 0, 0, 0, 0, 0, 0, 0, 0, 0, 0, 0, 0, 0, 0, 0, 0, 0, 0, 0, 0, 0, 0, 0, 0, 0},
	{0, 0, 0, 0, 0, 0, 0, 0, 0, 0, 0, 0, 0, 0, 0, 0, 0, 0, 0, 0, 0, 0, 0, 0, 0, 0},
	{0, 0, 1, 1, 0, 0, 1, 1, 0, 0, 1, 1, 0, 0, 1, 1, 0, 0, 1, 1, 0, 0, 1, 1, 0, 0},
	{0, 0, 1, 1, 0, 0, 1, 1, 0, 0, 1, 1, 0, 0, 1, 1, 0, 0, 1, 1, 0, 0, 1, 1, 0, 0},
	{0, 0, 1, 1, 0, 0, 1, 1, 0, 0, 1, 1, 0, 0, 1, 1, 0, 0, 1, 1, 0, 0, 1, 1, 0, 0},
	{0, 0, 1, 1, 0, 0, 1, 1, 0, 0, 1, 1, 0, 0, 1, 1, 0, 0, 1, 1, 0, 0, 1, 1, 0, 0},
	{0, 0, 1, 1, 0, 0, 1, 1, 0, 0, 1, 1, 2, 2, 1, 1, 0, 0, 1, 1, 0, 0, 1, 1, 0, 0},
	{0, 0, 1, 1, 0, 0, 1, 1, 0, 0, 1, 1, 2, 2, 1, 1, 0, 0, 1, 1, 0, 0, 1, 1, 0, 0},
	{0, 0, 1, 1, 0, 0, 1, 1, 0, 0, 1, 1, 0, 0, 1, 1, 0, 0, 1, 1, 0, 0, 1, 1, 0, 0},
	{0, 0, 1, 1, 0, 0, 1, 1, 0, 0, 0, 0, 0, 0, 0, 0, 0, 0, 1, 1, 0, 0, 1, 1, 0, 0},
	{0, 0, 1, 1, 0, 0, 1, 1, 0, 0, 0, 0, 0, 0, 0, 0, 0, 0, 1, 1, 0, 0, 1, 1, 0, 0},
	{0, 0, 0, 0, 0, 0, 0, 0, 0, 0, 1, 1, 0, 0, 1, 1, 0, 0, 0, 0, 0, 0, 0, 0, 0, 0},
	{0, 0, 0, 0, 0, 0, 0, 0, 0, 0, 1, 1, 0, 0, 1, 1, 0, 0, 0, 0, 0, 0, 0, 0, 0, 0},
	{1, 1, 0, 0, 1, 1, 1, 1, 0, 0, 0, 0, 0, 0, 0, 0, 0, 0, 1, 1, 1, 1, 0, 0, 1, 1},
	{2, 2, 0, 0, 1, 1, 1, 1, 0, 0, 0, 0, 0, 0, 0, 0, 0, 0, 1, 1, 1, 1, 0, 0, 2, 2},
	{0, 0, 0, 0, 0, 0, 0, 0, 0, 0, 1, 1, 0, 0, 1, 1, 0, 0, 0, 0, 0, 0, 0, 0, 0, 0},
	{0, 0, 0, 0, 0, 0, 0, 0, 0, 0, 1, 1, 1, 1, 1, 1, 0, 0, 0, 0, 0, 0, 0, 0, 0, 0},
	{0, 0, 1, 1, 0, 0, 1, 1, 0, 0, 1, 1, 1, 1, 1, 1, 0, 0, 1, 1, 0, 0, 1, 1, 0, 0},
	{0, 0, 1, 1, 0, 0, 1, 1, 0, 0, 1, 1, 0, 0, 1, 1, 0, 0, 1, 1, 0, 0, 1, 1, 0, 0},
	{0, 0, 1, 1, 0, 0, 1, 1, 0, 0, 1, 1, 0, 0, 1, 1, 0, 0, 1, 1, 0, 0, 1, 1, 0, 0},
	{0, 0, 1, 1, 0, 0, 1, 1, 0, 0, 1, 1, 0, 0, 1, 1, 0, 0, 1, 1, 0, 0, 1, 1, 0, 0},
	{0, 0, 1, 1, 0, 0, 1, 1, 0, 0, 0, 0, 0, 0, 0, 0, 0, 0, 1, 1, 0, 0, 1, 1, 0, 0},
	{0, 0, 1, 1, 0, 0, 1, 1, 0, 0, 0, 0, 0, 0, 0, 0, 0, 0, 1, 1, 0, 0, 1, 1, 0, 0},
	{0, 0, 1, 1, 0, 0, 1, 1, 0, 0, 0, 1, 1, 1, 1, 0, 0, 0, 1, 1, 0, 0, 1, 1, 0, 0},
	{0, 0, 0, 0, 0, 0, 0, 0, 0, 0, 0, 1, 3, 3, 1, 0, 0, 0, 0, 0, 0, 0, 0, 0, 0, 0},
	{0, 0, 0, 0, 0, 0, 0, 0, 0, 0, 0, 1, 3, 3, 1, 0, 0, 0, 0, 0, 0, 0, 0, 0, 0, 0}

};
So far, if the above steps are successful, congratulations. We have achieved such an effect

Realize tank initialization
Next, after the map interface is implemented, we will start to realize the most important part of the game, the duel between tanks.
First, we create a structure describing the tank:
struct tank_s {
	int x;//The column in which the tank is located
	int y;//The row where the tank is located
	DIRECTION direction;//Direction of tank: up, down, left and right
	int live; //Survival or not: 1 - alive, 0 - hung up
};
If there is a tank, there will be bullets. Then we define a bullet structure:
//Bullet structure
struct bullet_s {
	int pos_x;
	int pos_y;
	DIRECTION direction;
	int status;
};
The next step is the movement of tanks and bullets, that is, the implementation of the play function.
After that, we will share some contents for you in the follow-up tank war. The student party has limited update speed. Please understand