1. Select an open source project
First, before starting the integration project, choose an open source project as the "base" for integration. Because the author is familiar with Xiao Noo's open source project, choose the vue monomer version of xiaonuo as the base for integration: https://xiaonuo.vip/
Of course, if you are familiar with other open source projects, you can also use other open source projects, which is the same effect.
2. Download camunda's official inheritance springboot case
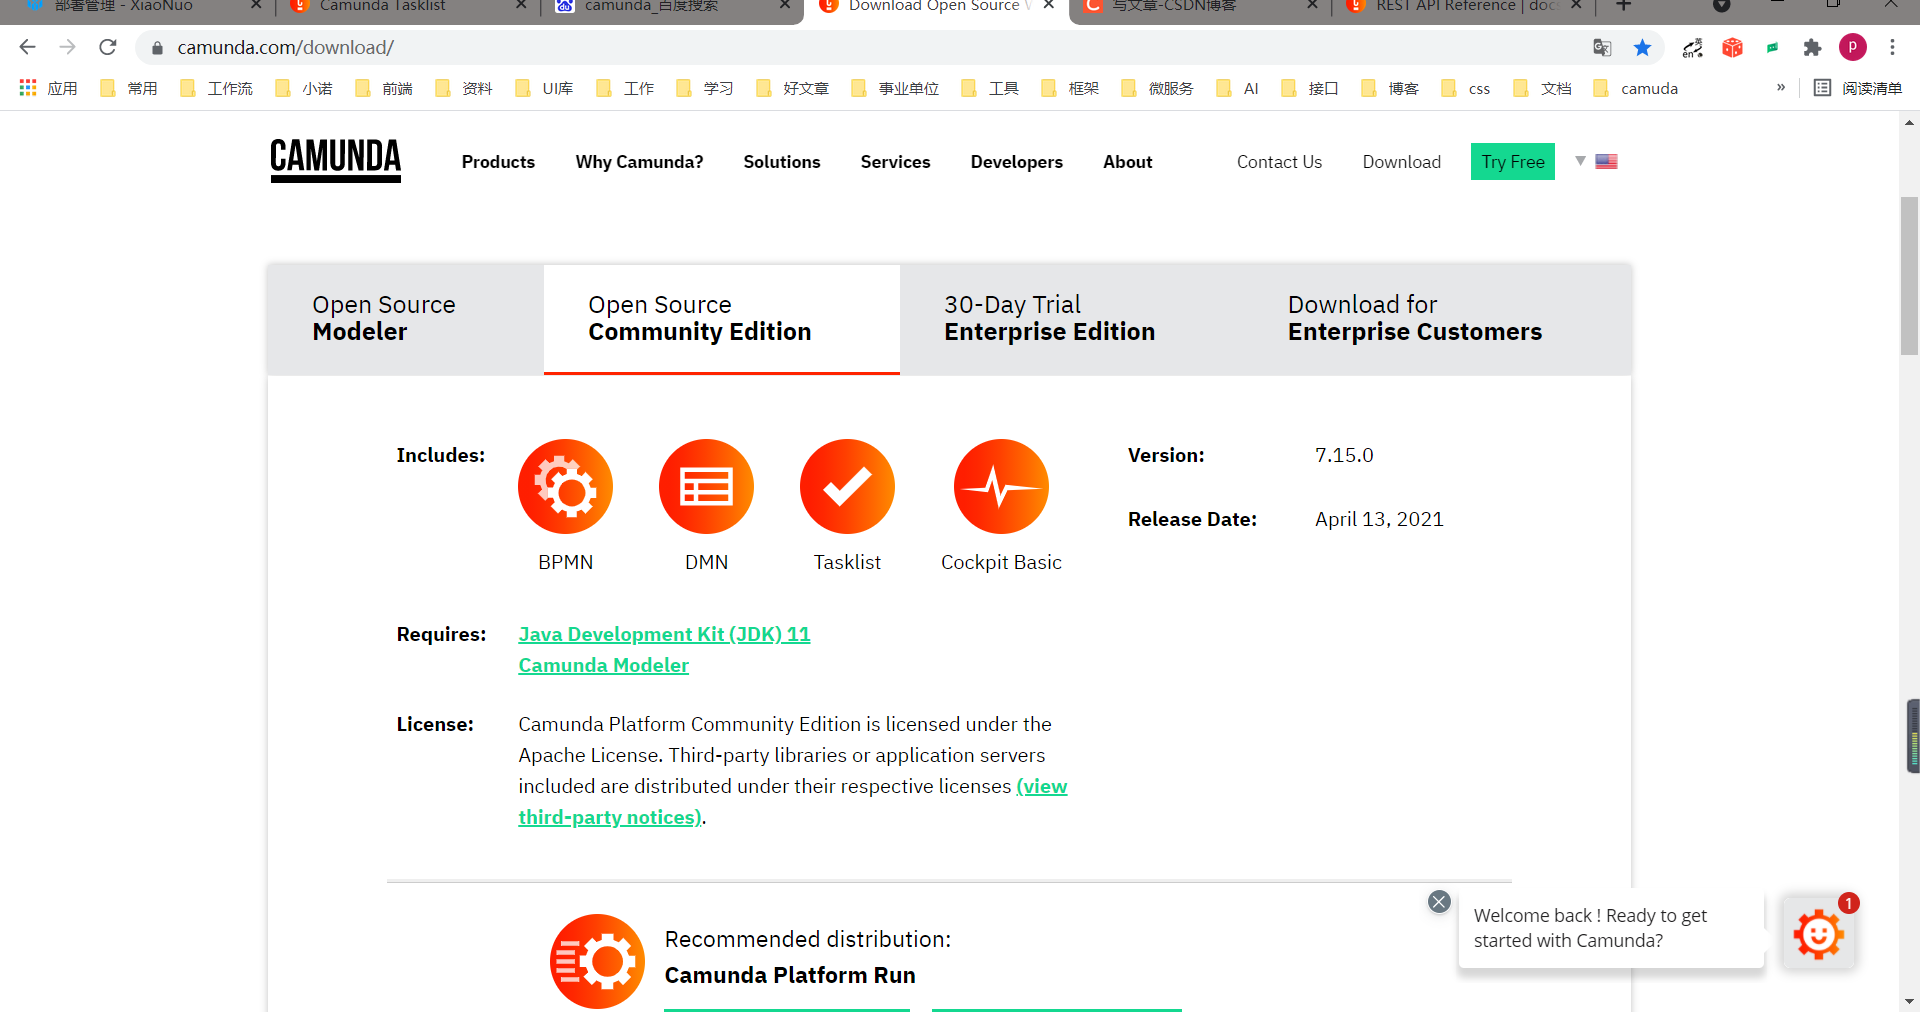
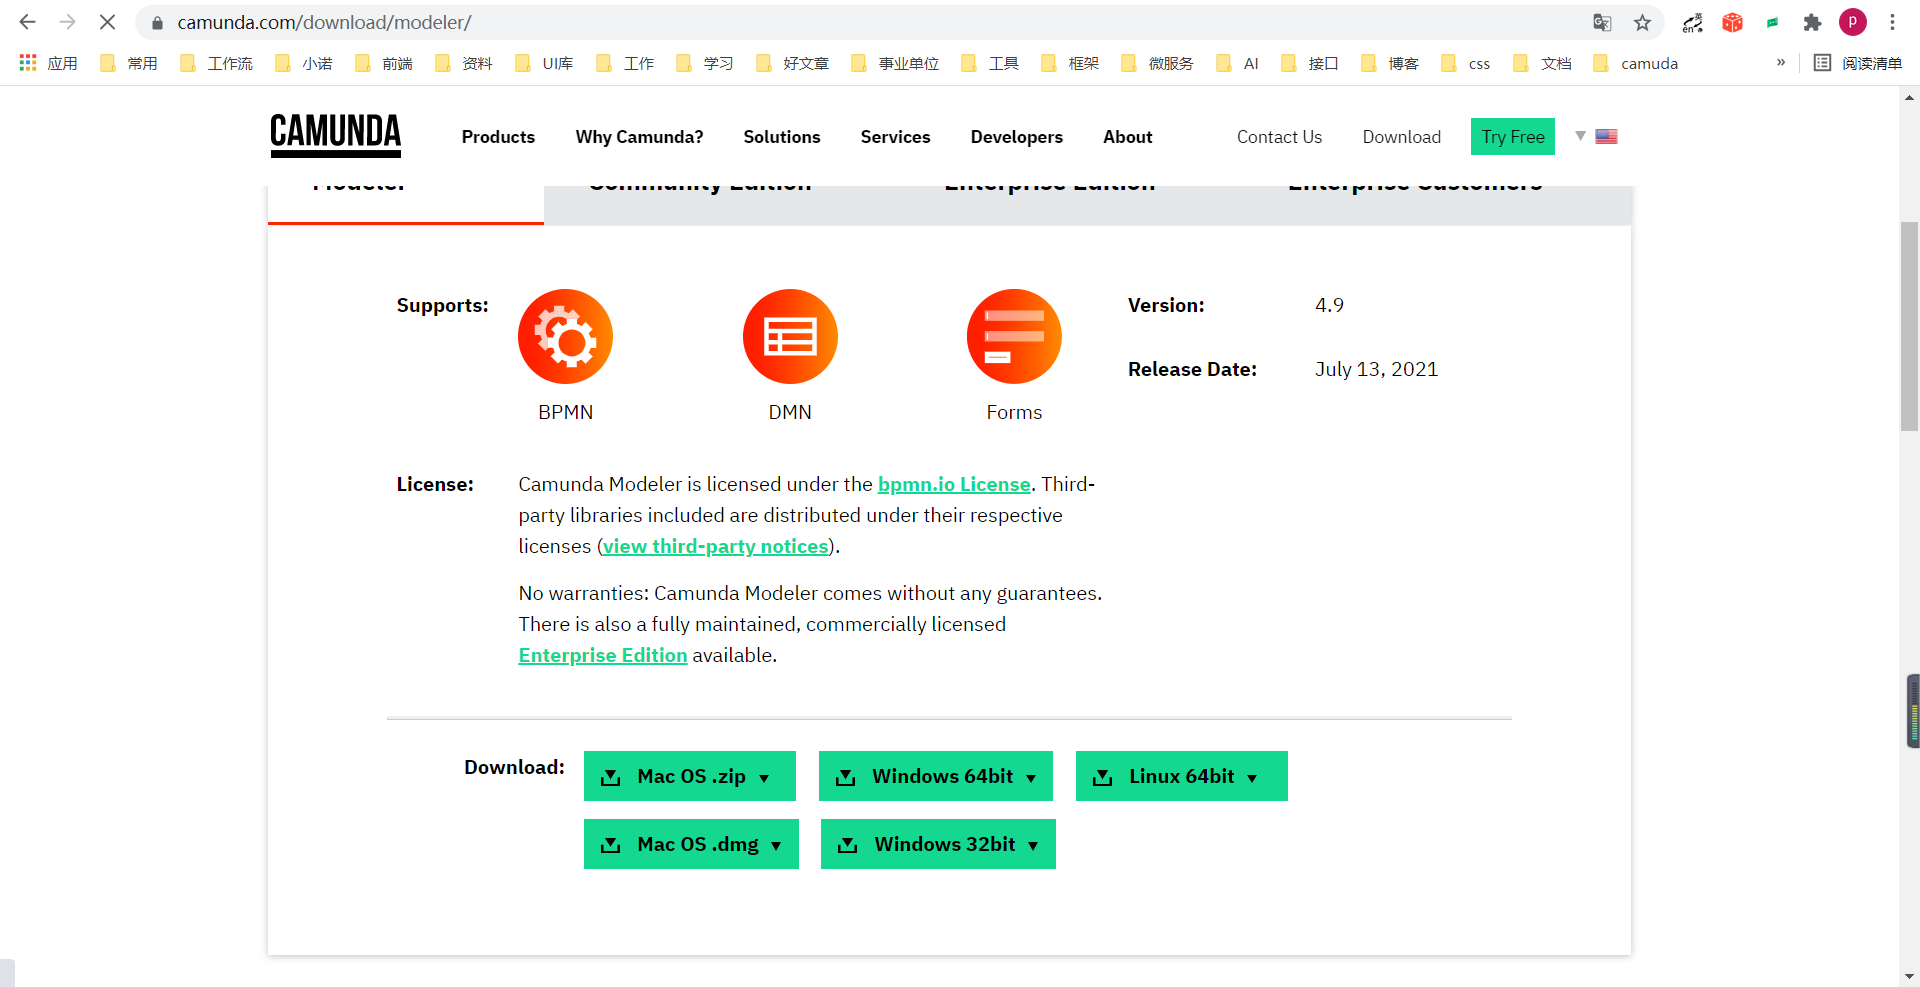
This link is a link to some of the official resources. If you want to run directly to the camunda project, you can go down and look at it directly. Most importantly, the modeler designer, which will download Android to your PC
https://camunda.com/download/modeler/
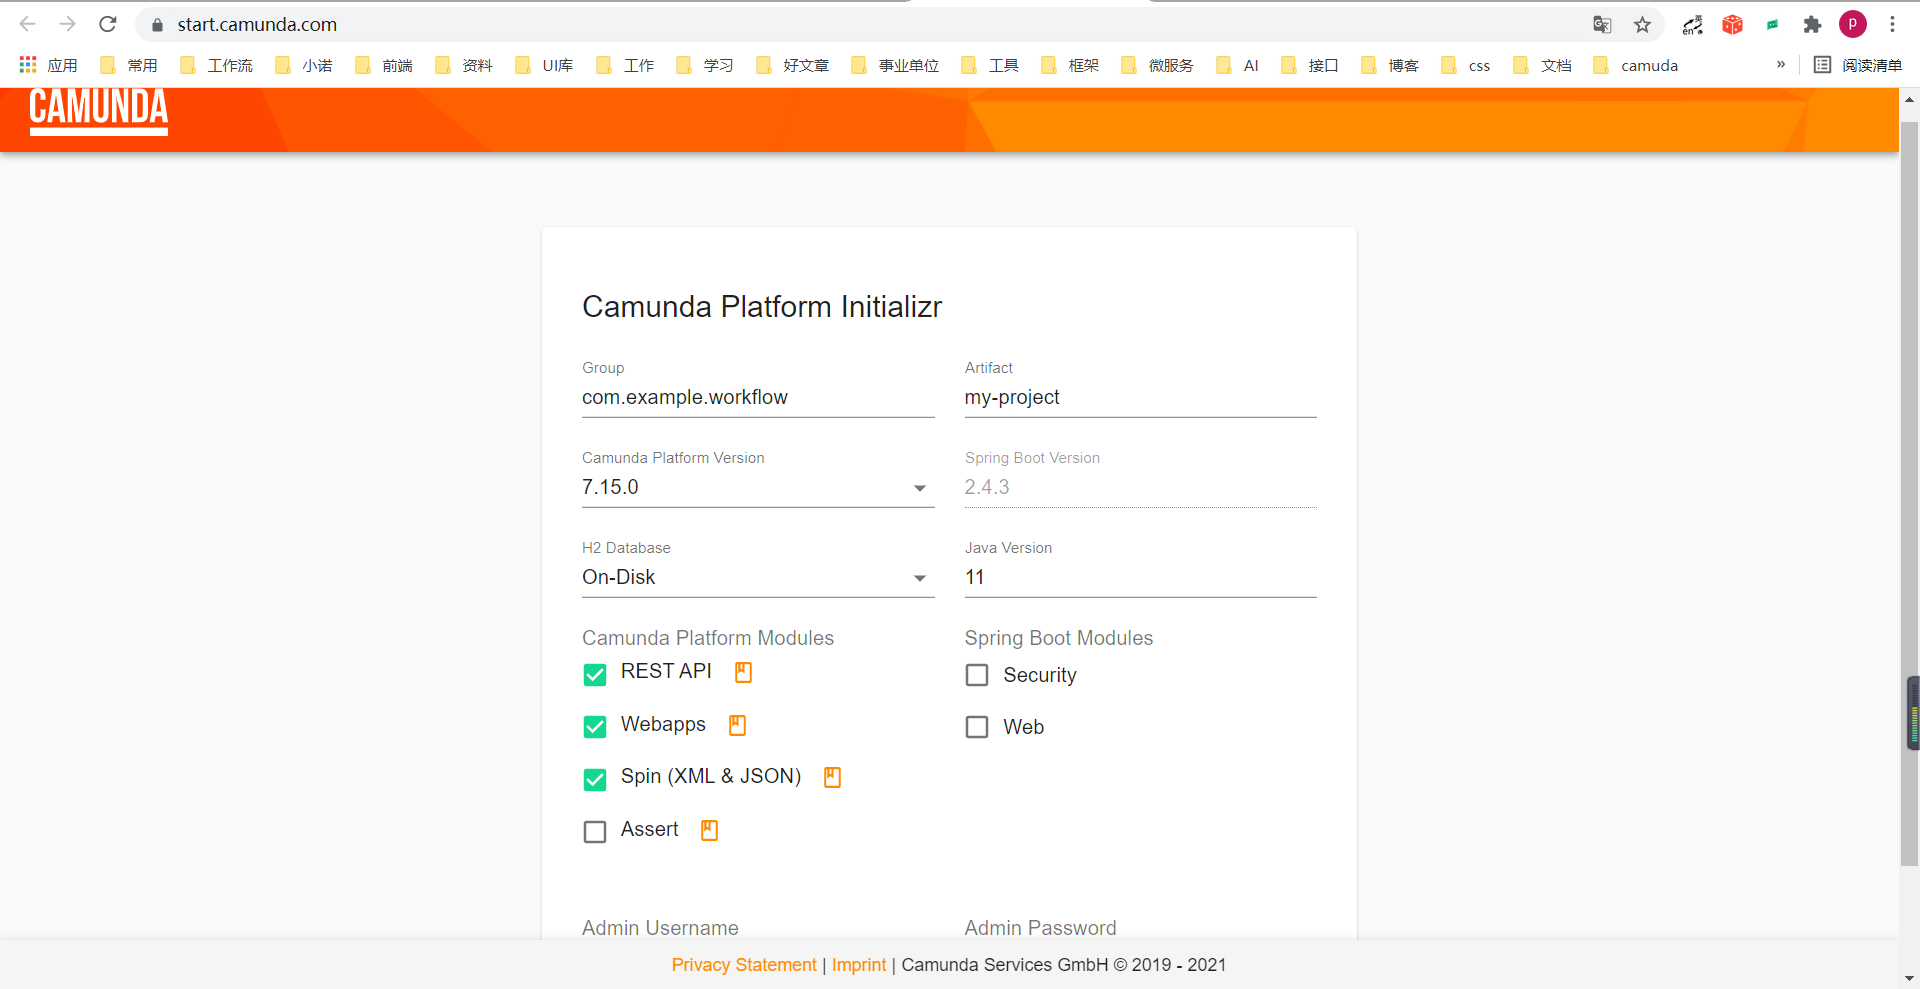
This is a resource for camunda's officially integrated springboot that you can download to see what pom packages it integrates.
3. Packages needed for camunda integration
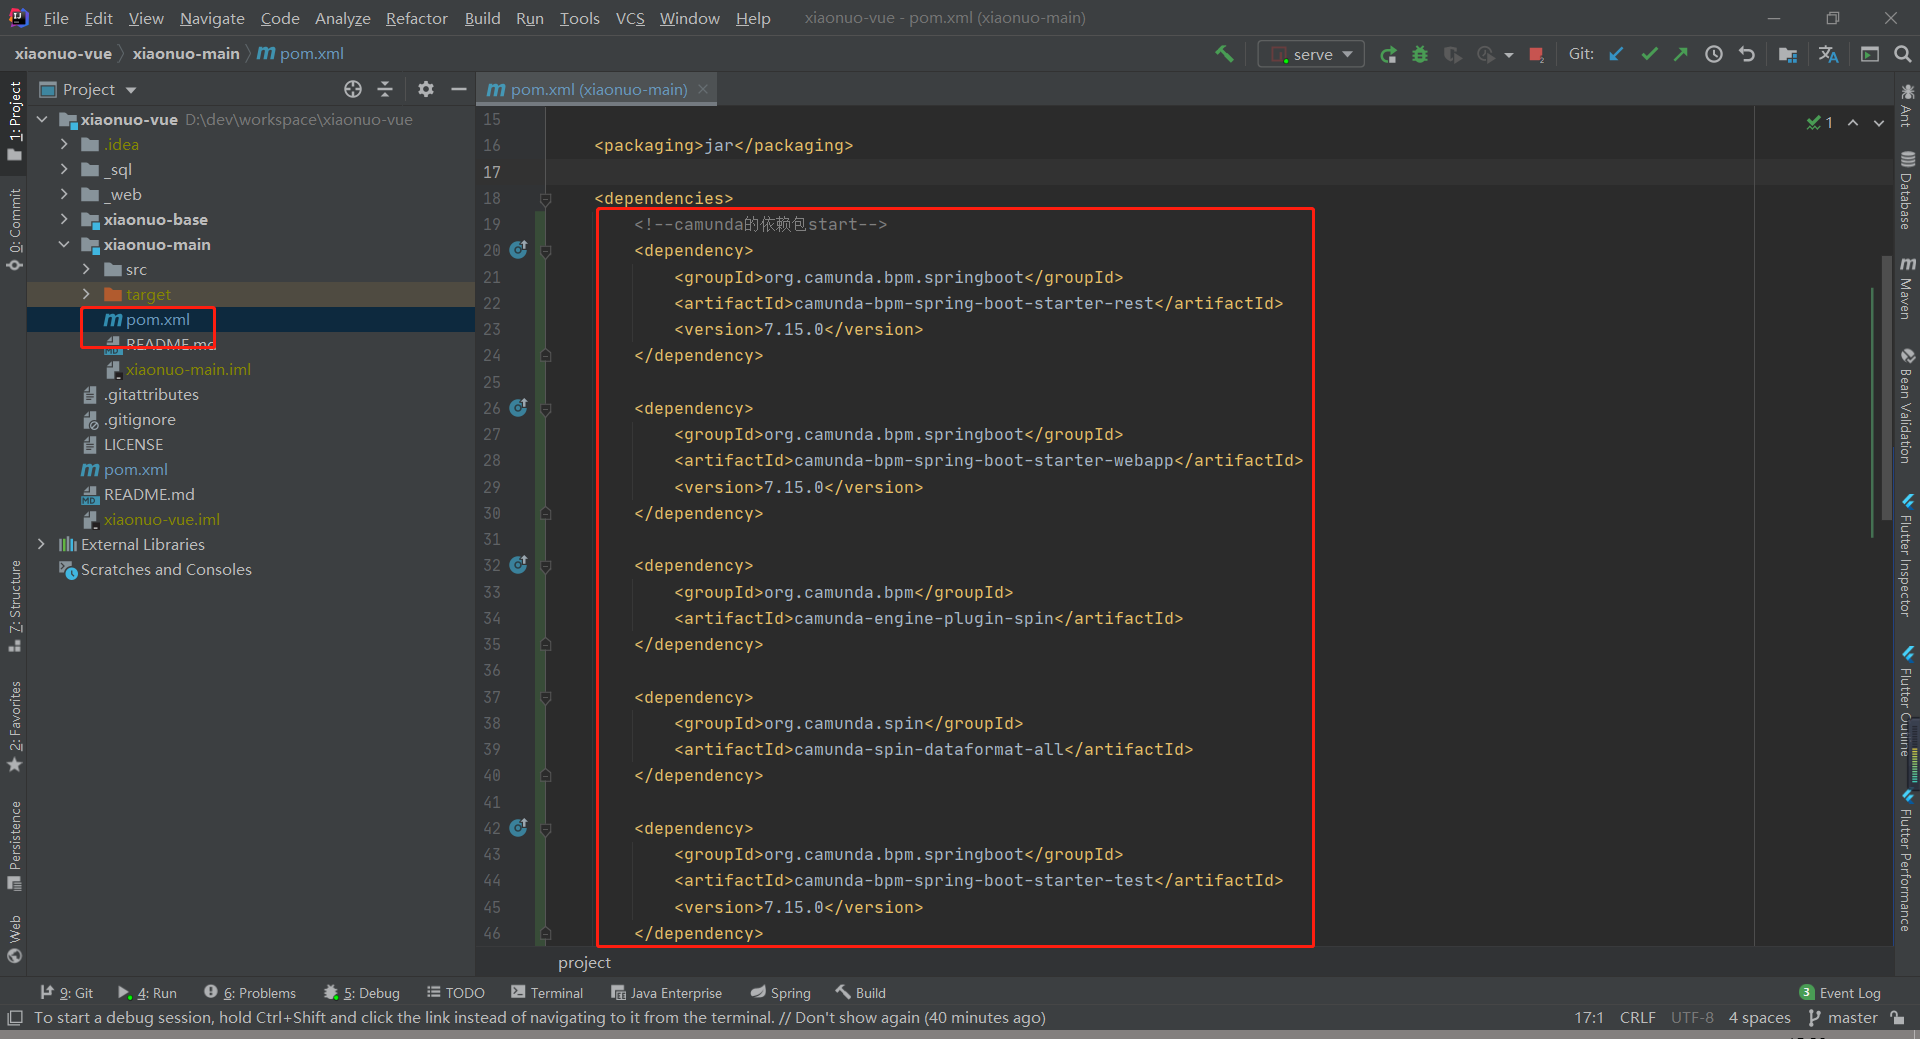
As mentioned above, the packages needed for the camunda integration project are all in the resource case of the official integration, which was the 7.15 version of camunda at the time of writing this article. So the integrated process package is version 7.15, if it is later updated, follow the steps described above to find the latest version package needed for springboot integration.
<!--camunda Dependent packages for start-->
        <dependency>
            <groupId>org.camunda.bpm.springboot</groupId>
            <artifactId>camunda-bpm-spring-boot-starter-rest</artifactId>
            <version>7.15.0</version>
        </dependency>

        <dependency>
            <groupId>org.camunda.bpm.springboot</groupId>
            <artifactId>camunda-bpm-spring-boot-starter-webapp</artifactId>
            <version>7.15.0</version>
        </dependency>

        <dependency>
            <groupId>org.camunda.bpm</groupId>
            <artifactId>camunda-engine-plugin-spin</artifactId>
        </dependency>

        <dependency>
            <groupId>org.camunda.spin</groupId>
            <artifactId>camunda-spin-dataformat-all</artifactId>
        </dependency>

        <dependency>
            <groupId>org.camunda.bpm.springboot</groupId>
            <artifactId>camunda-bpm-spring-boot-starter-test</artifactId>
            <version>7.15.0</version>
        </dependency>
        <!--camunda Dependent packages for end-->
This is the package required for version 7.15 integration.
Integrate the above pom files into the project.
Configure camunda Platform Overhead Account
camunda.bpm.admin-user:
  id: admin
  password: admin
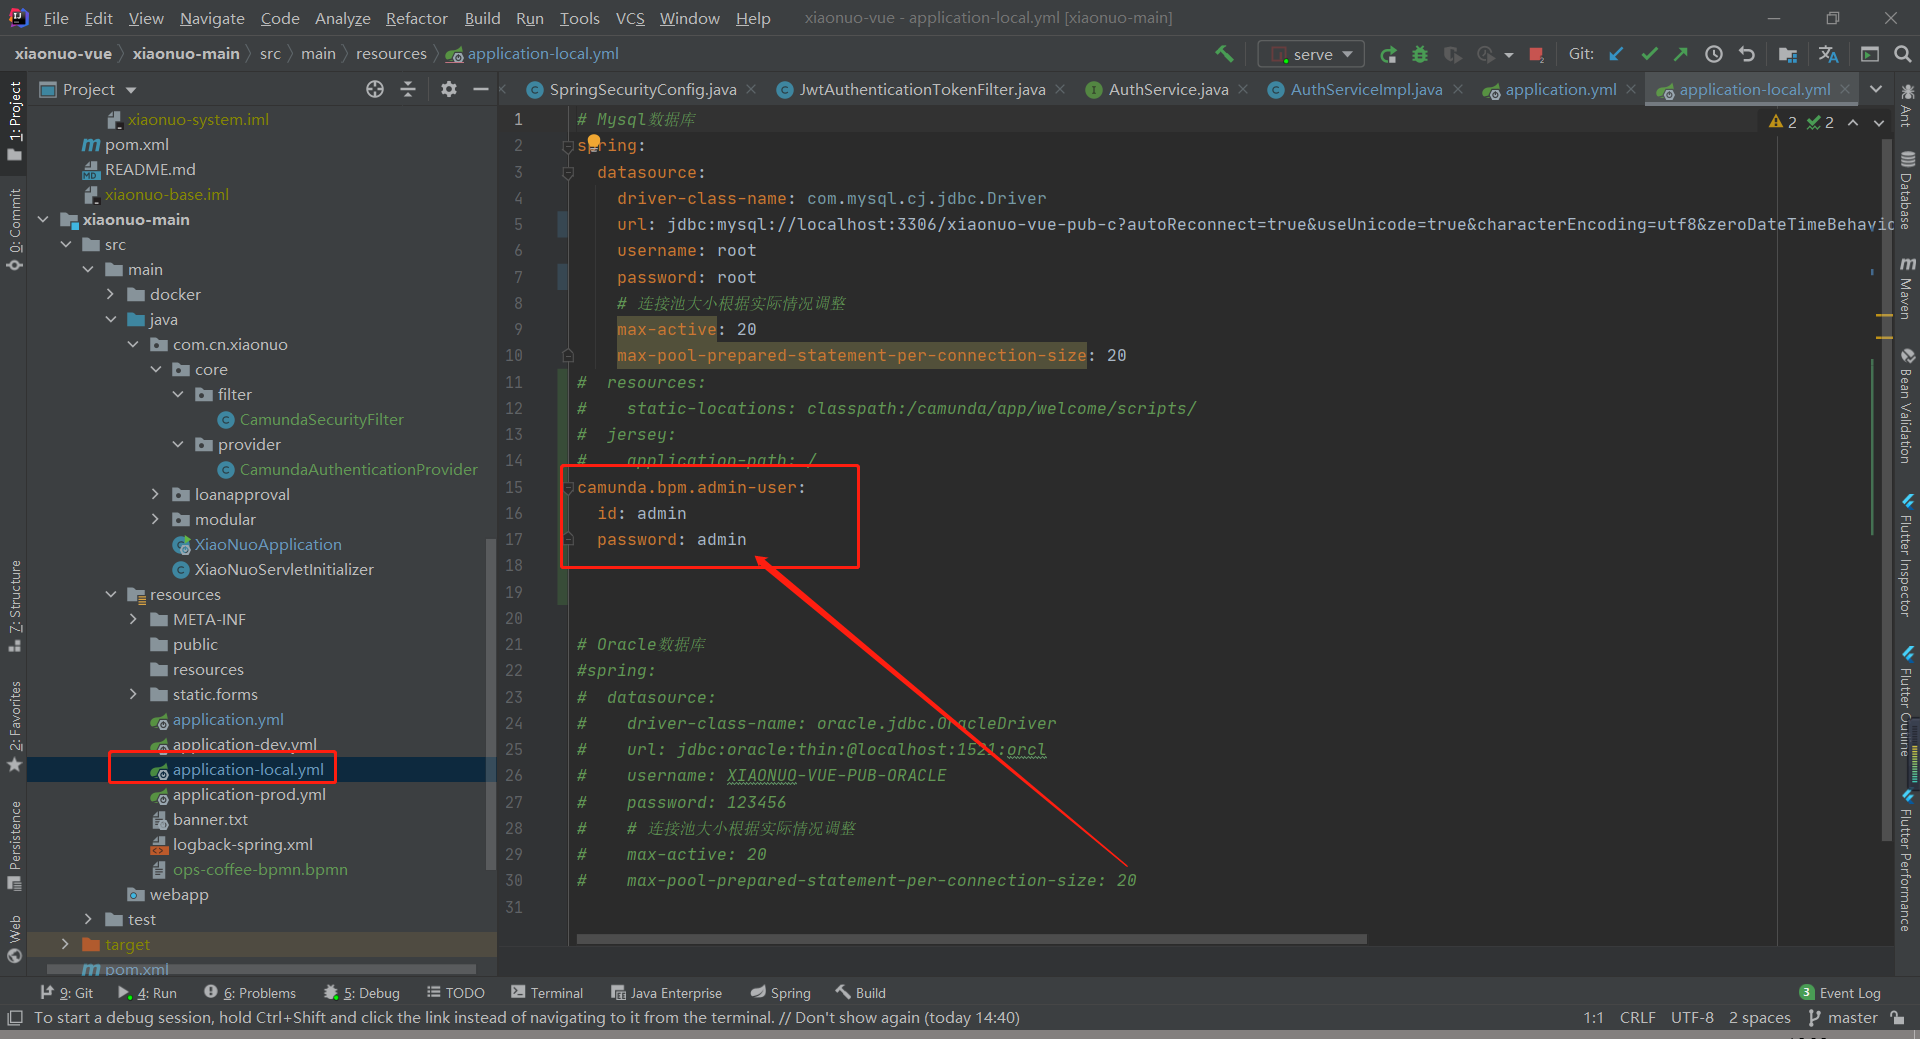
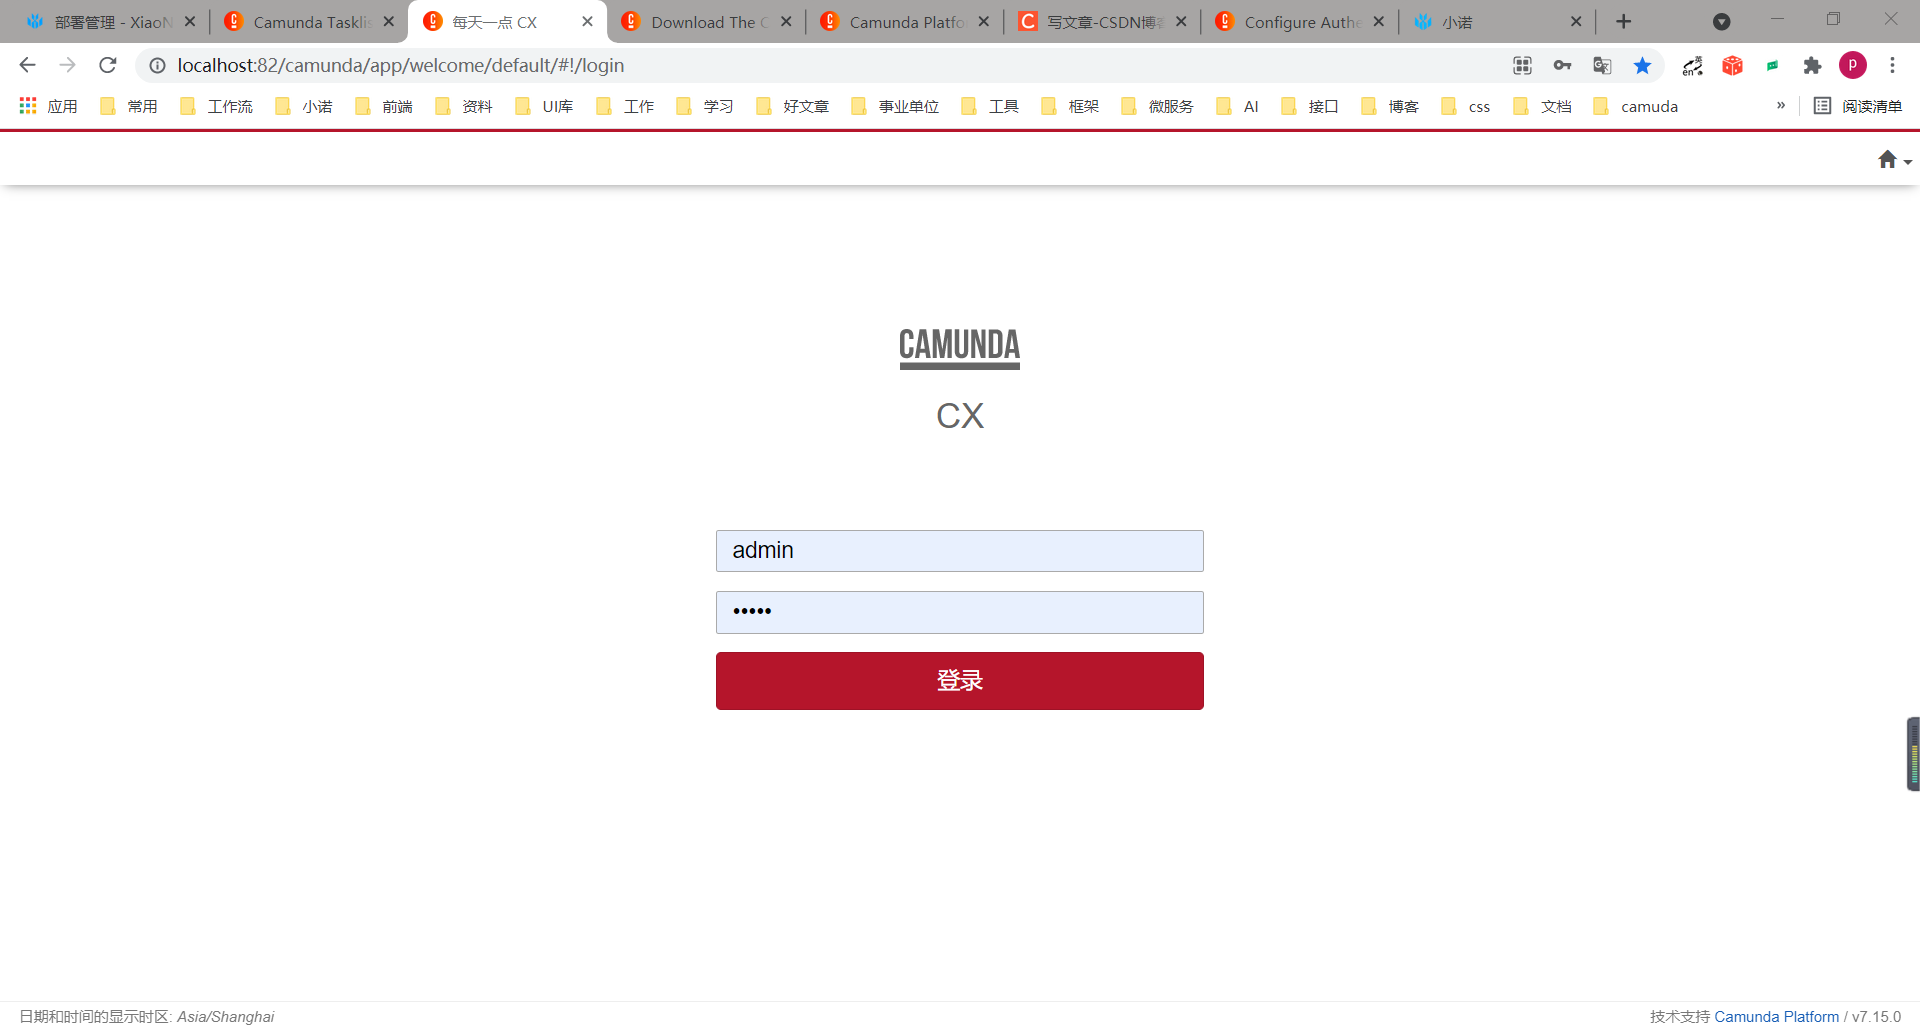
In fact, in a sense, the basic integration of camunda has been completed, start the back-end project, enter the address of camunda: http://localhost:82/camunda/app/welcome/default/#!/login
You may find that you cannot access, or access exceptions, because your project has been blocked by your own project privileges, so you need to connect the camunda project to your own project privileges at this time.
4. xianuo Permission Release camunda-related Interfaces
https://docs.camunda.org/manual/latest/reference/rest/overview/authentication/
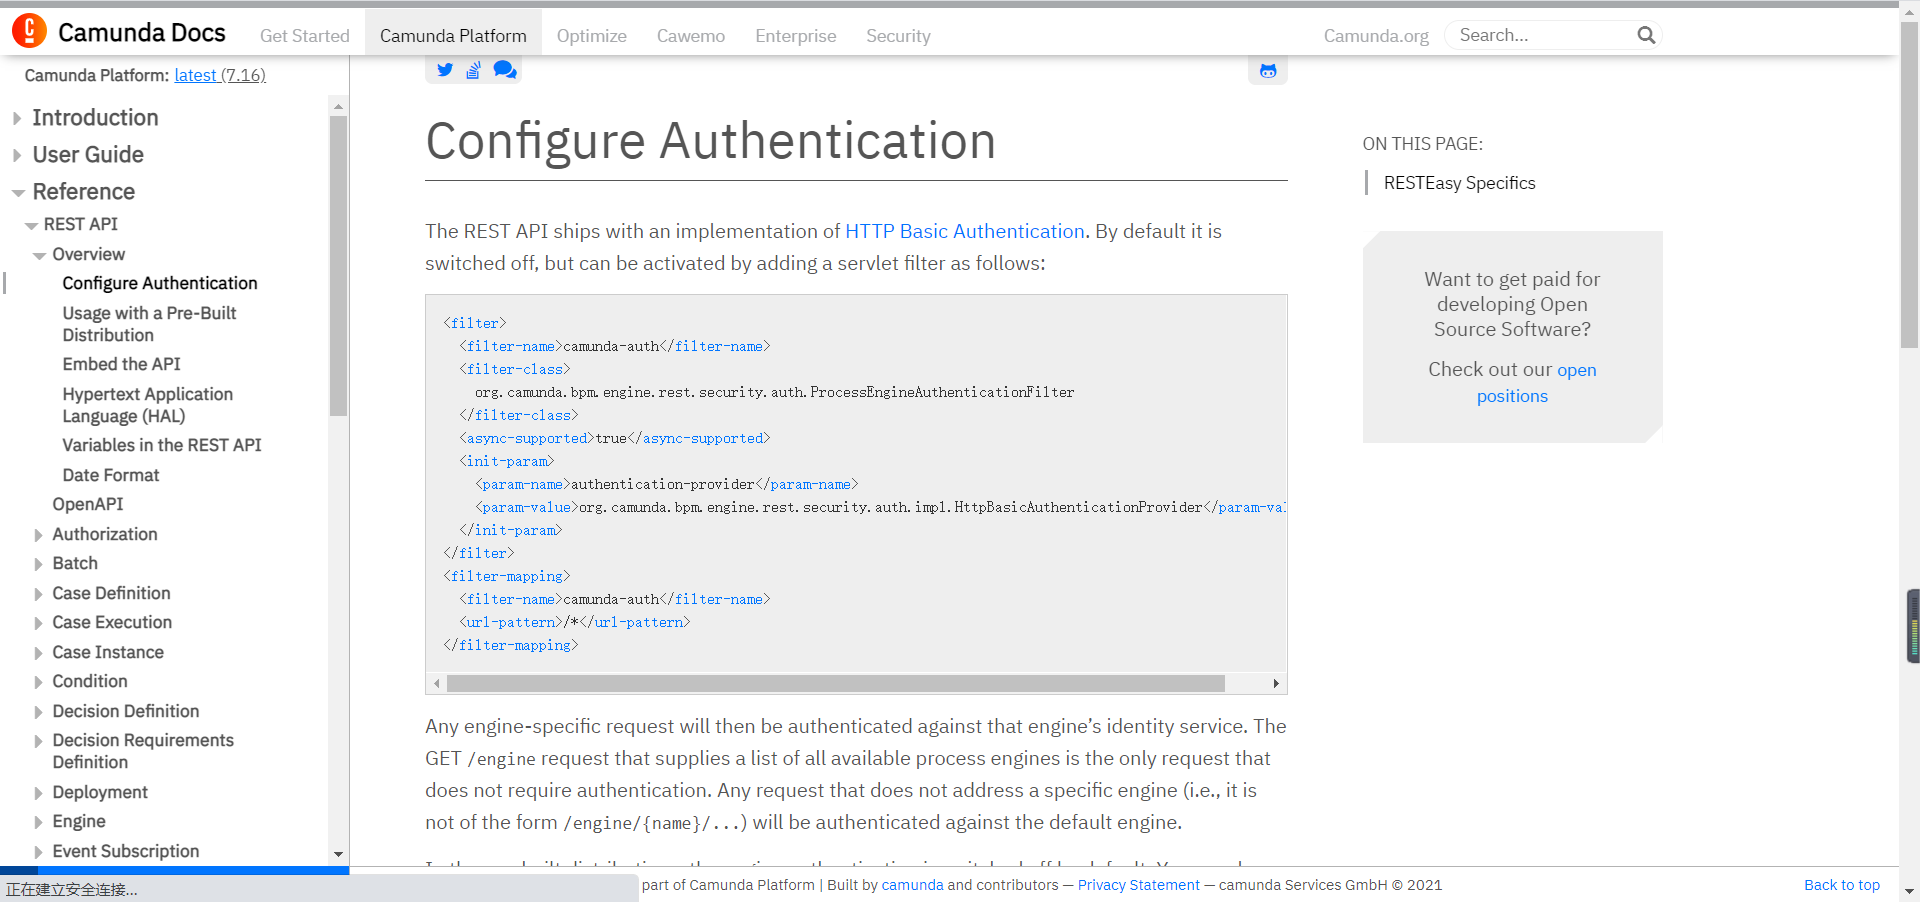
First, according to the official documentation of camunda, you can see that all camunda interfaces are released by default without any configuration, that is, when you access: http://localhost:82/camunda/app/welcome/default/#!/login Unable to access, the question does not appear on camunda, but on your own system. It is not difficult to come up with an answer, but on permissions, so at this time, you need to release all the interfaces of your system (xiaonuo) about camunda.
            // modeler Process Deployment Interface
            "/engine-rest/**",
            // modeler Form Deployment
            "/forms/**",


            // camunda workflow (web)
            "/camunda/**",
            // "/**",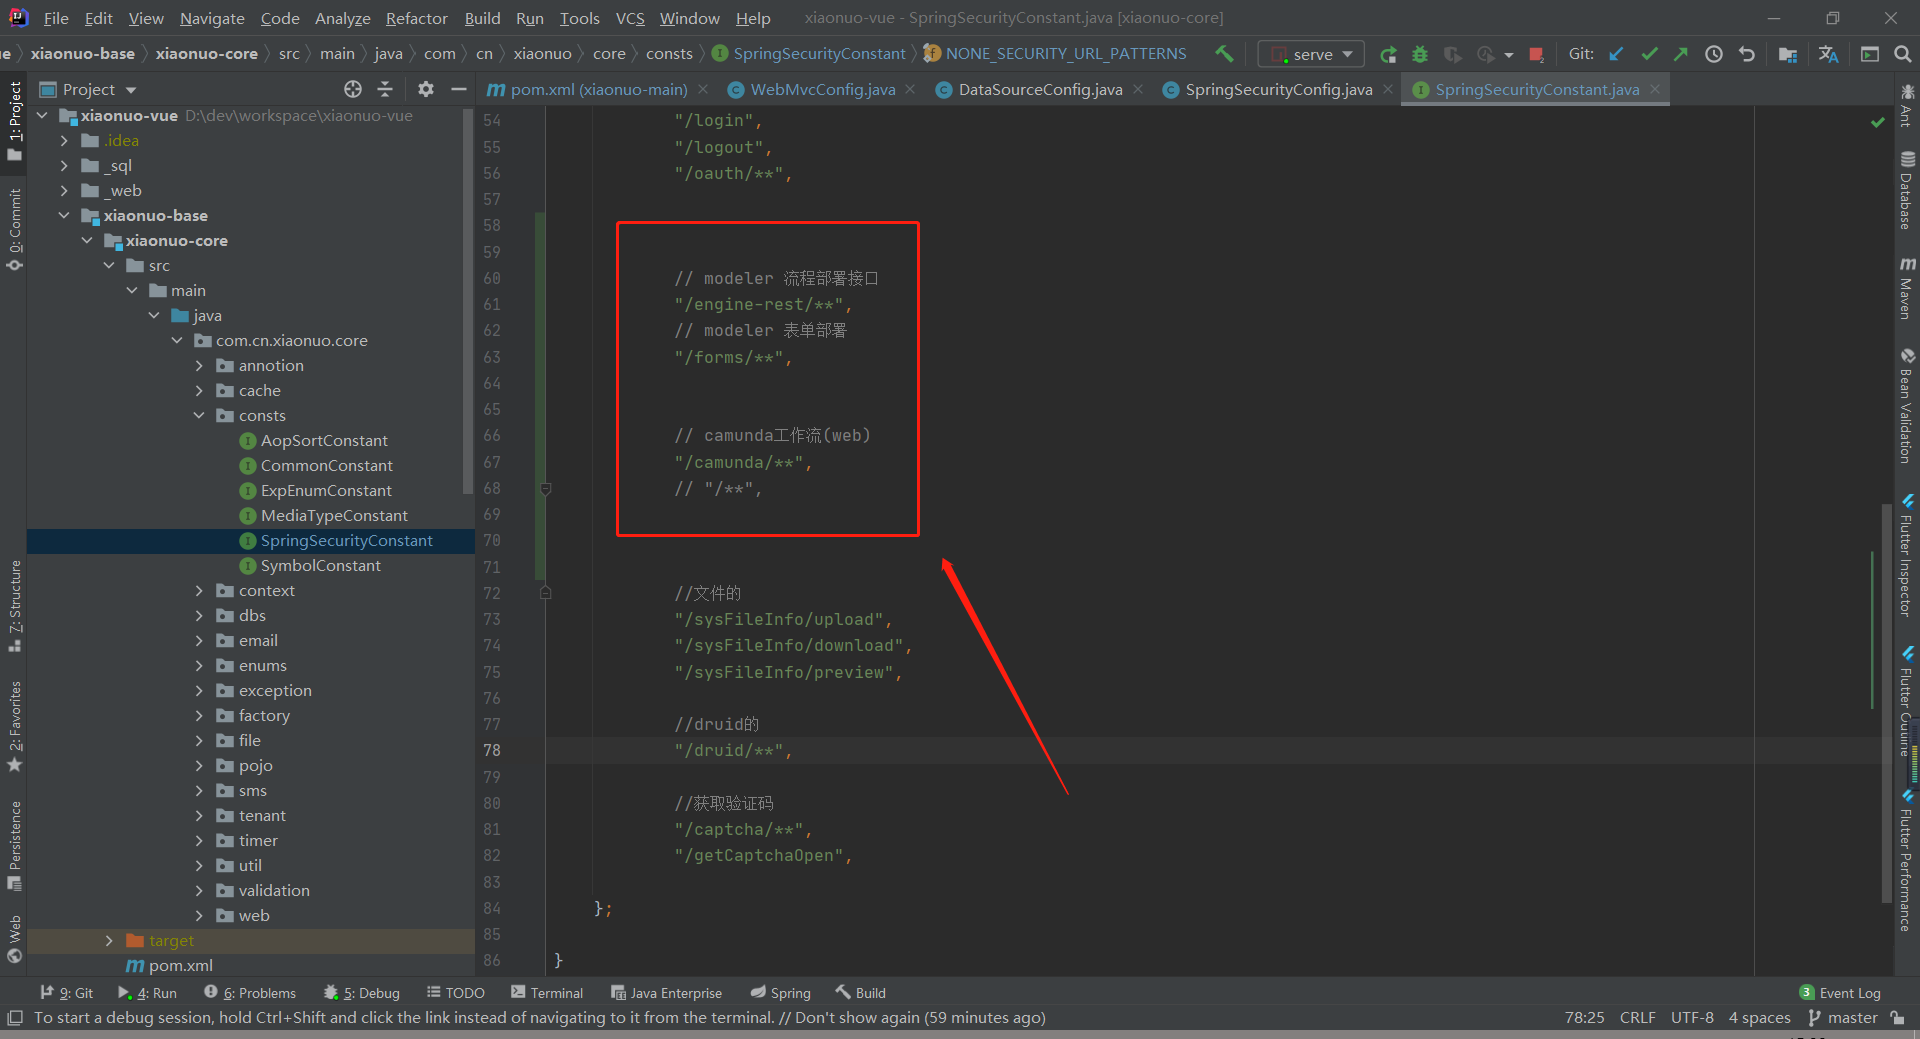
If you start the project again, it will be accessible
5. camunda privilege open
Some of your little partners will surely think that the original system, also known as xiaonuo, has freed up the rights of camunda. By default, the rights of the camunda system are closed again. If you deploy it to a production environment, would the workflow not run naked? It is true that there is such a problem. Regarding the opening rights of official documents, that paragraph does not describe how to realize the opening rights of camunda in springboot. Later, the relevant code was found on the official forum of camunda, and the author made some improvements:
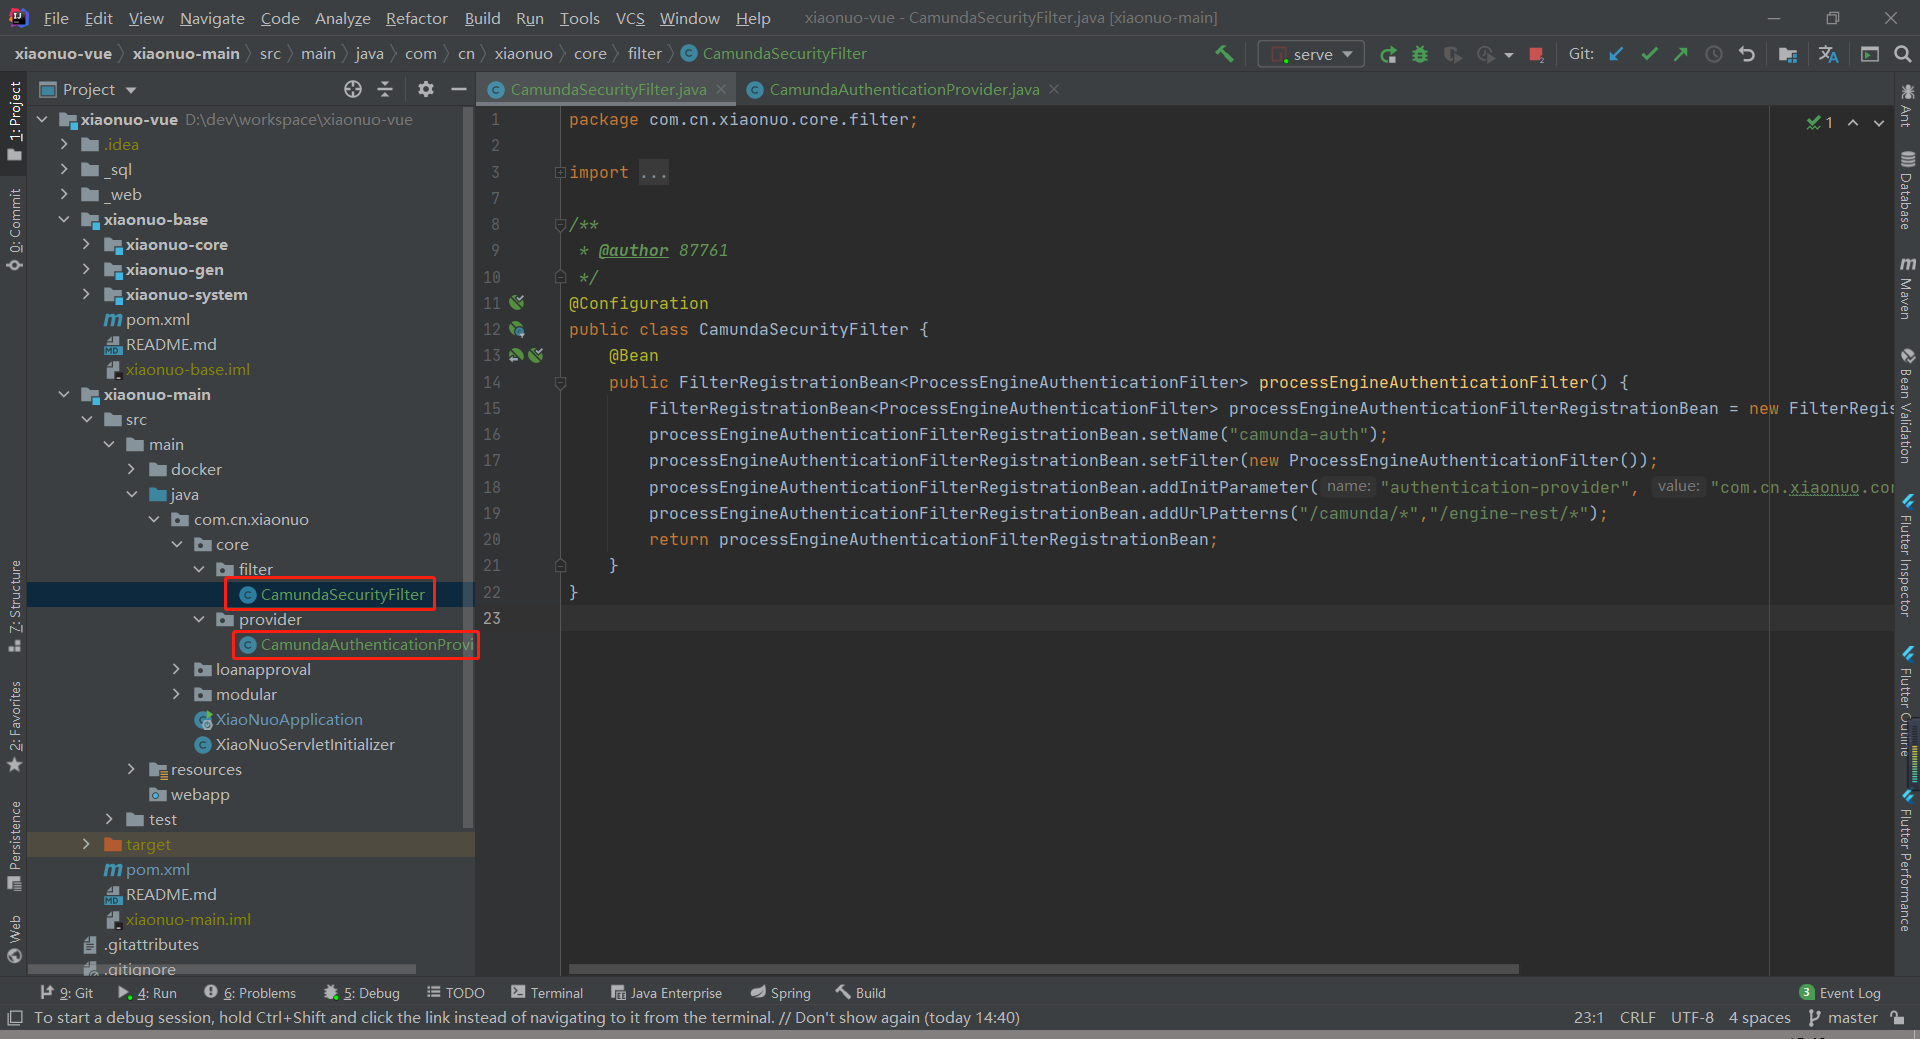
package com.cn.xiaonuo.core.filter;

import org.camunda.bpm.engine.rest.security.auth.ProcessEngineAuthenticationFilter;
import org.springframework.boot.web.servlet.FilterRegistrationBean;
import org.springframework.context.annotation.Bean;
import org.springframework.context.annotation.Configuration;

/**
 * @author 87761
 */
@Configuration
public class CamundaSecurityFilter {
    @Bean
    public FilterRegistrationBean<ProcessEngineAuthenticationFilter> processEngineAuthenticationFilter() {
        FilterRegistrationBean<ProcessEngineAuthenticationFilter> processEngineAuthenticationFilterRegistrationBean = new FilterRegistrationBean<>();
        processEngineAuthenticationFilterRegistrationBean.setName("camunda-auth");
        processEngineAuthenticationFilterRegistrationBean.setFilter(new ProcessEngineAuthenticationFilter());
        processEngineAuthenticationFilterRegistrationBean.addInitParameter("authentication-provider", "com.cn.xiaonuo.core.provider.CamundaAuthenticationProvider");
        processEngineAuthenticationFilterRegistrationBean.addUrlPatterns("/camunda/*","/engine-rest/*");
        return processEngineAuthenticationFilterRegistrationBean;
    }
}
package com.cn.xiaonuo.core.provider;

import com.cn.xiaonuo.core.context.login.LoginContextHolder;
import com.cn.xiaonuo.core.pojo.login.SysLoginUser;
import org.camunda.bpm.engine.ProcessEngine;
import org.camunda.bpm.engine.identity.User;
import org.camunda.bpm.engine.impl.digest._apacheCommonsCodec.Base64;
import org.camunda.bpm.engine.rest.security.auth.AuthenticationProvider;
import org.camunda.bpm.engine.rest.security.auth.AuthenticationResult;
import org.springframework.util.StringUtils;

import javax.servlet.http.HttpServletRequest;
import javax.servlet.http.HttpServletResponse;
import javax.ws.rs.core.HttpHeaders;

/**
 * @author 87761
 */
public class CamundaAuthenticationProvider implements AuthenticationProvider {


    protected static final String BASIC_AUTH_HEADER_PREFIX = "Basic ";
    protected static final String TOKEN_TYPE_BEARER = "Bearer";

    @Override
    public AuthenticationResult extractAuthenticatedUser(HttpServletRequest request,
                                                         ProcessEngine engine) {
        String authorizationHeader = request.getHeader(HttpHeaders.AUTHORIZATION);

        if (authorizationHeader != null) {

            if(authorizationHeader.startsWith(BASIC_AUTH_HEADER_PREFIX)){
                String encodedCredentials = authorizationHeader.substring(BASIC_AUTH_HEADER_PREFIX.length());
                String decodedCredentials = new String(Base64.decodeBase64(encodedCredentials));
                int firstColonIndex = decodedCredentials.indexOf(":");
                if (firstColonIndex != -1) {
                    String userName = decodedCredentials.substring(0, firstColonIndex);
                    String password = decodedCredentials.substring(firstColonIndex + 1);
                    if (isAuthenticated(engine, userName, password)) {
                        return AuthenticationResult.successful(userName);
                    }
                }
            }

            if(authorizationHeader.startsWith(TOKEN_TYPE_BEARER)){
                SysLoginUser sysLoginUser = LoginContextHolder.me().getSysLoginUser();
                // AuthService authService = SpringUtil.getBean(AuthService.class);
                User user = engine.getIdentityService().createUserQuery().userId(sysLoginUser.getAccount()).singleResult();
                if(!StringUtils.isEmpty(user)){
                    return AuthenticationResult.successful(user.getId());
                }
            }
        }
        return AuthenticationResult.unsuccessful();
    }

    protected boolean isAuthenticated(ProcessEngine engine, String userName, String password) {
        return engine.getIdentityService().checkPassword(userName, password);
    }

    @Override
    public void augmentResponseByAuthenticationChallenge(
            HttpServletResponse response, ProcessEngine engine) {
        response.setHeader(HttpHeaders.WWW_AUTHENTICATE, BASIC_AUTH_HEADER_PREFIX + "realm=\"" + engine.getName() + "\"");
    }

}
Opening camunda permissions in springboot is like the above, which roughly means all the interface permissions for camunda that are free on the side of xianuo, so camunda should also manage these permissions
For Xiao Nuo, the system's original authentication needs to be slightly changed

The reason is that as long as there is Authorizationin the request header on the side of xiaonuo, he will take away the authentication, and there is Authorization in the request header in camunda, but it does not start with the same thing, it starts with Basic, and xiaonuo starts with Bearer, so this place suggests that the rule of judgment should be changed to whether or not Bearer has started. If not, just go back to null.
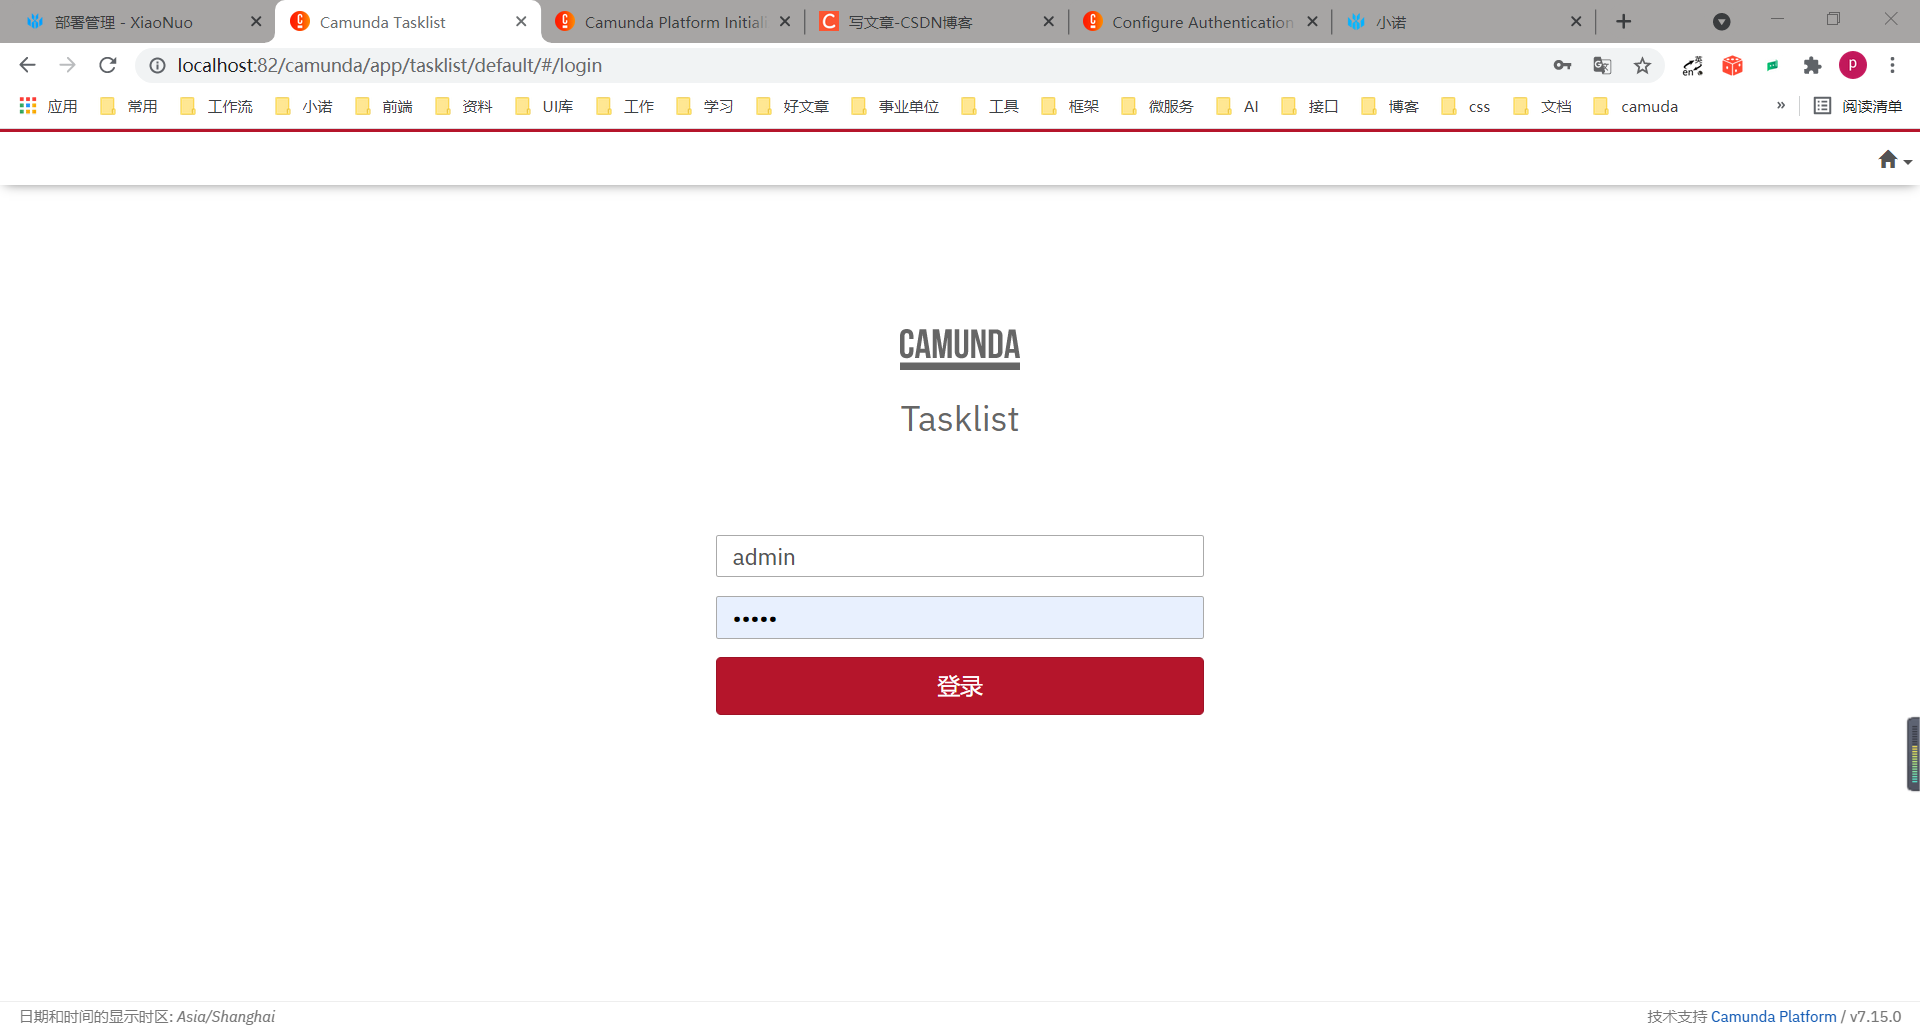
6. Authentication Opening Effect
1. modeler Designer will ask you to enter your account and password when deploying

2. After entering the web address, it will ask you to enter your account and password
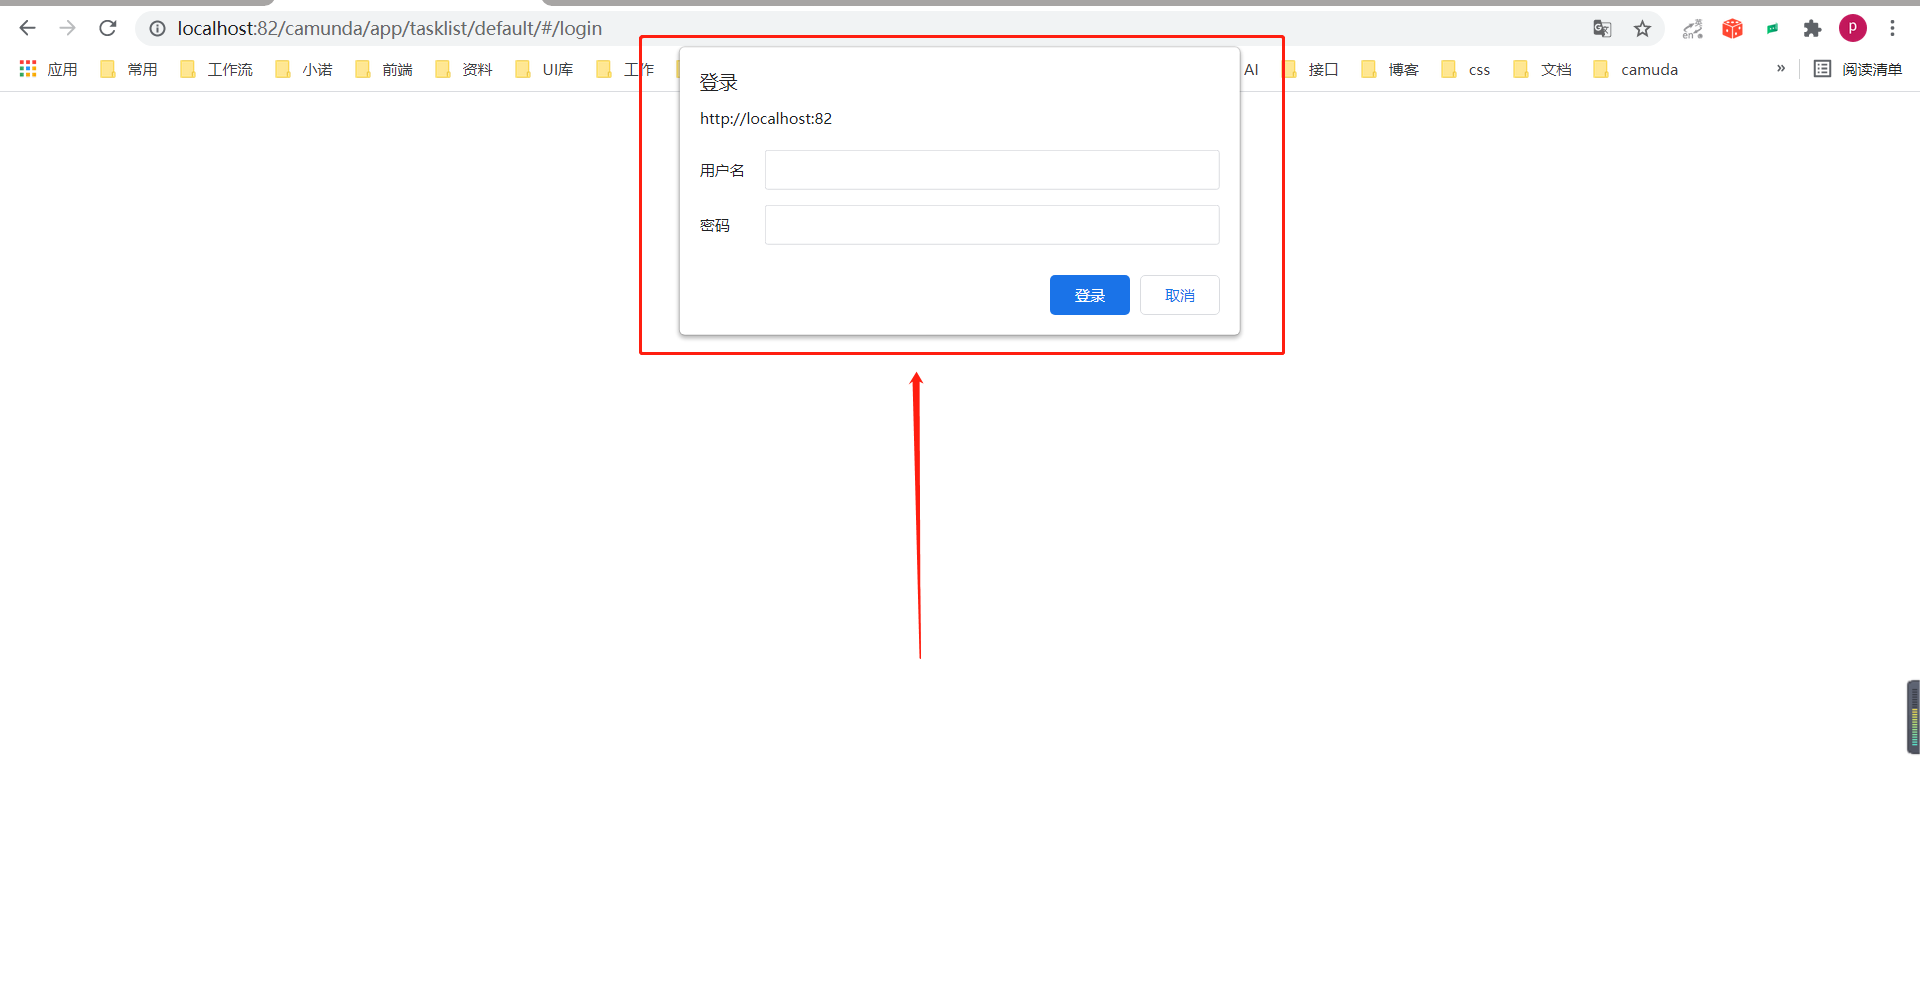
The login page does not appear until the correct input is made