grid mutual trust configuration
Mutual trust configuration: connect two virtual machines. Node 1 virtual machine can operate node 2 virtual machine by entering password.
First, let's understand the difference between rsa and dsa?
DSA signature is faster, but validation is slower. A DSA key of the same strength as RSA (1024 bits) generates a smaller signature. An RSA 512 bit key has been cracked, but there is only one 280 DSA key.
Mutual trust configuration steps:
1. Before using SSH service, you need to know whether the service has been started
The command to check whether the ssh service is enabled: systemctl status sshd. If it is not enabled, you can use systemctl start sshd.
2. Enter the grid directory
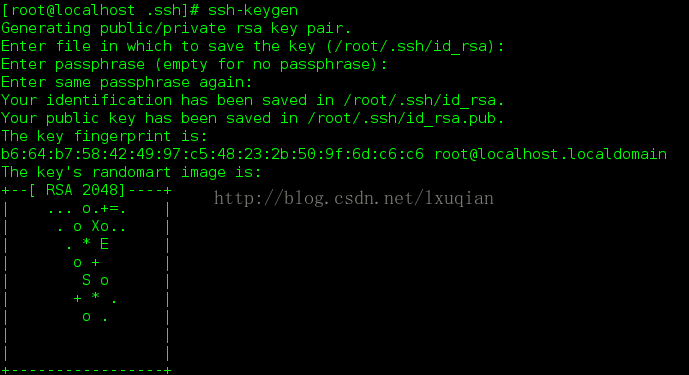
3. In ssh folder, create the key
Use command
ssh-keygen -rsa ssh-keygen -dsa
id_rsa is called private key, that is, key, id_rsa.pub is called public key.
After entering the command, the first prompt asks where you exist. It's good by default. Enter directly. The second question asks you to enter a password. This password is the password that others need to enter your host when they have the private key. After inputting it again, a key and a lock will be generated.
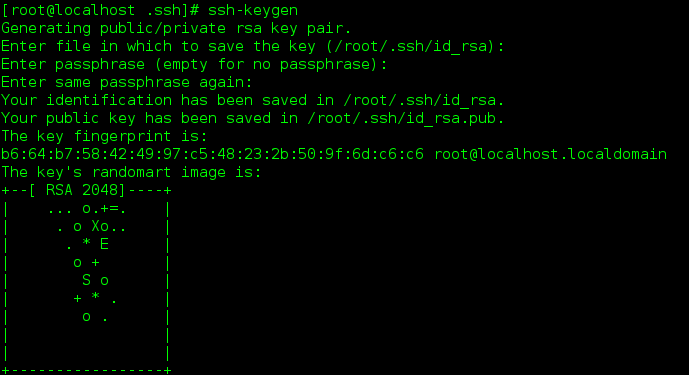
If normal operation occurs:
Enter passphrase (empty for no passphrase)
Just enter.
Tip: you will be prompted to replace the file: enter A directly.
4. Put the generated password in ssh/authorized_keys file
cat  ~/.ssh/id_rsa.pub>> ~/.ssh/authorized_keys

cat  ~/.ssh/id_dsa.pub>> ~/.ssh/authorized_keys
5. Generate the key under the user name rac19c2 in ssh/authorized_keys file
ssh rac19c2 cat  ~/.ssh/id_rsa.pub>>~/.ssh/authorized_keys

ssh rac19c2 cat  ~/.ssh/id_dsa.pub>>~/.ssh/authorized_keys
6. Copy the key file to rac19c user's ssh/authorized_ In keys
scp ~/.ssh/authorized_keys rac19c2 :~/.ssh/authorized_keys
7. Test
ssh rac19c1 date ; ssh rac19c2 date; ssh rac19c1 -priv date ;rac19c2-priv date
The second way:
cd /usr/local/src/grid/sshsetup
root
./sshUserSetup.sh -user root -hosts "rdrac1 rdrac2" -advanced -noPromptPassphrase

su - oracle
./sshUserSetup.sh -user oracle -hosts "rdrac1 rdrac2" -advanced -noPromptPassphrase

su - grid
./sshUserSetup.sh -user grid -hosts "rdrac1 rdrac2" -advanced -noPromptPassphrase
2, Install GRID
1. Enter the / home directory for Linux X64_ 193000_ grid_ home. Zip to unzip

2. Put the extracted directory into uo1 / APP / 192.0 0.0/grid
unzip LINUX.X64_193000_grid_home.zip -d  /uo1/app/192.0.0.0/grid
**sudo rm -rf \***  Delete all folders in the current directory.
3. Enter uo1 / APP / 192.0 0.0/grid directory view the extracted file and find gridsetup SH execution
[the external chain image transfer fails. The source station may have an anti-theft chain mechanism. It is recommended to save the image and upload it directly (img-dnpk4gxh-1630916613360) (C: \ users \ zhengmingyu3 \ appdata \ roaming \ typora \ typora user images \ image-20210906144411659. PNG)]
4. Execute the script/ gridSetup.sh
Note 1: generally, the newly installed CentOS 7 needs to install xhost. Installing xhost and configuring xhost allows users other than root to log in to other virtual machines.
Installation steps:
1. Installation
yum whatprovides "*/xhost"
2. Select the specific version to install according to the prompts
yum -y install xorg-x11-server-utils-7.7-2.el6.x86_64
Note 2: may occur during execution
Solution: 1 Set export DISPLAY = native ip:0.0 for the graphic display environment variable
2. Due to the permission problem, you should switch the grid user for installation. su - grid is executed again/ gridSetup.sh if the decompression is performed on the root user, you can use the command chown - R grid: oinstall / u01 / APP / 19.0 0 / grid / change permissions.