1, Nginx installation and configuration
1. Installation package
(1) Version
1.6. 2 (Nginx can be used as Web server, reverse proxy server and mail server)
(2) Source
http://nginx.org/download/nginx-1.6.2.tar.gz //It can be downloaded locally and then transferred to centOS system, or it can be downloaded directly in Linux using wget
2. Installation process
(1) Install the relevant compilation plug-ins first
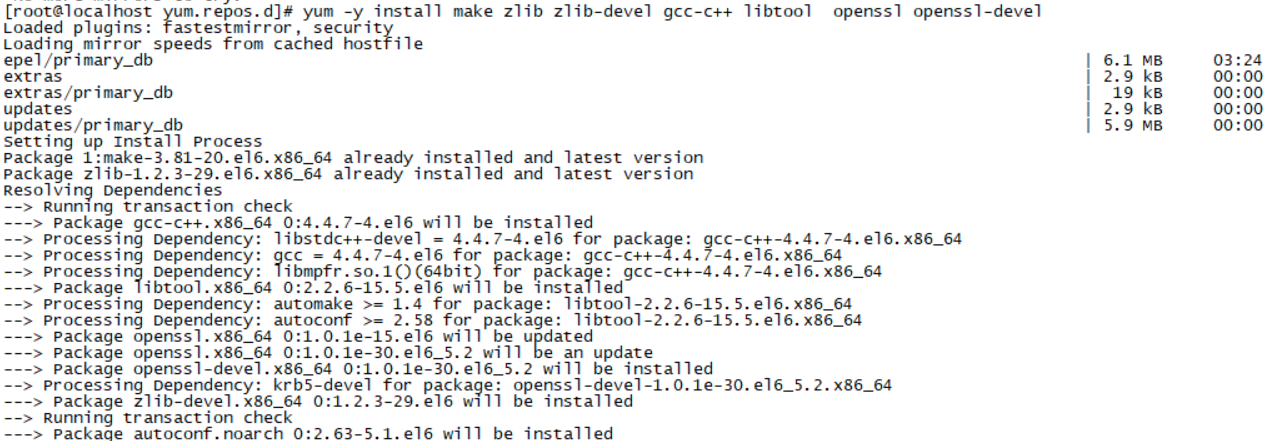
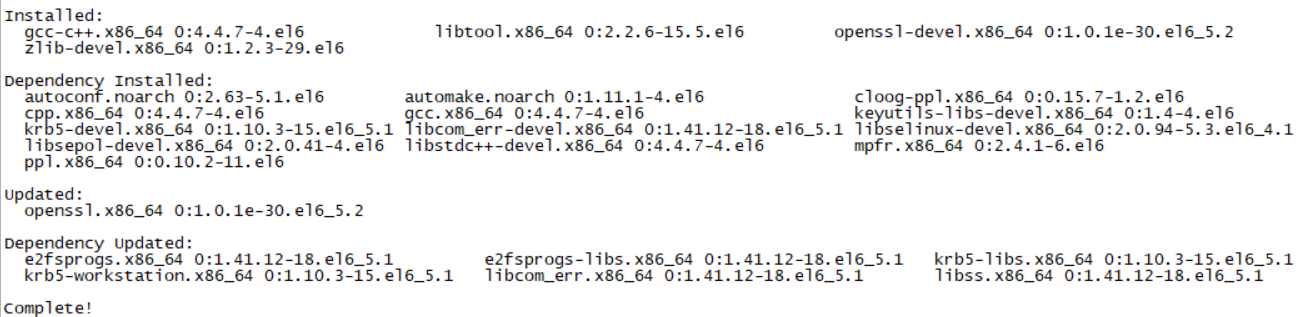
yum -y install make zlib zlib-devel gcc-c++ libtool openssl openssl-devel
(2) Then install PCRE to enable Nginx to support ReWrite function
1 cd /usr/local/src/                //And to the specified directory
2 wget http://downloads.sourceforge.net/project/pcre/pcre/8.35/pcre-8.35.tar.gz             //Download the installation package directly through the network
3 tar zxvf pcre-8.35.tar.gz    //Solution installation package
4 cd pcre-8.35                      //Enter resource directory
5 ./configure                         //Execute script configuration
6 make && make install          //Compile and install
7 pcre-config --version            //see pcre Version, confirm whether the installation is successful
(3) Installing Nginx
1 cd /usr/local/src/             //Switch to the specified directory
2 wget http://nginx.org/download/nginx-1.6.2.tar.gz  //Download installation package
3 tar zxvf nginx-1.6.2.tar.gz       //Unzip the installation package
4 ./configure --prefix=/usr/local/webserver/nginx --with-http_stub_status_module --with-http_ssl_module --with-pcre=/usr/local/src/pcre-8.35     //Configuration path
5 make                 //compile
6 make install       //Compile and install
7 /usr/local/webserver/nginx/sbin/nginx -v    //View version
(4) Configuration and general commands
1 /usr/sbin/groupadd www
2 /usr/sbin/useradd -g www www    //establish Nginx Run user
3 //Modify / usr / local / webserver / nginx / conf / nginx The conf configuration file can be modified initially and later as needed
4 /usr/local/webserver/nginx/sbin/nginx         //Start Nginx
5 ps -ef|gref nginx    //Check the process and confirm whether nginx is running
//Common commands
/usr/local/webserver/nginx/sbin/nginx -t     //Check the correctness of the configuration file
/usr/local/webserver/nginx/sbin/nginx -s reload    //Reload configuration file
/usr/local/webserver/nginx/sbin/nginx -s reopen    //restart Nginx
/usr/local/webserver/nginx/sbin/nginx -s stop        //stop it Nginx
3. Problems encountered and Solutions
(1) Failed to install compilation tools and library files using yum command in centOS6.5 (Cannot find a valid baseurl)?

Cause: yum related network services failed
resolvent:
1 vi /etc/resolv.conf    //Enter the edit page of the file and use Google of DNS service, Including 8.8.8.8 And 8.8.4.4,Insert two rows of data:nameserver 8.8.8.8   nameserver 8.8.4.4;First, navigate to the modified position through the direction key and press i Key to enter the input mode, modify the content, and finally press ctrl+c Exit input mode, input:wq Save and exit
2 service network restart    //Just restart the network
(2) Failed to install compilation tools and library files using yum command in centOS6.5 (No package # xxxxx available)?
Cause: there is a problem with the remote mirror site, that is, yum can't find the corresponding package installation through the mirror address. One reason is that CentOS6 stops maintenance and update and takes off the shelf, including all official CentOS6 sources (including domestic mirror sites)
Solution: install the epel enterprise expansion pack and use Alibaba cloud CentOS vault source
a. Install epel expansion pack
1 cat /etc/redhat-release   //Confirm your centos edition
2 wget http://download.fedoraproject.org/pub/epel/6/i386/epel-release-6-8.noarch.rpm   //Download the installation package, or download it locally and then transfer it to Linux in
3 sudo rpm -ivh epel-release-6-8.noarch.rpm  //install epel package
b. Change the configuration and use Alibaba cloud CentOS vault source
1 vi /etc/yum.repos.d/CentOS-Base.repo  //Enter the profile editing page
2 //hold CentOS-Base.repo Replace with the following
3 There are many contents. The replacement contents are shown in the screenshot. If you need a complete file, you can comment and leave a message to contact me
4
5 yum clean all && yum makecache    //Clear lower cache

Screenshot of solution effect: (install the software using yum command again)
2, JDK installation and configuration
1. Installation package
(1) Version
JDK1.8 (java software development package, including java program running environment jre, etc.)
(2) Source
You can go to the official website to download, or contact me with comments and messages to provide jdk-8u221-linux-x64 tar
2. Installation process
(1) The installation package is transferred to Linux first (you can also use the sftp tool provided by secureCRT, xftp or filezilla tools, etc.)
(2) Use tar zxvf jdk-8u221-linux-x64.tar to extract the installation package
(3) Configure environment variables
1 vi /etc/profile    //Enter environment variable configuration file
2 //In this file done Add the following under
3 export JAVAHOME=JDK catalogue
4 export PATH=$JAVAHOME/bin:$PATH
5 export CLASSPATH=.:$JAVAHOME/lib/dt.jar:$JAVAHOME/lib/tools.jar
(4) Validate configuration and check version
1 source /etc/profile       //Make the configuration just modified effective
2 echo $JAVAHOME        //Check whether the configuration environment is effective
3 java -version              //see jdk Is the installation successful
3, Tomcat installation and configuration
1. Installation package
(1) Version
apache-tomcat8.5 (Web project container, which can be used as a web server)
(2) Source
You can go to the official website to download, or contact me with comments to provide apache-tomcat-8.5 73.tar
2. Installation process
(1) The installation package is transferred to Linux first
(2) Use tar zxvf{apache-tomcat-8.5.73.tar to extract the installation package
(3) Configure environment variables
1 vi /etc/profile    //Enter environment variable configuration file
2 //In this file done Add the following under
3 export TOMCATHOME=TOMCAT catalogue
4 export PATH=$JAVAHOME/bin:$TOMCATHOME/bin:$PATH
(4) Start service
1 cd tomcat Installation directory/bin      //get into bin catalogue
2 ./startup.sh              //Just start the service
(5) Enter the server ip:8080 in the local browser to access. Normally, the tomcat management page will appear
3. Problems encountered and Solutions
(1) Local browser input server ip:8080, unable to access?
Reason: server port 8080 is not released
resolvent:
1) Open 8080 port
2) Or through the command / etc / init D / iptables stop close the firewall directly (not recommended, if the system is only used for learning)
4, Implementation of reverse proxy based on Nginx+Tomcat
1. Key points
(1) Plan the server information first
//I have limited resources and can only experiment on the same machine However, the use of different ports can also be distinguished to achieve the same purpose and effect
Nginx:      192.168.0.103(Without port, 80 is used by default)
Tomcat1:    192.168.0.103:8080
Tomcat2:    192.168.0.103:8090
(2) Basic principles
By accessing the Nginx service, Nginx turns the request to the Tomcat server and forwards it to which Tomcat server through the reverse proxy, which involves the load balancing algorithm of Nginx. We won't go deep into it here. Instead, we use the polling algorithm, that is, access one by one
2. Configuration process
(1) First, we have installed a Tomcat service using port 8080. Here we regard it as Tomcat1;
(2) We install Tomcat2 in the same way, enter the conf/server.xml configuration file, and change the service port to 8090;
(3) At the same time, in order to distinguish which Tomcat service page is accessed on the page, we enter the webapps/Root of two Tomcats respectively, modify the index.jsp, and add the difference information in the appropriate position of the < body > < / body > tag in the page: for example, in tomcat1, < H1 > I'm tomcat1:8080 < / H1 >, and in tomcat2, < H1 > I'm tomcat2:8090</h1>
(4) Start the service with. / startup.sh respectively. First, visit Tomcat1 and Tomcat2 respectively through the browser to confirm that the two services are normal
(5) Configure Nginx
1 vi /usr/local/nginx/conf/nginx.conf  //get into nginx.conf Configuration page
2 //stay server Add the following data above the node
3 upstream backend{              //to configure backend Cluster machine of module service
4         server  192.168.0.103:8080;
5         server  192.168.0.103:8090;
6 }
7 //stay server In node location / {} Add in the first line
8 proxy_pass http://backend;    //When the request type is/,Then forward the request to backend In the module
(6) Use the reload configuration file at the top of the tutorial and restart the nginx service
(7) Enter 192.168.0.103 in the browser and constantly refresh the page. You will find that sometimes you access Tomcat1 service and sometimes Tomcat2 service. At this time, congratulations. You have succeeded~~