Preface
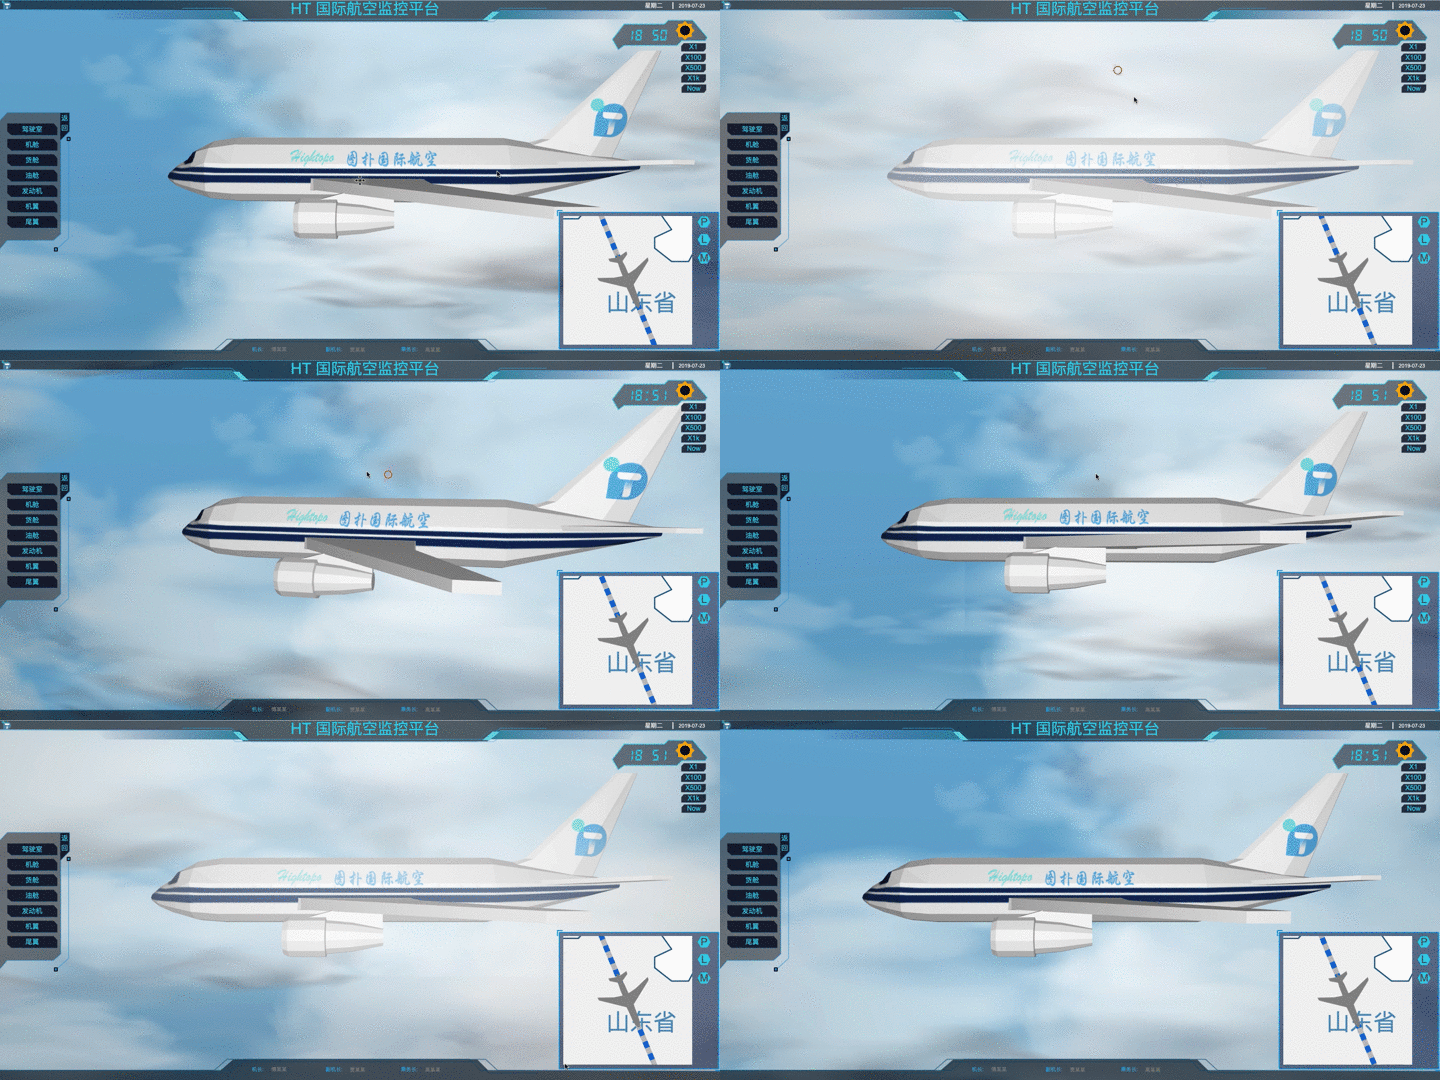
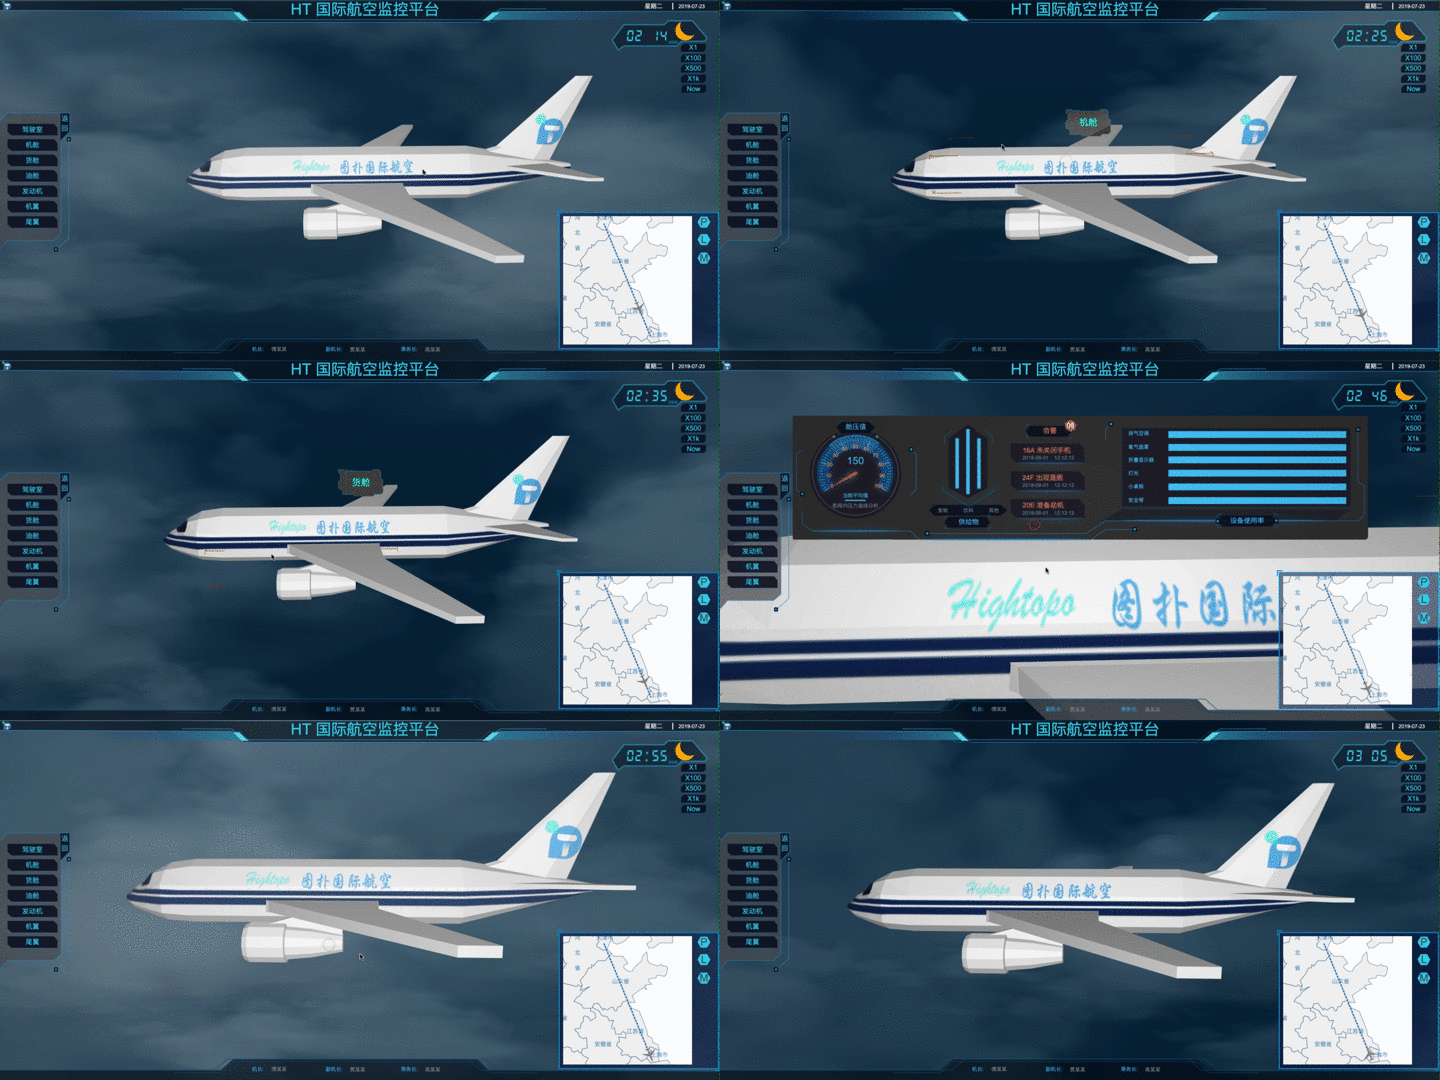
A few days ago, when I was on a business trip, I saw the monitoring panel overhead on the plane. In addition to playing TV plays and advertisements, I also switched to a monitoring system of aircraft navigation from time to time. However, the whole monitoring system feels a little rudimentary, so I made an upgraded version of the monitor using HT for Web. Control system, demo effect is still good, send out everyone to learn from each other.

Implementation process
Traveling through clouds
In order to achieve the effect of traveling through the clouds, the first problem I encountered was the hierarchical sense of aircraft flight, which is commonly referred to as perspective effect. Here I use cloud channels and cloud background to flow at different speeds to create a perspective effect of flight.
Cloud I use the way of mapping, but only the mapping will block the sky and aircraft, very affect the aircraft flight perception, so I opened the corresponding elements transparent and opacity, cloud background and cloud channel set different transparency, not only increased the level of feeling, but also let people produce clouds from the front. A passing illusion.
Cloud channel uses ht.Polyline type, channel zoom enlarges the proportion of Y axis, so that the cloud channel has more vertical space. Set reverse.flip back copy to make the inside of the cloud channel also show the map, as if to let the aircraft shuttle in the sea of clouds; cloud background uses ht.Node type, only one side display is set to act as a cloud. Background.
The overall cloud flow effect is achieved by offset migration, and the map offset of corresponding primitives or corresponding primitives is changed to achieve the effect of traveling through the aircraft cloud. The code is as follows:
var i = 1,
    p = 0;
setInterval(() => {
    i -= 0.1; p += 0.005;
    clouds.s('shape3d.uv.offset', [i, 0]);
    cloudBackground.s('all.uv.offset', [p, 0]);
}, 100);
Lift bump effect
Although it achieves the effect of traveling through the clouds, if the aircraft is only flying straight, it will also reduce the sense of flight, I believe that friends who have traveled in the aircraft must have encountered turbulence caused by airflow, and often feel the climbing and falling of the aircraft in flight, which is actually because the aircraft's route is not always. Fixed at a height, sometimes climb and sometimes fall, so I use ht-animation.js HT animation extension plug-in to achieve aircraft bump effect, the code is as follows:
dm.enableAnimation(20);
plane.setAnimation({
    back1: {
        from: 0,
        to: 160,
        easing: 'Cubic.easeInOut',
        duration: 8000,
        next: "up1",
        onUpdate: function (value) {
            value = parseInt(value);
            var p3 = this.p3();
            this.p3(value, p3[1], p3[2]);
        }
    },
    //... ellipsis is similar
    start: ["back1"]
});
Restriction of Spherical Fan Angle of View
When the flying effect is perfect, then I encounter a more difficult problem, because in fact, although watching the aircraft shuttle in the sea of clouds, but only flying in the channel, the background is actually only a plane map, so when the perspective reaches a certain level, there will be a strong sense of disobedience and unreality. It needs a limitation of perspective, so that the adjustment of perspective is just within one scope.
View limitation is generally limited to g3d eye and center, not very familiar friends can see the hightopo official website in the 3d manual, which has detailed instructions, I will not repeat here; because of the relationship between the scope of view, so I decided to fix the location of the center, the code is as follows:
g3d.addPropertyChangeListener(e => {
    // Fixed central point
    if (e.property === 'center') {
        e.newValue[0] = center[0];
        e.newValue[1] = center[1];
        e.newValue[2] = center[2];
    }
}
Then we can limit eye to a certain range, but it is not so simple here. At first, I limited eye to a cube space, but the interaction effect is not ideal. Considering the default interaction of g3d, eye is actually in a center when the mouse drags and pulls the translation angle of view to change. For the spherical movement of the center of the sphere, so I decided to dig out a piece from the sphere as eye's restricted space, that is, the spherical sector, not understand friends can refer to this picture:

The spherical sector angle limitation requires three parameters, namely, the central reference axis, the angle between the central axis and the outer side, and the spherical limit radius. The central reference axis can be determined according to the initial eye and center extension lines, and the spherical limit radius can be divided into the maximum limit and the minimum limit. The code is as follows:
function limitEye(g3d, eye, center, options) {
    var limitMaxL   = options.limitMaxL,
        limitMinL   = options.limitMinL,
        limitA      = options.limitA;

    g3d.addPropertyChangeListener(e => {
        // Fixed central point
        if (e.property === 'center') {
            e.newValue[0] = center[0];
            e.newValue[1] = center[1];
            e.newValue[2] = center[2];
        }
        // Restrictive Perspective
        if (e.property === 'eye') {
            var newEyeV = new ht.Math.Vector3(e.newValue),
                centerV = new ht.Math.Vector3(center),
                refEyeV = new ht.Math.Vector3(eye),
                refVector = refEyeV.clone().sub(centerV),
                newVector = newEyeV.clone().sub(centerV);

            if (centerV.distanceTo(newEyeV) > limitMaxL) {
                newVector.setLength(limitMaxL);
                e.newValue[0] = newVector.x;
                e.newValue[1] = newVector.y;
                e.newValue[2] = newVector.z;
            }
            if (centerV.distanceTo(newEyeV) < limitMinL) {
                newVector.setLength(limitMinL);
                e.newValue[0] = newVector.x;
                e.newValue[1] = newVector.y;
                e.newValue[2] = newVector.z;
            }
            if (newVector.angleTo(refVector) > limitA) {
                var oldLength = newVector.length(),
                    oldAngle  = newVector.angleTo(refVector),
                    refLength = oldLength * Math.cos(oldAngle),
                    vertVector,
                    realVector,
                    realEye;

                refVector.setLength(refLength);

                newEyeV = newVector.clone().add(centerV);
                refEyeV = refVector.clone().add(centerV);
                vertVector = newEyeV.clone().sub(refEyeV);
                vertLength = refLength * Math.tan(limitA);

                vertVector.setLength(vertLength);

                realVector = vertVector.clone().add(refEyeV).sub(centerV);

                realVector.setLength(oldLength);

                realEye = realVector.clone().add(centerV);

                // Prevent moving angle greater than 180 degrees and angle reversal
                if (oldAngle > Math.PI / 2) {
                    realEye.negate();
                }

                e.newValue[0] = realEye.x;
                e.newValue[1] = realEye.y;
                e.newValue[2] = realEye.z;
            }
        }
    })
}
Aircraft Monitoring System
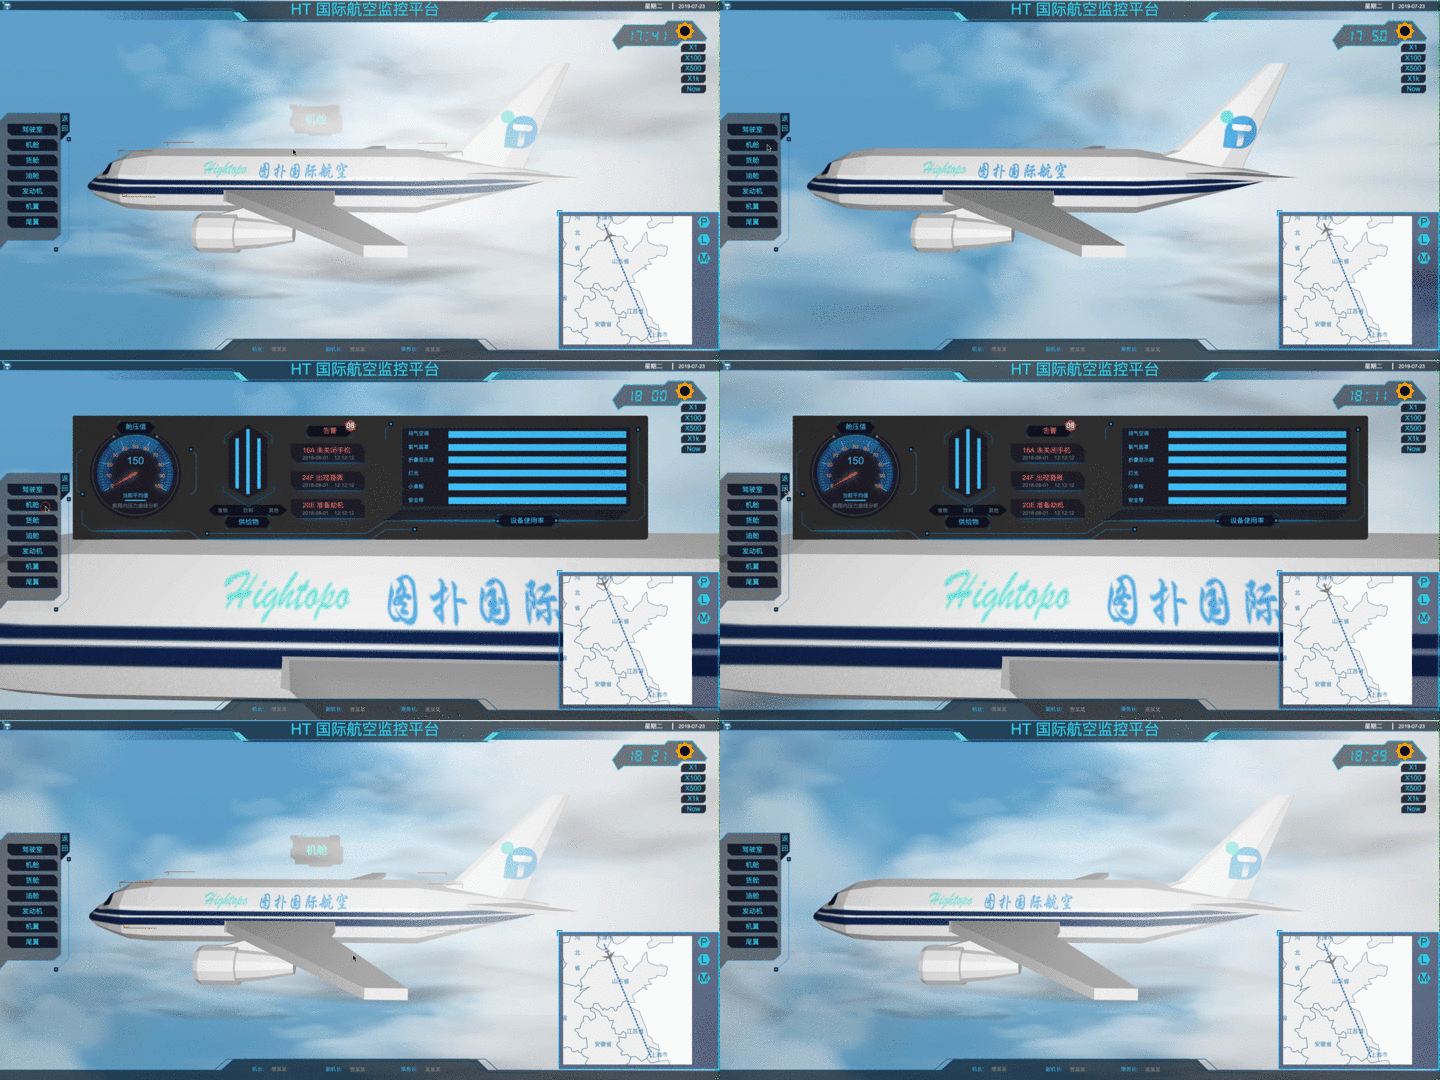
Of course, as a monitoring system, there must be monitoring, adding a small map in the lower right corner, and providing three modes: focusing aircraft, focusing flight trajectory and focusing map, and controlling the flow effect of flight trajectory according to the flight direction of the aircraft, in which the focusing aircraft will follow the aircraft to carry out fitData to make the aircraft one. Located directly in the center of the minimap, the code is as follows:
var fitFlowP = function (e) {
    if (e.property === 'position' && e.data === plane) {
        mapGV.fitData(plane, false);
    }
};
buttonP.s({
    'interactive': true,
    'onClick': function (event, data, view, point, width, height) {
        map.a('fitDataTag', 'plane2D');
        mapGV.fitData(plane, false);
        mapDM.md(fitFlowP);
    }
});
buttonL.s({
    'interactive': true,
    'onClick': function (event, data, view, point, width, height) {
        mapDM.umd(fitFlowP);
        map.a('fitDataTag', 'flyLine');
        mapGV.fitData(flyLine, false);
    }
});
// ... ellipsis
Adding the mouse to the corresponding position of the aircraft for name prompting, double-clicking the information panel to display the corresponding position of the aircraft, focusing the view on the panel, clicking on the aircraft anywhere to switch back to the flight mode of the aircraft, and so on.

On the left side, a monitoring panel is added to replace the double-click corresponding position mentioned above. This operation focuses directly on the corresponding position information panel. Here, the button opens the interaction and adds the corresponding interaction logic. The code is as follows:
button_JC.s({
    'interactive': true,
    'onClick': function (event, data, view, point, width, height) {
        event.preventDefault();
        let g3d = G.g3d,
            g3dDM = G.g3d.dm();
        g3d.fireInteractorEvent({
            kind: 'doubleClickData',
            data: g3dDM.getDataByTag(data.getTag())
        })
    }
});
//... ellipsis
Sky rendering effect
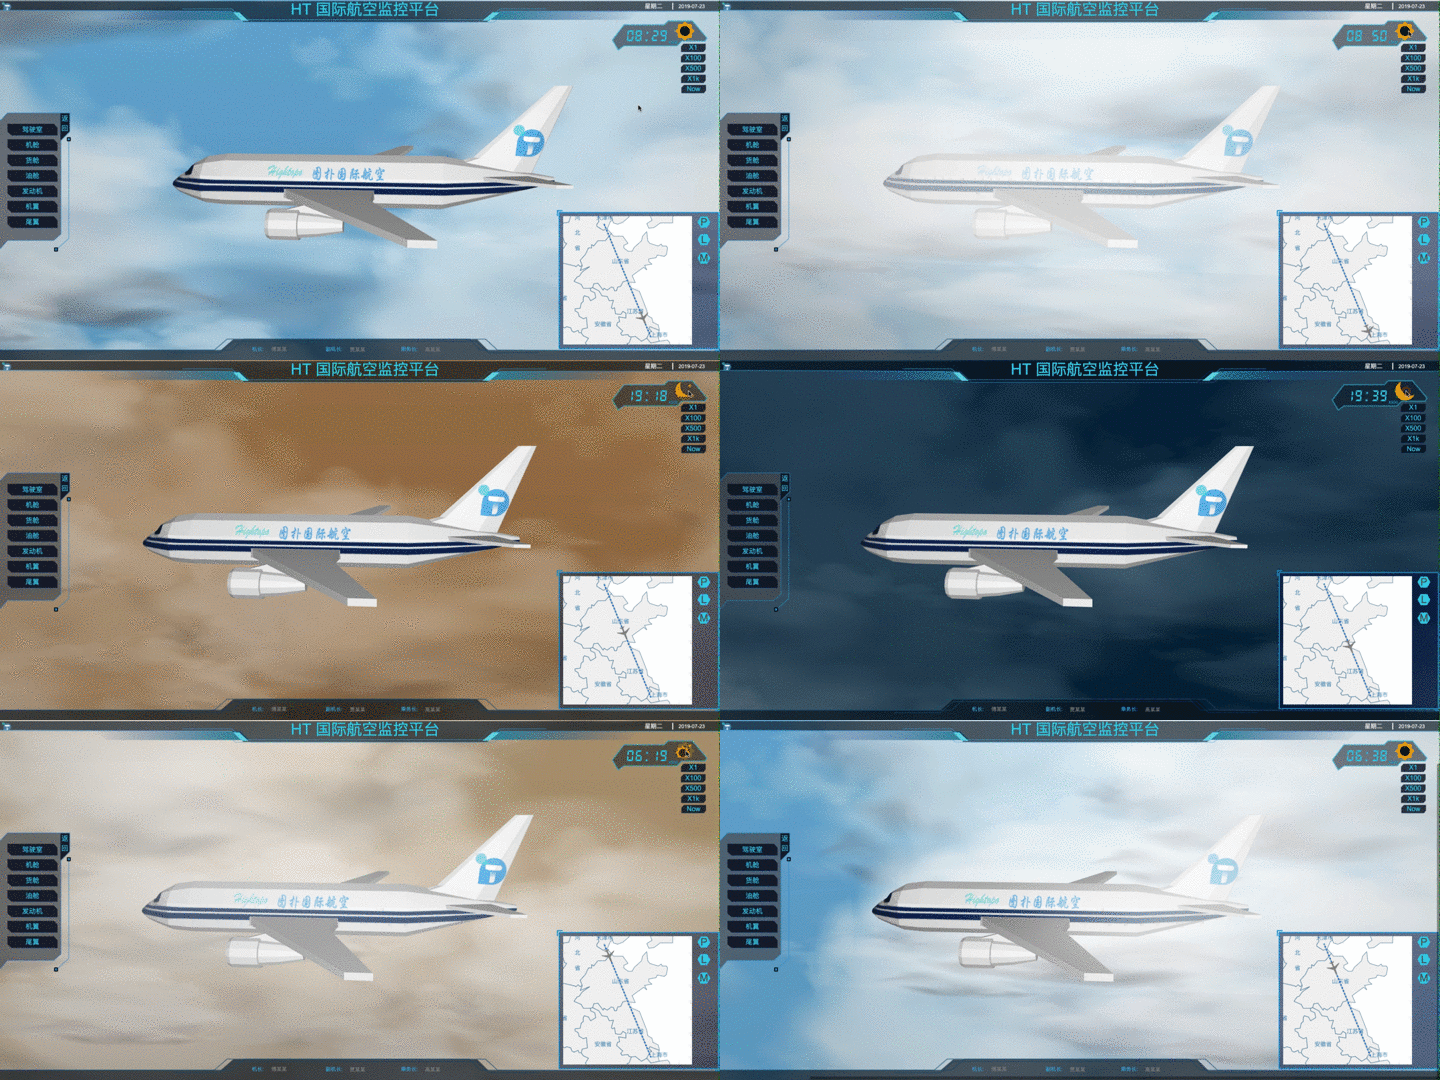
Since the monitoring system must be 24-hour indiscriminate monitoring, which involves a problem, I can never fly over the sky in the middle of the night, which is very lack of authenticity, so there must be a process of the sky from light to dark and then from dark to light, the process I tentatively scheduled to 06:00-06:30 and 06:30. Between 19:00 and 19:30.
The sky is shaped 3d:'sphere'sphere, wrapping the whole scene, then using reverse.flip back copy and blend dyeing, then the sky can be rendered to the color I want, if you change the brightness of the sky according to time, just change the dyeing value.
However, due to the different illumination conditions during the day and at night, the intensity of cloud reflection is different, which leads to the difference between the clouds during the day and at night. Therefore, opacity transparency of the maps of cloud channels and cloud backgrounds should also be adjusted, which is more transparent at night. The code is as follows:
if ((hour > 6 && hour < 19) || (hour == 6 && minutes >= 30)) {
    timePane && timePane.a({
        'morning.visible': false,
        'day.visible': true,
        'dusk.visible': false,
        'night.visible': false,
        'day.opacity': 1
    })
    skyBox.s({
        "shape3d.blend": 'rgb(127, 200, 240)',
    })
    cloudBackground.s({
        "back.opacity": 0.7,
    })
    clouds.s({
        "shape3d.opacity": 0.7,
    })
} else if ((hour < 6 || hour > 19) || (hour == 19 && minutes >= 30)) {
//... ellipsis
} else if (hour == 6 && minutes < 15 ) {
//... ellipsis
} else if (hour == 6 && minutes >= 15 && minutes < 30) {
//... ellipsis
} else if (hour == 19 && minutes < 15) {
//... ellipsis
} else if (hour == 19 && minutes >= 15 && minutes < 30) {
//... ellipsis
}
Here I also add support for the time status icon in the upper right corner of the time panel, and add the fading effect when the icon is switched. At the same time, I add the function of clicking on the position of the time panel status icon to switch to the next time status.
In order to demonstrate the effect, I added the time multiplier button. The following picture shows the change under 500 times time flow:

summary
Through this demo, I find that there are many unnoticed details in life that are possible for data visualization. In this era of big data, more possibilities are worth being explored. Don't mistake every detail of data visualization around you, so that we can not only better mine HT for Web. Potential can also enhance the overall quality of a programmer.