Create a tomcat image using Dockerfile and run a simple war package
docker has read it for some time and has a general understanding of images and containers. Refer to the examples in the book to make a tomcat image and simply run a HelloWorld war
1. First download tomcat and jdk of linux environment, and extract them to helloworld directory respectively

2. Create a Dockerfile file
touch Dockerfile
The contents of Dockerfile file are as follows:

 1 FROM ccc7a11d65b1     (This string of numbers is the one I have created ubuntu Mirrored image id,Here as tomcat Basic image of
 2 MAINTAINER hmk
 3 ENV REFRESHED_AT 2018-03-10  (This environment variable is used to name the table (the last update time of the image template)
 4
 5 #Switch the image directory and enter the / usr directory
 6 WORKDIR /usr
 7 #Create a jdk directory under / usr / to store jdk files
 8 RUN mkdir jdk
 9 #Create a tomcat directory under / usr / to store tomcat
10 RUN mkdir tomcat
11
12 #Copy the files in the jdk directory of the host to the / usr/jdk directory of the image
13 ADD jdk1.8.0_131 /usr/jdk/
14 #Copy the files in the tomcat directory of the host to the / usr/tomcat directory of the image
15 ADD apache-tomcat-7.0.81 /usr/tomcat/
16
17 #Setting environment variables
18 ENV JAVA_HOME=/usr/jdk
19 ENV JRE_HOME=$JAVA_HOME/jre
20 ENV CLASSPATH=.:$JAVA_HOME/lib/dt.jar:$JAVA_HOME/lib/tools.jar:$JRE_HOME/lib:$CLASSPATH
21 ENV PATH=/sbin:$JAVA_HOME/bin:$PATH
22
23 #Public port
24 EXPOSE 8080
25 #Set start command
26 ENTRYPOINT ["/usr/tomcat/bin/catalina.sh","run"]
3. Build image
[root@localhost helloword]# docker build -t jamtur01/tomcat .
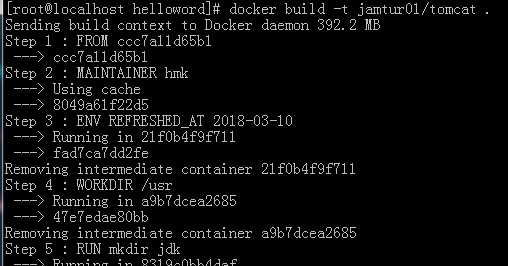
If successful, the image id will be displayed

4. Use docker images to view the created image

5. Start a container by creating a good image
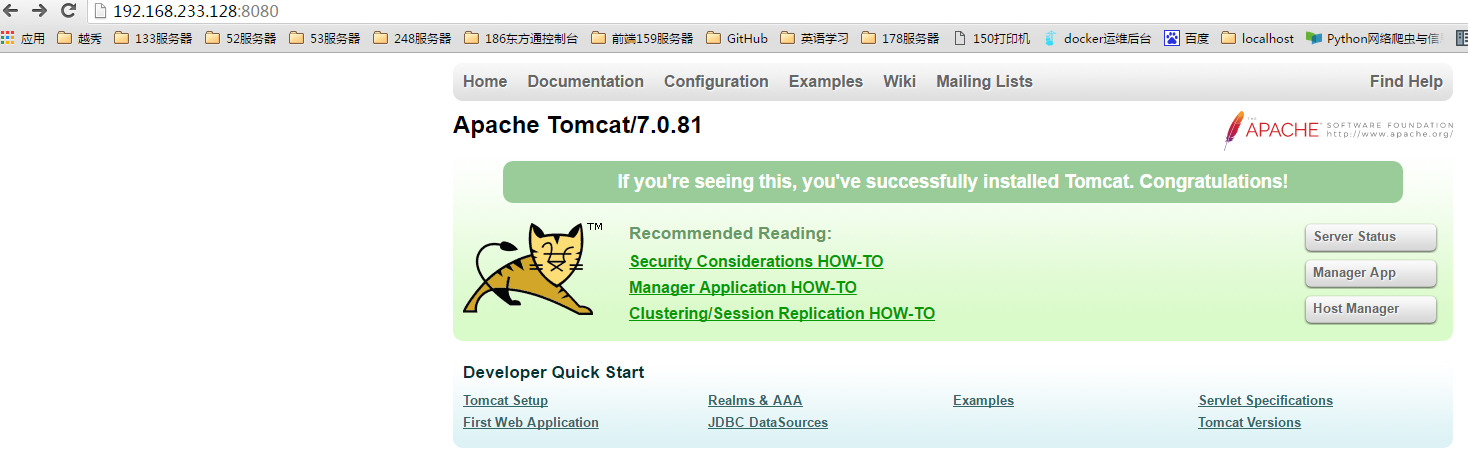
[root@localhost helloword]# docker run -d -p 8080:8080 --name hmk_tomcat jamtur01/tomcat:latest

Visit
6. Enter the container and look at the tomcat and jdk directories to be created after writing the command in Dockerfile
[root@localhost helloword]# docker exec -it 480f45dc4c00284690b378c063daf7371719c1cddf0efc2032223bfb318b2076 /bin/bash

< ================================================= >
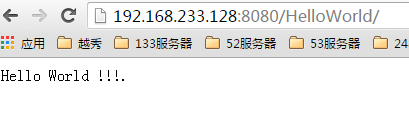
Next, deploy a HelloWorld War package
1. Create a webapps directory under helloworld directory and put the war package in it

2. Use the - v parameter to mount the war package to the tomcat/webapps directory in the container
[root@localhost helloword]# docker run -d -p 8080:8080 -v /HMK/helloword/webapps/HelloWorld.war:/usr/tomcat/webapps/HelloWorld.war --name hmk_tomcat jamtur01/tomcat
be careful:-v /HMK/helloword/webapps/HelloWorld.war:/usr/tomcat/webapps/HelloWorld.war,Here are the individual files mounted
3. Explain several mounting methods I try
The first time is to mount the host webapps directory to the webapps of the container
[root@localhost helloword]# docker run -d -p 8080:8080 -v /HMK/helloword/webapps:/usr/tomcat/webapps --name hmk_tomcat jamtur01/tomcat
However, it was later found that after the container was started, the webapps directory in the container was the same as that of the host, that is, the original content of tomcat/webapps in the container was replaced by the webapps content of the host (which was inconsistent with my expectation)


If you mount through a single file, you just throw the war package into the container without affecting the original contents of the container (although I know that it is generally not recommended to mount a single file, the method of how to read the package and configuration file outside the container through the mount directory has not been found yet...)

In addition, when mounting a single file, note that the path of the host machine is an absolute path, and the container is also an absolute path + file name (that is, although there is no war file in the container, we should assume that there is, and then map it to the file of the host machine, and then the container can run the war file of the host machine)
Detailed explanation of Docker command (build)
Command format: docker build [options] < path | URL | - >
Usage: Build an image from a Dockerfile.
Use the build command to build an image based on Dockerfile.
- Description of common options
- --Build Arg to set the variables during construction
- --No cache, the default is false. Setting this option will not use Build Cache to build the image
- --Pull, the default is false. Set this option to always try to pull the latest version of the image
- --Compress, the default is false. Setting this option will compress the built context using gzip
- --Disable content trust, the default is true. This option will be verified
- --file, -f, the full path of Dockerfile. The default value is' PATH/Dockerfile '
- --Isolation, default -- isolation="default", i.e. Linux namespace; Others include process or hyperv
- --label to set the metadata for the generated image
- --Square, the default is false. Set this option to compress multiple newly constructed layers into a new layer, but the new layer cannot be shared among multiple mirrors; Setting this option actually creates a new image while retaining the original image.
- --tag, -t, the name and tag of the image, usually in the format of name:tag or name; You can set multiple tags for an image in one build
- --network, default. Set the networking mode for the RUN instructions during build
- --quiet, -q, false by default. Set this option to supply the build output and print image ID on success
- --Force RM, the default is false. Set this option to always delete the intermediate phase container
- --rm, default -- rm=true, that is, delete the intermediate phase container after the whole construction process is successful
- PATH | URL | - Description:
Give the context of command execution.
The context can be the local path where the build is executed or a remote URL, such as Git library, tarball or text file.
In case of Git library, such as https://github.com/docker/rootfs.git#container:docker , it is implied to execute git clone --depth 1 --recursive first to the local temporary directory; The temporary directory is then sent to the build process.
In the process of building an image, you can ADD any file in the context (note that the file must be in the context) to the image through the ADD command.
-Indicates that Dockerfile or context is given through STDIN.
Examples
docker build -t bjc/demo:latest --rm .
Resolution: - t bjc/demo:latest, mark the name of the built image, that is, the image name is: bjc/demo and marked as latest-- rm, delete the intermediate phase container after the whole construction process is successful, A separate point means that an image is generated according to the Dockerfile file in the current directory