1. Make your own tomato clock
On a PC I've been using "Little Tomato" as my tomato clock software, and I turn it on and maximize it on my secondary monitor so that not only does it do its part, but I can also tell my colleague that I'm working hard.But I always wanted to write a tomato clock software by myself. It was so itchy that I hadn't written a UWP app for a long time, so I took time to write a tomato clock for myself and published it to the Microsoft App Store.
The result is not pleasant either.
Also, I was going to use Storyboard for animation, but Fire Always advise me not to start a Storyboard, but to animate with the Composition API.Storyboard's capabilities are limited. I learned from my short UWP career that the more people play with animations, the more likely they are to fail because of unexpected situations...Except beyond Storyboard.So I won't be a Sotryboard either.
The Microsoft App Store is a good platform for WPF programmers to easily create and publish UWP applications to the App Store based on their existing knowledge.Especially now Microsoft's auditing is relatively relaxed, as long as it is an application that can stand up to its conscience, it can generally pass the auditing.Even though it's hard for me to download my own app because the store is pumping.This article explains the process from creating UWP projects to publishing to stores.
2. Demand
I just want a Timer that counts down, a new API to play UWP by, so in principle the simpler the better, then think about what to do.
Many tomato clock software provides task list function, and can also show the statistics of the number of tomatoes and the number of tasks completed by charts.But I already have To-Do and Azure Devops, and my usual work will be recorded on OneNote. I'm more confident that my data will go to Microsoft instead of the tomato clock. And I think the measure of how well the tomato method works is my job, not the number of tomatoes shown to me in the chart, so I'm not too confident about charts, statistics, task listsBe interested.
In fact, I said so much because I am lazy, I have already processed so much data at work, I am tired of charts and charts, I don't want to do these jobs with the things I play, and I don't want to be responsible for storing data.
3. Create a project
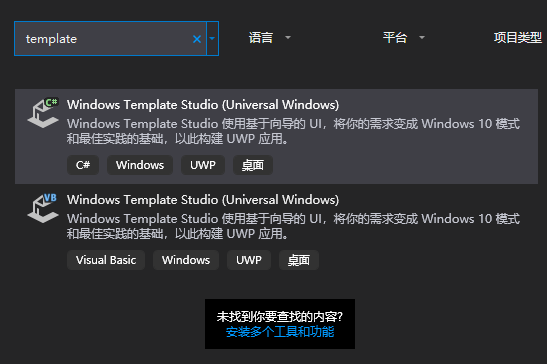
Install first Windows Template Studio , which can help developers create UWP projects easily.
After installation, select Windows Template Studio(Universal Windows) in the Create New Project interface, and create a UWP application that already contains basic functionality step by step in the open Wizard Control window.
The project name is OnePomodoro, the project type is Blank, and the Design pattern is Prism because Prsim is used in WPF.But I don't know how Prism works in UWP, so I don't plan to use it right away. It's just a small project that makes CodeBehind a little easier.
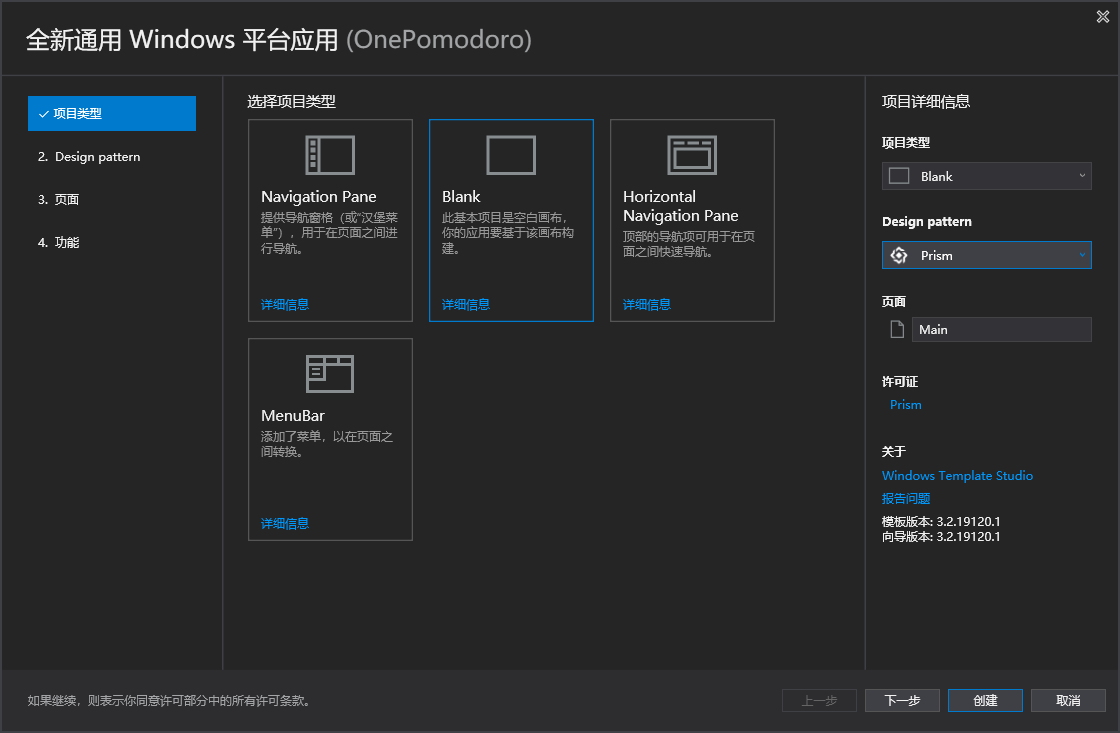
The page item selects the Settings page.The feature adds a series of notification functions, such as Toast Notifications, Live Tile, that seem interesting.
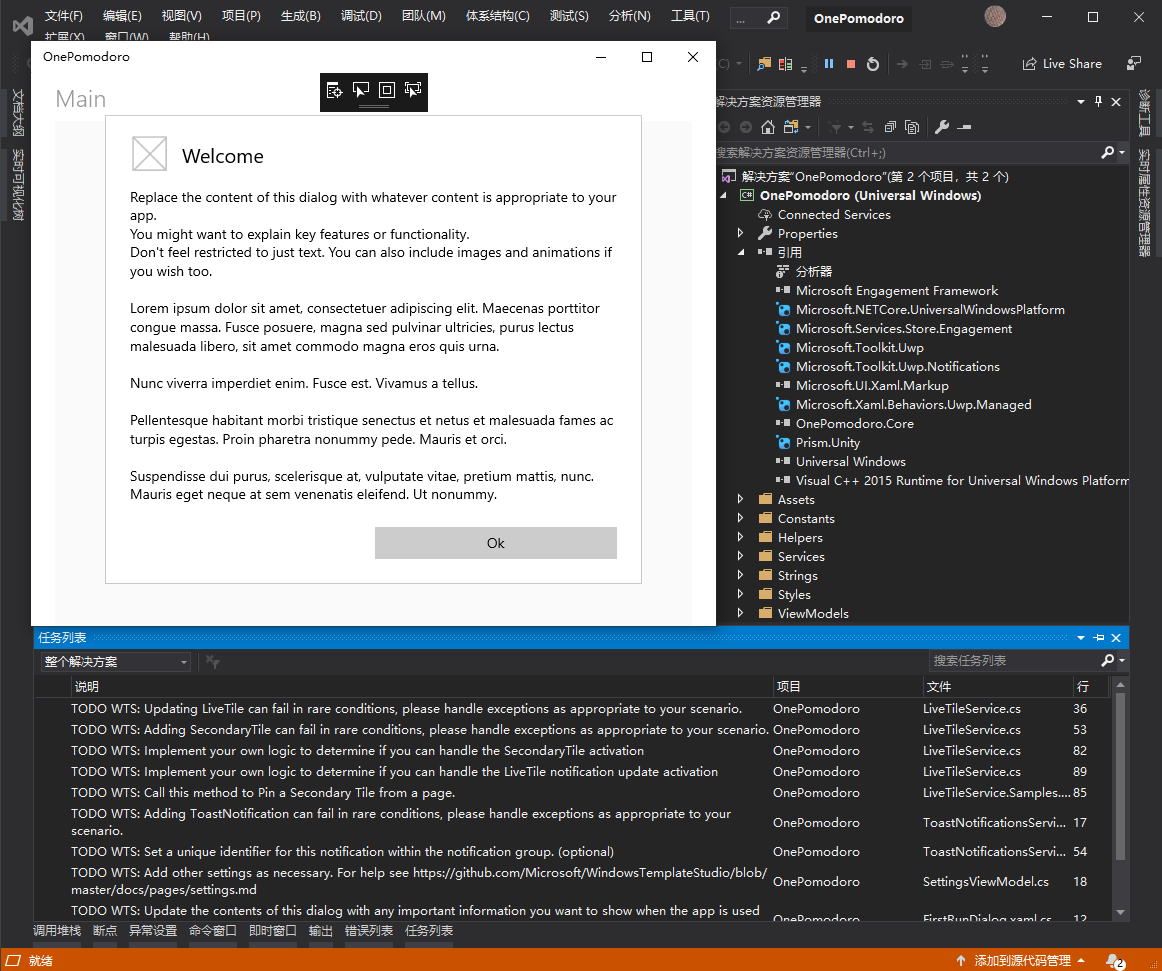
After a few minutes, a UWP project with basic functions is created, and there are many Todo items that need to be handled in the project. The results are as follows:
Then add Microsoft.Toolkit.Uwp.UI and Microsoft.Toolkit.Uwp.UI.Animations references, which are Windows Community Toolkit Part of it provides a lot of useful Converter and animations.
Sample notifications pop up the first time you run an app, but you don't need to be that comprehensive yet. Find LaunchApplicationAsync in App.xaml.cs and comment out some of the notification-related code, then you can start to implement our functionality.
protected override async Task OnLaunchApplicationAsync(LaunchActivatedEventArgs args)
{
    await LaunchApplicationAsync(PageTokens.MainPage, null);
}

private async Task LaunchApplicationAsync(string page, object launchParam)
{
    await ThemeSelectorService.SetRequestedThemeAsync();
    NavigationService.Navigate(page, launchParam);
    SetupTitlebar();
    Window.Current.Activate();
    //await Container.Resolve<IWhatsNewDisplayService>().ShowIfAppropriateAsync();
    //await Container.Resolve<IFirstRunDisplayService>().ShowIfAppropriateAsync();
    //Container.Resolve<ILiveTileService>().SampleUpdate();
    //Container.Resolve<IToastNotificationsService>().ShowToastNotificationSample();
}
4. Specific implementation
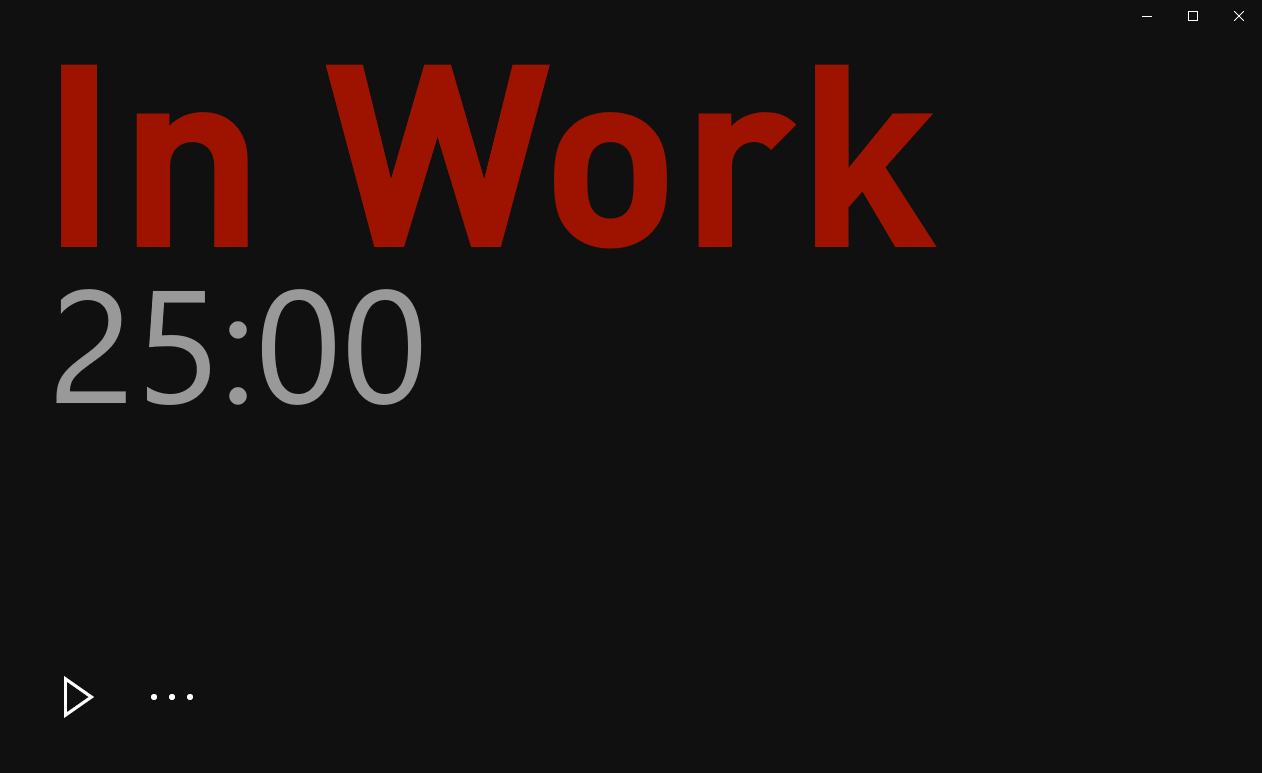
The end result is a single-page app that clicks on the timer that starts the job, clicks on the stop (or end of the countdown) to go to the timer for the break, so that a day's salary can be paid several times back and forth.
Many timers are dials made up of minutes and seconds, but I'm tired of doing this and have more fun when it's simpler.
To look good, first remove the title bar of the application CoreApplicationViewTitleBar.ExtendViewIntoTitleBar Property set to True:
private void ExtendAcrylicIntoTitleBar()
{
    CoreApplication.GetCurrentView().TitleBar.ExtendViewIntoTitleBar = true;
    ApplicationViewTitleBar titleBar = ApplicationView.GetForCurrentView().TitleBar;
    titleBar.ButtonBackgroundColor = Colors.Transparent;
    titleBar.ButtonInactiveBackgroundColor = Colors.Transparent;
}
Since the background is black, you need to change the theme to black as well. Modify RequestedTheme to Dark in App.xaml:
RequestedTheme="Dark"
Then implement MainViewModel.Use DispatcherTimer for timing and DelegateCommand for commands, all of which use WPF knowledge only:
public class MainViewModel: ViewModelBase
{
public bool IsInPomodoro { get; }
public bool IsTimerInProgress { get; }
public TimeSpan RemainingBreakTime { get; }
public TimeSpan RemainingPomodoroTime { get; }
public DelegateCommand StartTimerCommand { get; }
public DelegateCommand StopTimerCommand { get; }
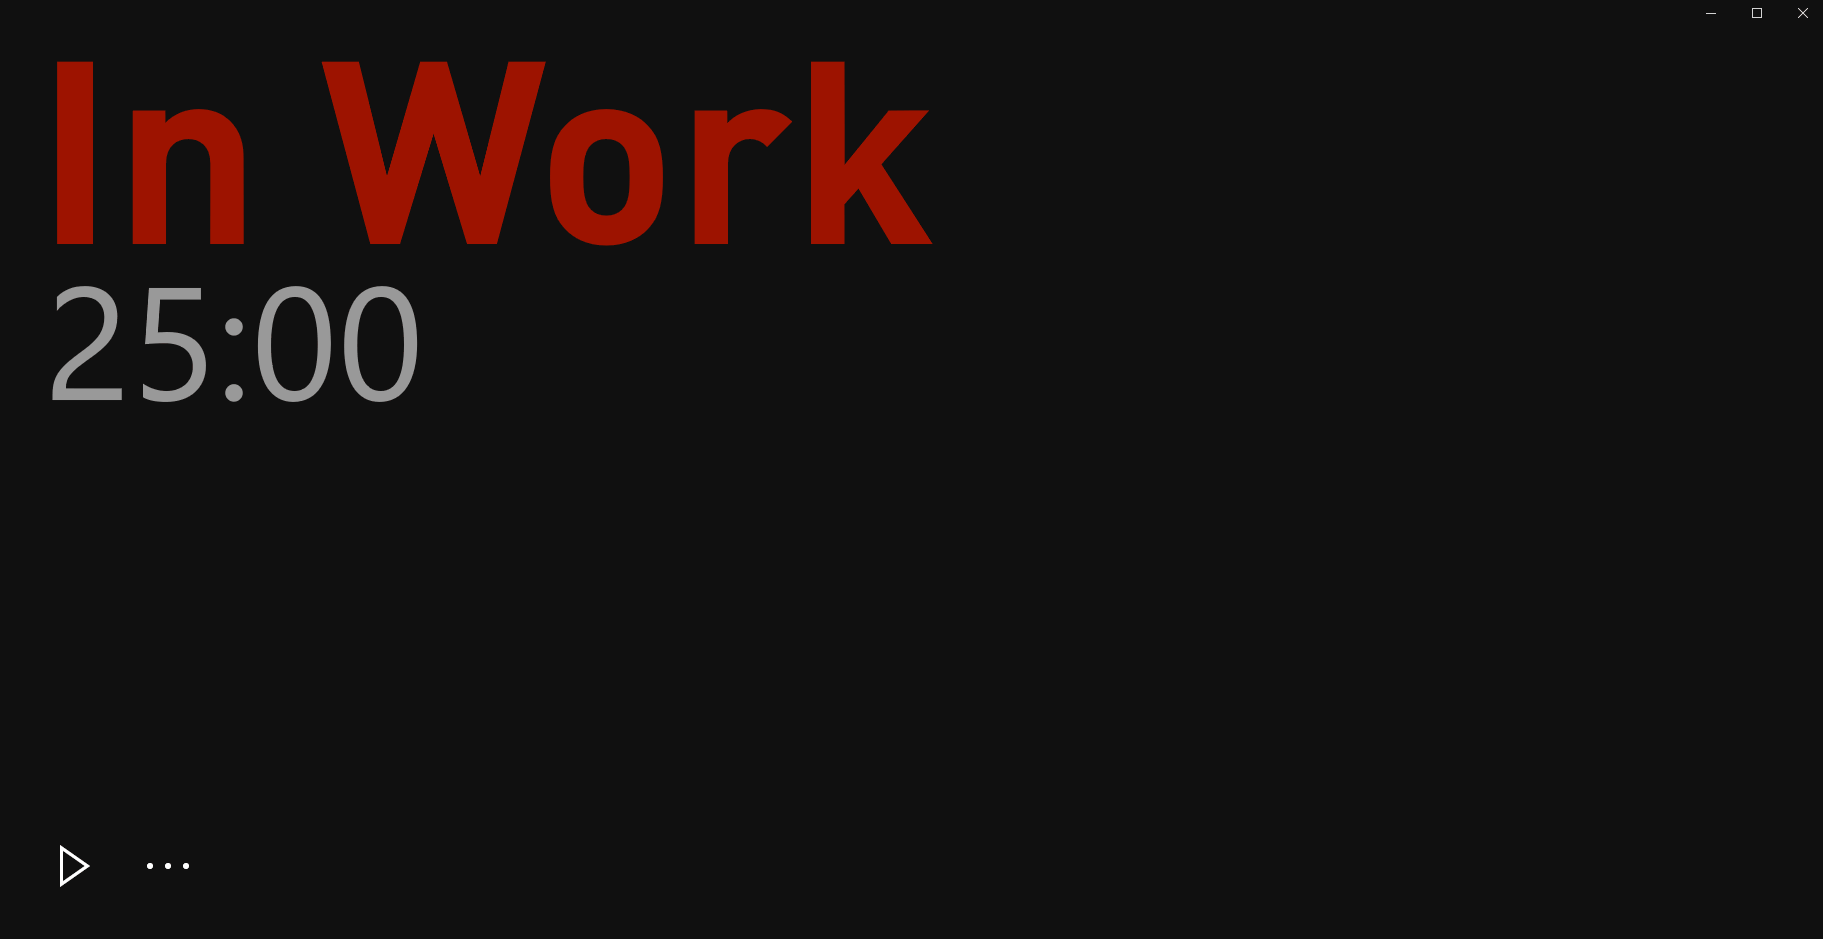
}There are only four lines of text and two buttons, Stop and Start, on the entire UI.(There is also a button in the image above, which is made in the second edition).The whole tomato clock is composed of IsInPomodoro and IsTimerInProgress to get ready to work, to work, to rest, and to rest in four states. The elements on MainView are controlled by two attributes, IsInPomodoro and IsTimerInProgress.
Converter is needed to control the display and hiding of UI elements using these two Bool attributes. Microsoft.Toolkit.Uwp.UI provides a BoolToVisibilityConverter, and I need to implement another Negative BoolToVisibilityConverter instead:
public class NegationBoolToVisibilityConverter : BoolToObjectConverter
{
    public NegationBoolToVisibilityConverter()
    {
        base.TrueValue = Visibility.Collapsed;
        base.FalseValue = Visibility.Visible;
    }
}
These two Converters work with two attributes, IsInPomodoro and IsTimerInProgress, to control whether or not they are displayed.Then use BoolToObjectConverter to define two Converters to control the horizontal and vertical alignment of text:
converters:BoolToObjectConverter TrueValue="Top"
                                 FalseValue="Bottom"
                                 x:Key="BoolToVerticalAlignmentConverter" />
converters:BoolToObjectConverter TrueValue="Left"
                                 FalseValue="Right"
                                 x:Key="BoolToVerticalHorizontalAlignment" />
The whole layout looks like this
<StackPanel VerticalAlignment="{Binding IsInPomodoro,Converter={StaticResource BoolToVerticalAlignmentConverter}}"
HorizontalAlignment="{Binding IsInPomodoro,Converter={StaticResource BoolToVerticalHorizontalAlignment}}">
<TextBlock Text="In Work"
Visibility="{Binding IsInPomodoro,Converter={StaticResource BoolToVisibilityConverter}}"/>
<TextBlock Text="{Binding RemainingPomodoroTime,Converter={StaticResource FormatStringConverter},ConverterParameter=mm\\:ss}"
Visibility="{Binding IsInPomodoro,Converter={StaticResource BoolToVisibilityConverter}}"/>
<TextBlock Text="{Binding RemainingBreakTime,Converter={StaticResource FormatStringConverter},ConverterParameter=mm\\:ss}"
Visibility="{Binding IsInPomodoro,Converter={StaticResource NegationBoolToVisibilityConverter}}"/>
<TextBlock Text="Take a Break"
Visibility="{Binding IsInPomodoro,Converter={StaticResource NegationBoolToVisibilityConverter}}"/>
</StackPanel>
<StackPanel HorizontalAlignment="Left"
VerticalAlignment="Bottom"
Orientation="Horizontal">
<Button Content=""
Visibility="{Binding IsTimerInProgress,Converter={StaticResource NegationBoolToVisibilityConverter}}"
Command="{Binding StartTimerCommand}" />
<Button Content=""
Visibility="{Binding IsTimerInProgress,Converter={StaticResource BoolToVisibilityConverter}}"
Command="{Binding StopTimerCommand}" />
</StackPanel>By this time, MainView and MainViewModel were almost exclusively using WPF knowledge. Although Dispatcher Timer was said to be performance-hurting, x:Binding was not used in place of Binding. The main idea was to try to implement all the functions with WPF knowledge at the beginning of the project, and then try the API of UWP again.However, instead of using Storyboard for animation, I use the Composition API for animation.
composition-animation There are many, I choose to use the Windows Community Toolkit Implicit Animations Because it's good for getting started.
Implicit Animations (also known as implicit animations) are Composition Animations that describe how to use the animation response when an attribute, such as Opacity or Offset, changes.ShowAnimations and HideAnimations are used to define the animation effect when an element is displayed/hidden or added/removed from VisualTree, respectively.
Implicit animation is good for MainView where state changes only cause changes in the display/hide or alignment of elements.This tomato clock countdown animation, for example, moves up from 200 pixels below and fades in for 1.5 seconds while hiding for 0.5 seconds.
<animations:Implicit.ShowAnimations>
    <animations:ScalarAnimation Target="Translation.Y"
                                Duration="0:0:1.5"
                                From="200"
                                To="0" />
    <animations:OpacityAnimation Duration="0:0:1.5"
                                 From="0"
                                 To="1" />
</animations:Implicit.ShowAnimations>

<animations:Implicit.HideAnimations>
    <animations:OpacityAnimation Duration="0:0:0.5"
                                 From="1"
                                 To="0" />
</animations:Implicit.HideAnimations>
The final animation effect is as follows:
5. Publish
So a basic tomato clock is ready, then packaged and released.Draw a gradient background and circle, and Logo is done.Then process the information in Package.appxmanifest, package it, and publish it.
Official Documents There are detailed release guides, and the graphical interface of the Microsoft Partner Center is easy to use, so you can publish with a little twist and see your own apps in Store in a few days.
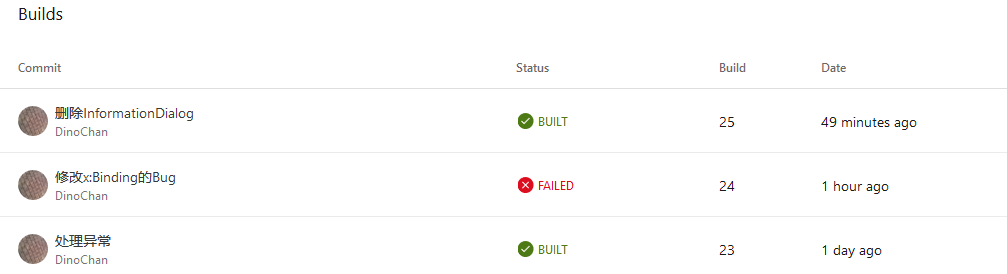
Each time you pack it yourself, you can associate the Github repository (if you have one) with AppCenter, and each time you submit to Github, the AppCenter will install the package.Once packaged, AppCenter can download the installation package and publish it again (is there no direct way to publish it for me?)
Lindexi's This article The operation is described in detail.
You can also get a logo showing the compilation results.

6. Conclusion

Edi.Wang After being injured by UWP, abandoning UWP is like complaining to others every day to convince yourself that "I don't like UWP. I hate UWP. I hate UWP. I hate UWP. I hate UWP. I hate UWP. I hate UWP. Every day, I say UWP is a bad guy. I just want to try it out. The bad guy can't bear throwing switch in bed at night and closing himself in the studyTeach UWP by hand.
Overall, it's a pleasant programming experience: with your usual WPF knowledge and official documentation, you can create and publish an app for your own use - except when the store pumps occasionally and you can't download your own app.
By the way, OnePomodoro's Chinese name is a tomato clock (thanks for all the criticisms of absolute naming taste), which is already available in Store download.
Finally, mention the button in the lower left corner.Because the 1809 Button has a rounded API, the round Level button is easy to implement, just BasedOn Button Reveal Style and CornerRadius is that big:
<Style TargetType="Button" x:Key="EllipseButtonRevealStyle" BasedOn="{StaticResource ButtonRevealStyle}">
    <Setter Property="CornerRadius" Value="100"/>
    <Setter Property="Background" Value="Transparent"/>
</Style>
This saves you a lot of trouble modifying the ControlTemplate, so the lowest version of the project is 1809, so don't worry too much about what you're just playing.
7. How to install
You can open this link Install a tomato clock Or you can search for "OnePomodoro" or "One Tomato Clock" in Microsoft Store for installation.
If not?I believe it's natural to install it.
8. Reference
Review of Tomato Working Method by Tomato Working Method Illustration
Overview - Visual Studio App Center Microsoft Docs
Composite Animation - Windows UWP applications Microsoft Docs
Implicit Animations XAML Attached Properties - Windows Community Toolkit Microsoft Docs