VS Code provides powerful extension functions. We can develop plug-ins to implement our own business model editor. Here, let's quickly introduce the process of creating, developing and publishing plug-ins.
Create plug-in development template
First, confirm that node. Is installed in the system JS, and you can use the npm installation package. Then, install the plug-in's development template generator:
npm install -g yo generator-code
After installation, use the template to create the first extension project. We create a subdirectory for this project, then enter the command line and execute under this subdirectory:
yo code
Template generator running:
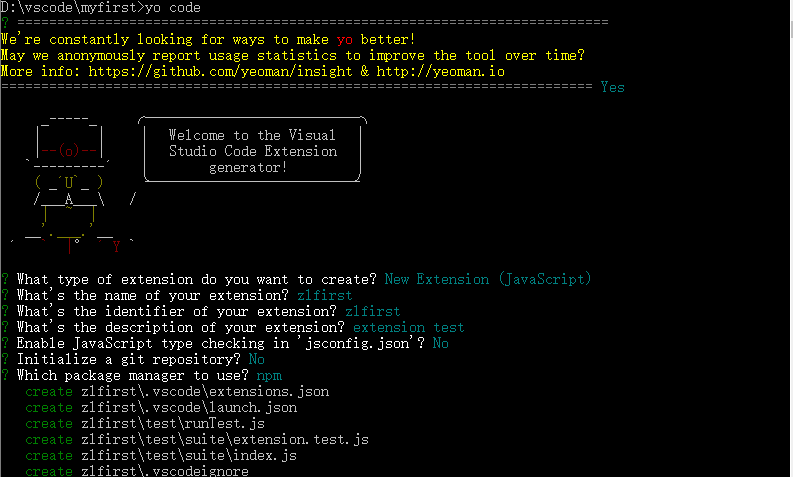
After the build is complete, run on the command line:
code .
This project is opened in vs code:

Plug in operation and debugging
We open extension JS file, you can see the code started by the plug-in. We modify the code a little:
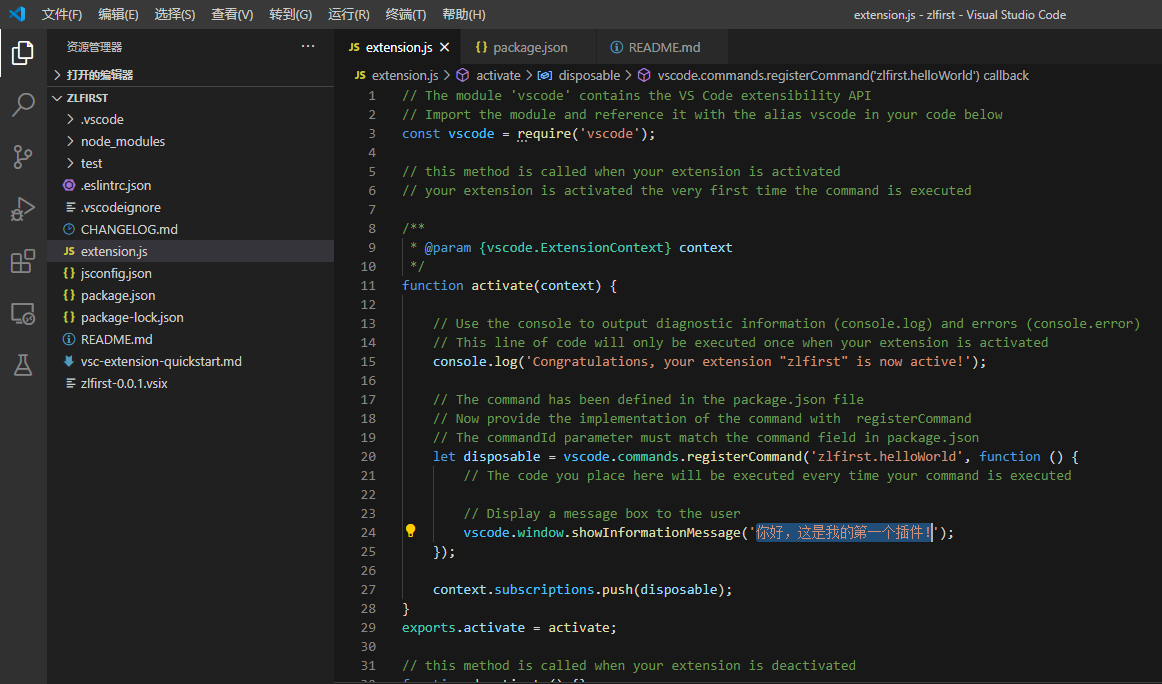
Change the prompt to the information we need. Then press F5 to run. At this time, a new Vs Code interface is started. Press Ctrl+Shift+P in the new interface to open the command window, enter hello world, and the edited information will appear at the bottom of the interface:
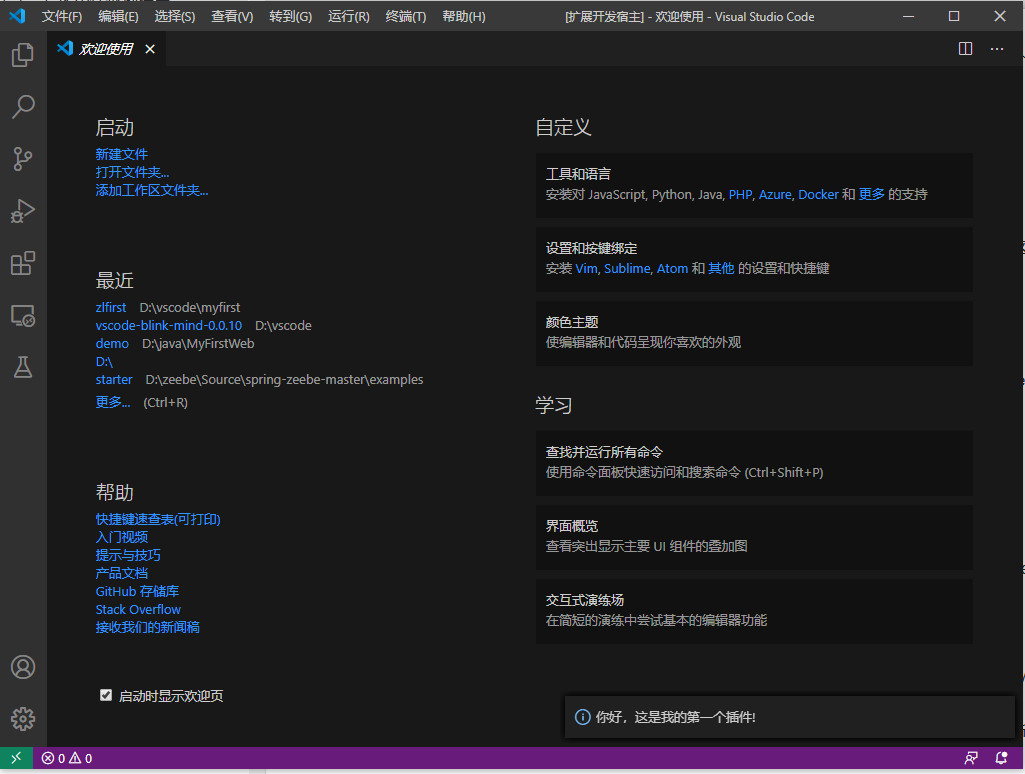
This shows that the plug-in is ready to run.
Plug in packaging
Now let's see how to package this plug-in and install it on other machines. The plug-in of Vs Code can create vsix files and publish them at the same time, or publish them to the app store and install them through the plug-in manager. We will only introduce the first method here.
First, you need to install the plug-in packaging tool vsce:
npm i vsce -g
Then, we also need to be in package Add publisher information to JSON:
"publisher": "zhenlei",
If this information is not added, the following error will appear:

Then modify the readme created by the packaging tool If the MD file is not modified, the following error will appear:

Now we can package. On the command line, enter the project folder and run:
vsce package
At this time, a question will be asked. The lack of repository is a warning. We can ignore it. Continue to execute, and the installation package will be created:

Installation and uninstallation of extensions
You can install the packaged extension in the extension manager of vs code. Choose to install from VSIX:
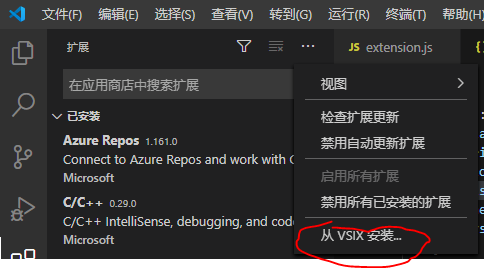
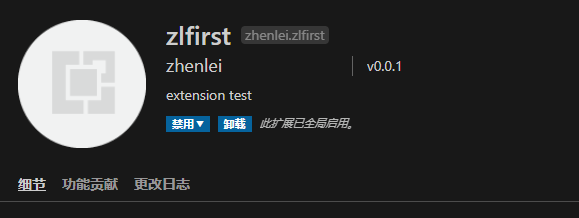
You can also disable or uninstall the installed plug-ins in the extension manager:
Create the first utility plug-in
Now let's create a practical plug-in that uses XLST templates to convert XML files to another format. The conversion function is completed using the open source component XSLT processor. The function of the plug-in itself is very simple: open the XLST file, convert the current XML, and display the results in a new window.
First create a project using a template:
yo code
Enter the name of the project zlxslt, which we use as the package manager. After the project is created, use
code .
Open the project in VS Code.
Now you need to introduce XSLT processor and enter in the terminal:
yarn add xslt-processor
This command will install XSLT processor in the project and update the package JSON and yarn lock.
Add the file schema. In the src directory d. TS, add the declaration statement:
declare module 'xslt-processor';
Modify package JSON, remove the default command and add a new command:
	"activationEvents": [
		"onCommand:zlxslt.runMyXSLT"
	],
Modify extension ts:
// The module 'vscode' contains the VS Code extensibility API
// Import the module and reference it with the alias vscode in your code below
import * as vscode from 'vscode';
import * as fs from 'fs';
import { xmlParse, xsltProcess } from 'xslt-processor';
// this method is called when your extension is activated
// your extension is activated the very first time the command is executed
export function activate(context: vscode.ExtensionContext) {

	// Use the console to output diagnostic information (console.log) and errors (console.error)
	// This line of code will only be executed once when your extension is activated
	console.log('Congratulations, your extension "zlxslt" is now active!');

	const mydisposable: vscode.Disposable = vscode.commands.registerCommand('zlxslt.runMyXSLT', async (): Promise<any> => {
        const xsltFile = await vscode.window.showOpenDialog(
            {
                canSelectFiles: true,
                canSelectFolders: false,
                canSelectMany: false,
                filters: {
                    'XSLT' : ['xsl','xslt']
                }
            }
        );
        if(vscode.window.activeTextEditor !== undefined && xsltFile !== undefined) {
            const xml: string = vscode.window.activeTextEditor.document.getText();
            const xslt: string = fs.readFileSync(xsltFile[0].fsPath).toString();
            try {
                const rXml = xmlParse(xml);
                const rXslt = xmlParse(xslt);
                const result = xsltProcess(rXml, rXslt);
                const textDoc = await vscode.workspace.openTextDocument(
                    {
                        content: result,
                        language: 'xml'
                    }
                );

                vscode.window.showTextDocument(textDoc, vscode.ViewColumn.Beside);


            }
            catch(e) {
                vscode.window.showErrorMessage(e);
            }
        }
        else {
            vscode.window.showErrorMessage('An error occurred while accessing the XML and/or XSLT source files. Please be sure the active window is XML, and you have selected an appropriate XSLT file.');
        }
    });

	context.subscriptions.push(mydisposable);
}

// this method is called when your extension is deactivated
export function deactivate() {}
Start debugging, a new window will be opened, an xml file will be opened, and then press Ctrl+Shift+p to open the command window. Select "Run My XSLT". At this time, a file selection window will pop up. Select the xslt file, and the converted xml will be displayed in the next window.