Creating documents in LaTeX
LaTex is a great tool for creating documents. It is based on the concept of "what you see is what you get" (what you see is what you get), which means that you only need to focus on the content of the document, and the computer will be responsible for formatting. With LaTex, it's easy to create materials with a professional look. This article describes the basics of how to create documents.
introduce
Let's start with the simplest working example:
\documentclass{article}
\begin{document}
First document. This is a simple example, with no
extra parameters or packages included.
\end{document}
The input file is just a plain text file with the extension tex. it will contain the code interpreted by the computer to generate PDF files. The first line of code declares the type of document, in this case article. Then, \ begin{document} \end{document} you must write the text of the document between the tags.
Preface to the document
In the previous example, the text was entered after the \ begin{document} command. Before that The part of the tex file is called preamble. In the preface, you define the type and language of the document you are writing, load the additional packages you need, and set several parameters. For example, an ordinary document preamble looks like this:
\documentclass[12pt, letterpaper]{article}
\usepackage[utf8]{inputenc}

\title{First document}
\author{Hubert Farnsworth \thanks{funded by the Overleaf team}}
\date{February 2014}
Each line is described in detail below:
\documentclass[12pt, letterpaper]{article}
As mentioned earlier, this defines the type of document. Some additional parameters separated by parentheses and commas can be passed to the command. In the example, additional parameters set the font size (12pt) and paper size (stationery). Of course, you can also use other font sizes (9pt, 11pt, 12pt). The default size is 10pt. As for paper size, other possible values include A4 and legalpaper. Please note that Overleaf uses the European LaTeX distribution and generates A4 size documents by default.
\usepackage[utf8]{inputenc}
This is the encoding of the document, allowing characters other than ASCII to be used in the text (e.g., à, ü, č...). It can be omitted or changed to another encoding, but utf-8 is recommended. Unless you specifically need another encoding, or if you're not sure, add this line to the preamble.
The next three lines are self describing. In any case, you can see a description of what they actually do in the next section. Another important parameter that can be passed to the \ documentclass command is twocolumn. Do you want the text to be in two column format and twoside for double-sided paper printing.
Displays the title of the document
To display the title of a document, you must declare its components in the preamble and then use some additional code:
\documentclass[12pt, letterpaper, twoside]{article}
\usepackage[utf8]{inputenc}
\title{First document}
\author{Hubert Farnsworth \thanks{funded by the Overleaf team}}
\date{February 2014}
\begin{document}
\begin{titlepage}
\maketitle
\end{titlepage}
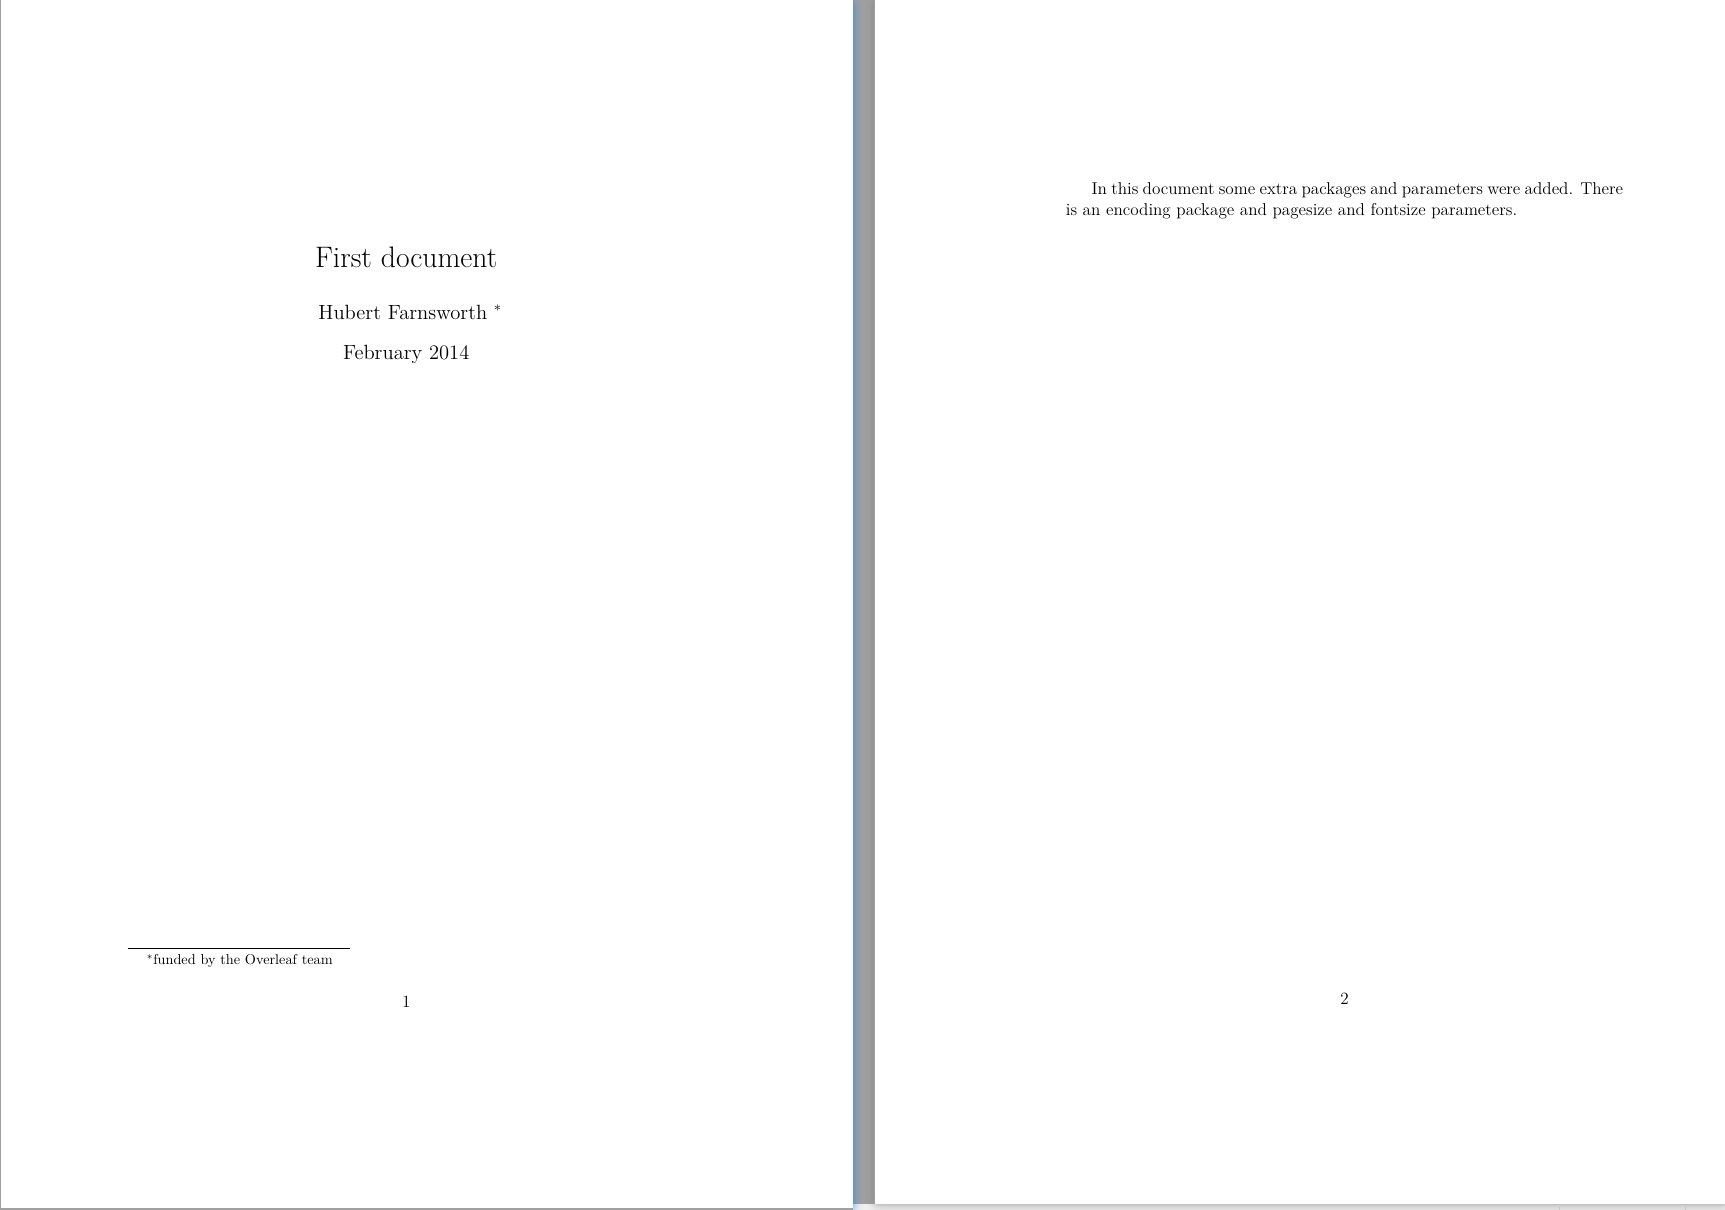
In this document some extra packages and parameters
were added. There is an encoding package
and pagesize and fontsize parameters.
\end{document}
There is a three line block in the preamble that defines the information to be included on the title page.
\title{First document}
This is the title.
\author{Hubert Farnsworth}
Here, you enter the author's name, and as an optional parameter, you can add the next command
\thanks{funded by the Overleaf team}
This can be added after the author's name in curly brackets of the title command. It will add superscripts and footnotes within braces. This is useful if you need to thank an organization in your article.
\date{February 2014}
You can manually enter the date or use the command \ today to automatically update the date when you compile the document.
Once you have it in the preface of the document body, you can use the next command to print the information to be printed
\begin{titlepage} \end{titlepage}
This declares an environment, a block of code that has specific behavior based on its type. In this case, anything you include in this titlepage environment will appear on the first page of the document.
\maketitle
This command prints the title, author, and date in the format shown in the example. If it is not included in the title page environment, it will appear at the beginning of the document, above the first line.
Open an example in overflow
Basic formats: summary, paragraph, and line breaks
Everything contained in the command \ begin{document} \end{document} will be rendered in the final document.
\documentclass[12pt, letterpaper, twoside]{article}
\usepackage[utf8]{inputenc}
\begin{document}
\begin{abstract}
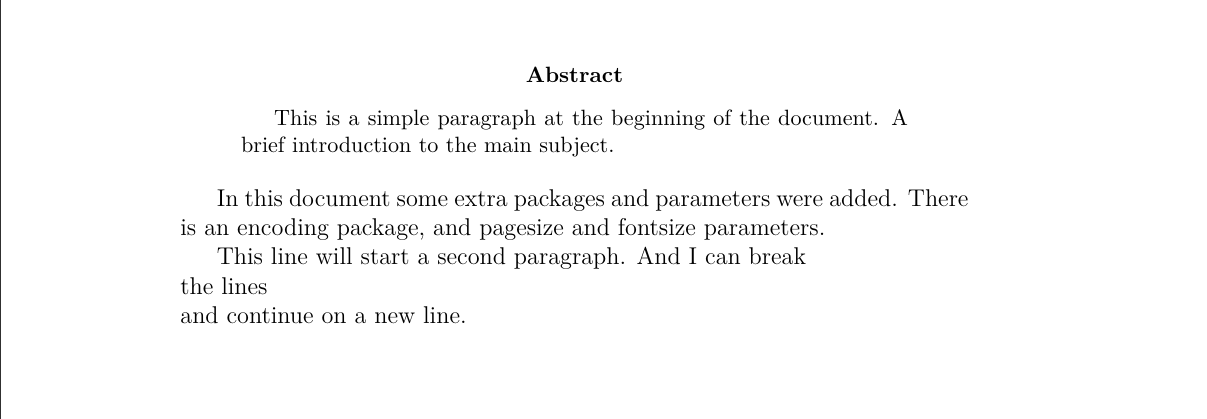
This is a simple paragraph at the beginning of the document. A brief introduction to the main subject.
\end{abstract}
In this document some extra packages and parameters
were added. There is an encoding package,
and pagesize and fontsize parameters.
This line will start a second paragraph. And I can
break\\ the lines \\ and continue on a new line.
\end{document}
It is common practice to include a brief overview of the main topics of the paper in scientific documents. In LATEX, the abstract environment is for this purpose. The abstract environment places text at the top of the document in a special format.
When writing the content of a document, if you need to start a new paragraph, you must press Enter twice (insert a double blank line). Notice that the paragraph has a space before the first line.
To start a new line without actually starting a new paragraph, insert a line break point, which can be done with the \ \ (such as the double backslash in the example) or the \ newline command
notes
Sometimes you need to add comments to LATEX code to improve readability. This is very simple,% add a before the comment, and LATEX will ignore the text.
\documentclass{article}
\usepackage[utf8]{inputenc} %codification of the document

\usepackage{comment}

%Here begins the body of the document
\begin{document}
This document contains a lot of comments, none of them
will appear here, only this text.

This document contains a lot of comments, none of them
will appear here, only this text.

\begin{comment}
This text won't show up in the compiled pdf
this is just a multi-line comment. Useful
to, for instance, comment out slow-rendering parts
while working on a draft.
\end{comment}

\end{document}
In the last part of the example, you can see an annotation environment. This helps with multiline comments, rather than% placing a at the beginning of each line. To do this, you must add the following line to the preamble:
\usepackage{comment}
These% symbols are reserved characters. If you really need to print this symbol in the document, please use \% For a complete list of reserved characters, see the reference guide.
Reference guide
\The document types available in the documentclass command.
| file type | describe |
|---|---|
| article | For short documents and journal articles. Is the most commonly used. |
| report | For longer documents and papers. |
| book | It's useful to write books. |
| letter | For letters |
| slides | For slides, it is rarely used |
| beamer | Slides in projector format. Refer to the projector documentation for a better description |
Reserved characters
The following symbolic characters are reserved by L A T E X because they introduce commands and have special meanings.
# $ % ^ & _ { } ~ \
| character | function | Printing method |
|---|---|---|
| # | Macro parameters | \# |
| ¥ | Mathematical model | $ |
| % | notes | \% |
| & | Separating column entries in a table | \& |
| _ | Subscript (in mathematical mode) | \_ |
| { } | Processing block | \{ \} |
| ~ | Unbreakable space, use it when you want to leave unbreakable space | \textasciitilde or \ ~{} |
| \ | Start command, extending to the first non alphanumeric character | \textbackslash or ∖ |
PS: the article is translated from the help document of overleaf (mainly because I can't find any learning resources of LaTex). English is not very good (I'm too lazy to read, but the translation using chrome will be garbled)... This article is connected Creating_a_document_in_LaTeX