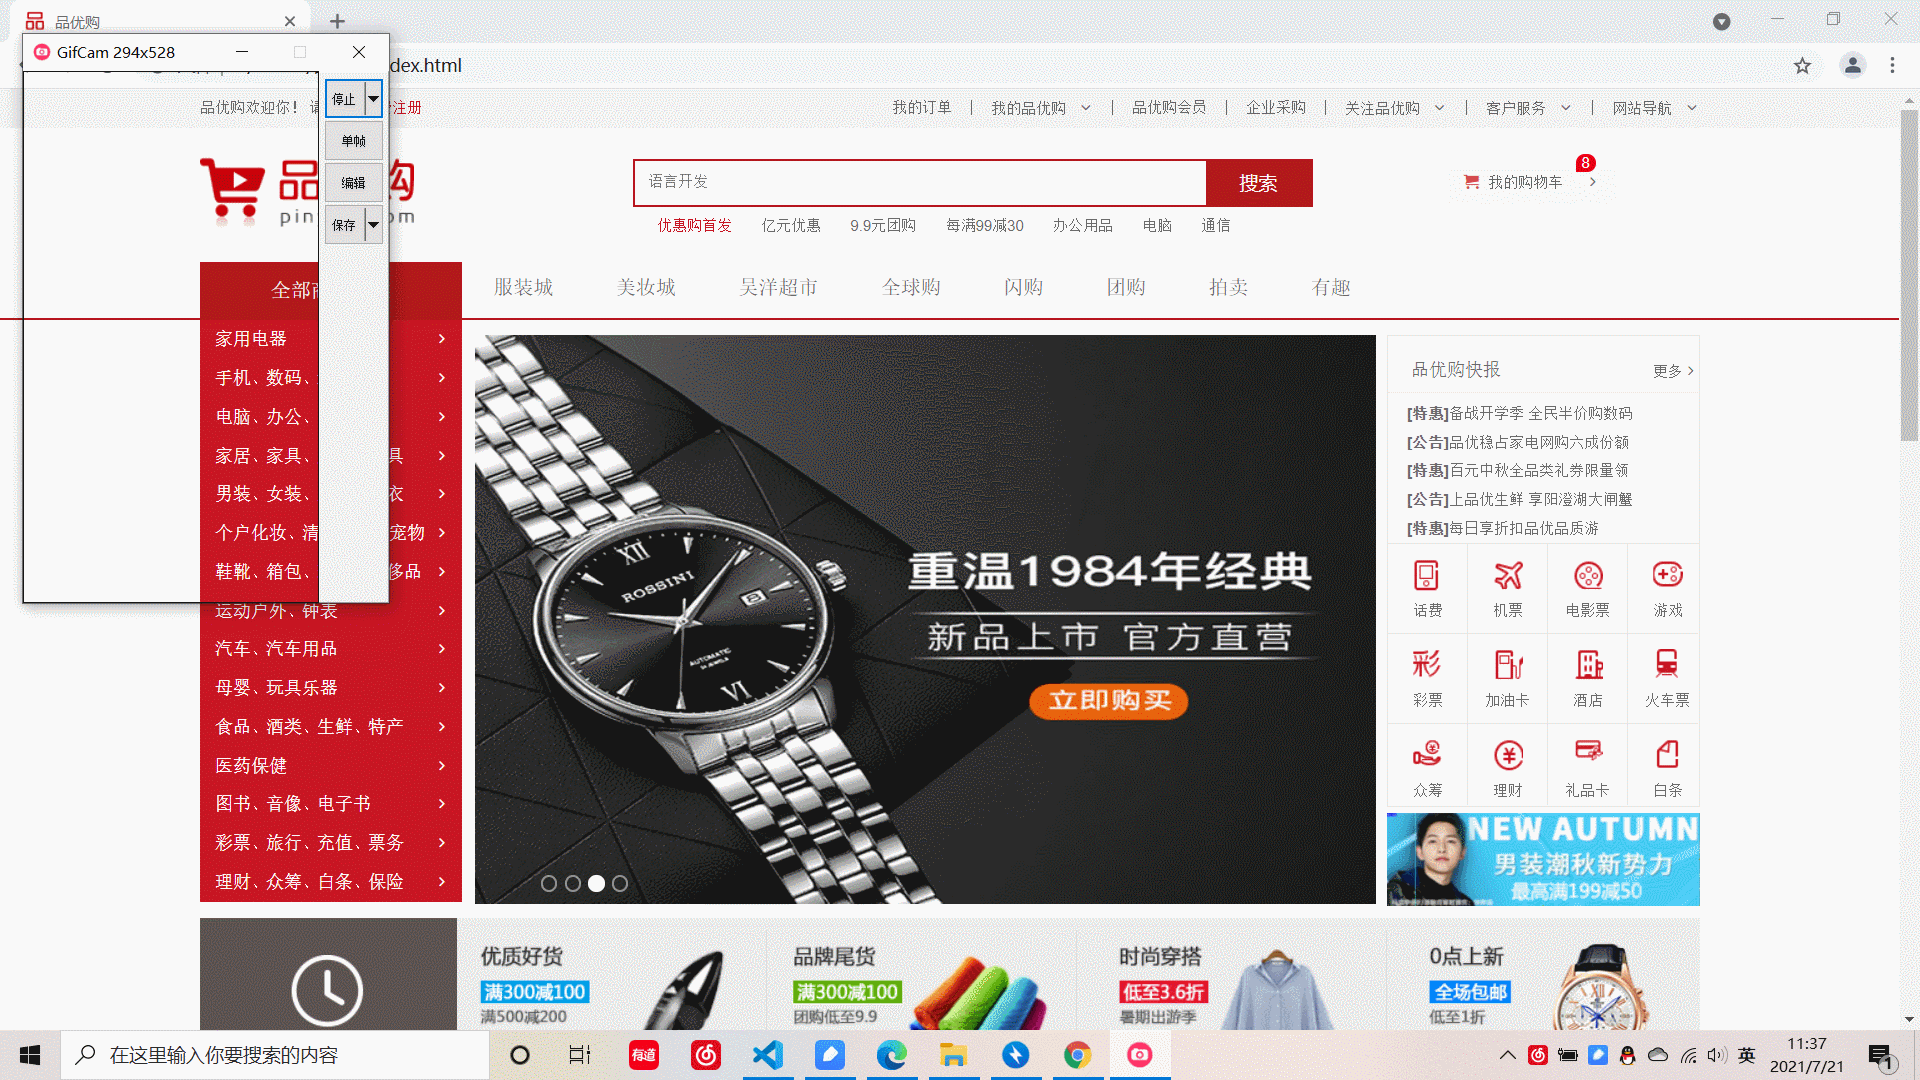
This is the effect of a rotating picture.
<div class="main">
<div class="focus">
<a href="javascript:;" class="arrow-l">
<
</a>
<!-- Right button -->
<a href="javascript:;" class="arrow-r"> > </a>
<ul>
<li><img src="upload/focus.png" alt=""></li>
<li><img src="./upload/focus1.jpg" alt=""></li>
<li><img src="./upload/focus2.jpg" alt=""></li>
<li><img src="./upload/focus3.jpg" alt=""></li>
</ul>
<ol class="circle">
</ol>
</div>This is the basic htm framework. If you just want to make a rotation picture effect. Just need a big box, and then you need to put the rotating pictures in ul. Then there are the left and right arrows and the dots below. That's not the point. Everyone should be able to. Here is the js code. Written in native js.
Before we write, we need to know that we need to realize several functions of this rotation map.
1. Place the mouse on the rotation chart and the left and right arrows will be displayed. If you don't put it on it, it won't be displayed.
2. Click the dot below to switch the picture
3. The right arrow realizes picture switching, and the left arrow realizes picture switching
4. The picture switched by the arrow corresponds to the dot below one by one
5. Automatically play pictures
Now let me slowly deduct the code for you,
window.addEventListener('load', function() {
    //Get element
    var arrow_l = document.querySelector('.arrow-l');
    var arrow_r = document.querySelector('.arrow-r');
    var focus = document.querySelector('.focus');
    var focuswidth = focus.offsetWidth;
    focus.addEventListener('mouseenter', function() {
        arrow_l.style.display = 'block';
        arrow_r.style.display = 'block';
        clearInterval(timer);
        timer = null;
    })
    focus.addEventListener('mouseleave', function() {
        arrow_l.style.display = 'none';
        arrow_r.style.display = 'none';
        timer = setInterval(function() {
            // Manually call click event
            arrow_r.click();
        }, 2500);
    })
    var ul = focus.querySelector('ul');
    var ol = focus.querySelector('.circle');
    for (var i = 0; i < ul.children.length; i++) {
        //Create small li
        var li = document.createElement('li');
        ol.append(li);
        //Add custom attributes to small li
        li.setAttribute('index', i);
        // Click on small li, exclusive thoughts
        li.addEventListener('click', function() {
            for (var i = 0; i < ol.children.length; i++) {
                ol.children[i].className = '';
            }
            this.className = 'current';
            var index = this.getAttribute('index');
            //Assign the index to num,
            num = index; //Control arrow pace
            circle = index; //Control the pace of the small circle
            animate(ul, -(index * focuswidth));
        })
    }
    ol.children[0].className = 'current';
    var first = ul.children[0].cloneNode(true);
    ul.append(first);
    //num control right button
    var num = 0;
    //circle control dot
    var circle = 0;
    var flag = true;
    // Right button method
    arrow_r.addEventListener('click', function() {
            if (flag) {
                flag = false;
                if (num == ul.children.length - 1) {
                    ul.style.left = 0;
                    num = 0;
                }
                num++;
                animate(ul, -num * focuswidth, function() {
                    flag = true;
                });
                circle++;
                if (circle == ul.children.length - 1) {
                    circle = 0;
                }
                for (var i = 0; i < ol.children.length; i++) {
                    ol.children[i].className = '';
                }
                ol.children[circle].className = 'current';
            }
        })
        // Left button method
    arrow_l.addEventListener('click', function() {

        if (flag) {
            flag = false;
            if (num == 0) {
                // Jump to the last picture and copy the picture
                ul.style.left = -(ul.children.length - 1) * focuswidth + 'px';
                num = ul.children.length - 1;
            }
            num--;
            animate(ul, -num * focuswidth, function() {
                flag = true;
            });
            circle--;
            if (circle < 0) {
                circle = ol.children.length - 1;
            }
            for (var i = 0; i < ol.children.length; i++) {
                ol.children[i].className = '';
            }
            ol.children[circle].className = 'current';
        }
    })
    var timer = this.setInterval(function() {
            // Manually call click event
            arrow_r.click();
        }, 2500)
        //Animation function
    function animate(obj, target, cellBack) {
        clearInterval(obj.timer);
        obj.timer = setInterval(function() {
            var step = (target - obj.offsetLeft) / 10;
            step = step > 0 ? Math.ceil(step) : Math.floor(step);
            if (obj.offsetLeft == target) {
                clearInterval(obj.timer)
                cellBack && cellBack();
            }
            obj.style.left = obj.offsetLeft + step + 'px';
        }, 15)
    }
})
The first step should be the simplest. Get the box of the focus diagram, and then add monitoring events to realize the function of left and right arrow display.
The second step {is to create the element first (because I don't know whether the rotation map will add pictures in the future, so here is to create the element li), and use the exclusive idea to realize the dot click. Set the custom attribute index for the created small li. Then we call the animated function (which is usually encapsulated), which is the distance from which your index is multiplied by the image width, because we move ul, so this is a negative number.
Step 3 , right picture switching, left picture switching , similar to the dot switching above. But here's something to note: Here I copied the first picture and put it at the back. The principle is that when we switch to the copied photo, the variable controlling the arrow will directly become 0, so we can continue to switch.

Step 4} to synchronize your dot with your arrow, you can set another variable. When you click the left and right buttons, the variable controlling the dot will change with it. Moreover, the previous index needs to be assigned to the variable that controls the synchronization of the left and right arrows and small circles. In this way, there will be no case that you click the arrow, but your dot does not match the number of pictures in which the picture is now.
Step 5: add a throttle valve
Put the code of switching between the left button and the right button into the throttle valve. When our animation is over, we can execute the next one. In this way, there will be no bug caused by crazy switching by pressing the arrow image.
Step 6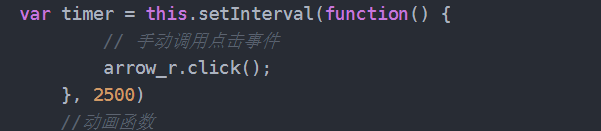
Set a timer and manually call the click event. When the time is up, he will call the event automatically.
It's almost over here. I think the most difficult thing about the rotation map is to synchronize the arrow switch with the dot below. What's more, the button on the right switches to the last one and then clicks it. In fact, it is the first copy of the first one, and then the first one of itself. The left button is also the first one, and then the first one is copied in an instant.