Preface
Think about it, I don't know what to add. As the saying goes, there is an egg to use in actual combat. So I use Data Binding to achieve the list effect of RecyclerView to draw a perfect end to this learning.
Text text
Not much nonsense. In order to achieve the effect, first of all, we must put the Recycler View of MainActivity in place. First, we should look at the code.
package com.lzp.myapplication;

import android.databinding.DataBindingUtil;
import android.os.Bundle;
import android.support.v7.app.AppCompatActivity;
import android.view.View;
import com.lzp.myapplication.databinding.ActivityMainBinding;

import java.util.ArrayList;
import java.util.List;

public class MainActivity extends AppCompatActivity {

    private ActivityMainBinding mBinder;

    private List<String> names;

    @Override
    protected void onCreate(Bundle savedInstanceState) {
        super.onCreate(savedInstanceState);
        mBinder = DataBindingUtil.setContentView(this, R.layout.activity_main);
        names = new ArrayList<>();
        for (int i = 0; i < 20; i++) {
            names.add("hahahahah" + i);
        }
        mBinder.setData(names);
    }

}
The code is very simple, which is to get the ActivityMainBinding object to manage the xml, and then setData (), which sets the list of strings.
Then it can be inferred that a List < String > must be bound in xml, and then RecyclerView should use this List < String >.
Look at the xml code:
<?xml version="1.0" encoding="utf-8"?> <layout> <data > <import type="java.util.List" /> <variable name="data" type="List<String>" /> </data> <LinearLayout xmlns:android="http://schemas.android.com/apk/res/android" xmlns:app="http://schemas.android.com/apk/res-auto" android:layout_width="match_parent" android:layout_height="match_parent" android:orientation="vertical"> <android.support.v7.widget.RecyclerView android:id="@+id/recylerView" android:layout_width="match_parent" android:layout_height="match_parent" app:data="@{data}"/> </LinearLayout> </layout>
As we inferred just now, List < String > is bound in xml, and RecyclerView uses the custom attribute app:data to use this List < String >.
We all know that RecyclerView has no setData () method, so this method must be customized by us. So open our tool class and define this method:
/**
 * Created by li.zhipeng on 2017/2/10.]
 *
 *      Tool class
 */

public class Utility {

    @BindingAdapter("bind:image")
    public static void loadImage(ImageView image, Drawable resId){
        image.setImageDrawable(resId);
    }

    @BindingAdapter("bind:data")
    public static void setData(RecyclerView recyclerView, List<String> data){
        recyclerView.setLayoutManager(new LinearLayoutManager(recyclerView.getContext(), LinearLayoutManager.VERTICAL, false));
        recyclerView.setAdapter(new TestBindingAdapter(recyclerView.getContext(), data));
    }
}
There are two methods in the tool class:
1. Load Image, bind the image attribute, set the image for the imageView, this method will be used in the Adapter later.
2. setData, bind the data attribute, and set adapter for RecyclerView.
This setData () must be the method used by RecyclerView in xml just now, setting adapter through the app: data attribute.
Then there's nothing left to see about the Adapter. Open the TestBinding Adapter:
package com.lzp.myapplication.adapter;

import android.content.Context;
import android.databinding.DataBindingUtil;
import android.support.v7.widget.RecyclerView;
import android.view.LayoutInflater;
import android.view.ViewGroup;

import com.lzp.myapplication.R;
import com.lzp.myapplication.databinding.TestItemBinding;

import java.util.List;

/**
 * Created by li.zhipeng on 2017/2/13.
 * <p>
 * BindingAdapter for Testing
 */

public class TestBindingAdapter extends RecyclerView.Adapter<TestBindingHolder> {

    private List<String> data;

    private Context context;

    public TestBindingAdapter(Context context, List<String> list) {
        this.context = context;
        this.data = list;
    }

    @Override
    public TestBindingHolder onCreateViewHolder(ViewGroup parent, int viewType) {
        TestItemBinding binding = DataBindingUtil.inflate(LayoutInflater.from(context), R.layout.test_item, parent, false);
        return new TestBindingHolder(binding);
    }

    @Override
    public void onBindViewHolder(TestBindingHolder holder, int position) {
        holder.getBinding().setListName(data.get(position));
        // Refresh the interface immediately
        holder.getBinding().executePendingBindings();
    }

    @Override
    public int getItemCount() {
        return data == null ? 0 : data.size();
    }
}
There is not much code in TestBindingAdapter, which is much the same as the code in MainActivity.
holder.getBinding().executePendingBindings();
This sentence is used to refresh the interface immediately, to prevent the list from being updated in time, resulting in data confusion.
Post out the code for TestItemBinding:
package com.lzp.myapplication.adapter;

import android.support.v7.widget.RecyclerView;

import com.lzp.myapplication.databinding.TestItemBinding;

/**
 * Created by li.zhipeng on 2017/2/13.
 *
 *     BindingHolder for Testing
 */

public class TestBindingHolder extends RecyclerView.ViewHolder{

    private TestItemBinding binding;

    public TestBindingHolder(TestItemBinding binding) {
        super(binding.getRoot());
        this.binding = binding;
    }

    public TestItemBinding getBinding() {
        return binding;
    }

    public void setBinding(TestItemBinding binding) {
        this.binding = binding;
    }
}
There's nothing to talk about. It's very simple. Now there's only test_item.xml left. It's estimated that everyone can guess what's in it. It's no different from activity_main.xml.
<?xml version="1.0" encoding="utf-8"?>
<layout>

    <data>

        <variable
            name="listName"
            type="String" />
    </data>


    <LinearLayout xmlns:android="http://schemas.android.com/apk/res/android"
        xmlns:app="http://schemas.android.com/apk/res-auto"
        android:layout_width="match_parent"
        android:layout_height="wrap_content"
        android:orientation="horizontal">

        <ImageView
            android:layout_width="50dp"
            android:layout_height="50dp"
            app:image="@{@drawable/ic_launcher}"/>

        <TextView
            android:layout_width="match_parent"
            android:layout_height="wrap_content"
            android:padding="15dp"
            android:text="@{list_name, default=111}" />

    </LinearLayout>

</layout>
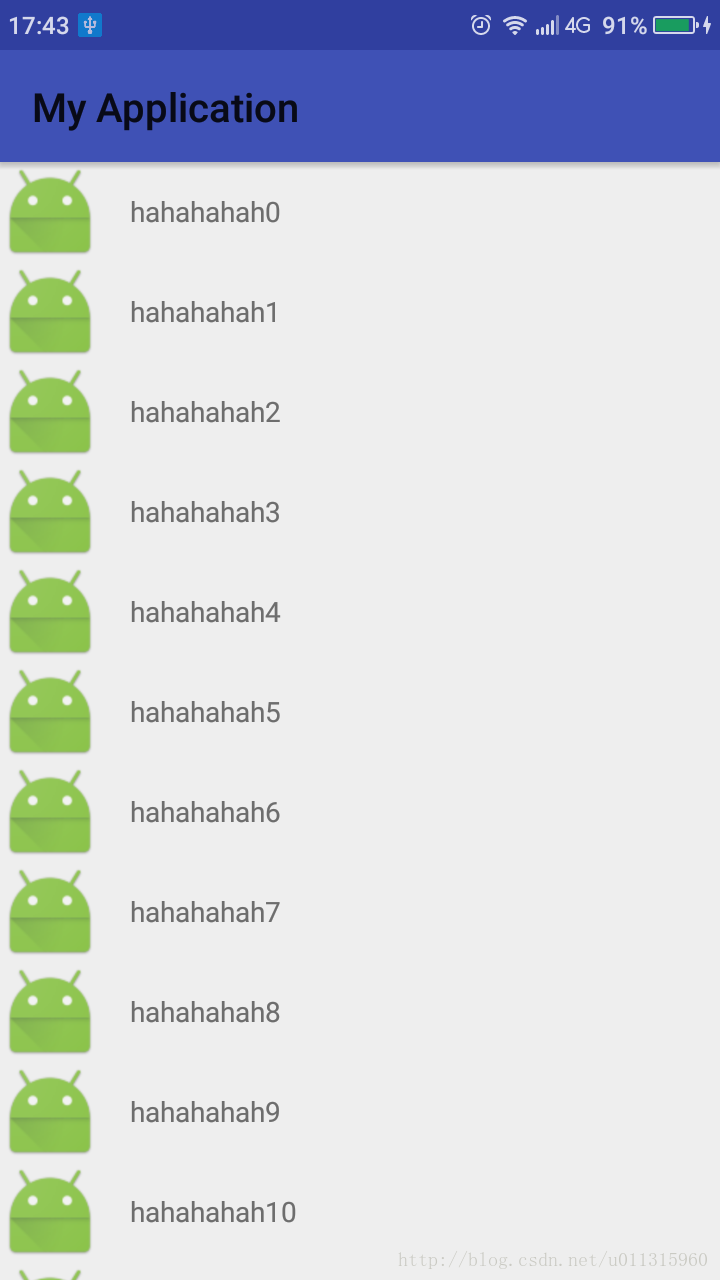
A list Name string is bound, and then a picture is set through a custom image attribute, which has been seen before. This simple example is over. Place a running result picture:
Sum up
Through an example of combining RecyclerView with Data Binding, we can see that Data Binding has helped us greatly improve the separation of layout and function. java code only focuses on function, while xml values focus on layout display. This is also the original purpose of android design at the beginning.
In actual combat, there are so many functions that are often used repeatedly, not as cold as they seem at first. The more you use them, the more you can feel the charm of Data Binding.
Finally, I thank the predecessors who are willing to dedicate their valuable knowledge on the Internet, and provide a lot of learning materials for the study of Data Binding. I also thank the designers of Android for their continuous efforts to improve the development process and simplify the code structure for our developers.
I hope that we will continue to improve our level together and create more, better and better products.
Demo download link (which contains previously learned annotated code)