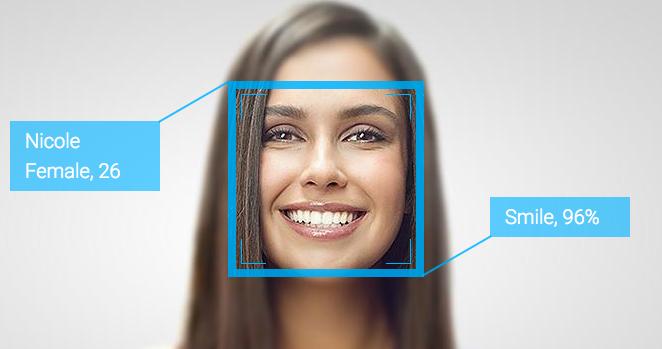
Founded in 2012, Face++ is a technology company focused on image recognition and in-depth learning. At present, Ali, 360, Weibo, Momo, Meitou, Camera 360, Magic Man, Jiayuan, Lenovo and other large image, social and equipment enterprises have become Face++ users, covering more than 40 million active devices.
I. Registered Account
First, you need an account.

- If you haven't registered yet, you can Face++ Official Website Click "Start to Use" in the top right corner of the page, and in the page that opens later, select the "Free to Use" button under Face++ Web API. And in the registration page according to the boot, complete the registration
II. Fill in the Developer's Information
-
After successful registration and first login to the console, you need to fill in the developer information.
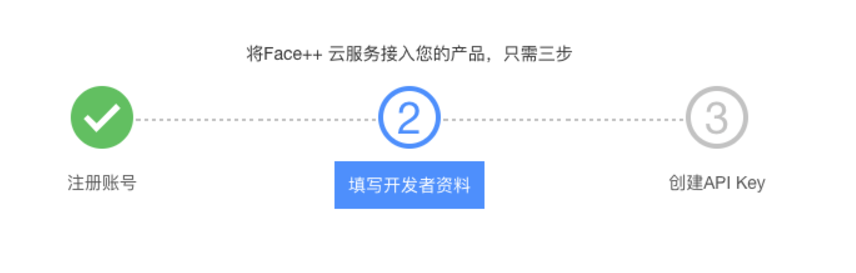 Fill in Developer Information
Creating API Key
-
To invoke the API, you first need to create an API Key (API key), which is a credential using the API and SDK.
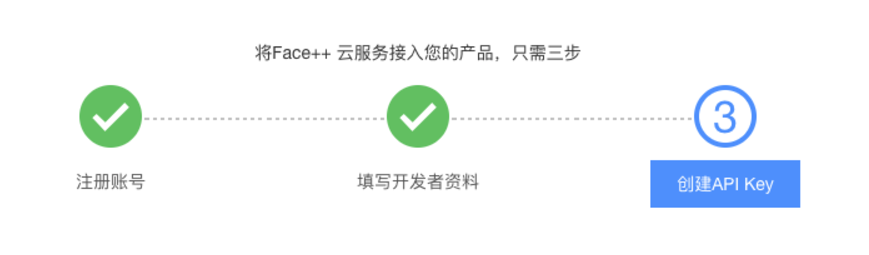 Create API Key
 -
After the API Key is created, you will see the page refreshed, and now you can see the statistics of your account balance and API calls.
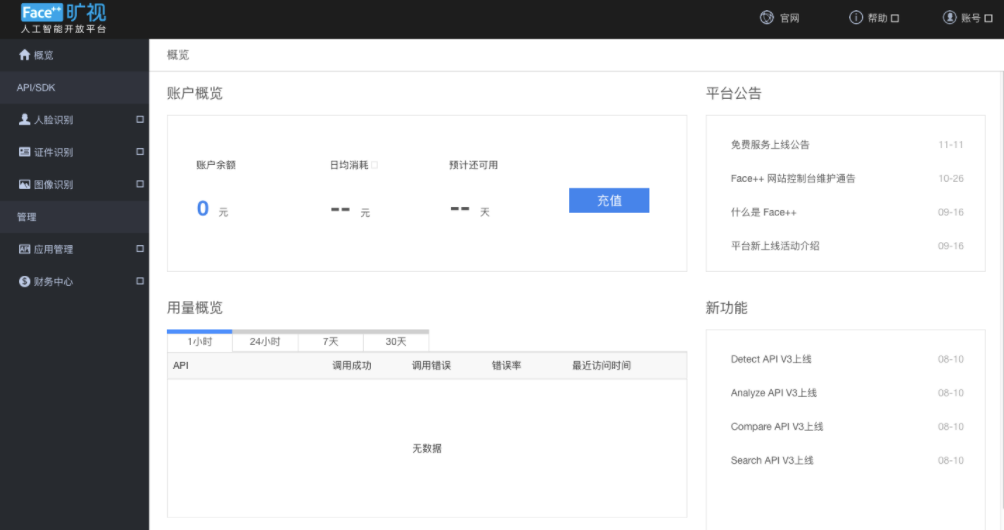 Control panel
4. Start creating Demo
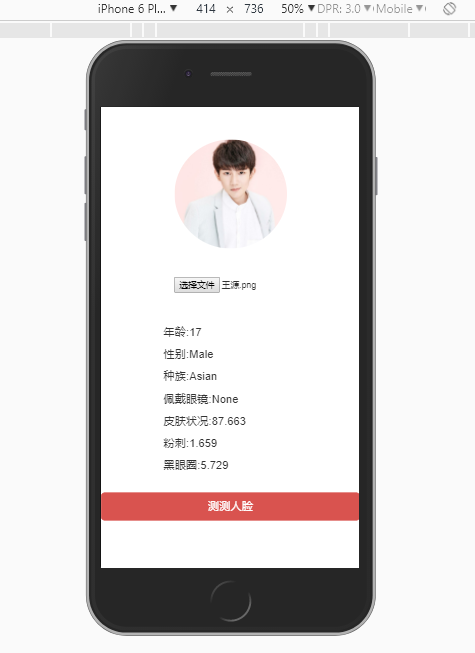
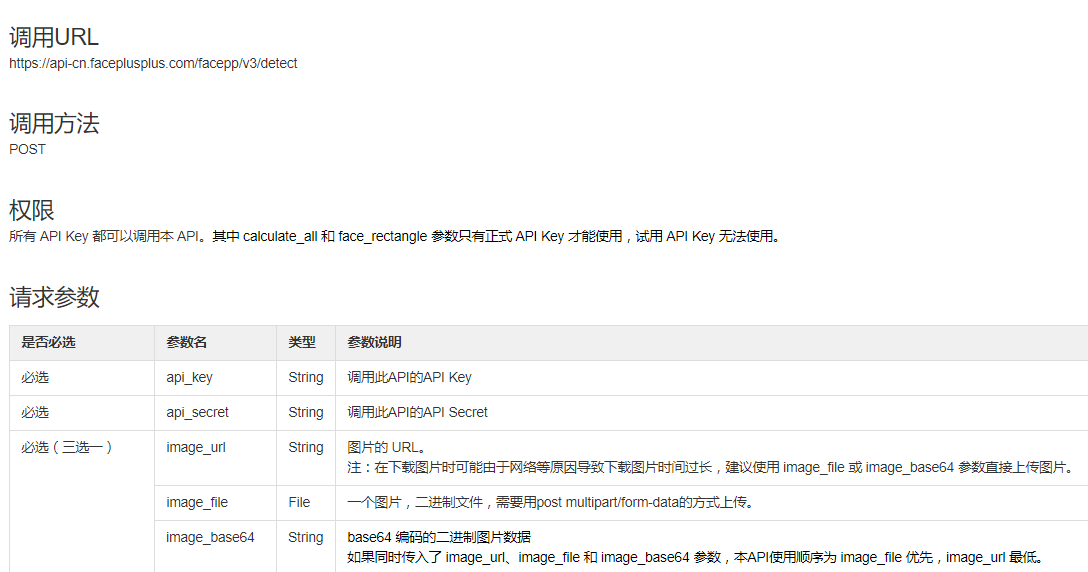
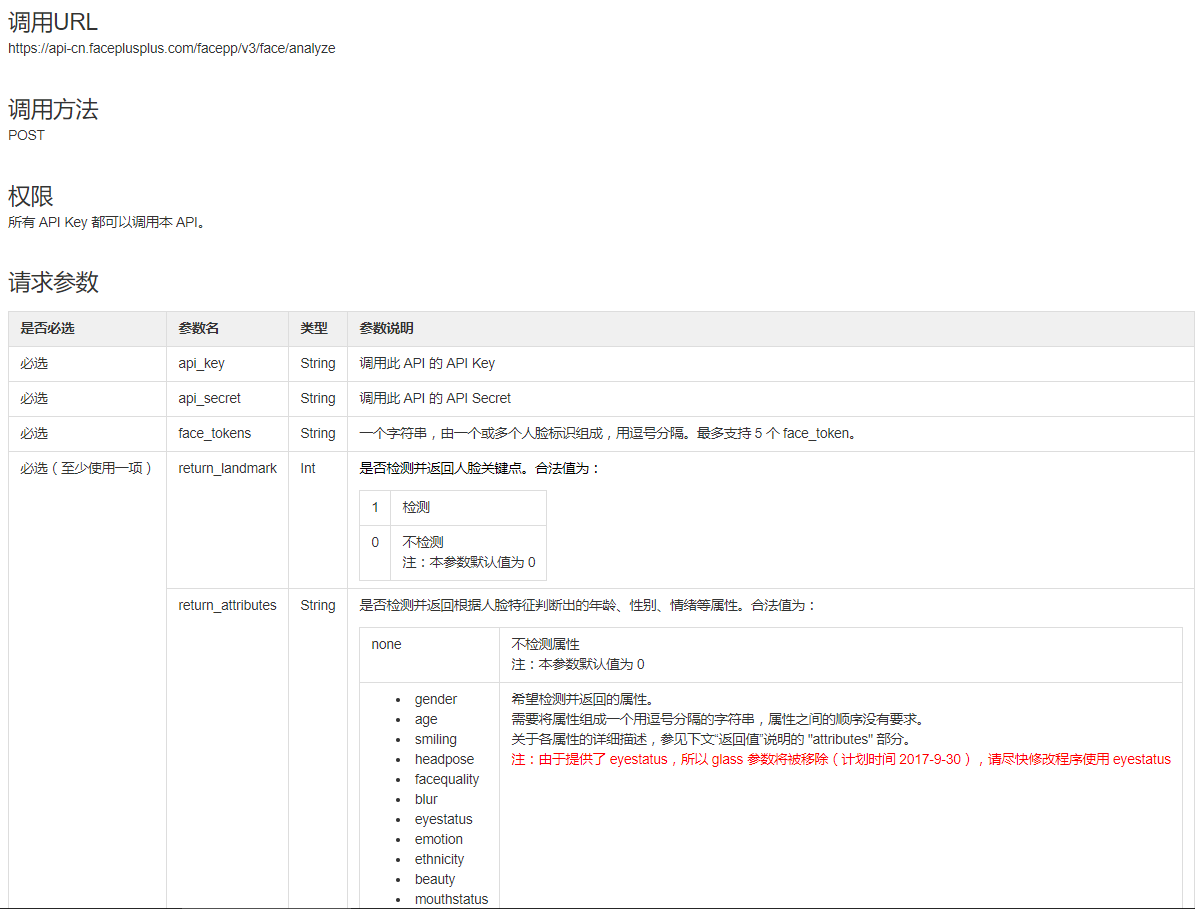
This is a Demo for face analysis after uploading pictures. The call is Detect API and Analyze API
Dectect API:
Analyze API:
1. html section
//analyze.html <!DOCTYPE html> <html lang="en"> <head> <meta charset="UTF-8"> <meta name="viewport" content="width=device-width, initial-scale=1.0"> <meta http-equiv="X-UA-Compatible" content="ie=edge"> <link rel="stylesheet" href="./bootstrap.css"> <link rel="stylesheet" href="./analyze.css"> <script src="./lib/handlebars-v4.0.10.js"></script> <script src="./jquery-3.2.1.js"></script> <title>Document</title> </head> <body> <div class="imgWrapper">  </div> <form enctype="multipart/form-data"> <input type="file" id="testImg" onchange="detectImg()"> //Trigger Detection Event after Upload </form> <div id="result"> <p>Age:</p> <p>Gender:</p> <p>race:</p> <p>Wearing glasses:</p> <div> <p>Skin condition</p> <p>acne:</p> <p>Black rim of eye:</p> </div> </div> <button class="btn btn-danger btn-lg btn-block">Face measurement</button> </body> </html>
2. script section
- When the file is uploaded, the onload event is triggered, and the detectImg() function is called to obtain face_token.
- After obtaining face_token, analyzeImg() is called to perform face analysis.
- Processing the returned results and saving them to the faceAttributes object
- Rendering to Pages Using Template Engine
//handlerbar template engine
<script id="tpl" type="text/template">
<p>Age:{{age}}</p>
<p>Gender:{{gender}}</p>
<p>race:{{ethnicity}}</p>
<p>Wearing glasses:{{glass}}</p>
<div>
    <p>Skin condition:{{skinstatus.health}}</p>
    <p>acne:{{skinstatus.acne}}</p>
    <p>Black rim of eye:{{skinstatus.dark_circle}}</p>
</div>
</script>


//The main js section
<script>
//Setting global variables
let faceConfig = {
    face_token : '',
}
let faceAttributes = {};

function detectImg() {
    var r = new FileReader();
    f = document.getElementById('testImg').files[0];
    r.readAsDataURL(f);
    r.onload = function(e) {
        document.getElementById('img').src = this.result;
    }
    let url = 'https://api-cn.faceplusplus.com/facepp/v3/detect';
    let files = $('#testImg').prop('files');
    let data = new FormData();
    data.append('api_key', "Please enter your api_key");
    data.append('api_secret', "Please enter your api_secret");
    data.append('image_file', files[0]);
    $.ajax({
        url: url,
        type: 'POST',
        data: data,
        cache: false,
        processData: false,
        contentType: false,
        success(data) {
            faceConfig.face_token = data.faces[0].face_token;
            analyzeImg(); //Call functions to analyze pictures
        }
    })
}

function analyzeImg() {
    let url = 'https://api-cn.faceplusplus.com/facepp/v3/face/analyze';
    $.ajax({
        url: url,
        type: 'POST',
        data: {
            api_key: "Please enter your api_key",
            api_secret: "Please enter your api_secret",
            face_tokens: faceConfig.face_token,
            return_attributes: "gender,age,smiling,ethnicity,skinstatus,eyestatus"
        },
        success(data) {
            let attributes = data.faces[0].attributes;
            faceAttributes = {
                age : attributes.age.value,
                gender: attributes.gender.value,
                ethnicity: attributes.ethnicity.value,
                glass: attributes.glass.value,
                skinstatus: attributes.skinstatus
            }
            console.log(faceAttributes);

            //Rendering of handlerbar template engine
            var tpl   =  $("#tpl").html();
            var template = Handlebars.compile(tpl);
            var html = template(faceAttributes);
            $('#result').html(html);
        }
    })
}
3. css part
.imgWrapper{
    width:100%;
    height: 200px;
    margin-top: 50px;
    text-align: center;
}
img{
    width:180px;
}
#result{
    padding:50px 0px 20px 100px;
    font-size: 18px;
}
form{
    margin-top:20px;
}
#testImg{
    width:180px;
    margin: 0 auto;
}
[References]
- Face++ Official Website: https://www.faceplusplus.com.cn/
- Face++ Face Detection Demo: https://www.faceplusplus.com.cn/face-detection/#demo