catalogue
- preface
-
- step 1. Download yolov5 source code and tensorrtx source code, and download yolov5s Pt to wts model
- step 2. Install cuDNN, TensorRT and verify that TensorRT is installed successfully
- step 3. https://github.com/wang-xinyu Use vs to run through the C + + code of yolov5.0 in github
- step 4. Running your own training model
- summary
preface
Some time ago, I studied the environment configuration of pytoch. Then I downloaded the source code of yolov5 from github, configured the corresponding environment on my computer and ran it. Finally, I found the generated weight file yolov5s PT can not only be quantized and compressed into onxx model, but also use TensorRT reasoning to accelerate the generation of engine model, which has great advantages for deploying the model on the mobile terminal. Therefore, Pt tries to deploy yolov5 model on its own computer through TensorRT.
There are many blogs on the Internet that can be used for reference, but most of them have carefully explained a certain link, which will inevitably make people feel confused in the early learning, and it is difficult to look at this problem from an overall perspective. In other words, few summarize the whole process first and let us know what modules are needed first, What modules should be prepared, and what kind of relationship between these modules, and then subdivided into each small module to explain. So let's send it today from this perspective and summarize some recent learning.
Before that, it is assumed that you have mastered the basic knowledge of Pytorch, CUDA and cuDNN, configured the yolov5 environment and debugged the source code
Note: if you haven't mastered the above basic knowledge, you can refer to the other two blog posts
1.Construction of pytoch environment for deep learning
2.Environment configuration and source code test of Yolo V5 deployment
Firstly, the whole process is divided into the following 7 steps (modules):
- step 1. Download yolov5 source code and tensorrtx source code, and download yolov5s Pt to wts model.
- step 2. Install cuDNN, TensorRT and verify that TensorRT is installed successfully
- step 3. https://github.com/wang-xinyu Use vs to run through the C + + code of yolov5.0 in github
- step 4. Running your own training model
The following seven steps will be explained step by step. First, post my environment:
- System: WIN 10
- cuda_10.1
- cudnn-10.1-windows10-x64-v7.6.5.32
- TensorRT-6.0.1.5.Windows10.x86_64.cuda-10.1.cudnn7.6
- OpenCV 4.4.0
- vs2015
-
https://developer.nvidia.com/rdp/cudnn-download
https://developer.nvidia.com/tensorrt
Code version:
- yolov5 5.0
- tensorrtx 5.0
git clone -b v5.0 https://github.com/ultralytics/yolov5.git
git clone -b yolov5-v5.0 https://github.com/wang-xinyu/tensorrtx.git
I have to say that Wang Xinyu's work is really great! Source address point here
step 1. Download yolov5 source code and tensorrtx source code, and download yolov5s Pt to wts model
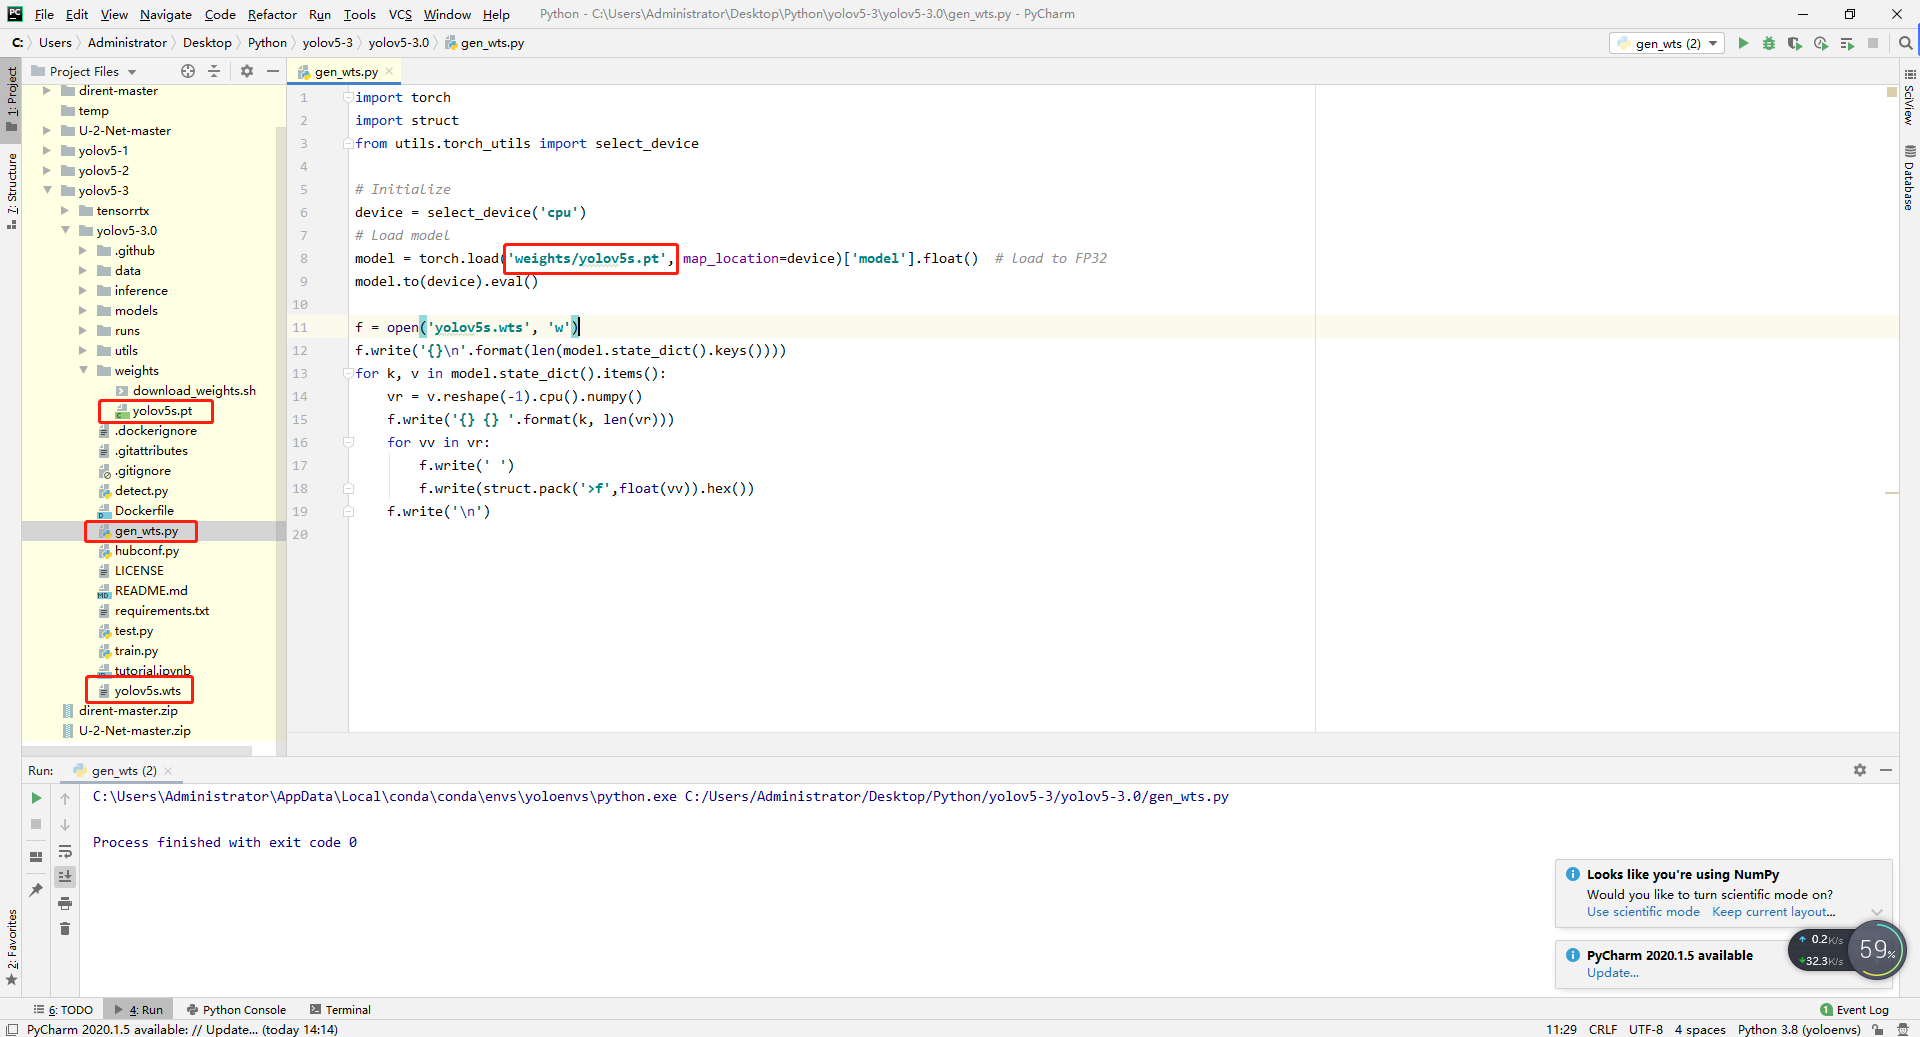
- Put Gen in the tensorrtx source code_ wts. Py copy to yolov5 source code and run, generate WTS model.
step 2. Install cuDNN, TensorRT and verify that TensorRT is installed successfully
1. Install cuDNN
- 1 unzip the cuDNN package
- 2 copy the files in cuda\bin to C: \ program files \ NVIDIA GPU computing toolkit \ CUDA \ v10 1\bin
- 3 copy the files in cuda\include to C: \ program files \ NVIDIA GPU computing toolkit \ CUDA \ v10 1\include
- 4 copy the files in cuda\lib to C: \ program files \ NVIDIA GPU computing toolkit \ CUDA \ v10 1\lib
Step 4: complete cuDNN installation
2. Install TensorRT
- 1 unzip the TensorRT package
- 2 copy the header file in TensorRT-6.0\include to C: \ program files \ NVIDIA GPU computing toolkit \ CUDA \ v10 1\include
- 3 copy all lib files in TensorRT-6.0\lib to C: \ program files \ NVIDIA GPU computing toolkit \ CUDA \ v10 1\lib\x64
- 4 copy all dll files in TensorRT-6.0\lib to C: \ program files \ NVIDIA GPU computing toolkit \ CUDA \ v10 1\bin
Step 4 complete TensorRT installation
3. Verify that TensorRT is installed successfully
- 1 - Open tensorrt-6.0 \ samples \ samplemnist \ sample with VS2015_ mnist. sln
- 2 - in VS2015, right-click the project and select properties - > configuration properties - > General - > target platform version - > 8.1
- 3 - in VS2015, right-click the project and select properties - > configuration properties - > General - > platform toolset - > VS2015 (V140)
- 4 - right click Project - > regenerate
- 5 - use anaconda to enter TensorRT-6.0\data\mnist directory and run python download_pgms.py
- 6 - enter TensorRT-6.0\bin and double-click sample_mnist.exe. If no error is reported, the configuration is successful.
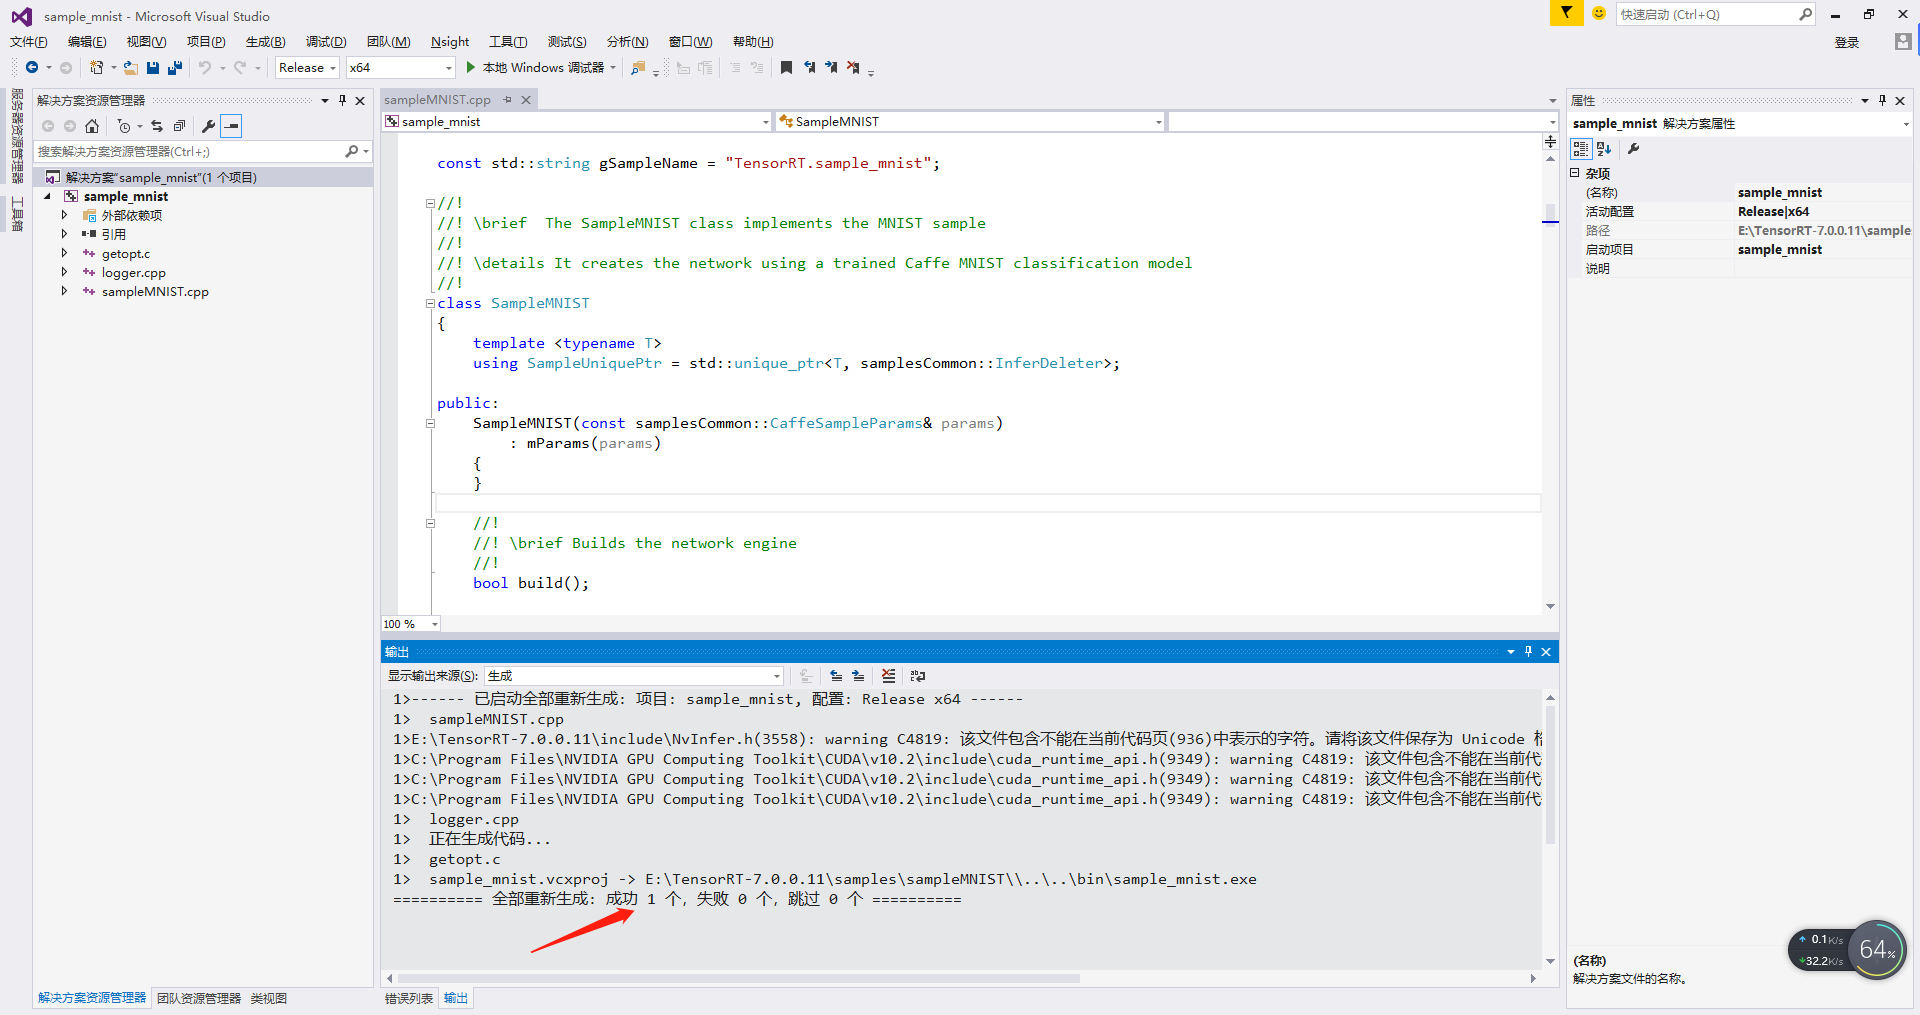
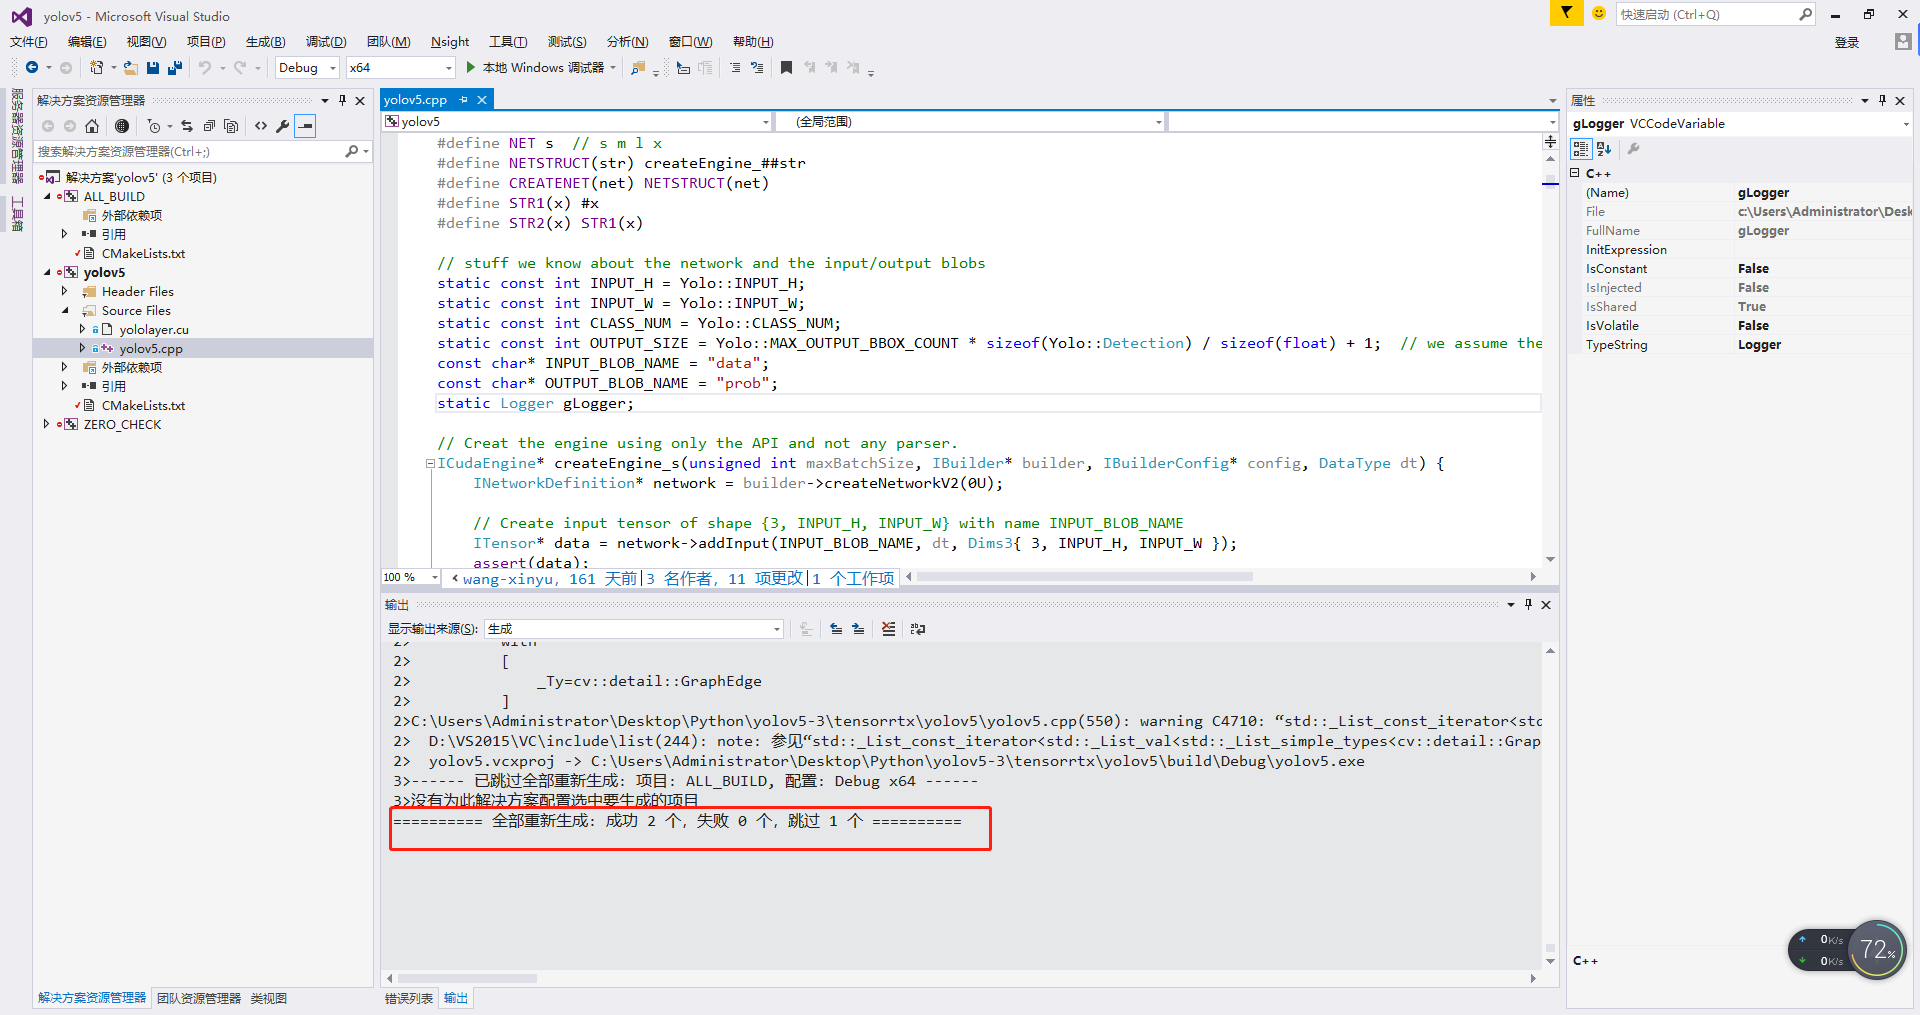
5. Open the VS project of yolov5 and generate the engine model
- 1 - under the build the binaries path just set, open the yolov5 project
- 2 - compile and generate
- 3 - you can see that a yolov5.0 is generated under the \ tensorrtx\yolov5\build\Debug file Exe file
- 4- cmd enter the \ tensorrtx\yolov5\build\Debug directory, and then execute yolov5 Exe - s command, you can see that a yolov5. Exe is generated in the current directory Engine file, indicating that the conversion is successful.
- 5 - create a new samples folder in the \ tensorrtx\yolov5\build\Debug directory, and then put in the test pictures. You'd better execute yolov5.0 through cmd exe -d ../ Samples, call yolov5 Engine to test
step 3. https://github.com/wang-xinyu Use vs to run through the C + + code of yolov5.0 in github
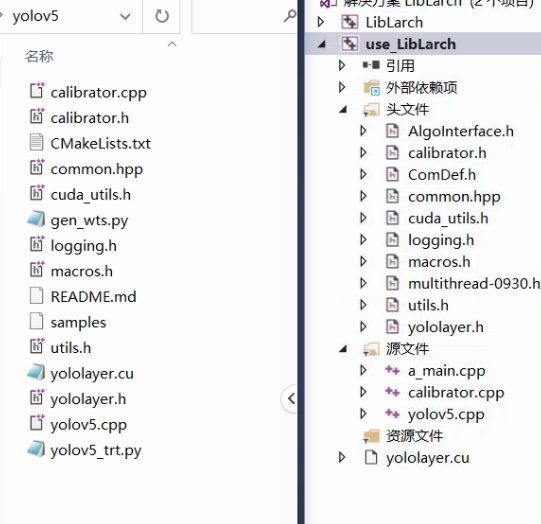
1. Add yolov5 0 h/.cpp/.cu code, copy to the vs project with opencv environment
2. Configure environment variables
Include directory
C:\Program Files\NVIDIA GPU Computing Toolkit\CUDA\v10.1\include;$(SolutionDir)\opencv4.4\include;C:\Program Files\NVIDIA GPU Computing Toolkit\CUDA\v10.1\bin;$(IncludePath)
Library Directory
$(SolutionDir)\opencv4.4\lib;$(SolutionDir)\x64\Release;C:\Program Files\NVIDIA GPU Computing Toolkit\CUDA\v10.1\lib\x64;$(LibraryPath)
Additional dependencies
cublas.lib
cudnn.lib
nvinfer.lib
nvinfer_plugin.lib
nvonnxparser.lib
nvparsers.lib
3. Change code
Set utils H #include < dirty h> Note it out and read the picture with glob
	std::vector<cv::String> file_names;
	cv::glob("C:\\Users\\Ring\\Desktop\\bushu 3.0\\images", file_names);
	if (file_names.size() < 0) {
		std::cout << "read_files_in_dir failed." << std::endl;
		return -1;
	}
4. Change the code in main to program execution
cudaSetDevice(DEVICE);

    std::string wts_name = "../best.wts";
    //std::string engine_name = "";
    bool is_p6 = false;
    float gd = 0.33f, gw = 0.5f;
    std::string img_dir;
    /*if (!parse_args(argc, argv, wts_name, engine_name, is_p6, gd, gw, img_dir)) {
        std::cerr << "arguments not right!" << std::endl;
        std::cerr << "./yolov5 -s [.wts] [.engine] [s/m/l/x/s6/m6/l6/x6 or c/c6 gd gw]  // serialize model to plan file" << std::endl;
        std::cerr << "./yolov5 -d [.engine] ../samples  // deserialize plan file and run inference" << std::endl;
        return -1;
    }*/
	char *trtModelStream{ nullptr };
	size_t size{ 0 };
	std::string engine_name = STR2(NET);
	engine_name = "best" + engine_name + ".engine";
    // create a model using the API directly and serialize it to a stream
    if (false) {
        IHostMemory* modelStream{ nullptr };
        APIToModel(BATCH_SIZE, &modelStream, is_p6, gd, gw, wts_name);
        assert(modelStream != nullptr);
        std::ofstream p(engine_name, std::ios::binary);
        if (!p) {
            std::cerr << "could not open plan output file" << std::endl;
            return -1;
        }
        p.write(reinterpret_cast<const char*>(modelStream->data()), modelStream->size());
        modelStream->destroy();
        return 0;
    }
	else {
		std::ifstream file(engine_name, std::ios::binary);
		if (file.good()) {
			file.seekg(0, file.end);
			size = file.tellg();
			file.seekg(0, file.beg);
			trtModelStream = new char[size];
			assert(trtModelStream);
			file.read(trtModelStream, size);
			file.close();
		}
	}

    // deserialize the .engine and run inference
    std::ifstream file(engine_name, std::ios::binary);
    if (!file.good()) {
        std::cerr << "read " << engine_name << " error!" << std::endl;
        return -1;
    }

    //char *trtModelStream = nullptr;
    //size_t size = 0;
    file.seekg(0, file.end);
    size = file.tellg();
    file.seekg(0, file.beg);
    trtModelStream = new char[size];
    assert(trtModelStream);
    file.read(trtModelStream, size);
    file.close();