Harbor is an enterprise level Registry server for storing and distributing Docker images.
The image storage harbor uses the official docker registry(v2 named distribution) service to complete.
On the basis of docker distribution, harbor adds some functions of security, access control and management to meet the needs of enterprises for image warehouse.
harbor organizes various components in the form of docker compose specification, and starts and stops through docker compose tool.
Harbor is an open-source enterprise level Registry project of VMware company. Its goal is to help users quickly build an enterprise level Docker registry service.
Based on the open source registry of Docker company, it provides the following additional functions:
- Role based access control
- Policy based image replication
- Vulnerability scanning of image
- AD/LDAP integration (LDAP/AD support)
- Image deletion & garbage collection
- Friendly management UI(Graphical user portal)
- Audit logging
- RESTful API
- Easy deployment
Experimental environment
server1  192.168.122.2
server2  192.168.122.3
server3  192.168.122.4
server4  192.168.122.5
install
server1-3 is a swarm cluster. harbor is set on server4 (in fact, it is the same on which machine, but the capacity of virtual machine itself is not enough, so it is separated)
First you need to install docker on server4.
After that, we need to download the harbor package, which is generally divided into online and offline packages. The download method and installation method are not the same. Now we download an offline package in the experimental environment,
Download address: https://storage.googleapis.com/harbor-releases/release-1.8.0/harbor-offline-installer-v1.8.0.tgz
Just wget it down.
Download the package locally and extract it.
tar zxf harbor-offline-installer-v1.8.0.tgz
Entry directory
harbor.v1.8.0.tar.gz harbor.yml install.sh LICENSE prepare
There are five files,
harbor.v1.8.0.tar.gz is the image needed for installing harbor, regardless.
harbor.yml this is the configuration file. There are some things that need to be modified when entering this file.
5 hostname: passyt.com hostname
After that, you can connect ip or host name. If you connect host name, you should resolve it for all machines.
 7 # http related config
  8 http:
  9   # port for http, default is 80. If https enabled, this port will redirect to https     port
 10   port: 80
These lines are port 80 and can be accessed directly by domain name on the browser.
13 https:
 14   # https port for harbor, default is 443
 15   port: 443
 16   # The path of cert and key files for nginx
 17   certificate: /etc/docker/passyt.com.crt
 18   private_key: /etc/docker/passyt.com.key
These lines represent that you can't log in directly. You can log in encrypted. But it needs to be verified in the last two lines. Note that the address where the encrypted file is stored cannot be misspelled.
One of the above two settings can be used to comment out one set.
27 harbor_admin_password: aekhg777
This represents the password of the private warehouse. At the beginning, only the admin administrator is the user by default.
 30 database:
 31   # The password for the root user of Harbor DB. Change this before any production us    e.
 32   password: aekhg777
harbor adds a database by default. The password of the database is set below.
Since I chose encrypted login, the second step is to create a self signed certificate. The certificate can be created in any directory, but remember the absolute path, which can only take effect if it is written in the configuration file in the previous step.
openssl req -newkey rsa:4096 -nodes -sha256 -keyout passyt.com.key -x509 -days 365 -out passyt.com.crt
Use the command to create a certificate.
After the operation, you can install it. Return to the harbor directory and use the install.sh script to install it. During the installation process, all the images in the directory will be imported into docker, and the docker-compose.yml file will be generated automatically. After the file is generated, the automatic deployment will continue.
After installation, you can view the image directory and find that there are many more images.
At this time, the deployment has been completed and harbor can be used.
Open the browser and enter the domain name. Enter the login interface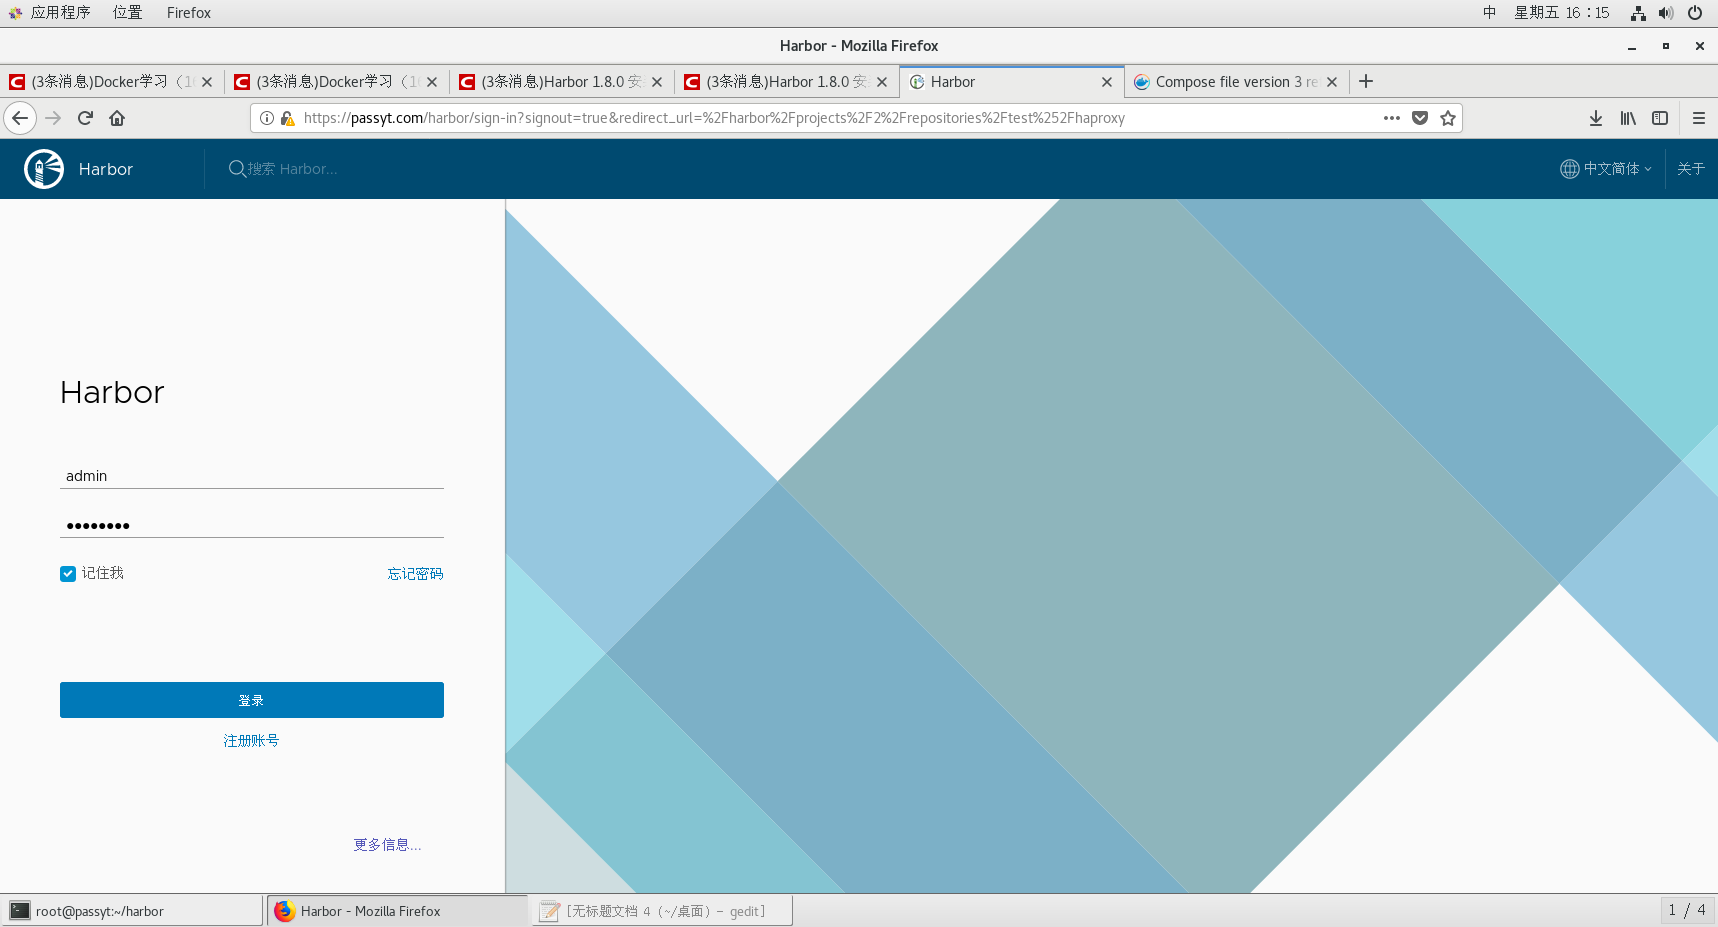
At this time, there is only one administrator user. The password was set in the configuration file. Log in and enter the main page.
At this time, there is only one public library project name by default.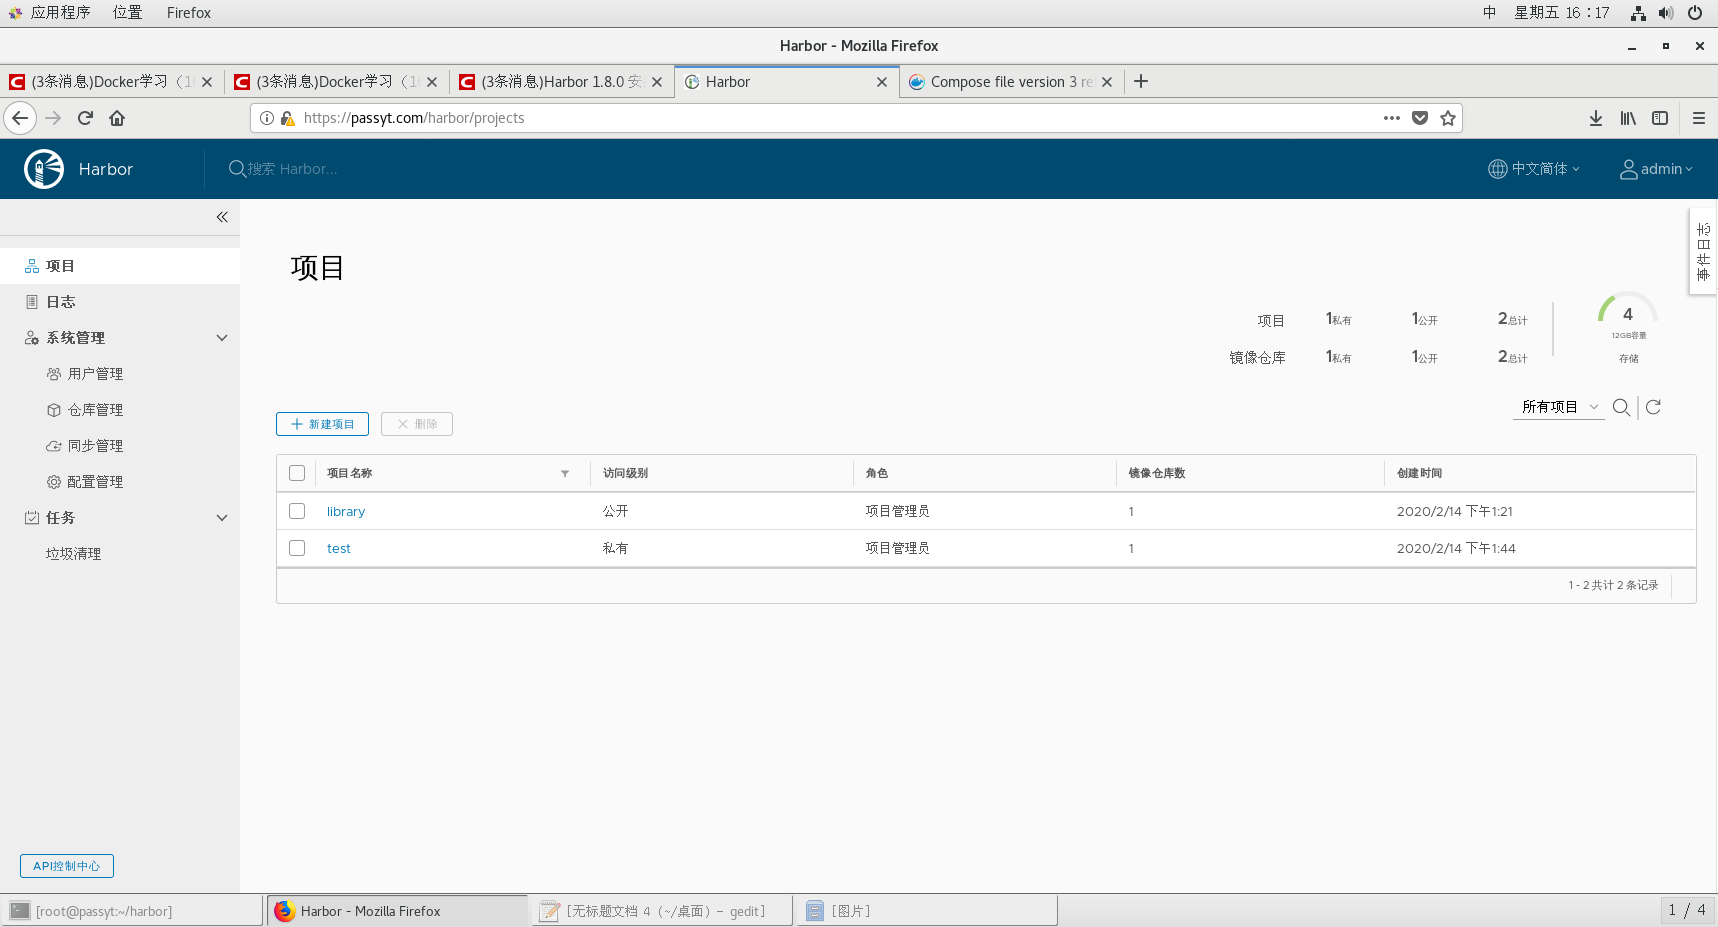
At this time, we can try to push the image on the terminal.
docker tag nginx:latest passyt.com/library/nginx##Modify label
[root@passyt harbor]# docker push passyt.com/library/nginx
The push refers to repository [passyt.com/library/nginx]
Get https://passyt.com/v2/: x509: certificate signed by unknown authority
An error will be reported at this time because the authentication file is not found. What we need to do is to create a directory of certs.d/ under / etc/docker /. In this directory, create another directory that is the same as the domain name, and add the signing certificate in this directory. But the certificate needs to be renamed ca.crt.
mkdir /etc/docker/certs.d/
cd /etc/docker/certs.d/
mkdir passyt.com
cd passyt.com/
cp /etc/docker/passyt.com.crt ca.crt
It's pushing at this time
docker push passyt.com/library/nginx
The push refers to repository [passyt.com/library/nginx]
22439467ad99: Preparing
b4a29beac87c: Preparing
488dfecc21b1: Preparing
denied: requested access to the resource is denied
At this time, it was rejected by the system. This is because there is still a need to log in
docker login passyt.com
Username: admin
Password:
After logging in, all your login information will be saved in the file / root/.docker/config.json, so you don't need to log in repeatedly. When you log out, this file will be deleted automatically.
docker push passyt.com/library/nginx
The push refers to repository [passyt.com/library/nginx]
22439467ad99: Pushed
b4a29beac87c: Pushed
488dfecc21b1: Pushed
latest: digest: sha256:62f787b94e5faddb79f96c84ac0877aaf28fb325bfc3601b9c0934d4c107ba94 size: 948
After login and push, you can go there.
Pull operation is not so troublesome, as long as there is a certificate, you can pull directly. ##But this kind of pulling is limited to the public warehouse.
Certificate in old place
docker pull passyt.com/library/nginx
Using default tag: latest
latest: Pulling from library/nginx
Digest: sha256:62f787b94e5faddb79f96c84ac0877aaf28fb325bfc3601b9c0934d4c107ba94
Status: Downloaded newer image for passyt.com/library/nginx:latest
Pull it directly.
You can also view it on the web page. Which one to pull each time, and who is the user to pull.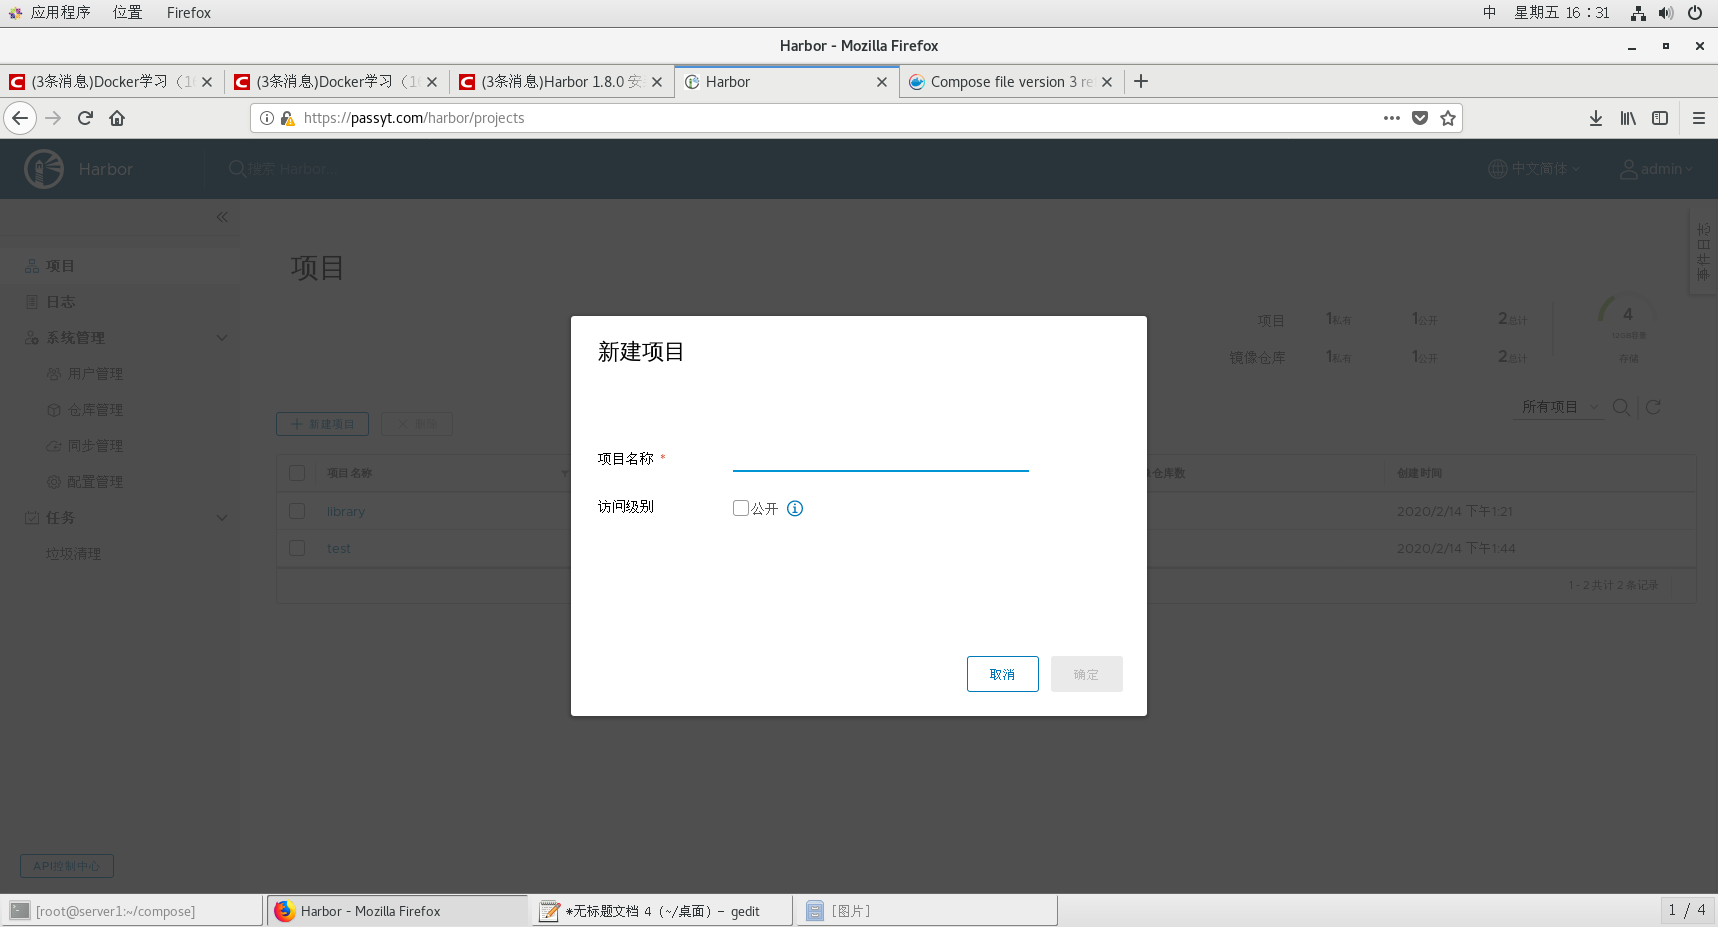
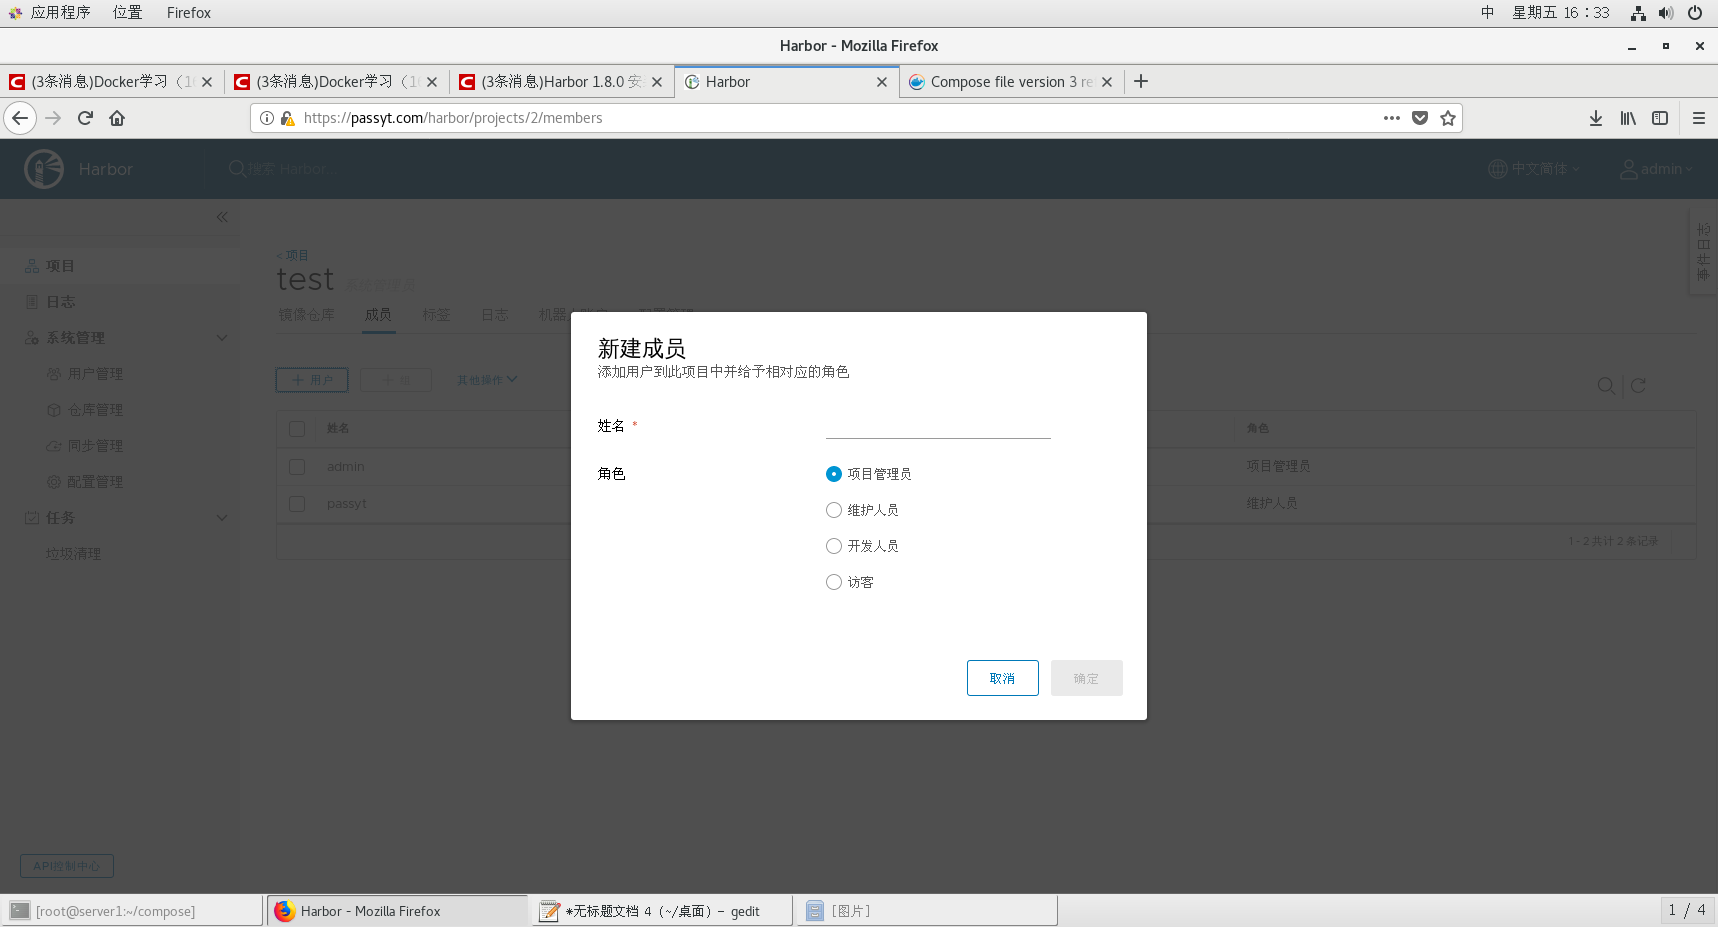
In addition, a new warehouse can be established. Set whether the warehouse is public or private. Users can also be created. Both of them are created and enter a private warehouse, where members are set up. Only those members with permission can push images in the private warehouse.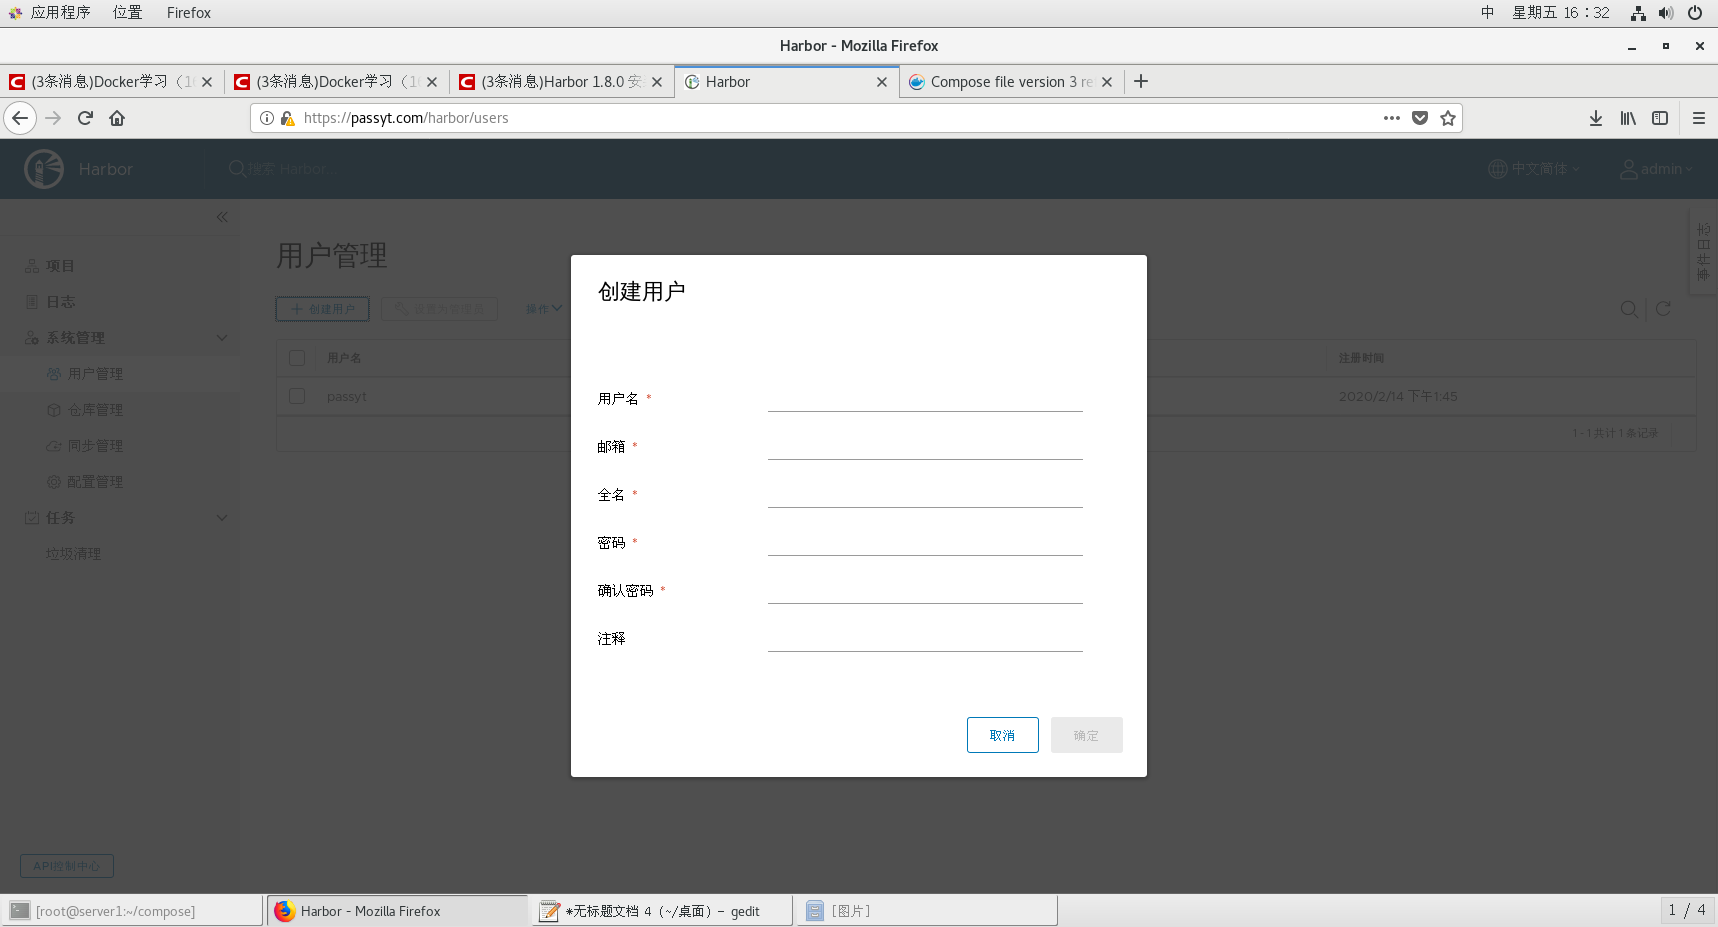
The push method is the same, but you have to log in.

