1. Creating Django projects with pycharms
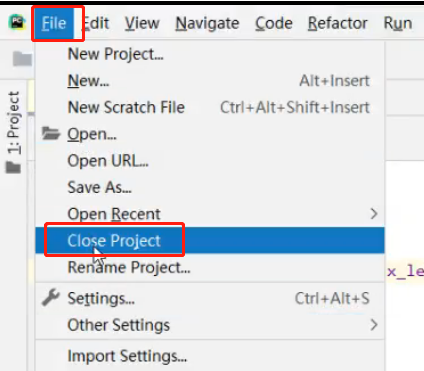
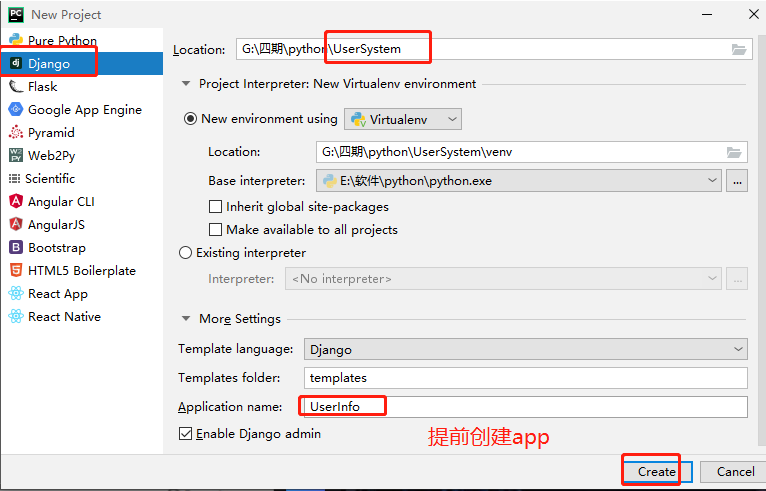
Remember to install mysqlclient
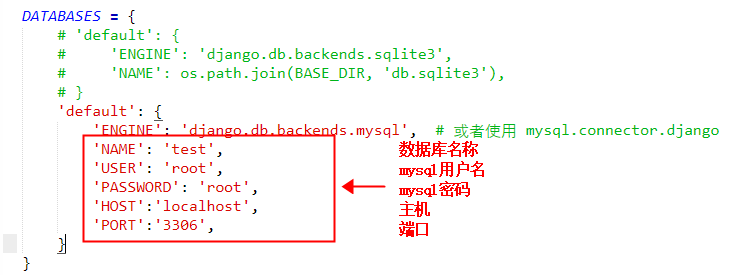
(1) Database configuration
We found the DATABASES configuration item in the settings.py file of the project, and changed its information to:
DATABASES = {
    'default': {
        'ENGINE': 'django.db.backends.mysql',  # Or use mysql.connector.django
        'NAME': 'userinfo',
        'USER': 'root',
        'PASSWORD': '123456',
        'HOST': 'localhost',
        'PORT': '3306',
    }
}
Chinese comments are added here, so you need to add "× - * - coding: UTF-8 - * -" in the header of HelloWorld/settings.py file.
It contains the database name and user information, which are the same as the corresponding database and user settings in MySQL. According to this setting, Django connects with the corresponding databases and users in MySQL.
(2) Change language, time zone, and access to all hosts
We found the allowed hosts, language code and time zone configuration items in the settings.py file of the project, and modified their information to:
ALLOWED_HOSTS = ['*']

# LANGUAGE_CODE = 'en-us'
LANGUAGE_CODE = 'zh-Hans'

# TIME_ZONE = 'UTC'
TIME_ZONE = 'Asia/Shanghai'
(3) Modify TestModel/models.py file:
from django.db import models

# Create your models here
class User(models.Model):
    GENDER_CHOICES = (
        ('male','male'), ('female','female'),
    )
    name = models.CharField(max_length=20, verbose_name='Full name', unique=True)
    birthday = models.DateTimeField(max_length=10,verbose_name='Birthday', null=True,blank=True)
    gender = models.CharField(max_length=30, choices=GENDER_CHOICES, verbose_name='Gender')
    account = models.IntegerField(default=0,verbose_name='Job number')
    age = models.IntegerField(default=18, verbose_name='Age')
The above class name represents the database table name and inherits the models.Model. The fields in the class represent the fields (names) in the data table. The data type is limited by the CharField (equivalent to varchar), DateField (equivalent to datetime) and max'length parameters.
(4) Create database
Remember to create the UserInfo database in the database
<1> Database can be created in cmd command line
G:\The four phase\python\UserSystem>mysql -uroot -p
#Login database

mysql> CREATE DATABASE xgp DEFAULT CHARACTER SET utf8 COLLATE utf8_general_ci;
#Create database of utf8
<2> Creating database in MySQL Manager

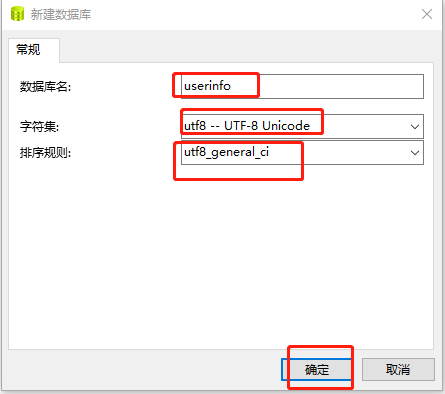
(5) Create table structure
$ python manage.py migrate   # Create table structure
//Failed available python manage.py migrate UserInfo
//Failed available python3 manage.py migrate UserInfo

$ python manage.py makemigrations UserInfo  # Let Django know that we have some changes in our model
$ python manage.py migrate UserInfo   # Create table structure
The database generates the following tables:
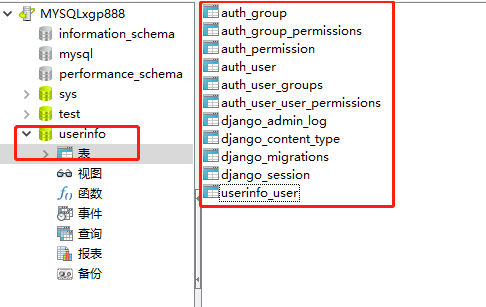
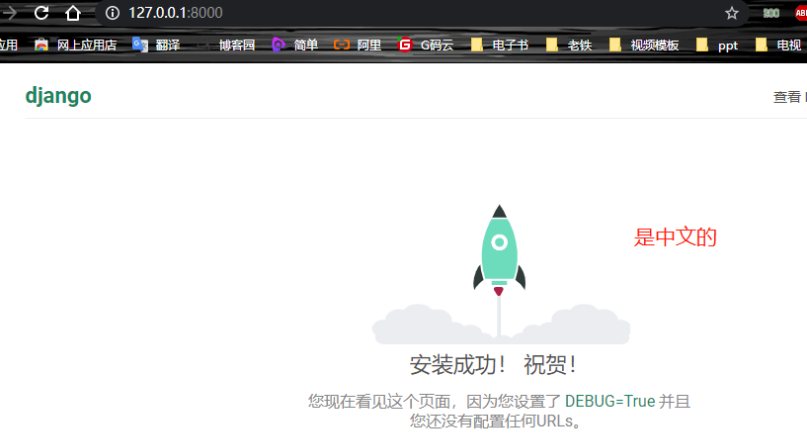
(6)Visit
Remember to start the project
2. Django Admin administration tool
Django provides a web-based management tool.
The Django automated management tool is part of django.contrib. You can see it in installed Apus in settings.py of the project:
#/HelloWorld/HelloWorld/settings.py file code:
INSTALLED_APPS = [
    'django.contrib.admin',
    'django.contrib.auth',
    'django.contrib.contenttypes',
    'django.contrib.sessions',
    'django.contrib.messages',
    'django.contrib.staticfiles',
    'UserInfo.apps.UserinfoConfig',
]
django.contrib is a huge set of functions, which is a part of Django basic code.
(1) Activate management tools
Usually we will set it in urls.py automatically when we build the project. We just need to remove the comments.
The configuration items are as follows:
#/HelloWorld/HelloWorld/urls.py file code:
from django.contrib import admin
from django.urls import path

urlpatterns = [
    path('admin/', admin.site.urls),
]
When all this is configured, the Django administration tool is ready to run.
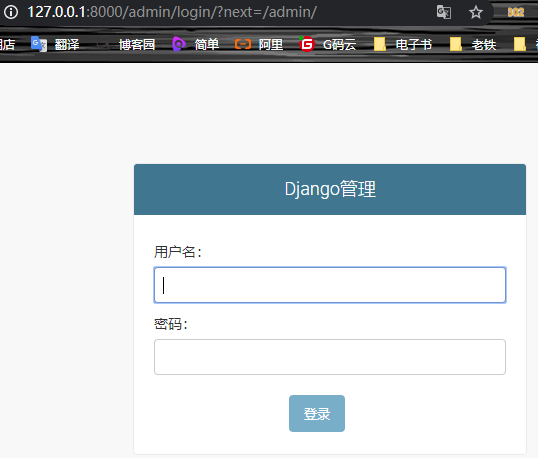
(2) Using management tools
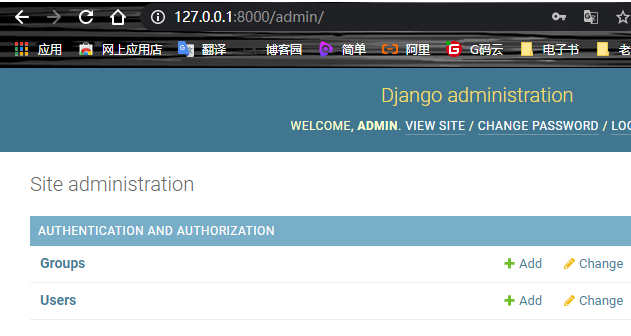
Start the development server and access it in the browser http://127.0.0.1:8000/admin/, get the following interface:
Because I have created a new project, I need to create a table structure:
$ python manage.py migrate UserInfo   # Create table structure, specify database
//Failed available python3 manage.py migrate

$ python manage.py makemigrations UserInfo  # Let Django know that we have some changes in our model
$ python manage.py migrate UserInfo   # Create table structure
You can create a superuser by issuing the command python manage.py createsuperuser, as follows:
# python manage.py createsuperuser
Username (leave blank to use 'root'): admin
Email address: admin@runoob.com
Password:
Password (again):
Superuser created successfully.
Then enter the user name and password to log in. The interface is as follows:
(3) In order for the admin interface to manage a data model, we need to register the data model to admin first.
from django.contrib import admin
from . models import User
class HostAdmin(admin.ModelAdmin):
list_display = [
'name', 'birthday', 'gender', 'account', 'age',
]
search_fields = ('name',)
admin.site.register(User,HostAdmin)
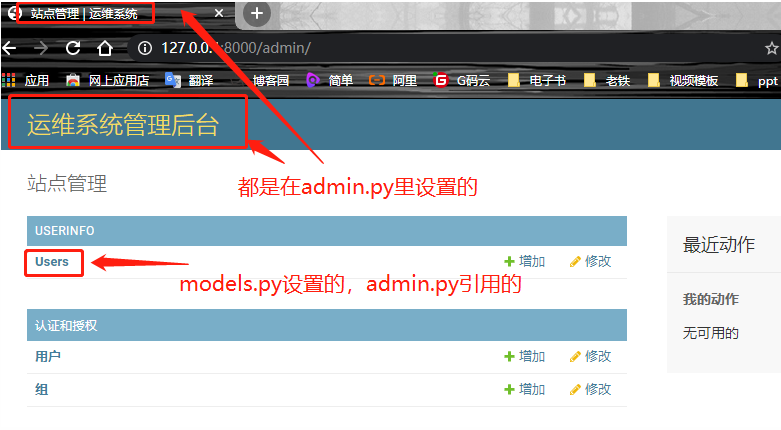
admin.AdminSite.site_header = 'Operation and maintenance system management background'
admin.AdminSite.site_title = 'Operation and maintenance system'Browser access
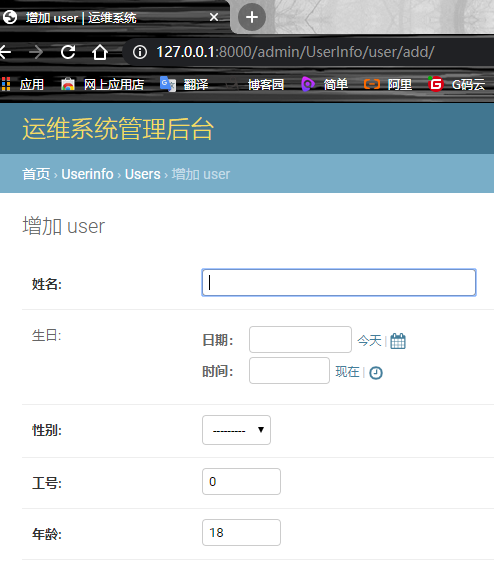
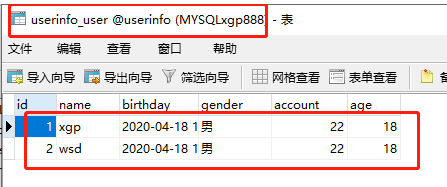
Set up two employee information and check it out

The userinfo? User table of the userinfo database holds employee information: