Django Blog Series (I)
Preface
After learning Python for so long, I finally got to the Django framework. This can be said to be python's most famous web framework, so from today on, we will start to install the Django framework to use step-by-step learning. This series of blogs will not be as watery as the front end (flag), hoping to become a high-quality blog. Then this blog introduces the installation of Django and how to run the first Django application on the computer.
Installation of Django
Django is easy to install. pip installation command can be used on win and mac, pycharm installation can be used, or download files to install on command line using installation tools.
Next I install it on ubuntu as an example.

A dependency package pytz is also installed here. This is a third-party library for time zone conversion.
The PIP installation of other platforms is the same, but the corresponding pip of Python 3 should be selected to install, because the current version of Django does not support Python 2.
Installation of Virtual Environment
What is virtual environment
- A copy version of the real python interpreter
- Facts are valid and can exist independently and run interpreted python code
- Multiple virtual environments can be copied on a computer
Why use virtual environment
- Ensure the purity of the real environment
- Multi-version coexistence of frameworks
- Easy version iteration for frameworks
- Reducing maintenance cost of multi-framework coexistence
Installing Virtual Environment
- Installation of Virtual Environment Library through pip

Because I downloaded it before, it shows that the request has been completed directly, followed by the absolute path of the installation.
- Go to the target folder
This folder is the folder that you use to save the virtual environment. Once you are sure of it, don't change it easily.

This py3-env1 is a pure virtual environment created.
- Creating a Pure Virtual Environment
Virtual environment name (py3-env2)
- Terminal Start Virtual Environment
cd py3-env1\Scripts
activate
- python development environment in virtual environment
python3
- Turn off the virtual environment
deactivate
- Development Configuration of Pycharm
Add: Create project - > Project Interpreter - > Existing interpreter - > Virtualenv Environment | System Interpreter - > python.exe under target path
 Delete: Setting - > Project - > Project Interpreter - > Show All
mac computer from step three to the last step
understand
# Create a non-pure environment:
# - virtualenv-clone Local Environment Virtual Environment Name
# Mac Configuration Terminal, Running Virtual Environment at Terminal
 # Settings in the. bash_profile (no need to be created manually) file in the user root directory
 # alias terminal instruction name (env-py3)='/Library/Virtualenv/virtual environment name/bin/python 3'
# alias terminal instruction name (env-pip3)='/Library/Virtualenv/virtual environment name/bin/pip3'
HTTP protocol
Because the application layer of Django framework adopts HTTP protocol, it is necessary to understand HTTP protocol.
What is HTTP Protocol
- HTTP (HyperText Transport Protocol) is a hypertext transmission protocol, and HTTPS belongs to HTTP protocol, S stands for security.
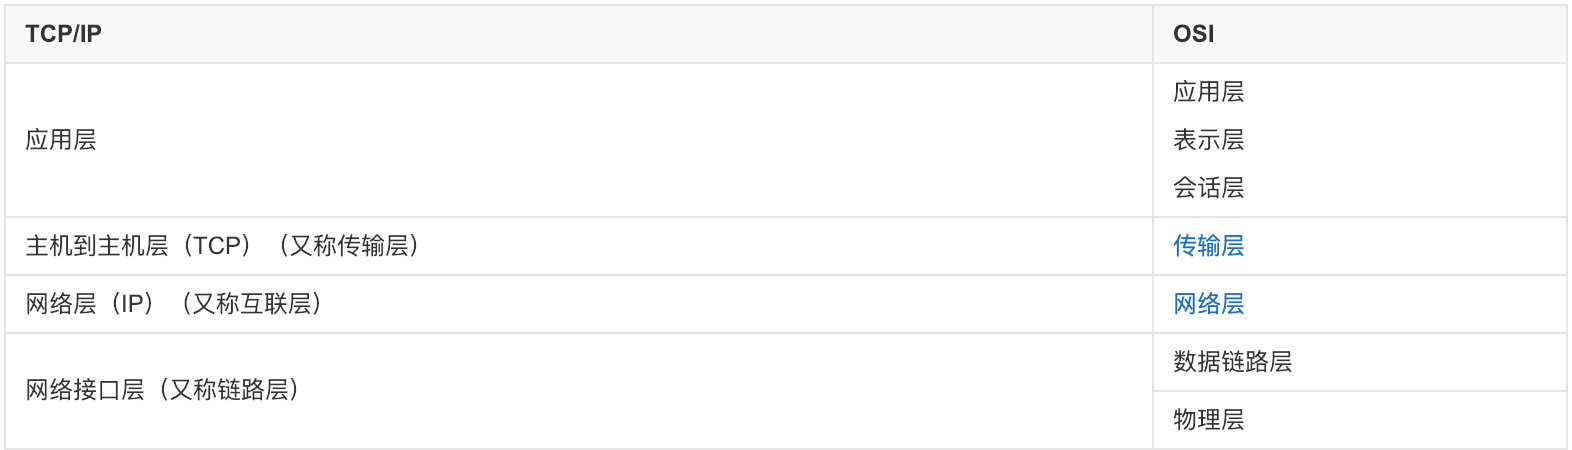
- Based on the application layer protocol based on TCP/IP protocol, the underlying implementation is still socket.
- Based on Request-Response Mode: Communication must start from the client, and the server will respond to the client when it receives it.
- Stateless: The protocol does not save any communication status and any data.
- Connectionless: A connection only completes one request-response, and the connection will be disconnected immediately after the request-response is completed.
Working Principle of HTTP
An HTTP connection is called a transaction, and the process can be divided into four steps.
- Connection between client and server
- A client requests an HTTP protocol in a specified format
- When the server receives the request, it responds to a response in the specified format of the HTTP protocol.
- The client presents the response of the server to the user
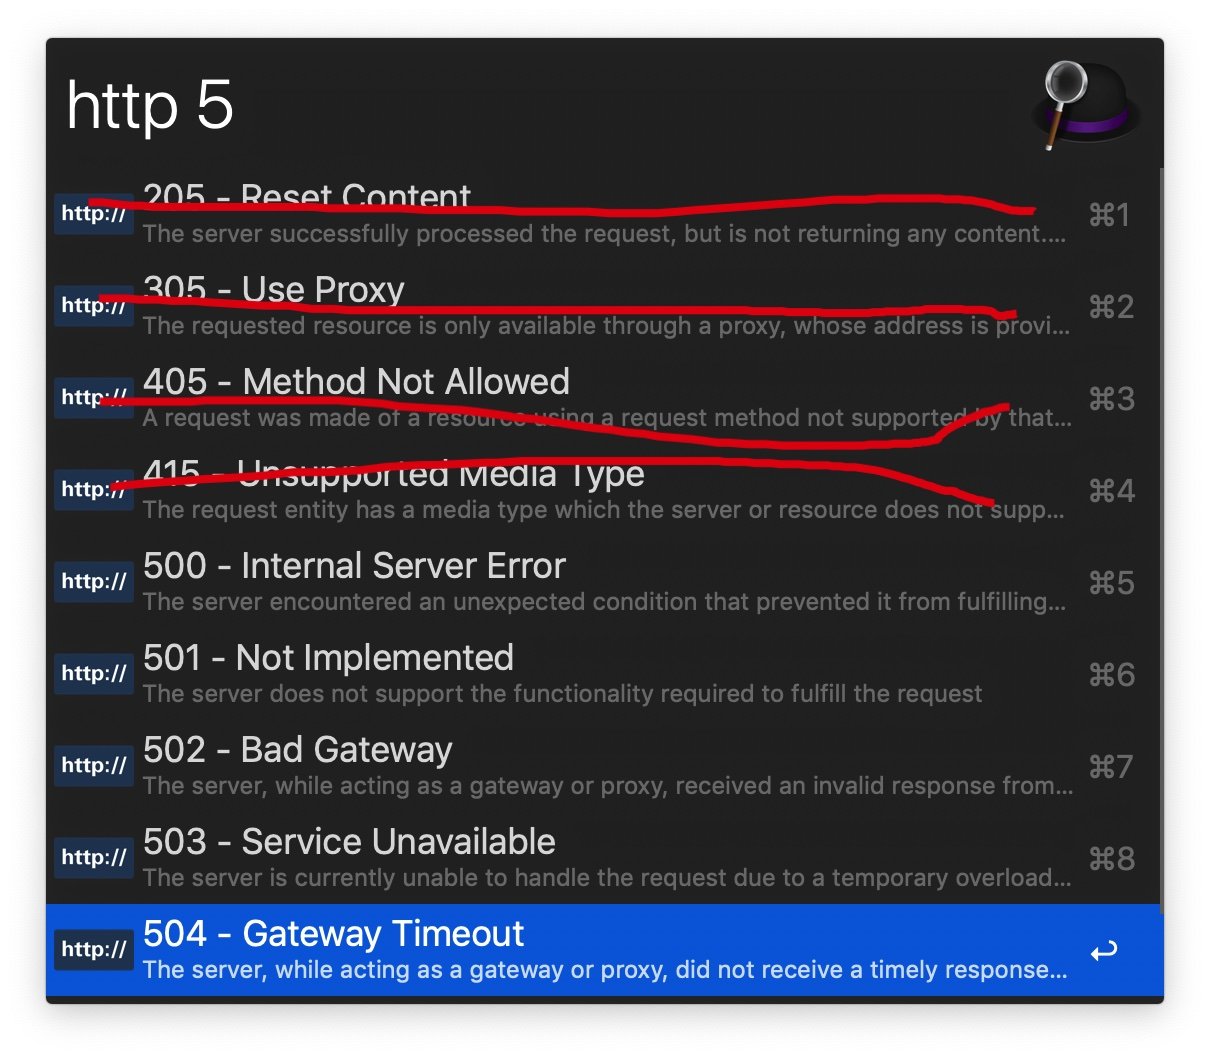
HTTP status code
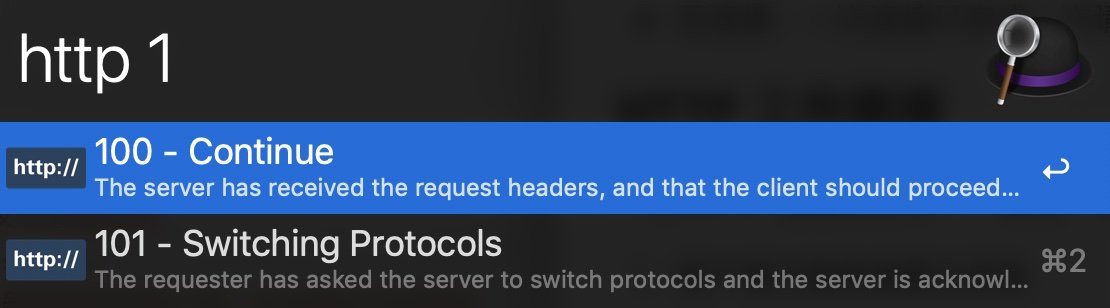
- 1 start:
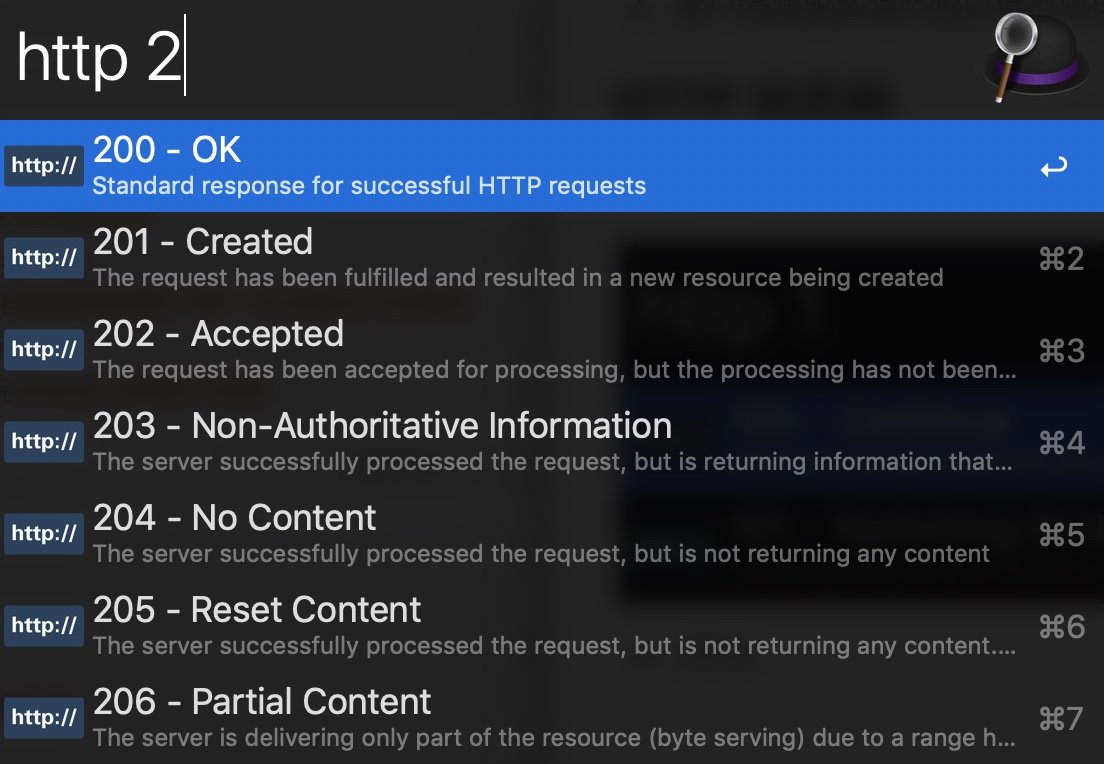
- 2 start:
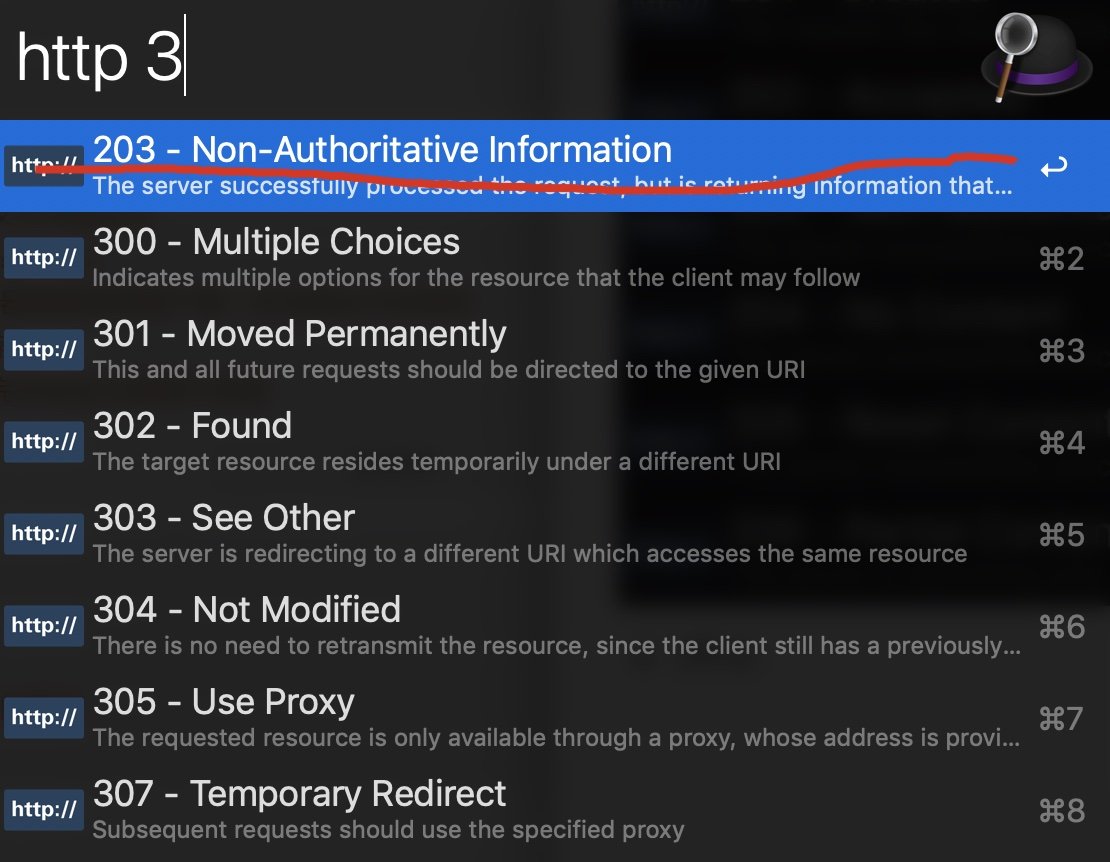
- 3 start:
- 4 start:
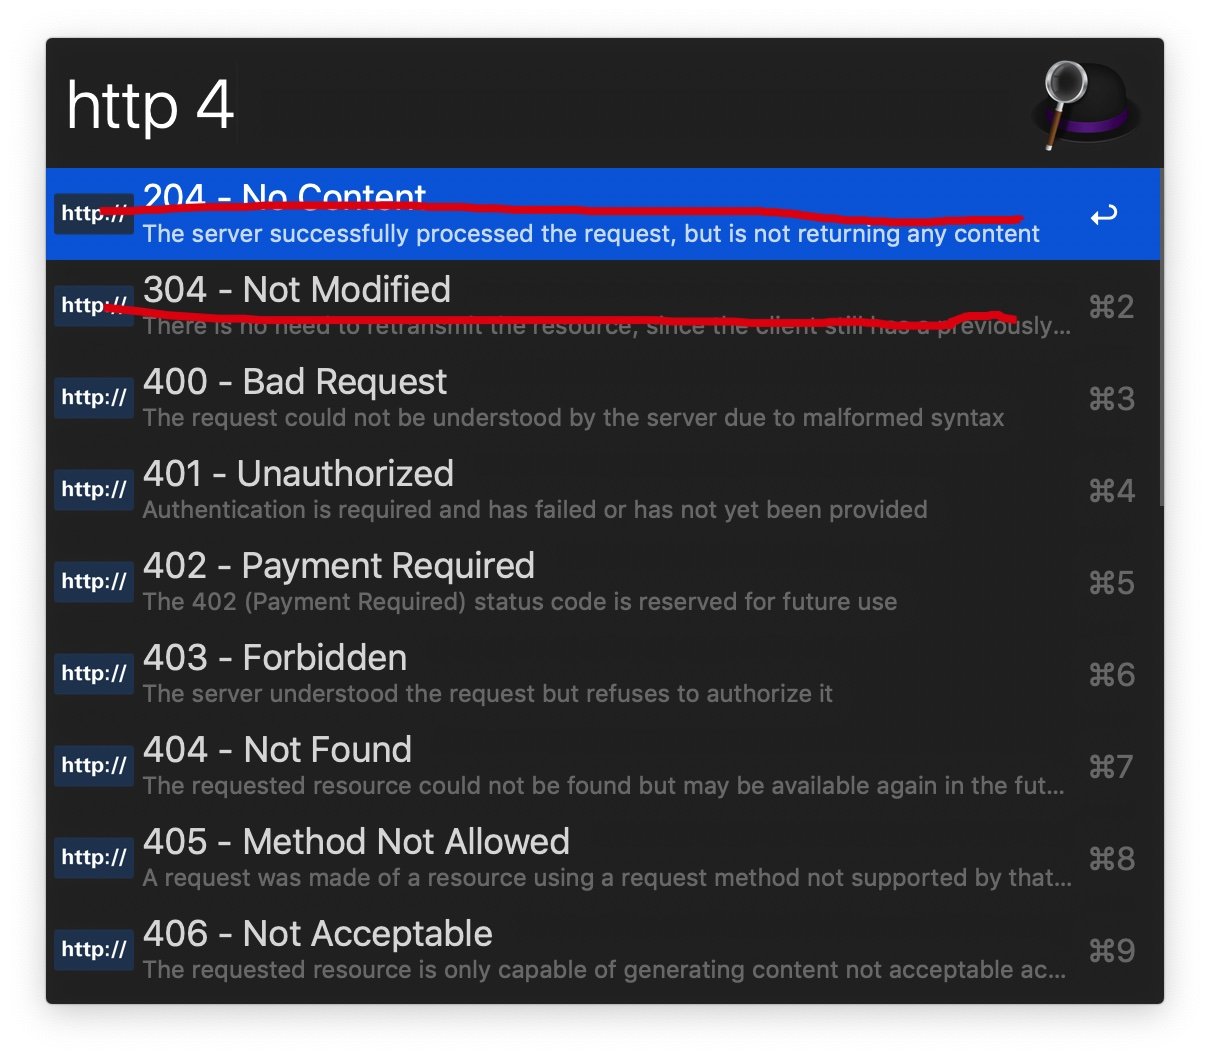
- 5 start:
Request message
# Request line request header requester
'''
POST / HTTP/1.1\r\n
Host: 127.0.0.1:8001\r\n
Connection: keep-alive\r\n
Upgrade-Insecure-Requests: 1\r\n
User-Agent: Mozilla/5.0 (Macintosh; Intel Mac OS X 10_14_1) AppleWebKit/537.36 (KHTML, like Gecko) Chrome/70.0.3538.110 Safari/537.36\r\n
Accept: text/html,application/xhtml+xml,application/xml;q=0.9,image/webp,image/apng,*/*;q=0.8\r\n
Accept-Encoding: gzip, deflate, br\r\n
Accept-Language: zh-CN,zh;q=0.9,en;q=0.8\r\n
\r\n
usr=abc&pwd=123
'''
response message
# Response Row Response Head Response Body
'''
HTTP/1.1 200 OK\r\n
Content-type:text/html\r\n
\r\n
Login Success
'''
Interaction with browsers using native socket s
directory structure
01_socket
    - 01_client.html: The front desk accesses the back-end pages through the form
    - 01_login.html: The background test renders the login page to the front desk
    - 01_index.html: The home page rendered to the front desk by the background test
    - 01_server.py: Background server file
Because the client side of B/S architecture has been written by browser, it only needs to pay attention to the server side.
Server-side code
from socket import socket

# Set up the response header (including the response line)
RESP_HEADER = b'HTTP/1.1 200 OK\r\nContent-type:text/html;charset=utf-8\r\n\r\n' # Two consecutivern denote the end of the response head

# Setting up server socket related information
server = socket()
server.bind('', 8080) # An empty string represents the bound native
server.listen(5)
print(('Services: http://localhost:8080'))

while True:
    # Get the request sent in http protocol
    client, addr = server.accept()
    data = client.recv(1024)
    # The data message contains the request header body of the request line
    print(data)
    client.send(RESP_HEADER)

    # / Index => Response Home Page
    # / login => login page
    # Error => 404
    # Data data, byte form => string form
    strData = str(data, encodeing)

    # Parse the requested data and get the routing
    my_route = strData.split('\r\n')[0].split(' ')[1]

    # Background routing is not set up, it is handled by 404.
    dt = b'404'

    # Setted routing returns the page file of the response
    if my_route == '/index':
        with open('index Page path', 'rb') as f:
            dt = f.read()
    if my_route == '/login':
        with open('login Page path', 'rb') as f:
            dt = f.read()

    # / favicon.ico This request is to request the label icon from the background
    if my_route == '/favicon.ico':
        with open('favicon.ico', 'rb') as f:
            dt = f.read()
    # Server Sends Response Body
    client.send(dt)
    # A loop, representing a response, that is, the completion of a transaction, closes the http request connection
    client.close()
Modify the returned data and improve the response body
# Character string
client.send(b'HTTP/1.1 200 OK\r\n')
client.send(b'\r\n')
client.send(b'Normal Socket Web')
# html code, request header to set support html code
client.send(b'HTTP/1.1 200 OK\r\n')
client.send(b'Content-type:text/html\r\n')
client.send(b'\r\n')
client.send(b'<h1>Normal Socket Web</h1>')
# html file (the same directory creates an index.html page)
client.send(b'HTTP/1.1 200 OK\r\n')
client.send(b'Content-type:text/html\r\n')
client.send(b'\r\n')
# Reading Pages by File Mode
with open('01_index.html', 'rb') as f:
    dt = f.read()
client.send(dt)
Expand
Modify receiving data to simulate background routing
# Analysis of received data
data = client.recv(1024)
# Ensure that the received data is processed as a string as follows
data = str(data, encoding='utf-8')
# Split out address bits
route = data.split('\r\n')[0].split(' ')[1]
# Match addresses and respond differently
if route == '/index':
    with open('01_index.html', 'rb') as f:
        dt = f.read()
elif route == '/login':
    with open('01_login.html', 'rb') as f:
        dt = f.read()
else:
    dt = b'404'
client.send(dt)
Frame evolution
directory structure
02_frame
    -- favicon.ico
    -- index.html
    -- manage.py
manage.py
import socket
import pymysql
# Response head
RESP_HEADER = b'HTTP/1.1 200 OK\r\nContent-type:text/html\r\n\r\n'

# Request processing
def index():
    # Read files in bytes
    with open('index.html', 'rb') as f:
        dt = f.read()
    return dt
def ico():
    with open('favicon.ico', 'rb') as f:
        dt = f.read()
    return dt
def user():
    # Database operation
    conn = pymysql.connect(host='127.0.0.1', port=3306, db='django', user='root', password='root')
    cur = conn.cursor(pymysql.cursors.DictCursor)
    cur.execute('select * from user')
    users = cur.fetchall()
    print(users)
    users = '''%d:%s
    %d:%s''' % (users[0]['id'], users[0]['name'], users[1]['id'], users[1]['name'])
    return users.encode('utf-8')

# Route setting
urls = {
    # Request path corresponds to request processing function one by one
    '/index': index,
    '/favicon.ico': ico,
    '/user': user
}

# Set socket
def serve(host, port):
    server = socket.socket()
    server.bind((host, port))
    print('start:http://' + host + ':' + str(port))
    server.listen(5)
    while True:
        sock, addr = server.accept()
        data = sock.recv(1024)
        data = str(data, encoding='utf-8')
        print(data)
        route = data.split('\r\n')[0].split(' ')[1]

        resp = b'404'
        if route in urls:
            resp = urls[route]()

        sock.send(RESP_HEADER)
        sock.send(resp)
        sock.close()

# Start service
if __name__ == '__main__':
    serve('127.0.0.1', 8002)
Project evolution
directory structure
03_proj
    -- template
        -- index.html
        -- user.html
    favicon.ico
    start.py
    urls.py
    views.py
index.html
<h1>{{ name }}</h1>user.html
<table border="1">
    <tr>
        <th>id</th>
        <th>name</th>
        <th>password</th>
    </tr>
    {% for user in users%}
    <tr>
        <td>{{user.id}}</td>
        <td>{{user.name}}</td>
        <td>{{user.password}}</td>
    </tr>
    {% endfor %}
</table>
start.py
from wsgiref.simple_server import make_server
from urls import urls


def app(env, response):
    print(env)
    # Setting up the response head
    response("200 OK", [('Content-type', 'text/html')])
    route = env['PATH_INFO']
    print(route)
    data = urls['error']()
    if route in urls:
        data = urls[route]()
    # Returns the binary responder
    return [data]


if __name__ == '__main__':
    server = make_server('127.0.0.1', 8003, app)
    print('start:http://127.0.0.1:8003')
    server.serve_forever()
urls.py
from views import *
urls = {
    '/index': index,
    '/favicon.ico': ico,
    '/user': user,
    'error': error
}
views.py
import pymysql
# Using jinja2 to render the template and transfer background data to the front desk
from jinja2 import Template

def index():
    with open('templates/index.html', 'r') as f:
        dt = f.read()
    tem = Template(dt)
    resp = tem.render(name='homepage')
    return resp.encode('utf-8')

def ico():
    with open('favicon.ico', 'rb') as f:
        dt = f.read()
    return dt

def user():
    # Database operation
    conn = pymysql.connect(host='127.0.0.1', port=3306, db='django', user='root', password='root')
    cur = conn.cursor(pymysql.cursors.DictCursor)
    cur.execute('select * from user')
    users = cur.fetchall()
    print(users)

    with open('templates/user.html', 'r') as f:
        dt = f.read()
    tem = Template(dt)
    resp = tem.render(users=users)

    return resp.encode('utf-8')

def error():
    return b'404'