Django configures CSRF (Cross Site Request Forgery) protection
to configure
In the project settings Add the following to the PY file.
MIDDLEWARE = [

    'django.middleware.csrf.CsrfViewMiddleware',

]
The implementation of cross domain Request Forgery protection is mainly divided into two steps
Step 1:
Django's CSRF protection requires the Referer header of the request to match the source present in the header. This prevents, for example, a subdomain. From being requested for a POST example.com success API example.com. If you need cross source insecure requests over HTTPS, continue with the example and add "subdomain.example.com" to this list. This setting also supports subdomains, so you can add ". example.com"
CSRF_TRUSTED_ORIGINS  =  [
    'change.allowed.com' ,
]
Referer is the domain name of the page that opens the current link
Cross domain attacks can only jump directly or submit < form >. Normally, the server of Referer cannot be forged. Just get the Referer to verify whether the link is legal. Of course, this cannot be guaranteed. The value of Referer is provided by the browser. Although there are clear requirements on the HTTP protocol, the specific implementation of Referer may be different for each browser, There is no guarantee that the browser itself has no security vulnerabilities. So the second step is needed to ensure at the same time.
Step 2:
Through csrf_ To solve the problem by token, Django will generate a random string in the front-end HTML page, namely csrf_ The token is then submitted and sent to the background in the form of from form. The csrf middleware will verify whether the random string is stored in the form form, and verify whether it is a safe submission according to the received random string.
<form action="/login/" method="post">
        {% csrf_token %}
        <input type="text" name="user" />
        <input type="text" name="pwd" />
        <input type="submit" value="Submit" />
    </form>
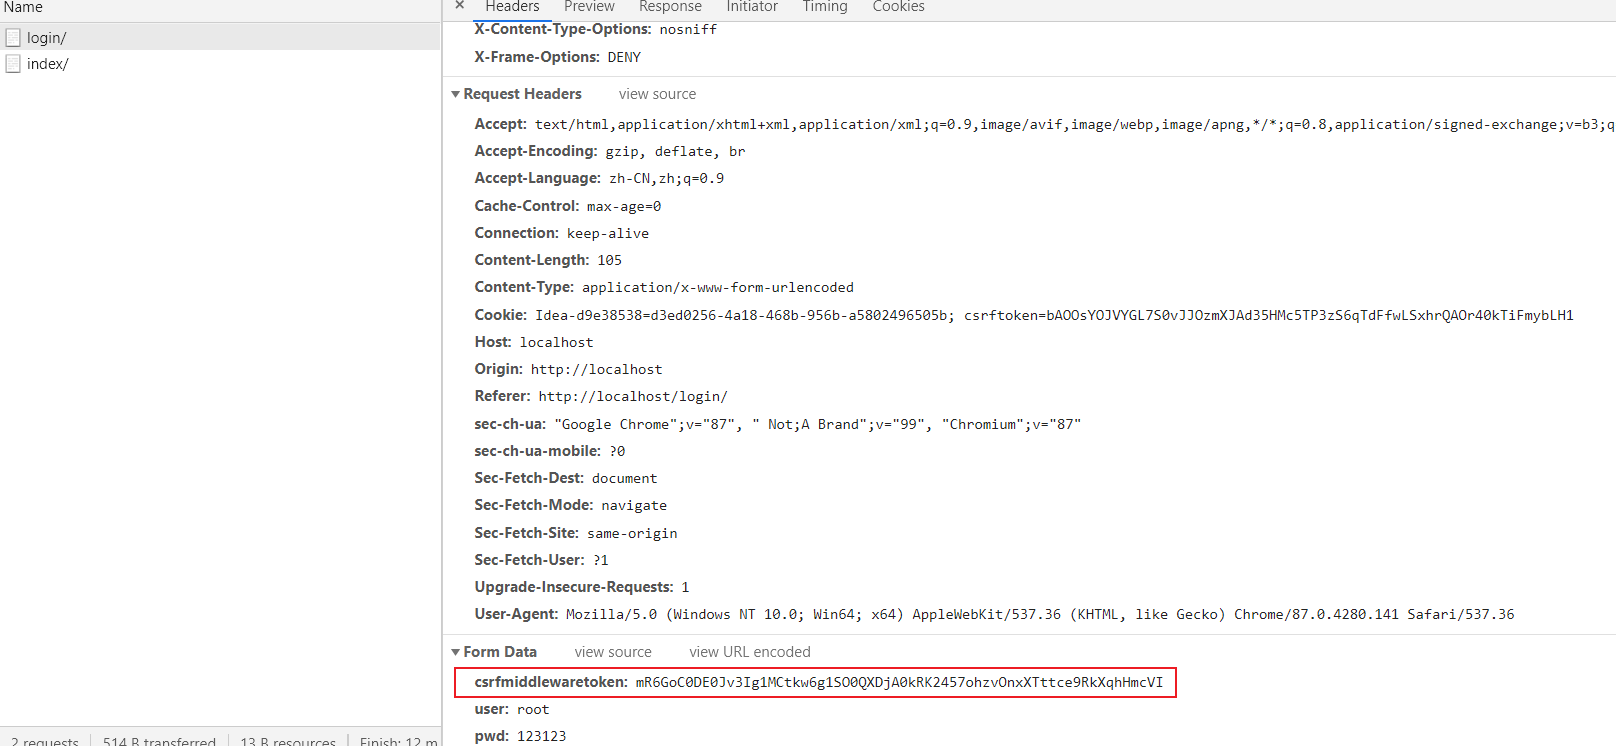
As shown in the figure, csrfmiddlewaretoken will be sent to the background when submitting
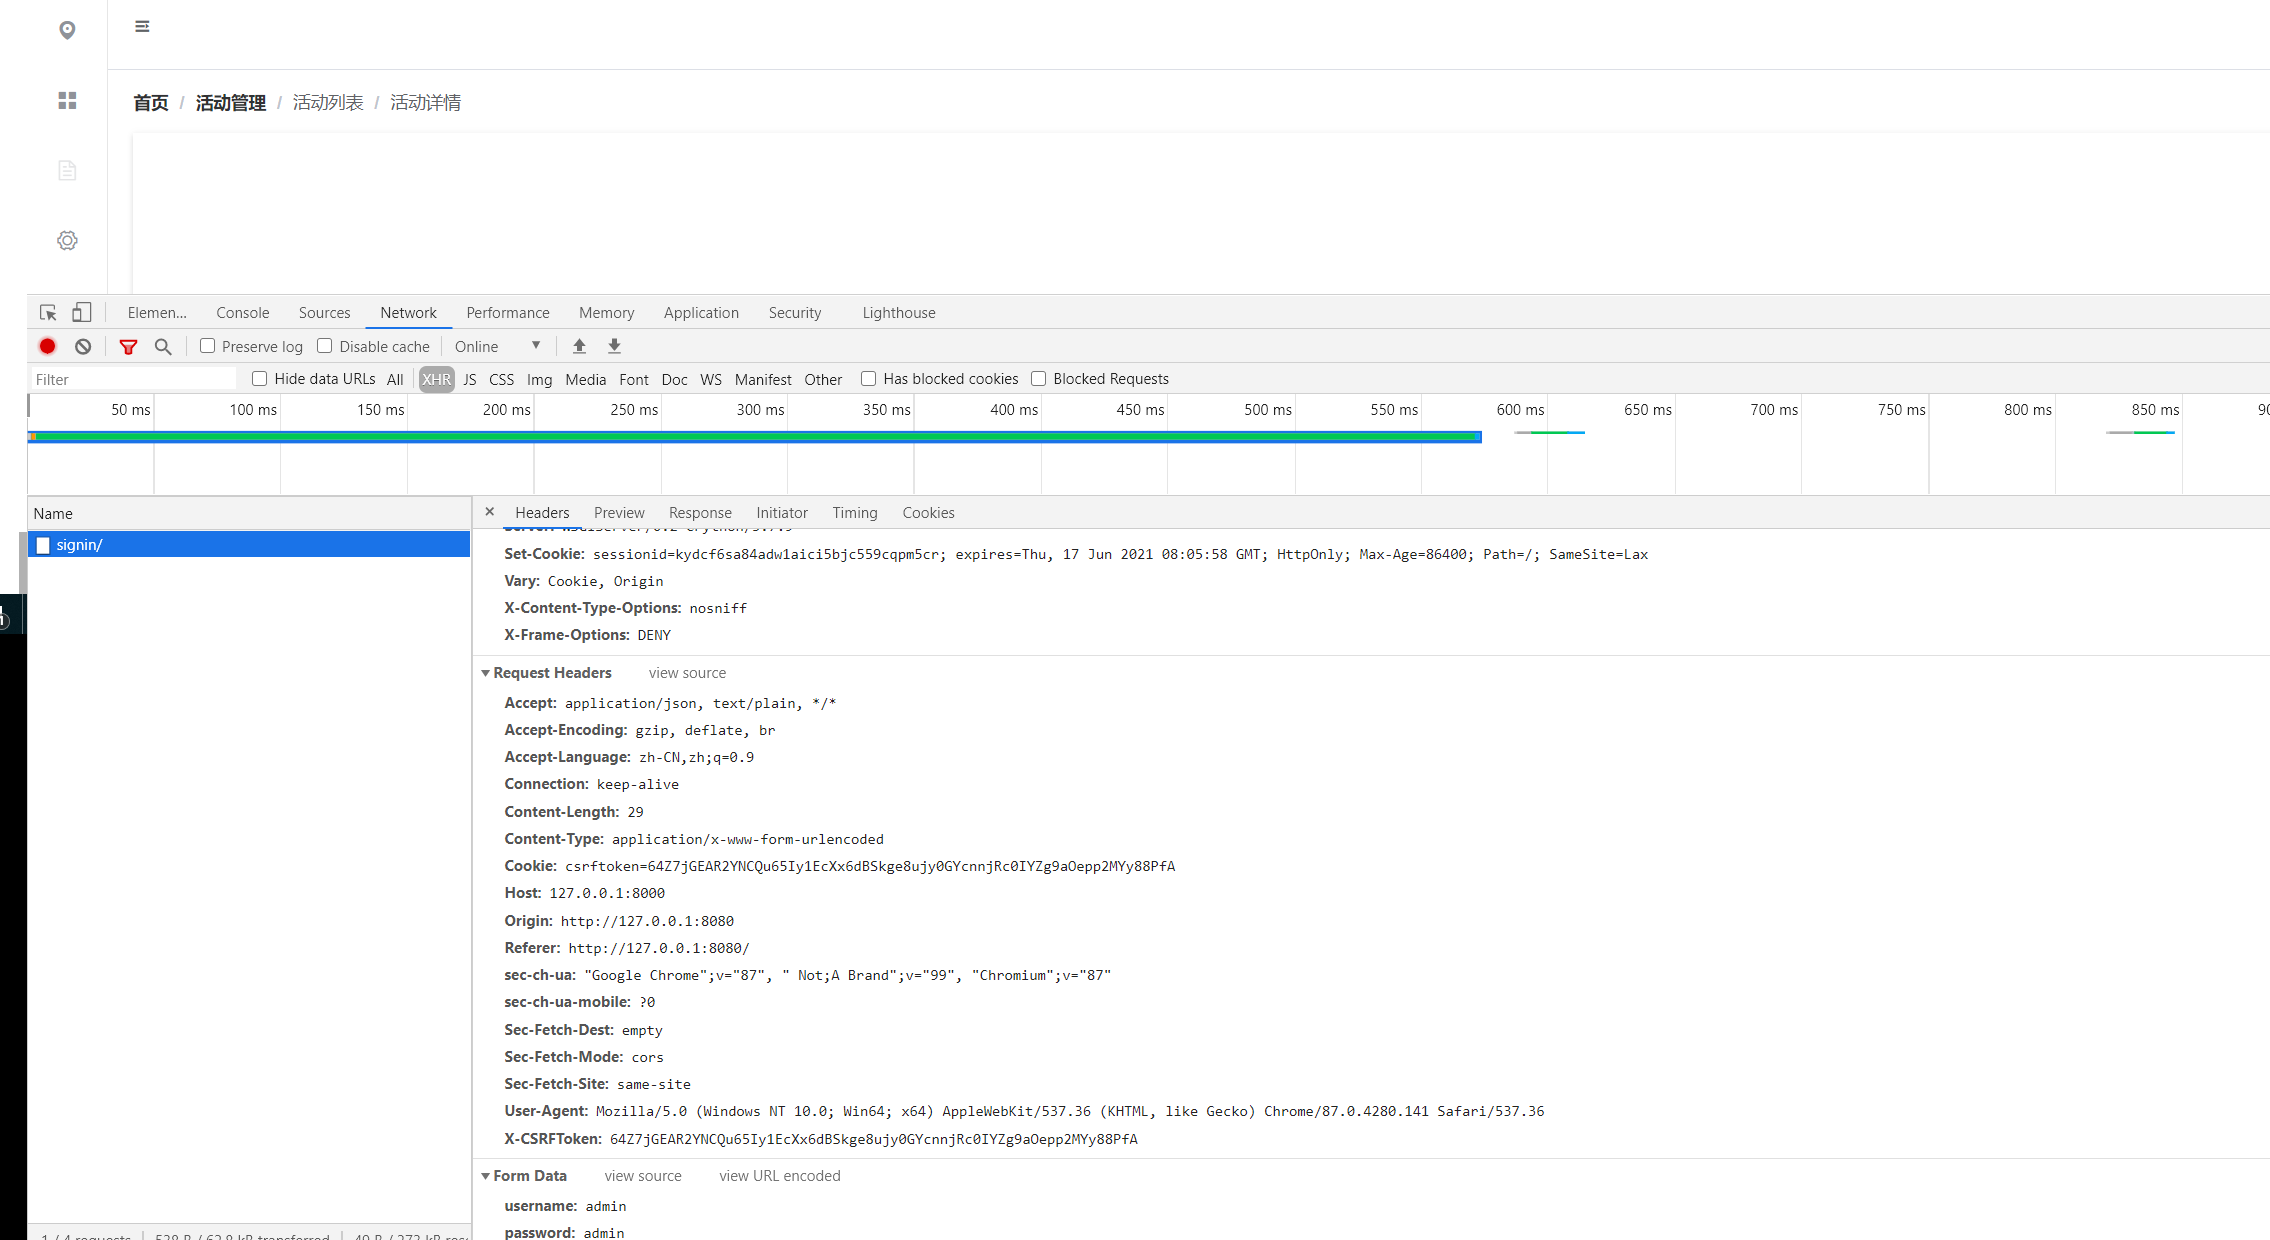
If it is an asynchronous request, we should pass CSRF in the header information when accessing the background interface_ Token, as shown below, first obtain the csrftoken from the cookie, then set the request header and call the interface
<!DOCTYPE html>
<html lang="en">
<head>
<meta charset="UTF-8">
<title>Title</title>
</head>
<body>
<form action="/login/" method="post">
<input type="text" name="user" />
<input type="text" name="pwd" />
<input type="submit" value="Submit" />
<input id="btn" type="button" value="Button">
</form>
<script src="http://libs.baidu.com/jquery/2.0.0/jquery.js"></script>
<script src="https://lf3-cdn-tos.bytecdntp.com/cdn/expire-1-M/jquery-cookie/1.4.1/jquery.cookie.js"></script>
<script>
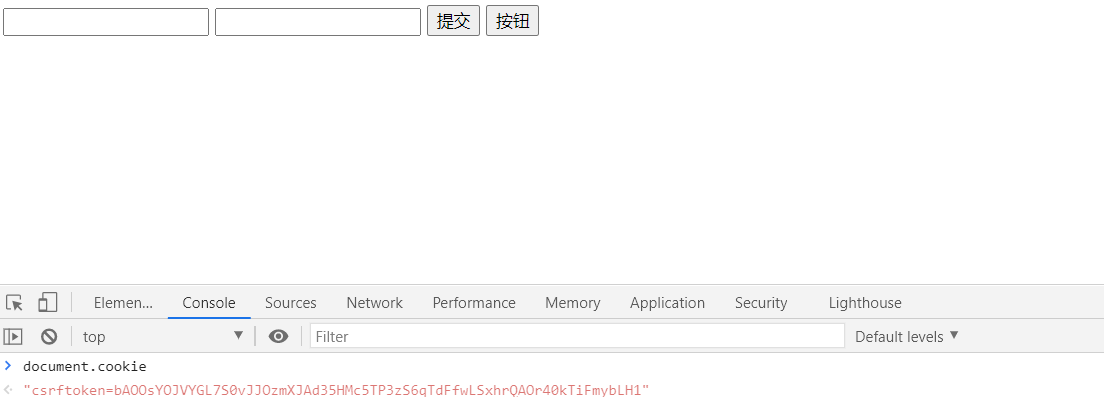
var csrftoken = $.cookie('csrftoken');
console.log(csrftoken)
$(function () {
$('#btn').click(function () {
console.log(csrftoken)
$.ajax({
url:'/login/',
type:"POST",
data:{'username':'root','pwd':'123123'},
headers:{'X-CSRFToken':csrftoken},
success:function (arg) {
}
})
})
})
</script>
</body>
</html>
Django only needs to turn on CSRF (Cross Site Request Forgery) protection, and each request will contain csrftoken in the returned cookie
As shown in the figure
When separating items at the front and rear ends
For example, for a login page, the front-end technology stack vue+elementUi and the back-end Django are used
To realize CSRF (Cross Site Request Forgery) protection, it is roughly divided into three steps
The first step is to obtain the value of csrf in the cookies of the page
Here is a util JS file. Its function is to obtain the value in the cookies according to the passed in key. The code is as follows
export const getCookie = name => {
  var strcookie = document.cookie// Get cookie string
  var arrcookie = strcookie.split('; ')// division
  // Ergodic matching
  for (var i = 0; i < arrcookie.length; i++) {
    var arr = arrcookie[i].split('=')
    if (arr[0] === name) {
      return arr[1]
    }
  }
  return ''
}
The second step is to write an API JS is responsible for sending asynchronous requests and adding csrftoken to the request header of post requests
import axios from 'axios'
import Qs from 'qs'
import {getCookie} from '../util/util'
axios.defaults.baseURL = 'http://127.0.0.1:8000'

export const login = params => {
  // Here we get the value of the csrftoken returned by Django to the front end through cookies
  let csrftoken = getCookie('csrftoken')
  let data = Qs.stringify(params)
  return axios.post('/testPlatform/signin/', data, {
    headers: {'Content-Type': 'application/x-www-form-urlencoded', 'X-CSRFToken': csrftoken}
  })
}
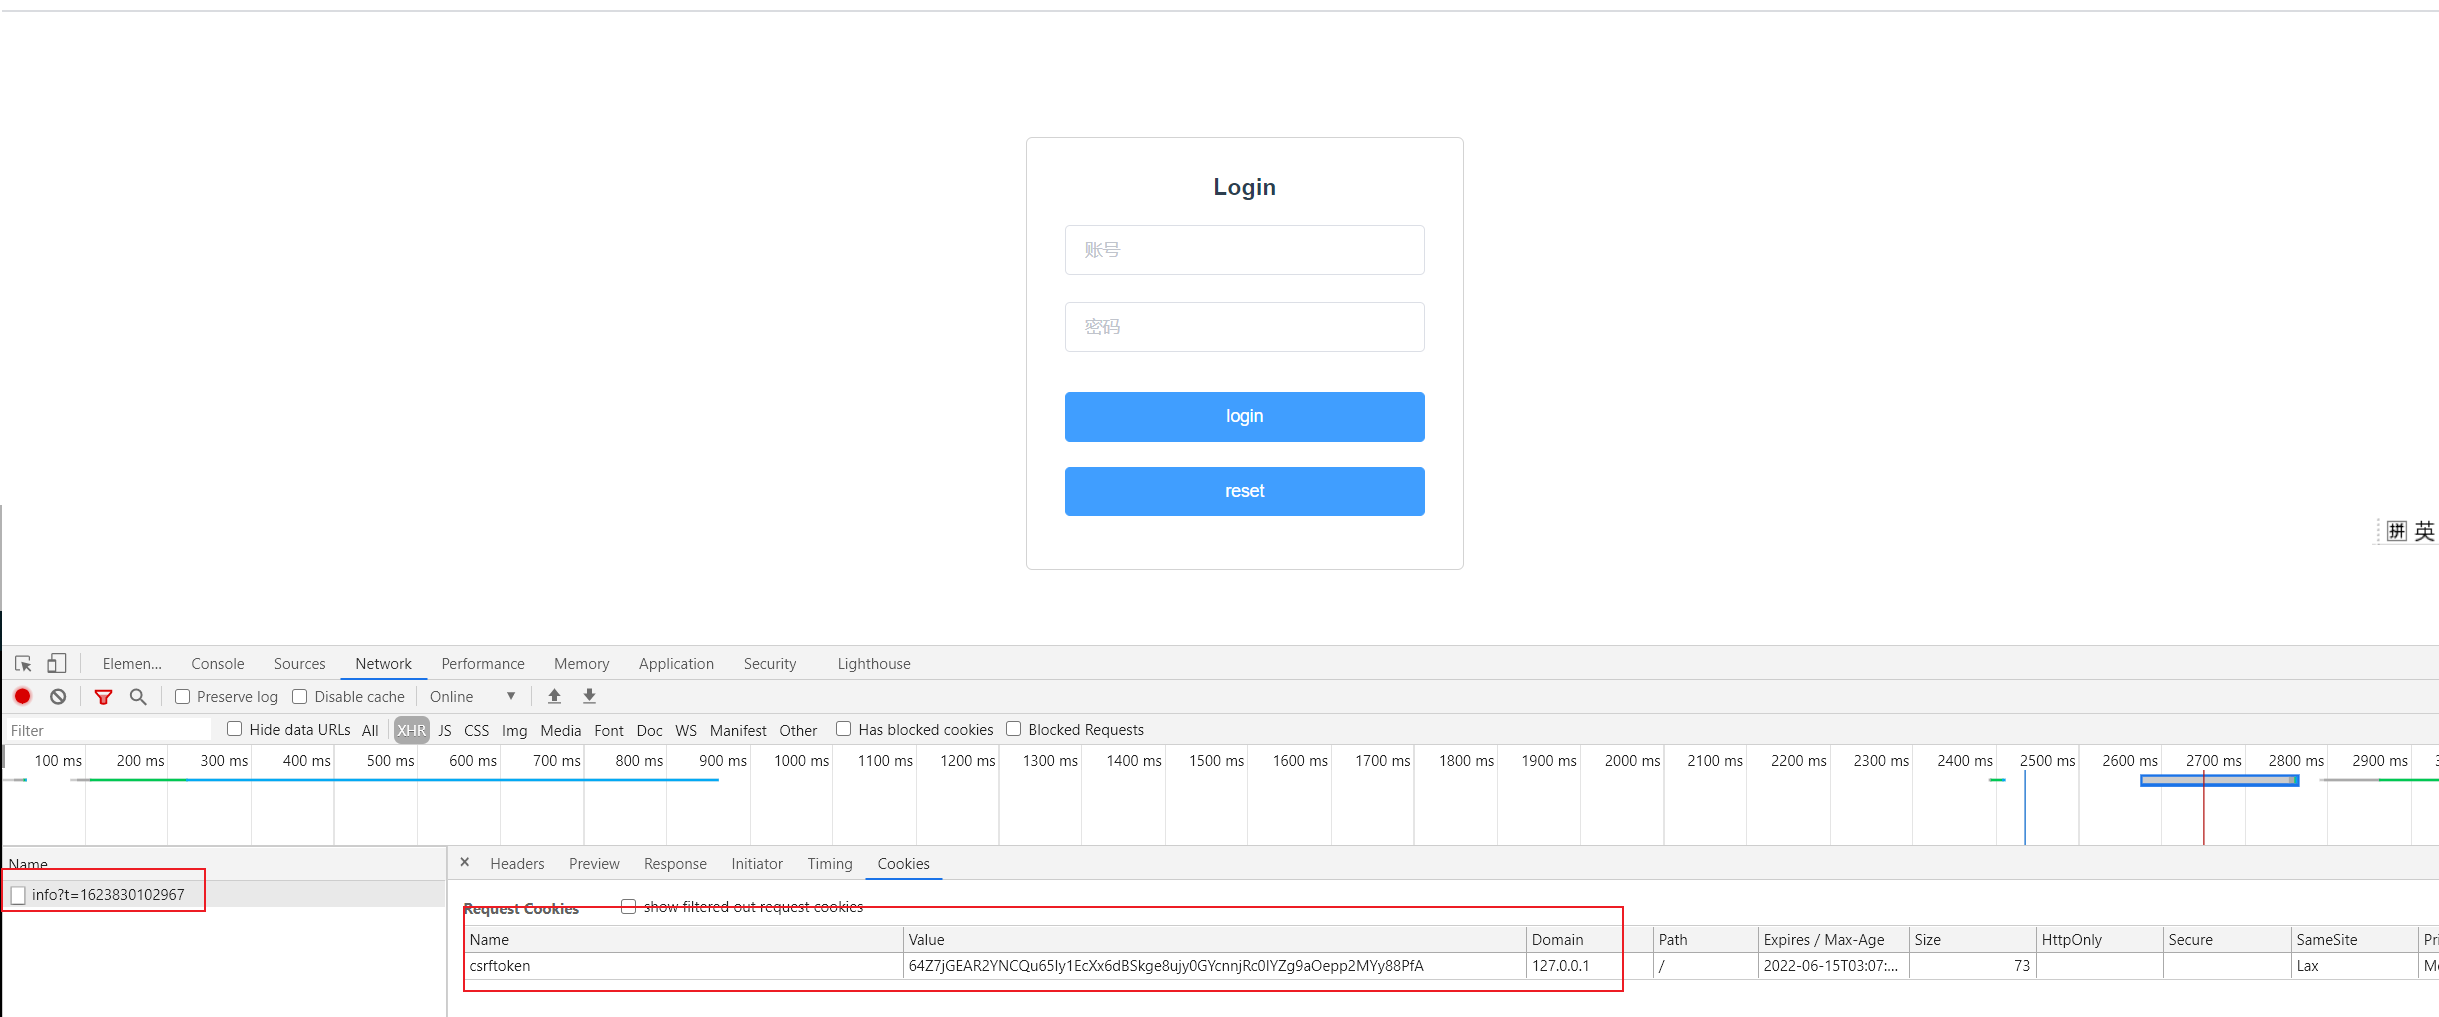
As shown in the figure, cookies are obtained as soon as you enter the login page
Step 3: click submit on the login page to send the login request
<template>
  <div class="loginIndex" style="overflow-y:hidden">
  <el-form
    class="login-container"
    ref="AccountForm"
    :model="account"
    :rules="loginRules"
    label-position="left">
    <h3>Login</h3>
    <el-form-item prop="username">
      <el-input
        v-model="account.username"
        type="text"
        placeholder="account number">
      </el-input>
    </el-form-item>
    <el-form-item prop="password">
      <el-input v-model="account.password" type="password" placeholder="password"></el-input>
    </el-form-item>

    <el-form-item>
      <el-button @click.native.prevent="handleLogin" :loading="logining" type="primary">login</el-button>
      <el-button
        type="primary"
        class="resetBtn"
        @click.native.prevent="reset">
        reset
      </el-button>
    </el-form-item>

  </el-form>
  </div>
</template>

<script>
import {login} from '../axios/api'

export default {
  name: 'login',
  data () {
    return {
      account: {
        username: '',
        password: ''
      },
      loginRules: {
        username: [{required: true, message: 'Please enter the account number', trigger: 'blur'}],
        password: [{required: true, message: 'Please input a password', trigger: 'blur'}]
      },
      logining: false
    }
  },
  methods: {
    handleLogin () {
      this.$refs.AccountForm.validate((valid) => {
        if (valid) {
          this.logining = true
          let loginParams = {
            username: this.account.username,
            password: this.account.password
          }
          // Call axios login interface
          login(loginParams).then(res => {
            // debugger;
            this.logining = false
            // Judge whether it is successful according to the ret returned
            let { ret, user, msg, expiry } = res.data
            if (ret === 0) {
              // Prompt component in elementui
              this.$message({
                type: 'success',
                message: 'Login successful'
              })
              // After successful login, the user information is saved in localStorage
              localStorage.setItem('user', user)
              localStorage.setItem('expiry', expiry)
              // Jump to the background main page
              this.$router.push({ path: '/home' })
            } else {
              this.$message({
                type: 'error',
                message: msg
              })
            }
          }).catch(err => {
            console.log(err)
          })
        } else {
          console.log('error submit!')
          return false
        }
      })
    },
    reset () {
      this.$refs.AccountForm.resetFields()
    }
  }
}
</script>

<style scoped>
  body{
    background: #DFE9FB;
  }
  .login-container {
    width:350px;
    margin-left:40%;
    border: 1px solid #d3d3d3;
    box-sizing: border-box;
    padding: 10px 30px;
    border-radius: 5px;
    margin-top: 100px;
  }
  .el-button {
    width:100%;
    box-sizing: border-box;
    margin: 10px 0;
  }

</style>
At this point, click login and the csrf login will be successful