Hello, my name is Mr. Foot (o^^o)
Recently, a little partner asked me, Foot, you have written so many Docker articles, most of them are theoretical knowledge, no practice. Grandpa said, "Practice is the only standard to test the truth". To hear Grandpa, I decided to take Docker out for a walk. Let's deploy the docker run first, then feel the docker-compose shine.
Statement
Some content comes from online resources. If it infringes on your rights and interests, please contact the author to delete it at the first time
Docker Application Deployment
Overall process steps:
- Search Mirror
- Pull mirror
- View Mirror
- Start the container by mirroring
- Stop Container
- Remove Container
Note: See the nginx deployment tutorial for directory mapping between containers and hosts.
1. nginx deployment
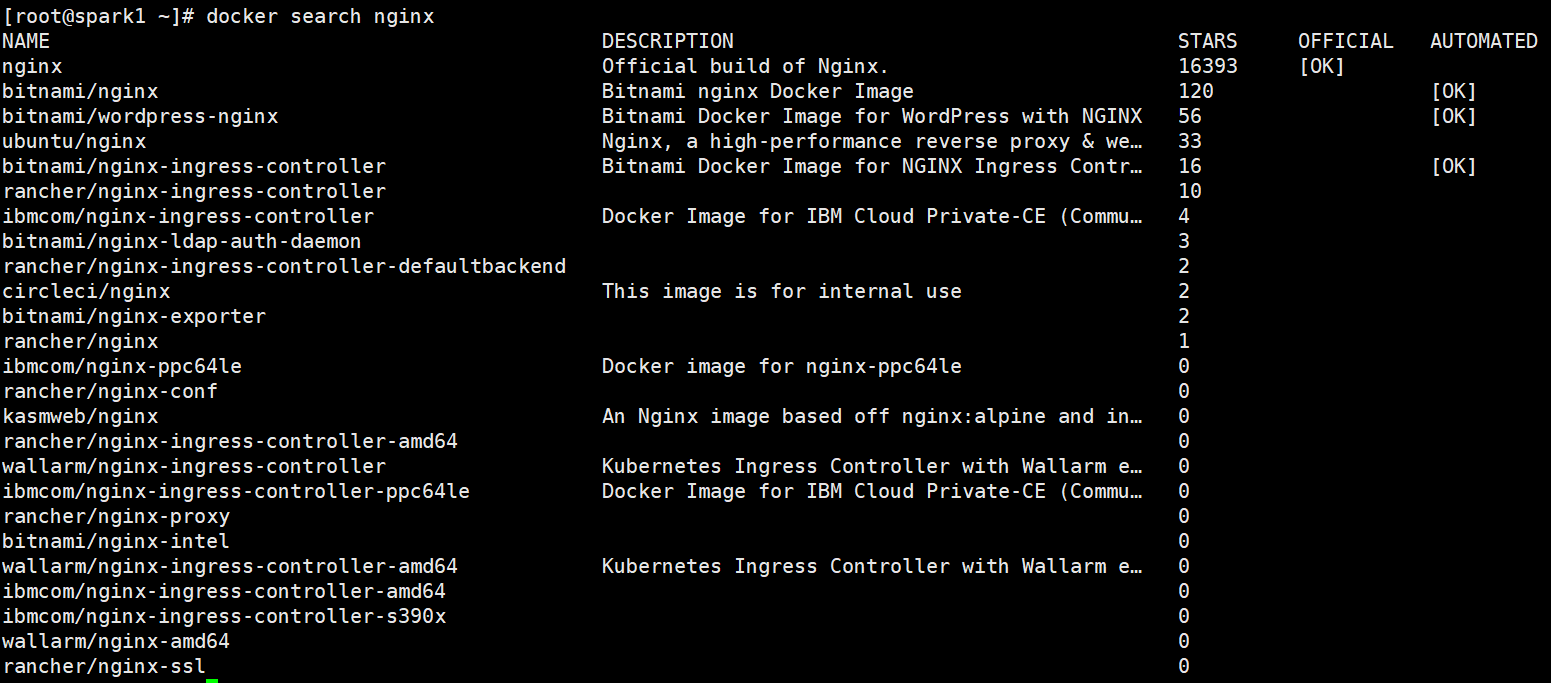
1. Find nginx mirror on Docker hub
docker search nginx
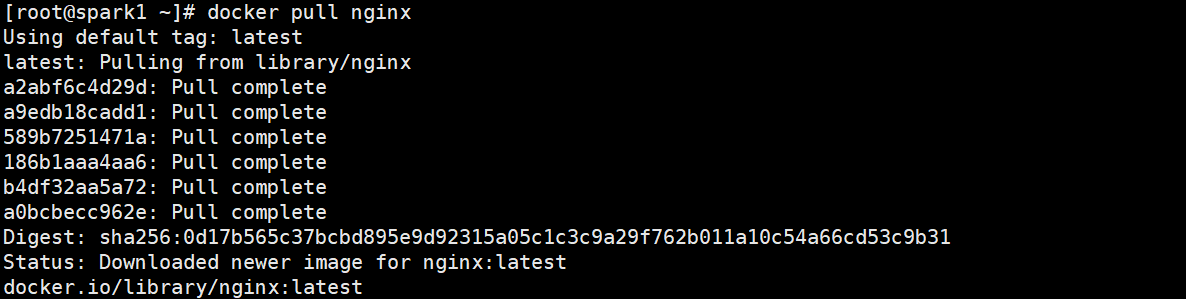
2. Pull nginx mirror from docker hub (Ali Cloud Accelerator) to local location
docker pull nginx
Note: I am here to select the first nginx image, and of course you can also pull other nginx images.
3. View Mirror

4. Create nginx containers from mirrors
docker run -d --name=mynginx -p 80:80 nginx
- -it interaction
- -d Background
- - name container name
- -p Host port: Container port (port is mapped to 80 ports inside the container)
5. Open browser access
Finally, we can access the 80-port nginx service directly through the browser:
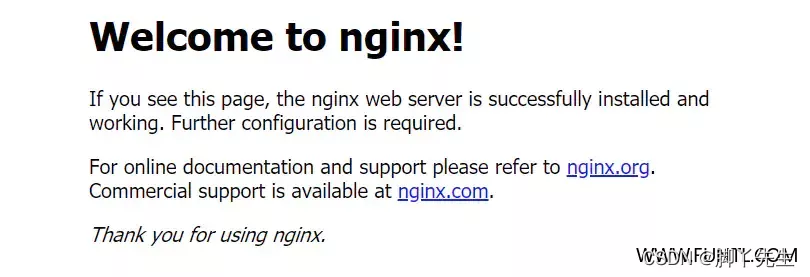
At this point, we have started the nginx container and finished sprinkling!!! That's impossible... Maybe you'll ask, Foot, what's wrong with me showing my own front end when I optically learned the nginx container? How do resources fit into containers? If the container is cold, is all the data gone? With questions, let's go on
The container data volume is explained here.
6. Container data volume
For appeal questions, such as nginx containers, we thought of a solution: if you can map the data from the containers to the hosts, it doesn't matter if the containers will persist, even if they are cold (mapping: it's better than looking in the mirror, you make faces, and you make faces in the mirror too). Of course, the official thought, and there was a data volume. Volumes are directories or files, and they are designed to persist data, completely independent of the lifetime of the container, so Docker does not delete their mounted volumes when the container is deleted.
It's like that. The mirror shows you completely. If you break the mirror, you in it are broken and cold. But in reality you're still strong.
Next, we create a nginx container with a data volume.
docker run -d --name=mynginx -p 80:80 -v /html:/usr/share/nginx/html nginx
- -v Data Volume, host absolute path directory: container directory.
2. mysql deployment
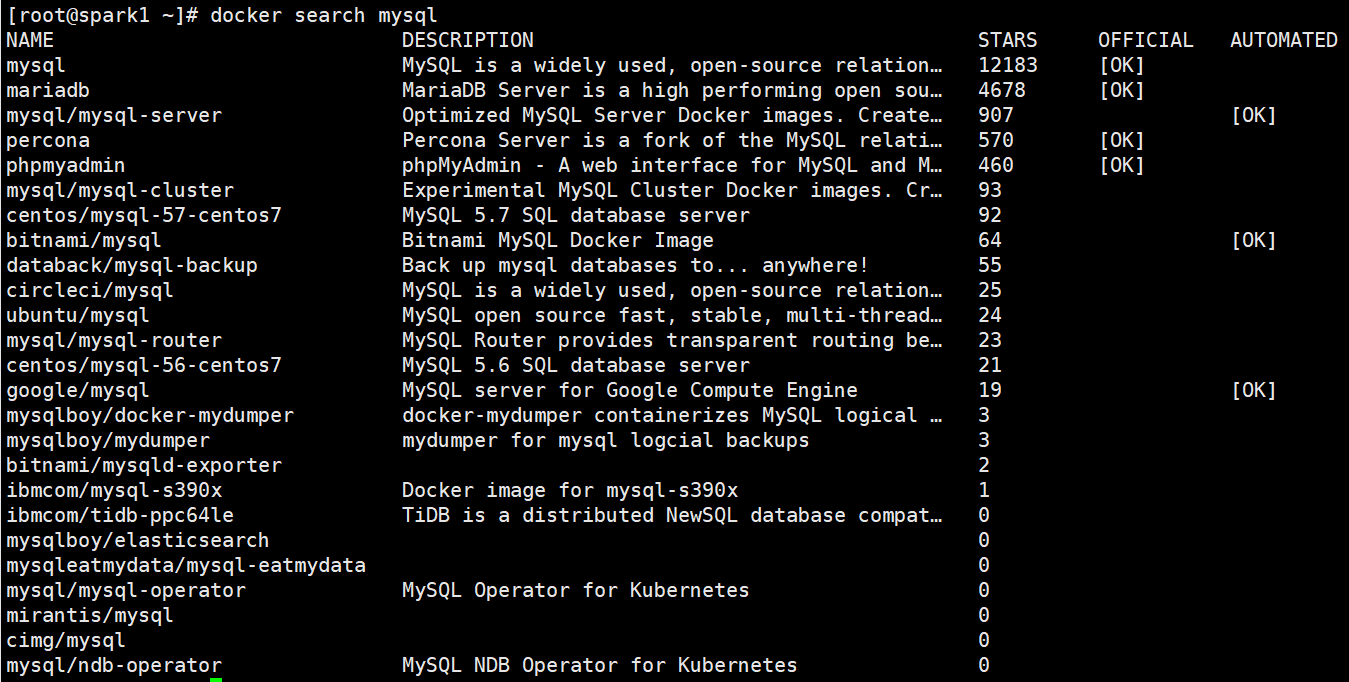
1. Find mysql mirror on Docker hub
docker search mysql
2. Pull mysql image from docker hub (Ali Cloud Accelerator) to local tag 5.7
docker pull centos/mysql-57-centos7
3. View mysql mirror

4. Create mysql container from mirror
docker run  -p 3306:3306 --name mysql \
-v /mydata/mysql/log:/var/log/mysql \
-v /mydata/mysql/data:/var/lib/mysql \
-v /mydata/mysql/conf:/etc/mysql \
-e MYSQL_ROOT_PASSWORD=root \
-d centos/mysql-57-centos7
- - name Specifies the container name
- -v directory mount (log, data, configuration mounted here)
- -p Specify port mapping
- -e Set mysql parameter
- -d Background Run
3. redis deployment
1. Find the redis mirror on Docker hub
docker search redis:4.0

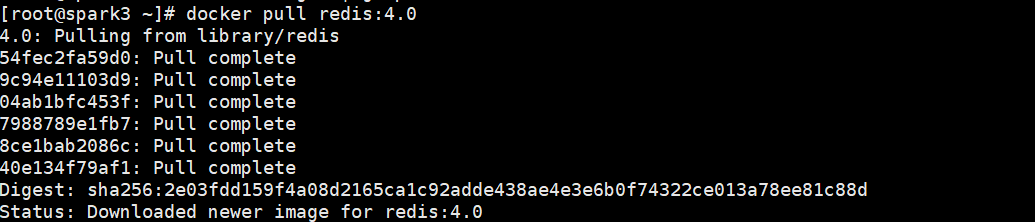
2. Pull redis mirror from docker hub (Ali Cloud Accelerator) to local location
docker pull redis:4.0
3. View the redis mirror

4. Create a redis container from a mirror
For configuration files, docker assumes that the mount is a directory if mounted directly, so we create a file and then mount it, in a virtual machine.
mkdir -p /mydata/redis/conf
touch /mydata/redis/conf/redis.conf
docker run -p 6379:6379 --name redis \
-v /mydata/redis/data:/data \
-v /mydata/redis/conf/redis.conf:/etc/redis/redis.conf \
-d redis:4.0 redis-server /etc/redis/redis.conf
Go directly to the redis client.
docker exec -it redis redis-cli
The default data is not persistent. Enter appendonly yes in the configuration file to persist. Modify the configuration file
vim /mydata/redis/conf/redis.conf
# Insert the following
appendonly yes

Preservation
Restart redis container after modification
docker restart redis
docker -it redis redis-cli
IV. tomcat Deployment
1. Find tomcat images on Docker hub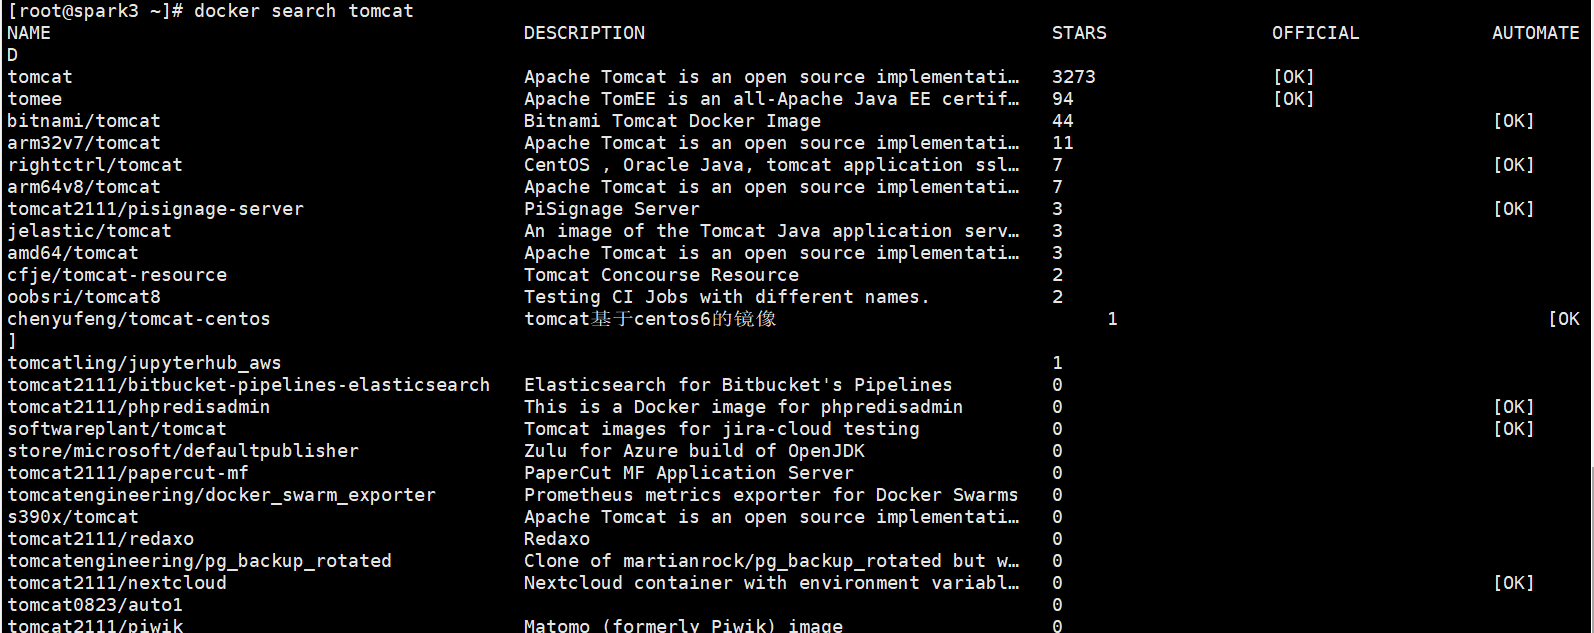
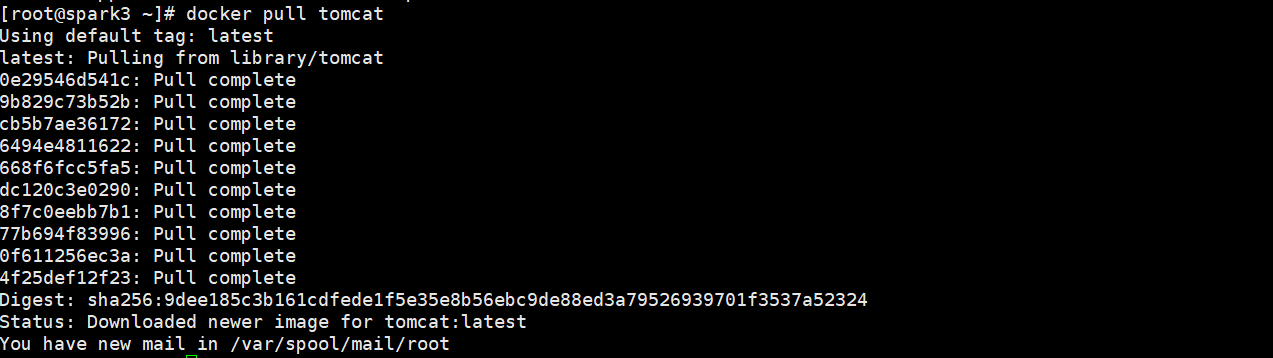
2. Pull tomcat image from docker hub (Ali Cloud Accelerator) to local location
3. View tomcat images

4. Create a tomcat container from a mirror
docker run -d -p 3305:8080 --name mytomcat tomcat
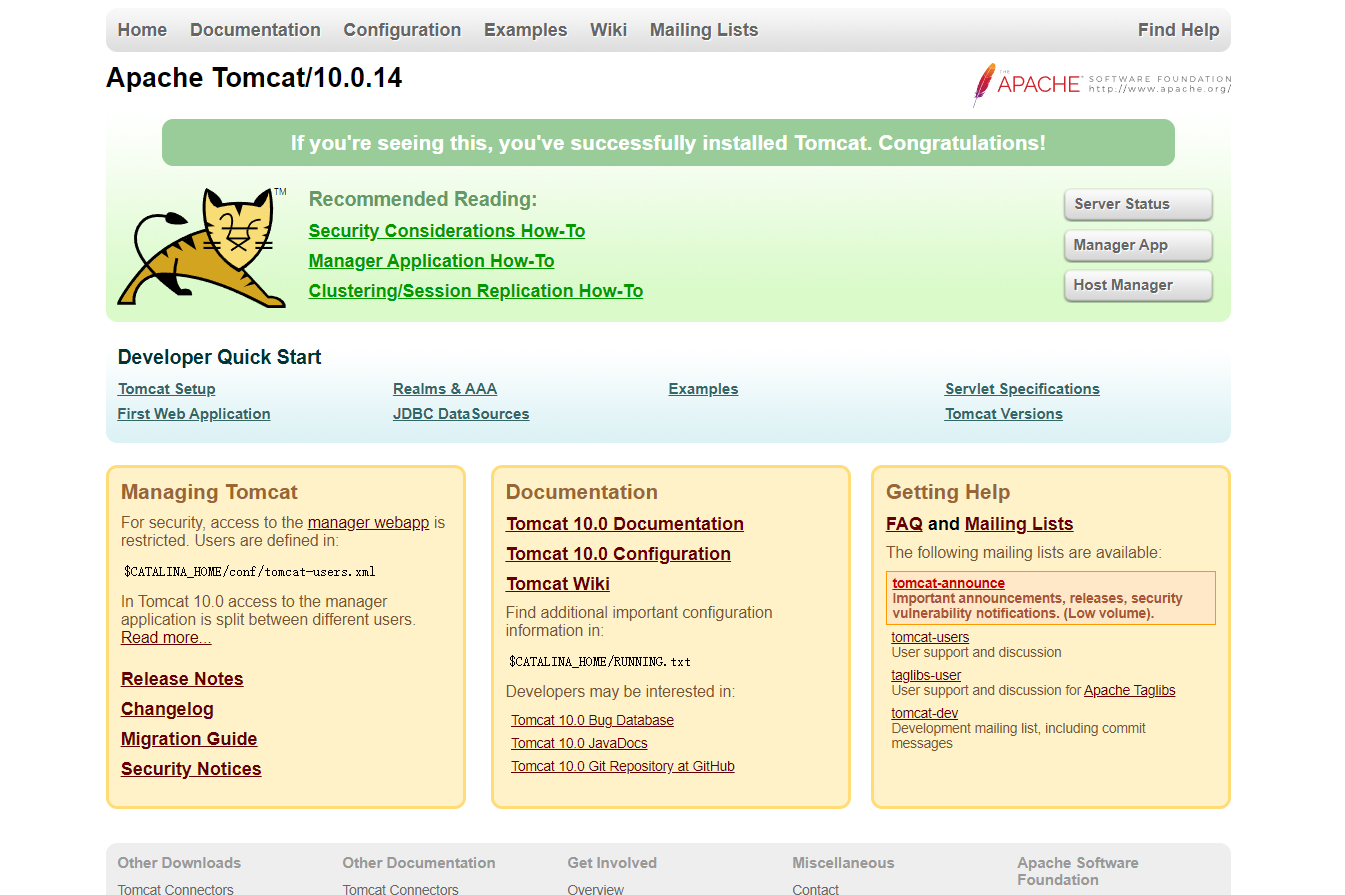
We made a visit to the public network and found that there was no problem with the test access, but why did tomcat not show up?

The official tomcat image is actually incomplete. To solve this problem, we can do the following:
# Enter the tomcat container according to the container name
[root@spark3 /]# docker exec -it mytomcat /bin/bash
root@3475b4167b5b:/usr/local/tomcat# ls
BUILDING.txt     NOTICE         RUNNING.txt  lib             temp          work
CONTRIBUTING.md  README.md      bin          logs            webapps
LICENSE          RELEASE-NOTES  conf         native-jni-lib  webapps.dist
# Missing ll command
root@3475b4167b5b:/usr/local/tomcat# ll
bash: ll: command not found
# Enter the webapps directory
root@3475b4167b5b:/usr/local/tomcat# cd webapps
root@3475b4167b5b:/usr/local/tomcat/webapps# ll
bash: ll: command not found
# Files in directory are empty
root@3475b4167b5b:/usr/local/tomcat/webapps# ls
root@3475b4167b5b:/usr/local/tomcat/webapps

# Problem found: 1. There are fewer linux commands. 2. The webapps directory is empty
# Solution:
# Will webapps. All files under dist can be copied to webapps

root@3475b4167b5b:/usr/local/tomcat# cp -r webapps.dist/* webapps
root@3475b4167b5b:/usr/local/tomcat# cd webapps
root@3475b4167b5b:/usr/local/tomcat/webapps# ls
ROOT  docs  examples  host-manager  manager
When we put webapps. When the content in the dist directory is copied to the webapp directory, refresh your browser page and you are surprised to see "tomcat" appear, indicating that we have successfully deployed our project to Tomcat through docker. The same is true when we want to deploy our own projects.
We are going to deploy the project in the future. Is it very troublesome to enter the container every time? Then we can learn about data volumes by deploying nginx containers in the first section. We can provide a mapping path outside the containers, such as webapps. If we place items outside, we can synchronize the inside automatically.
5. mongodb Deployment
1. Find mongodb mirror on Docker hub

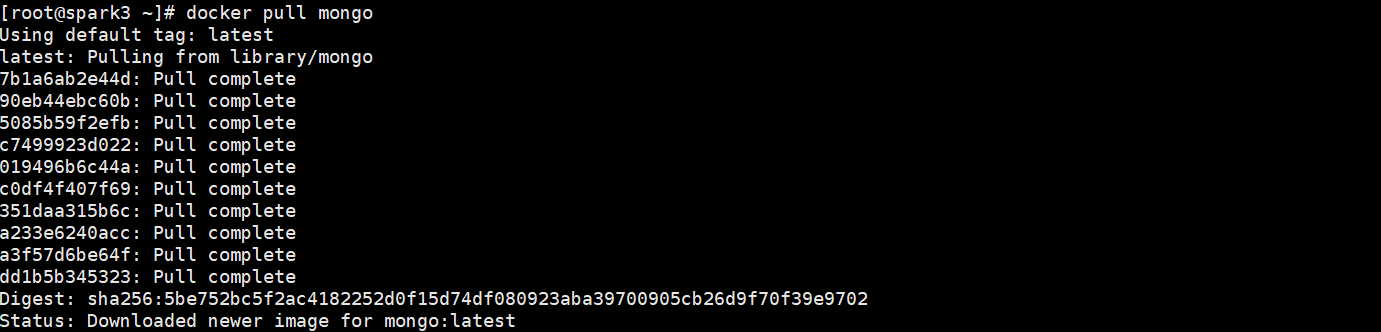
2. Pull mongodb mirror from docker hub (Ali Cloud Accelerator) to local location
docker pull mongo
3. View the mongo image

4. Create a mongo container from a mirror
docker run -d --name mongo -p 27017:27017 mongo --auth
- - auth: A password is required to access the container service.
Then use the following commands to add users and set passwords, and try to connect.
[root@spark3 ~]# docker exec -it mongo mongo admin
# Create a user named admin with a password of 123 456.
>  db.createUser({ user:'admin',pwd:'123456',roles:[ { role:'userAdminAnyDatabase', db: 'admin'},"readWriteAnyDatabase"]});
# Try connecting with the user information you created above.
> db.auth('admin', '123456')
6. Posgresql Deployment
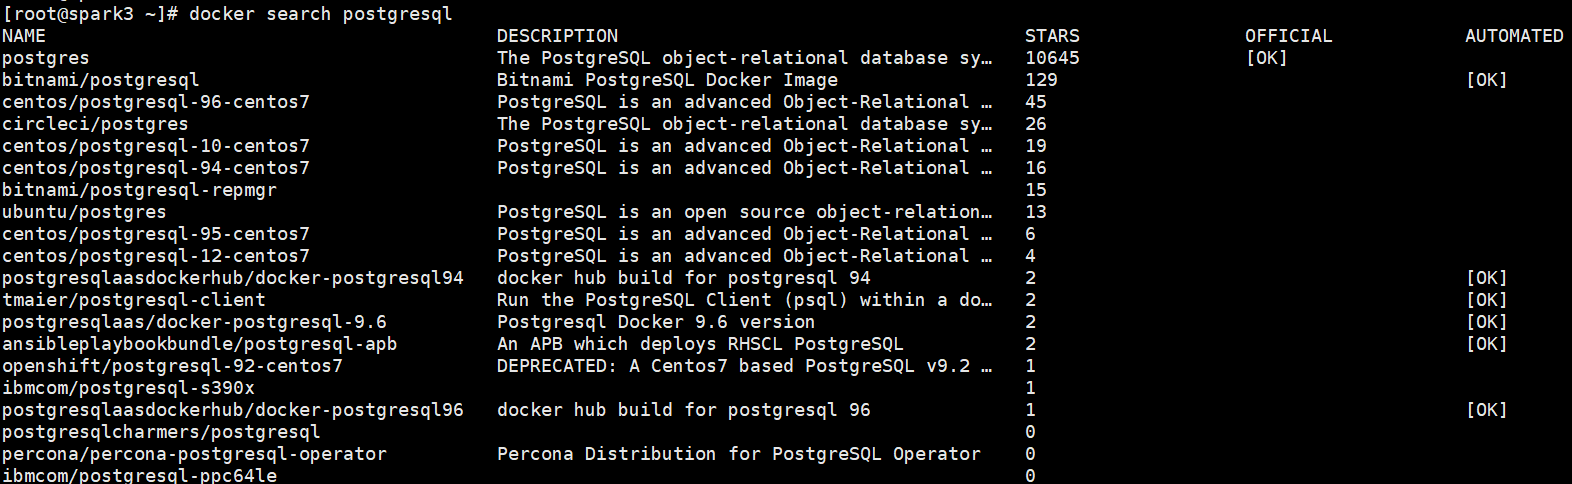
1. Find postgresql mirror on Docker hub
docker search postgresql
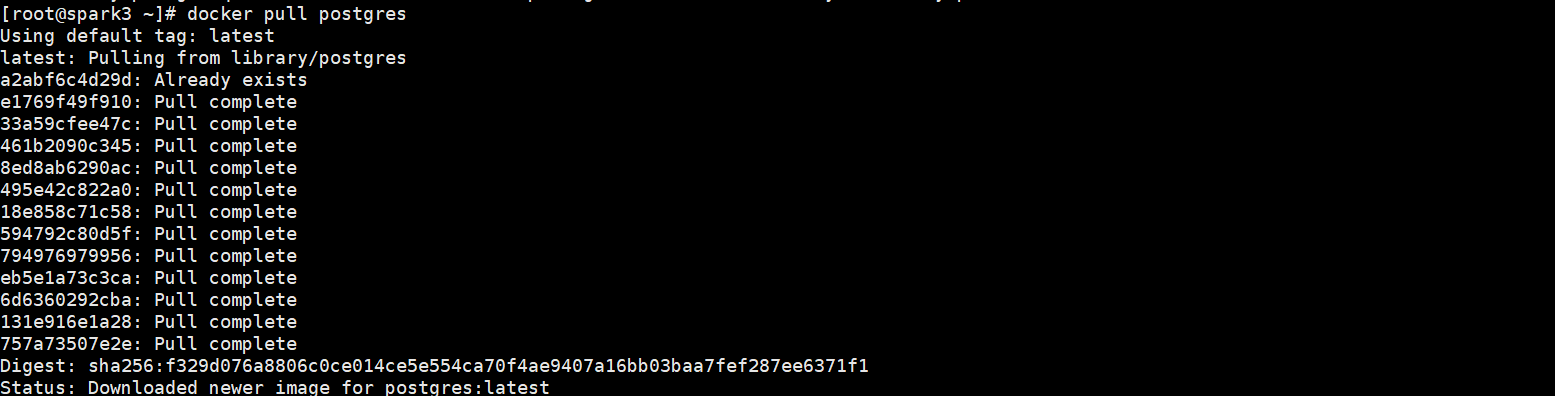
2. Pull postgresql mirror from docker hub (Ali Cloud Accelerator) to local location
3. View the postgresql mirror
docker images | grep postgres

4. Create postgresql container from mirror
docker run --name my_postgres -v /home/data:/var/lib/postgresql -e POSTGRES_PASSWORD=****** -d -p ****:5432 postgres
-
- name: Custom container name
-
-v: map, local directory: path inside container
-
POSTGRES_PASSWORD: Database Password
-
-p: mapped port, host port: container port
Summary: We will learn how to install several basic containers of docker run in elementary school, and then we will use docker-compose to install the whole container, which will make it feel more comfortable in one word. Because in our production, we manage the marshalling containers based on docker-compose, which is more readable and convenient.

📢 Blog Home Page: https://blog.csdn.net/shujuelin
📢 Welcome 👍 Collection ⭐ Leaving a message. 📝 Please correct any errors!