Installing docker for linux
Install online using yum or up2date
Installing docker in CentOS 7 requires a 64 bit system and a system kernel version of 3.10 or above. You can use the following command to view it
uname -r
#3.10.0-1160.11.1.el7.x86_64
1. Check whether docker list has been installed
yum list installed | grep docker
2. Install docker
yum -y install docker
-y means do not ask for installation until the installation is successful. After the installation, check the installation list again

3. Start docker
systemctl start docker
4. Set to startup
systemctl enable docker.service
5. View docker service status
systemctl status docker
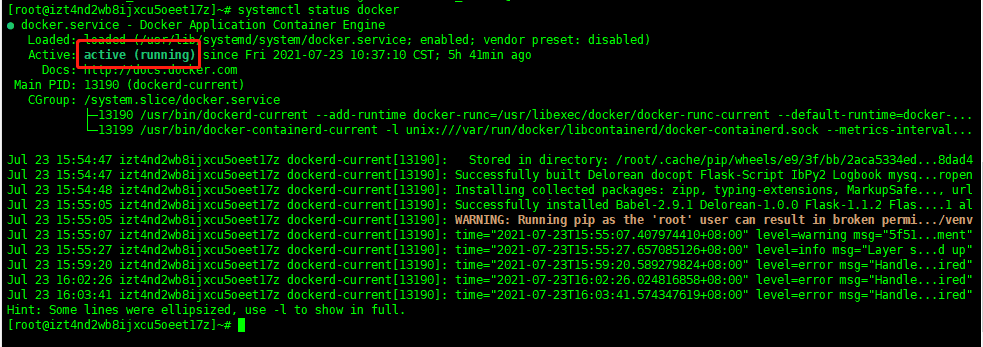
The figure above shows that docker has been started successfully
Offline installation
1. Download the installation package
Installation package official address: https://download.docker.com/linux/static/stable/x86_64/ , you can download it locally and then upload it to the server through ftp tool, or use the command to download it on the server
wget https://download.docker.com/linux/static/stable/x86_64/docker-18.06.3-ce.tgz
2. Decompression
tar -zxvf docker-18.06.3-ce.tgz
3. Copy the extracted docker file to the / usr/bin / directory
cp docker/* /usr/bin/
4. Add docker.com under / etc/systemd/system / The content of the service file is as follows. In this way, the docker can be registered as a service
[Unit]
Description=Docker Application Container Engine
Documentation=https://docs.docker.com
After=network-online.target firewalld.service
Wants=network-online.target

[Service]
Type=notify
# the default is not to use systemd for cgroups because the delegate issues still
# exists and systemd currently does not support the cgroup feature set required
# for containers run by docker
ExecStart=/usr/bin/dockerd --selinux-enabled=false --insecure-registry=127.0.0.1
ExecReload=/bin/kill -s HUP $MAINPID
# Having non-zero Limit*s causes performance problems due to accounting overhead
# in the kernel. We recommend using cgroups to do container-local accounting.
LimitNOFILE=infinity
LimitNPROC=infinity
LimitCORE=infinity
# Uncomment TasksMax if your systemd version supports it.
# Only systemd 226 and above support this version.
#TasksMax=infinity
TimeoutStartSec=0
# set delegate yes so that systemd does not reset the cgroups of docker containers
Delegate=yes
# kill only the docker process, not all processes in the cgroup
KillMode=process
# restart the docker process if it exits prematurely
Restart=on-failure
StartLimitBurst=3
StartLimitInterval=60s

[Install]
WantedBy=multi-user.target
The – secure registry = 127.0.0.1 (changed to your private server ip here) setting here is to allow docker s to access unsafe when their own private server Harbor is built, otherwise access will be denied.
5. Start
To docker Add execution permission to service file
chmod +x /etc/systemd/system/docker.service
Reload the configuration file (reload it every time you modify the docker.service file)
systemctl daemon-reload
start-up
systemctl start docker
Set startup
systemctl enable docker.service
View docker service status
systemctl status docker
Encapsulating a flash project with docker
equipment
1. Export the project's third-party dependency package to requirements txt
pip freeze >requirements.txt
2. Create gunicorn py
Gunicorn is a high-performance Python WSGI UNIX HTTP Server widely used on unix.
It is compatible with most web frameworks, and has the characteristics of simple implementation, lightweight and high performance.
# Listening port
bind = '0.0.0.0:8000'
# Working mode
worker_class = 'gevent'  # Gevent library is adopted to support asynchronous processing of requests and improve throughput. In addition to gevent, there are eventlet s

# Number of parallel work processes (I use the same number as the CPU core)
# workers = multiprocessing.cpu_count() * 1
workers = 5 # Define the number of processes that are started at the same time to process requests, and adjust them appropriately according to the website traffic

# Set daemon
daemon = False

# Displays the current configuration. The default value is False.
check_config = False

# Set logging level
loglevel = 'debug'

# Set error message log path
errorlog = '/home/slp/Project/StockQTS/logs/error.log'  #/root/project/BlueWhale/logs/error.log    /home/slp/Project/BlueWhale/logs/error.log
# Set access log path
accesslog = '/home/slp/Project/StockQTS/logs/access.log' #/root/project/BlueWhale/logs/access.log   /home/slp/Project/BlueWhale/logs/access.log
You can use the gunicorn command to test whether it can run correctly. The command is as follows. Open the website 127.0.0.1:80 and our website will be opened.
gunicorn manage:app -c gunicorn.py
3. Create Dockerfile file
FROM python:3.7
WORKDIR /home/slp/Project/StockQTS

COPY requirements.txt ./
RUN pip install -r requirements.txt -i https://pypi.douban.com/simple

COPY . .

CMD ["gunicorn", "manage:app", "-c", "./gunicorn.py"]
Build Docker image
1. Enter the project folder
cd /home/slp/Project/StockQTS
2. To build an image, enter the following command
sudo docker build -t 'stack_flask' .
Then it will perform six steps. If there are many dependencies, it will take more time to install dependencies.
3. View the image
sudo docker images

The self-made image is ready. You can run locally and experiment
Upload the image to Alibaba cloud warehouse
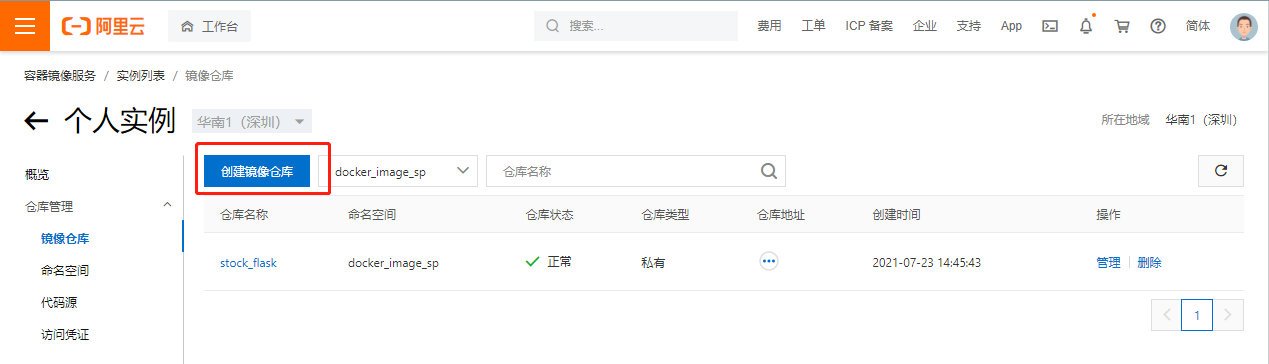
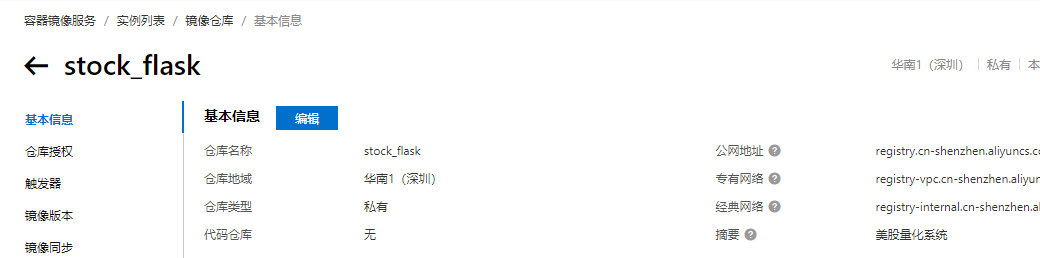
1. Create your own Docker warehouse on alicloud.
2. Upload image
Before uploading the image, you need to set the login password in warehouse management - > access credentials.
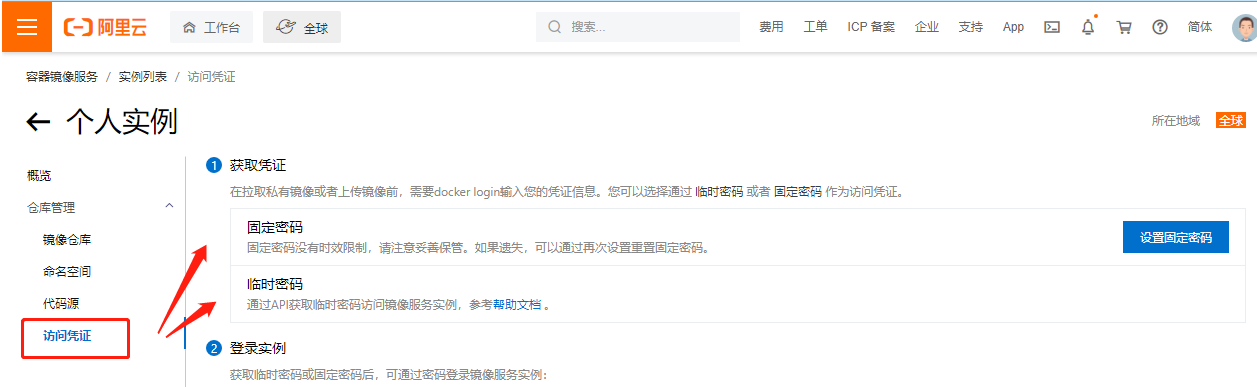
Sign in
sudo docker login --username=Your alicloud user name registry.cn-shenzhen.aliyuncs.com
Password:
Login Succeeded
Enter the password. The password is the password you just set for your access credentials
Push
Enter the following two lines of commands to push the image to Registry
docker tag [mirrored  ID] registry.cn-hangzhou.aliyuncs.com/Namespace/Warehouse name:[Mirror version number]
docker push registry.cn-hangzhou.aliyuncs.com/Namespace/Warehouse name:[Mirror version number]
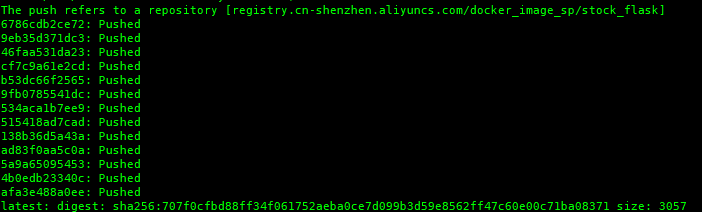
It's OK after execution.
3. Pull the image
sudo docker pull registry.cn-hangzhou.aliyuncs.com/Namespace/Warehouse name:[Mirror version number]
Check whether it is pulled down
sudo docker images
4. Operation
sudo docker run -itd -p 8000:8000 --name stock_flask
So here, the Flask project has been successfully deployed. When updating the project, maintain the configuration file, build it, push it, pull it down on the server and run it again.