1, DR packet flow analysis
1. The client sends a request to the load scheduler, and the requested data message (the source IP is CIP and the target IP is VIP) reaches the kernel space.
2. The load scheduler and Real Server are in the same network, and the data is transmitted through the two-layer data link layer.
3. The kernel space judges that the destination IP of the packet is the local VIP. At this time, IPVS (IP virtual server) compares whether the service requested by the packet is a cluster service. If it is a cluster service, the packet will be re encapsulated. Modify the source MAC address to the MAC address of the load scheduler and the target MAC address to the MAC address of the Real Server. The source IP address and the target IP address have no change, and then send the data packet to the Real Server.
4. If the MAC address of the request message arriving at the Real Server is its own MAC address, this message will be received. The data packet re encapsulates the message (the source IP address is VIP and the target IP is CIP), transmits the response message to the physical network card through the lo interface, and then sends it out.
5. The Real Server directly transmits the corresponding message to the client.
2, Characteristics of DR mode
1. Director Server and Real Server must be in the same physical network.
2. Real Server can use private address or public address. If the public network address is used, RIP can be accessed directly through the Internet.
3. The Director Server is used as the access portal of the cluster, but not as the gateway.
4. All request messages pass through the Director Server, but the recovery response message cannot pass through the Director Server.
5. The gateway of the Real Server is not allowed to point to the Director Server IP, that is, the packets sent by the Real Server are not allowed to pass through the Director Server.
6. The lo interface on the Real Server configures the IP address of the VIP.
3, DR of LVS load balancing deployment
DR server: 192.168.73.88
Web server 1: 192.168.73.188
Web server 2: 192.168.73.166
VIP: 192.168.73.100
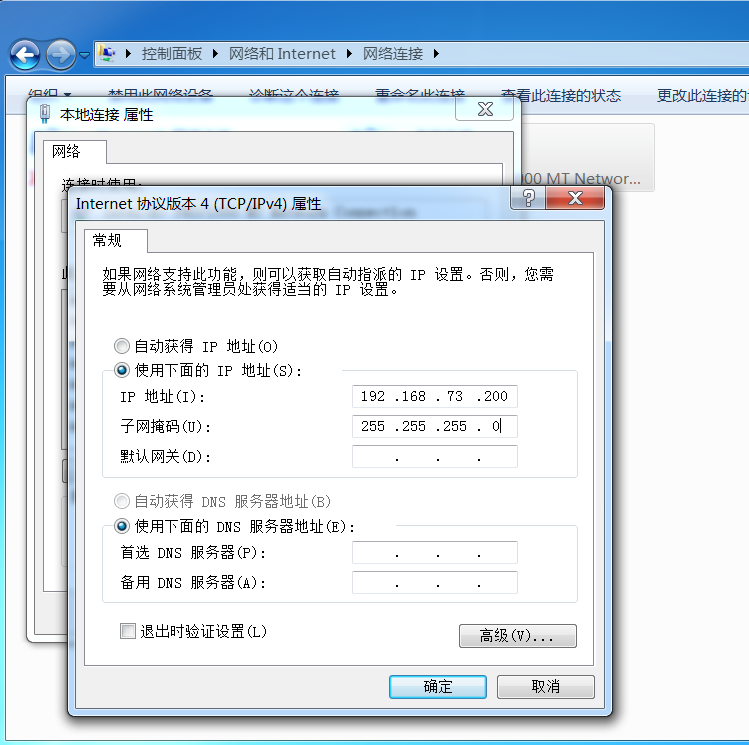
Client: 192.168.73.200
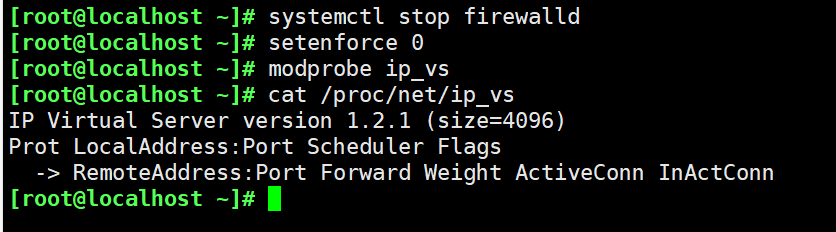
1. Configure DR load scheduler (192.168.73.88)
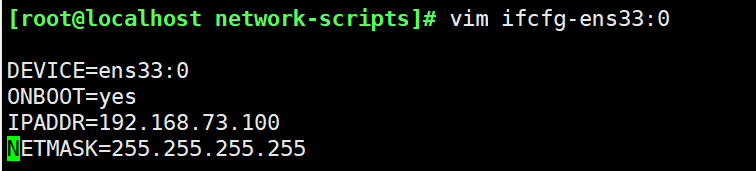
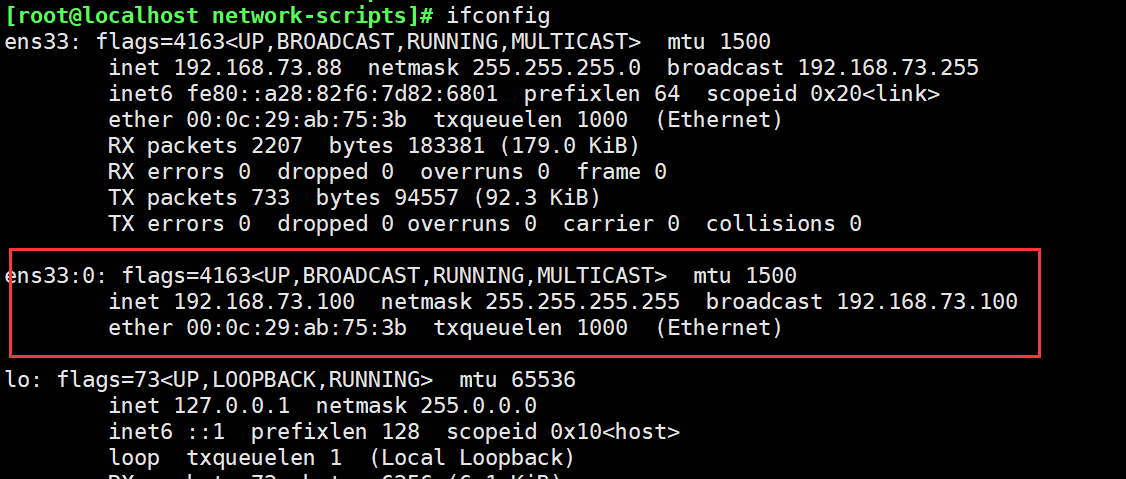
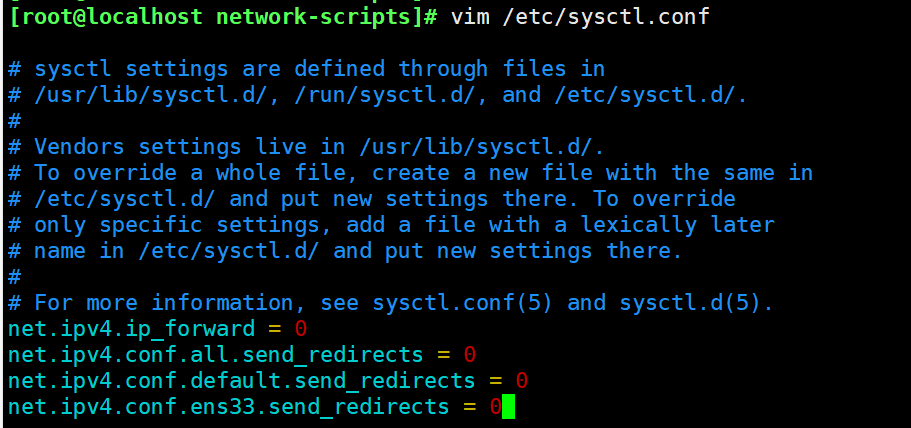
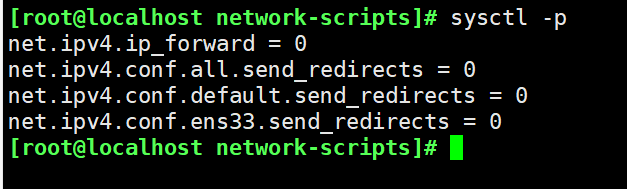
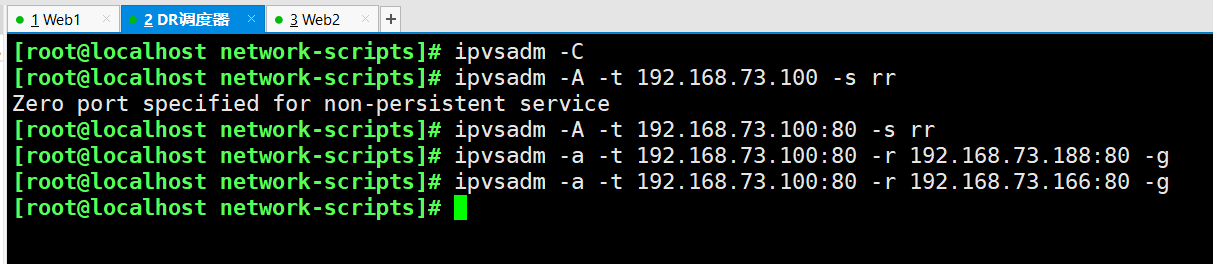
systemctl stop firewalld
setenforce 0
modprobe ip_vs
cat /proc/net/ip_vs
yum install -y ipvsadm

----------------Configure virtual IP address----------------
cd /etc/sysconfig/network-scripts/
cp ifcfg-ens33 ifcfg-ens33:0 #If in tunnel mode, copy to ifcfg-tunl0
vim ifcfg-ens33:0

DEVICE=ens33:0
ONBOOT=yes
IPADDR=192.168.73.100
NETMASK=255.255.255.255

ifup ifcfg-ens33:0
ifconfig

---------------adjustment proc Response parameters-----------------
vim /etc/sysctl.conf

net.ipv4.ip_forward = 0
net.ipv4.conf.all.send_redirects = 0
net.ipv4.conf.default.send_redirects = 0
net.ipv4.conf.ens33.send_redirects = 0

sysctl -p

---------------Configure load distribution policy---------------
ipvsadm-save > /etc/sysconfig/ipvsadm
ipvsadm
systemctl start ipvsadm
ipvsadm -C
ipvsadm -A -t 192.168.73.100:80 -s rr
ipvsadm -a -t 192.168.73.100:80 -r 192.168.73.188:80 -g  #If tunnel mode, - g is replaced by - i
ipvsadm -a -t 192.168.73.100:80 -r 192.168.73.166:80 -g
ipvsadm
ipvsadm -ln


2. Configure Web server (192.168.73.166 and 192.168.73.188)
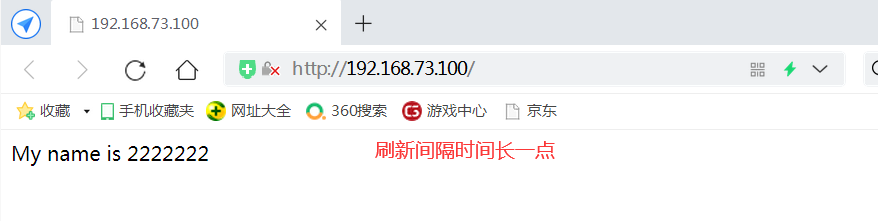
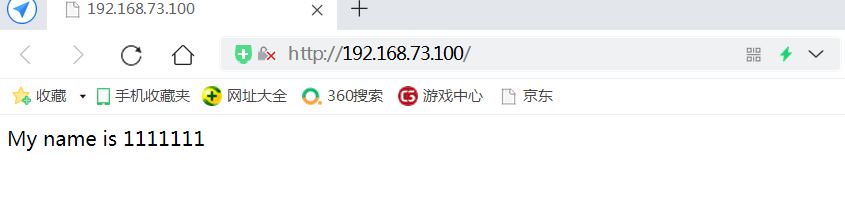
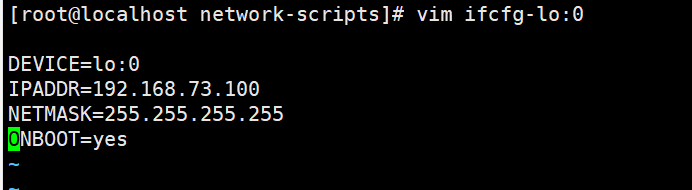
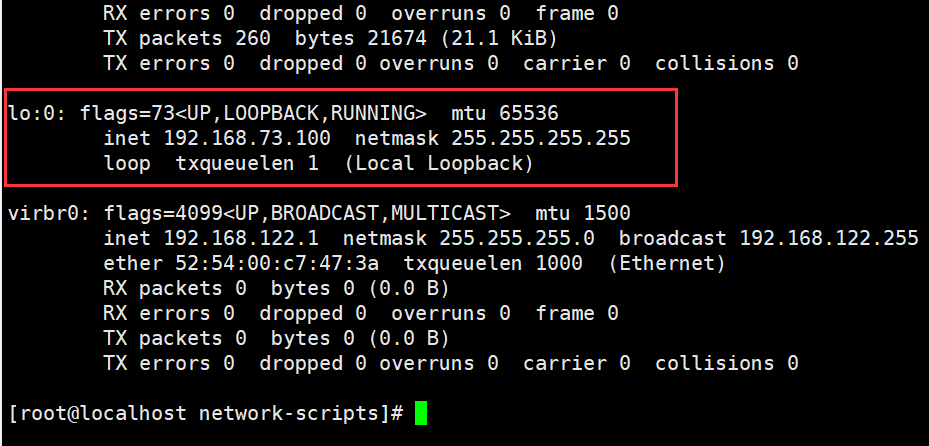
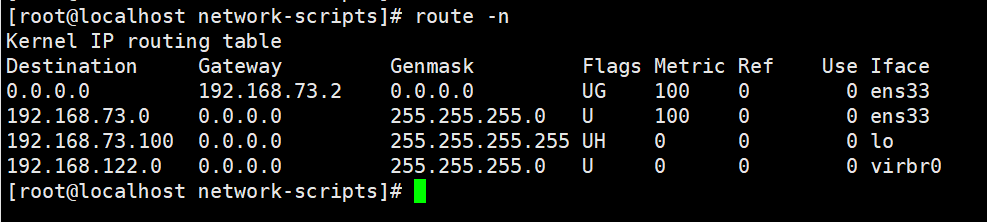
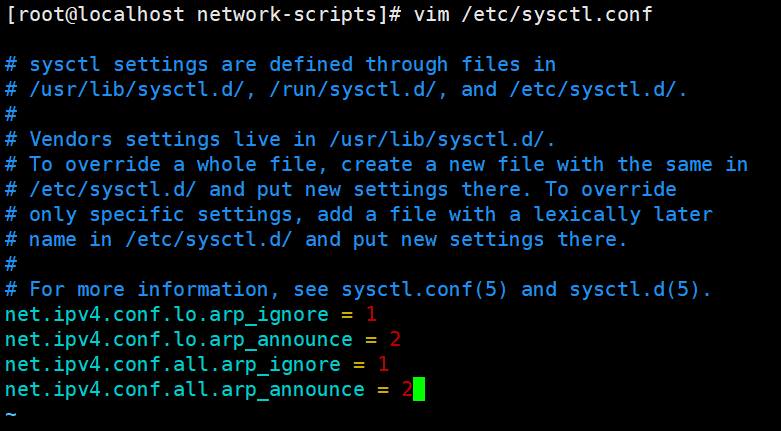
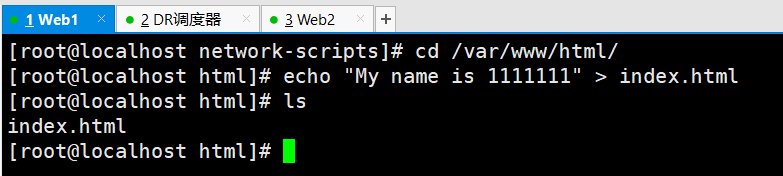
systemctl stop firewalld.service
setenforce 0
yum install -y httpd
systemctl start httpd

cd /etc/sysconfig/network-scripts/
cp ifcfg-lo ifcfg-lo:0
vim ifcfg-lo:0

DEVICE=lo:0
IPADDR=192.168.73.100
NETMASK=255.255.255.255
ONBOOT=yes

ifup lo:0
ifconfig
route add -host 192.168.73.100 dev lo:0
route -n

-------Adjust kernel ARP Response parameters to prevent updates VIP of MAC Address to avoid conflicts-----
vim /etc/sysctl.conf

net.ipv4.conf.lo.arp_ignore = 1  #The system only responds to ARP requests whose destination IP is local IP
net.ipv4.conf.lo.arp_announce = 2  #The system does not use the source address of the IP packet to set the source address of the ARP request, but selects the IP address of the sending interface
net.ipv4.conf.all.arp_ignore = 1
net.ipv4.conf.all.arp_announce = 2

sysctl -p

------------prepare Web Webpage------------
cd /var/www/html/
echo "My name is 1111111" > index.html

Web2 Settings and Web Same.

3. Go to Windows client for verification
Use the Windows client browser to access the 192.168.73.100 website for verification