Elasticsearch is a Lucene based search server. It provides a distributed multi-user full-text search engine based on RESTful web interface. Elasticsearch is developed in the Java language and released as an open source under the Apache license terms. It is a popular enterprise search engine. Elasticsearch is used in cloud computing, which can achieve real-time search, stable, reliable, fast and easy to install and use.
This article refers to here: Elasticsearch7.8.1 from introduction to mastery , interested partners can go and have a look. It's written in detail.
The project needs to use ElasticSearch search search engine. So start learning with virtual machines. For virtual machine installation, refer to: Virtual machine installation.
JDK11 has been installed before. For the installation method, please refer to: Centos install jdk.
Early preparations for the installation of elasticsearch and ik participle:
elasticsearch installation package, download address: elasticsearch Download.
ik word splitter, download address: IK word splitter Download.
Before starting the installation, close the firewall and log off the service (do not configure the formal server like this):
systemctl stop firewalld
systemctl mask firewalld
When you are ready, start installing elasticsearch.
1. I put the installation package in the / usr/local directory to start the installation.
cd /usr/local/
tar -zxvf elasticsearch-7.8.1-linux-x86_64.tar.gz
2. Modify elasticsearch.config in elasticsearch/config directory YML file, mainly modified as follows:
cluster.name: my-application   #Open comment
node.name: node-1              #Open comment
network.host: 0.0.0.0          #Open comments and modify
http.port: 9200                #Open comment
discovery.seed_hosts: ["127.0.0.1", "[::1]"]   #Open comments and modify
cluster.initial_master_nodes: ["node-1"]       #Open comments and modify

# The following needs to be added
bootstrap.system_call_filter: false
http.cors.allow-origin: "*"
http.cors.enabled: true
http.cors.allow-headers : X-Requested-With,X-Auth-Token,Content-Type,Content-Length,Authorization
http.cors.allow-credentials: true
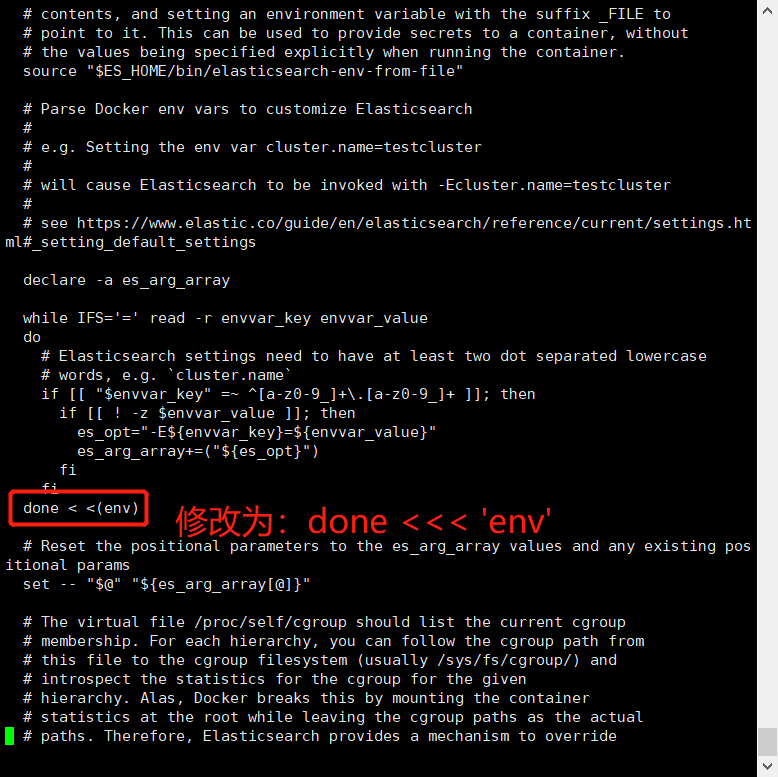
3. Modify the elasticsearch env file in the elasticsearch/bin directory:
4. Add groups and users. Since elasticsearch cannot be started by root, add corresponding users to start it.
#To add a user group, syntax: groupadd group name
groupadd es
#Add the user name to the user group with - p syntax, and add the password to the user group with - g syntax
useradd els -p 123456 -g es
# To authorize a user group, syntax: chown -R user: group name es full installation path
chown -R els:es /usr/local/elasticsearch-7.8.1
5. Switch to the els user just created:
su els
6. Start the elasticsearch service, switch to the elasticsearch/bin directory, and execute the instructions:
sh elasticsearch
7. The error reports after startup are as follows:
[1]: max file descriptors [4096] for elasticsearch process is too low, increase to at least [65535]
[2]: max number of threads [3870] for user [els] is too low, increase to at least [4096]
[3]: max virtual memory areas vm.max_map_count [65530] is too low, increase to at least [262144]
Solution:
1,vi /etc/security/limits.conf Files, adding
* soft nofile 65535
* hard nofile 65535
* soft nproc  4096
* hard nproc  4096

3,vi /etc/sysctl.conf Files, adding
vm.max_map_count=262144
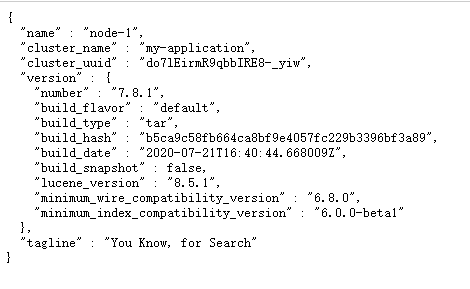
8. Restart the virtual machine, and then use els. Refer to step 6 to start the elastic service. After startup, use the browser to access: http://ip:9200 , as shown in the figure below, indicates successful startup.