<!--Spring Boot-->

<parent>

  <groupId>org.springframework.boot</groupId>

   <artifactId>spring-boot-starter-parent</artifactId>

   <version>2.0.6.RELEASE</version>

   <relativePath/> <!-- lookup parent from repository -->

</parent>


<!--eureka-->

<dependency>

    <groupId>org.springframework.cloud</groupId>

    <artifactId>spring-cloud-starter-netflix-eureka-server</artifactId>

</dependency>


<!--Spring Cloud-->

<dependencyManagement>

    <dependencies>

        <dependency>

            <groupId>org.springframework.cloud</groupId>

            <artifactId>spring-cloud-dependencies</artifactId>

            <version>Finchley.SR2</version>

            <type>pom</type>

            <scope>import</scope>

        </dependency>

    </dependencies>

</dependencyManagement>
Start class EurekaServerApplication and add @ EnableEurekaServer. Function: indicates that Eureka Server is started.
Next is application Peoperties configuration:
spring.application.name=eureka-server

server.port=8761

# Because the application is a registry, it is set to false, which means that you do not register yourself with the registry

eureka.client.register-with-eureka=false

# Since the registry is responsible for maintaining service instances, it does not need to retrieve services, so it is also set to false

eureka.client.fetch-registry=false
eureka. client. Register with Eureka must be configured with false, otherwise it will register itself as a client and report an error.
Access after running http://localhost:8761/ , you can see the Web console provided by Eureka:
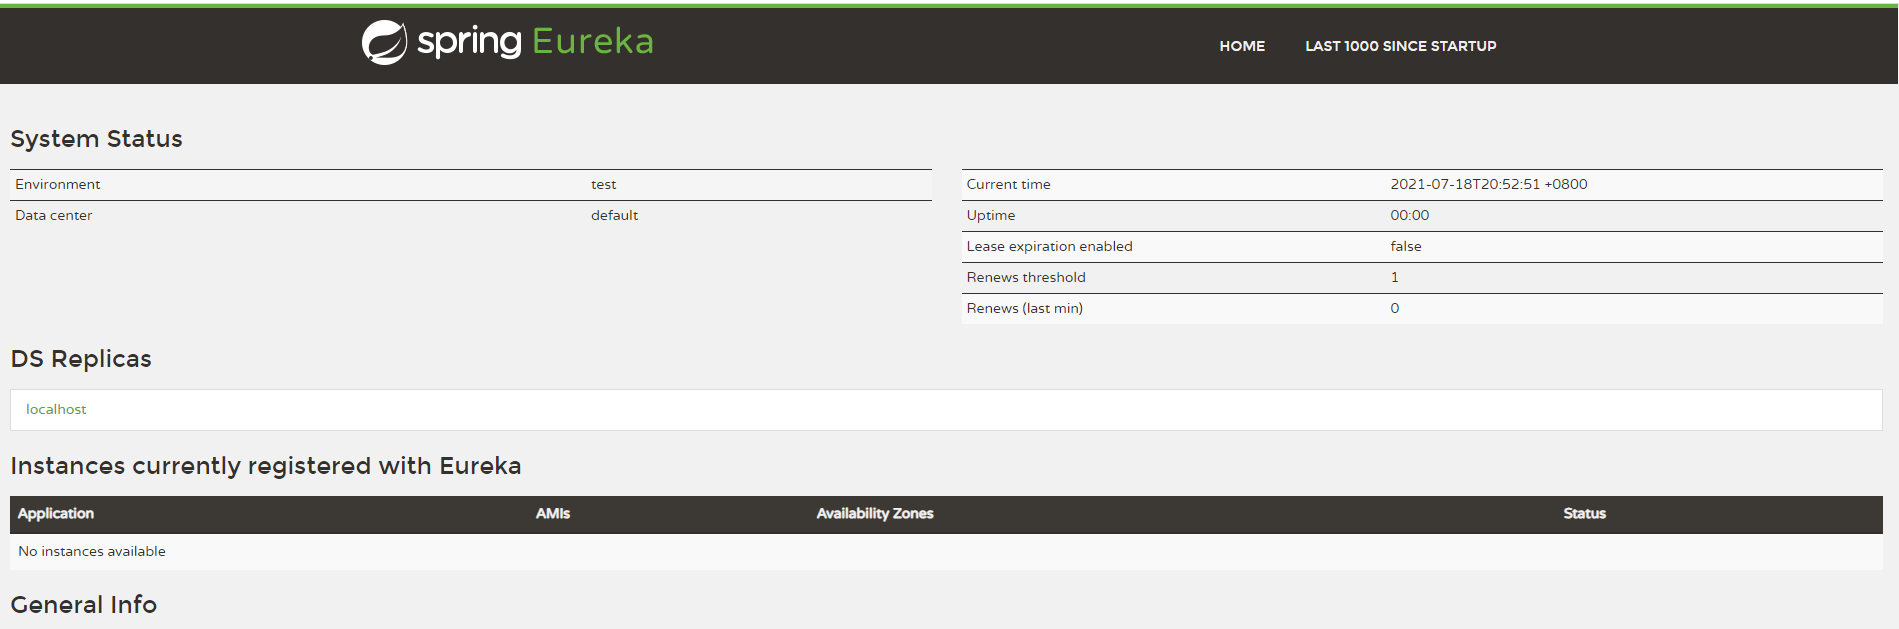
[](
)3. Authoring service providers
[](
)1) Create a project and register with Eureka
The registry has been created and started. Next, we will provide a service to Eureka client user service, register it in Eureka, and provide an interface to other service calls.
First, create a Maven or Spring Initializr project, POM xml:
<parent>

    <groupId>org.springframework.boot</groupId>

    <artifactId>spring-boot-starter-parent</artifactId>

    <version>2.0.6.RELEASE</version>

    <relativePath/> <!-- lookup parent from repository -->

    </parent>

<dependencies>

   <dependency>

        <groupId>org.springframework.boot</groupId>

        <artifactId>spring-boot-starter-web</artifactId>

    </dependency>


    <!--eureka-->

    <dependency>

        <groupId>org.springframework.cloud</groupId>

        <artifactId>spring-cloud-starter-netflix-eureka-server</artifactId>

    </dependency>

</dependencies>


<!--Spring Cloud-->

<dependencyManagement>

    <dependencies>

        <dependency>

            <groupId>org.springframework.cloud</groupId>

            <artifactId>spring-cloud-dependencies</artifactId>

            <version>Finchley.SR2</version>

            <type>pom</type>

            <scope>import</scope>

        </dependency>

    </dependencies>

</dependencyManagement>
Create a startup class App:
@EnableDiscoveryClient indicates that the current service is an Eureka client
@SpringBootApplication

@EnableDiscoveryClient

public class App {

    public static void main(String[] args) {

        SpringApplication.run(App.class, args);

    }

}
application.properties configuration:
spring.application.name=eureka-client-user-service

server.port=8081

eureka.client.serviceUrl.defaultZone=http://localhost:8761/eureka/

# Use IP registration

eureka.instance.prefer-ip-address=true

# Define instance ID format

eureka.instance.instance-id=${spring.application.name}:${spring.cloud.client.ip-address}:${server.port}
eureka. client. serviceUrl. The address of the defaultzone is the Eureka service address we started earlier. When starting, you need to register your own information in Eureka;
After executing the App startup service, you can see a log outputting registration information on the console:
DiscoveryClient_EUREKA-CLIENT-USER-SERVICE/eureka-client-user-service:172.20.10.5:8081 - registration status: 204
When we go back to Eureka's Web console, we can refresh it and see the newly registered service information:

[](
)2) Write and provide interfaces
Create a controller package and provide an interface for other service queries:
@RestController

public class UserController {


    @GetMapping("/user/hello")

    public String hello() {

        return "hello";

    }

}
Restart the App service to access http://localhost:8081/user/hello , if you can see the Hello string we returned, it proves that the interface is successful.
[](
)4. Write service consumer
[](
)1) . direct call interface
To create a service consumer and consume the user/hello interface we just wrote, we also need to create a Maven project Eureka client article service, and then add dependencies. The dependencies are the same as those of the service provider, and then create an App startup class. The startup code is the same as that of the service provider, the only difference is application Configuration information in the properties file:
spring.application.name=eureka-client-article-service

server.port=8082
ResTemplae is a client provided by Spring for accessing Rest services Resttemple provides a variety of convenient methods to access remote Http services, which can greatly improve the writing efficiency of the client. It is written as follows:
BeanConfiguration .java:
@Configuration

public class BeanConfiguration {


    @Bean

    public RestTemplate getRestTemplate() {

        return new RestTemplate();

    }

}
Create an interface and call the user/hello interface in the interface:
ArticleController.java:
@RestController

public class ArticleController {


    @Autowired

    private RestTemplate restTemplate;


    @GetMapping("/article/callHello")

    public String callHello() {

        return restTemplate.getForObject("http://localhost:8081/user/hello" , String.class);

    }

}
Then execute the App, start the consumer service, and visit http://localhost:8082/article/callHello , the page will display the Hello string to prove that the call was successful.
[](
)2) . consume the interface through Eureka
The method mentioned above is called directly through the address of the service interface. Like our previous practice, we do not use the convenience brought by Eureka. Since the registry is used, the client does not need to care about how many services provide interfaces when calling. Let's transform the previous calling code.
First, modify the configuration of RestTemplate and add a @ LoadBalanced annotation, which will automatically construct the implementation class of LoadBalancerClient interface and register it in the Spring container:
RestTemplate load balancing configuration:
@Configuration

public class BeanConfiguration {


    @Bean

    @LoadBalanced

    public RestTemplate getRestTemplate() {

        return new RestTemplate();

    }

}
The next step is to transform the calling code. We no longer write the fixed address, but write the name of the service. This name is the name we registered in Eurcka, which is spring in the properties file application. name:
ArticleController.java:
@GetMapping("/article/callHello2")

public String callHello2() {

    return restTemplate.getForObject(

            "http://eureka-client-user-service/user/hello", String.class

    );

}
[](
)5. Open Eureka certification
Eureeka comes with a Web management page to facilitate us to register the above instance information, but there is a problem: if there is a public IP address in the time use center, it must be directly accessible. Is this safe, so we add a permission authentication to ensure security.
For example: transform our Eureka server by integrating the dependency package of spring security:
<dependency>

        <groupId>org.springframework.boot</groupId>

        <artifactId>spring-boot-starter-security</artifactId>

</dependency>
Then apply Properties configuration information for adding authentication:
#User name
spring.security.user.name=ygayddcxy
#Code
spring.security.user.password=123456
Then add the Security configuration class:
@Configuration

@EnableWebSecurity

public class WebSecurityConfig extends WebSecurityConfigurerAdapter {


    @Override

    protected void configure(HttpSecurity httpSecurity) throws Exception {

        //Turn off csrf

        httpSecurity.csrf().disable();

        //Support httpBasic

        httpSecurity.authorizeRequests()

                .anyRequest()

                .authenticated()

                .and()

                .httpBasic();

    }

}
Restart the registry and visit http://127.0.0.1:8761/ , the browser will prompt you for your user name and password:

After Eureka starts authentication, the configuration registered by the client shall also add the authenticated user name and password information:
eureka.client.serviceUrl.defaultZone=http://ygayddcxy:123456@localhost:8761/eureka
[](
)6. Eureka high availability architecture
The registry we built earlier is only suitable for local development. A cluster must be built in the production environment to ensure high availability. Eureka's cluster building method is very simple: each Eureka only needs to specify the addresses of other Eureka in the configuration to build a cluster. Let's take two nodes as examples to illustrate the construction method. If we have master and slave machines, what we need to do is:
1. Register the master on the slave
2. Register the slave on the master
If there are three or more machines, and so on.
Let's set up a project and test it:
Create a new project Eureka server cluster. The configuration is the same as the above Eureka server.
Because we want to test Eureka's high availability, we need to run instances in different environments:
application-master.properties:
server.port=8761
#Eureka pointing to your slave node
eureka.client.serviceUrl.defaultZone=http://ygayddcxy:123456@localhost:8762/eureka/
Add: application slave properties:
server.port=8762
#Eureka pointing to your master node
eureka.client.serviceUrl.defaultZone=http://ygayddcxy:123456@localhost:8761/eureka/
In application properties:
spring.application.name=eureka-server-cluster
#Because the application is a registry, it is set to false, which means that you do not register yourself with the registry
eureka.client.register-with-eureka=false
#Since the registry is responsible for maintaining service instances and does not need to retrieve services, it is also set to false
eureka.client.fetch-registry=false
spring.security.user.name=ygayddcxy
spring.security.user.password=123456
#Specify different environments
spring.profiles.active=master
The above is our configuration use case:
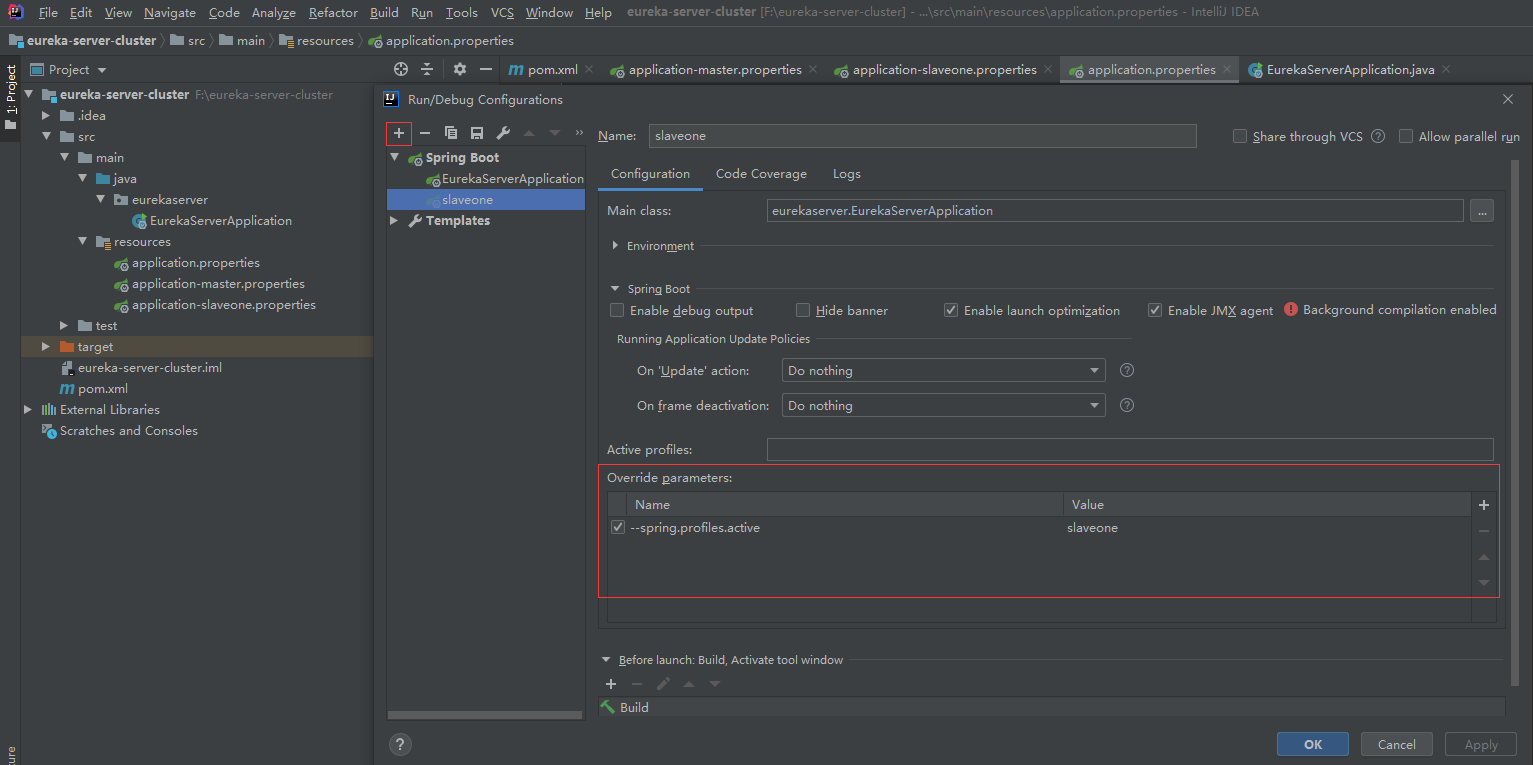
Different startup environments are set as follows:
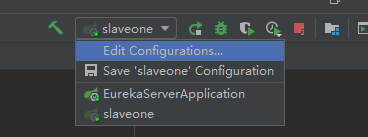
Click Edit settings, add one more service startup, and add – spring profiles. active=slaveone:
After we start the visit respectively:
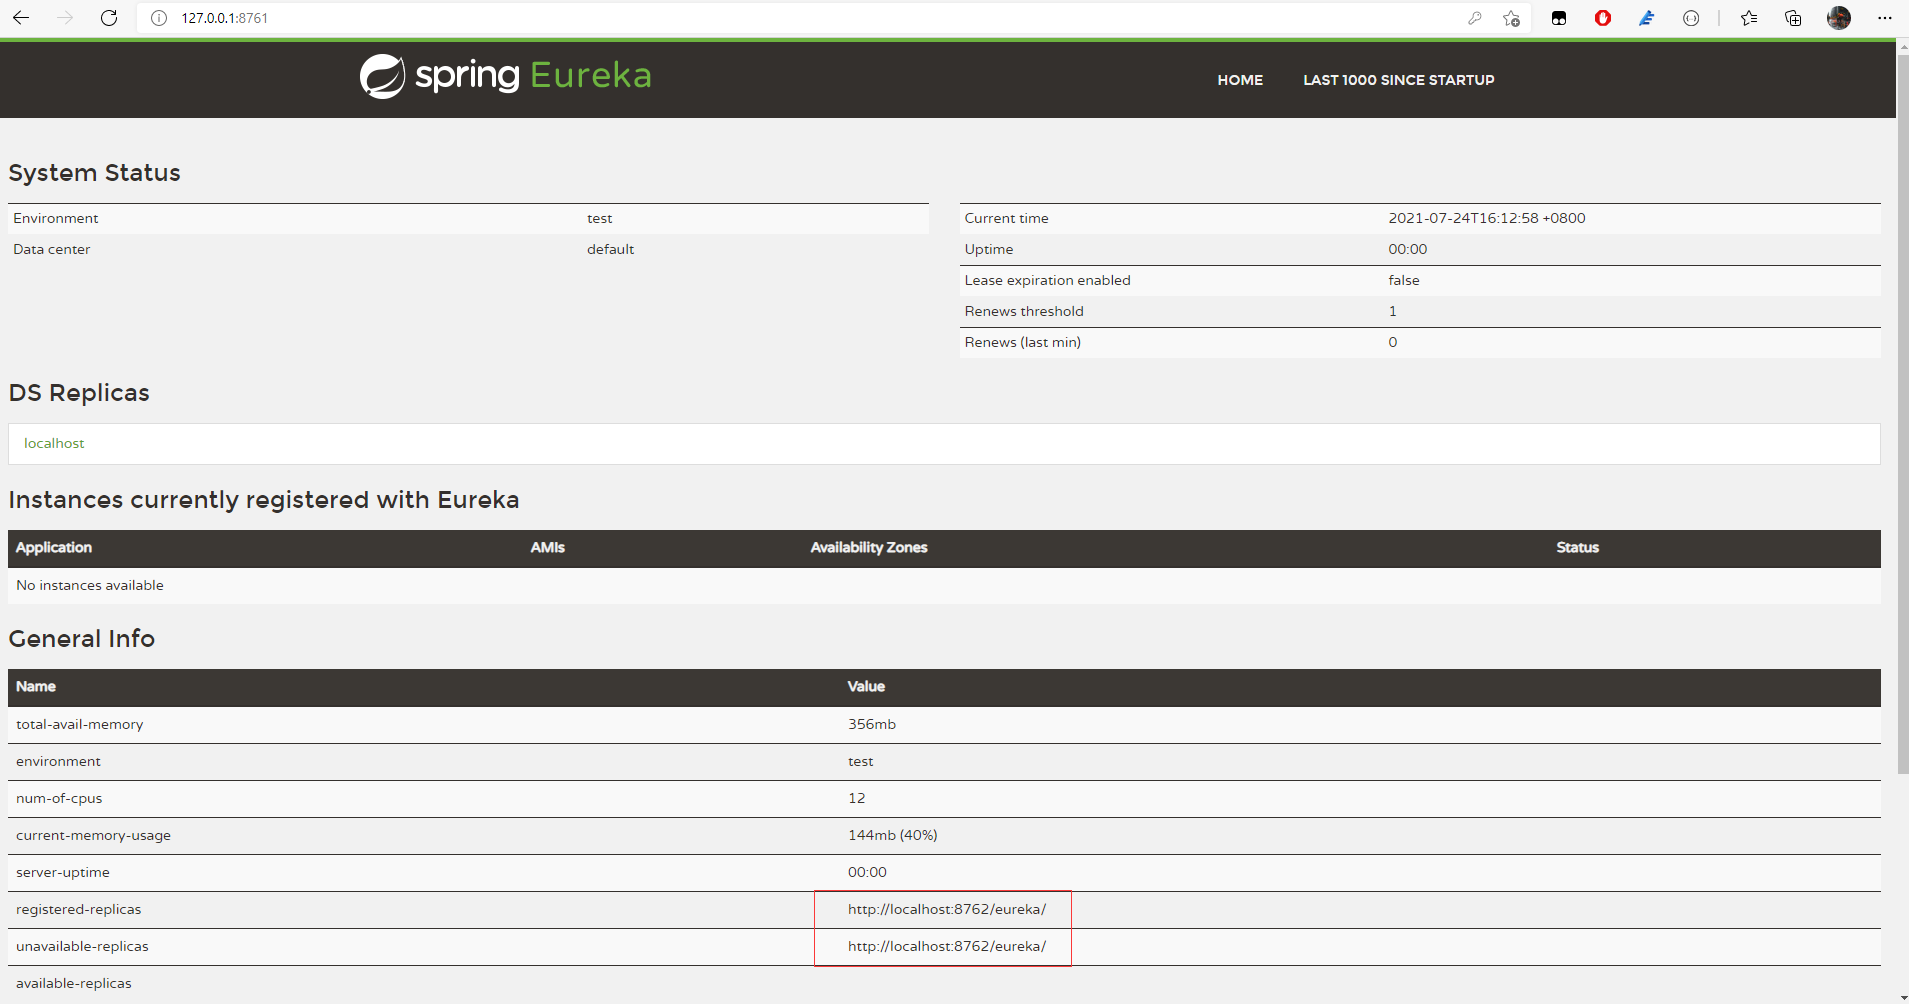
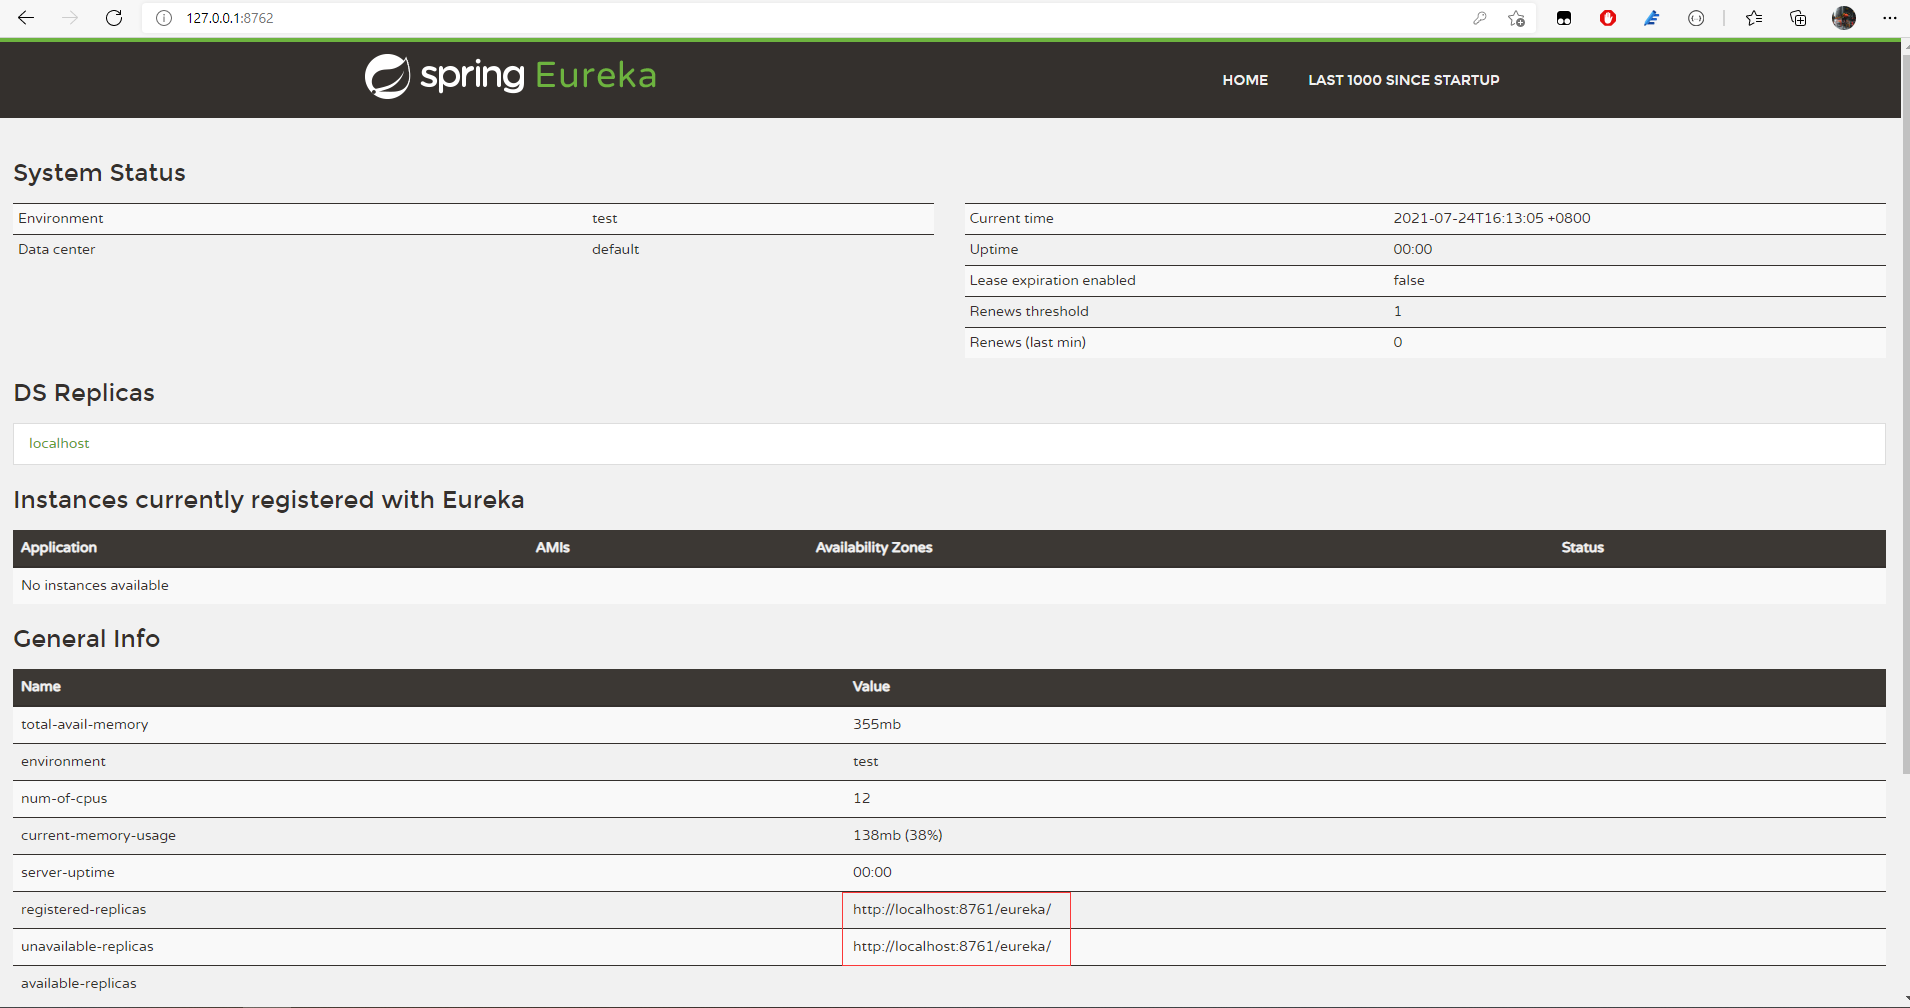
You should see that the master is registered in the slave and the slave is registered in the master. No matter who has a problem, the application can continue to use the surviving registry.
A source level explanation is found in the comments area of other bloggers of CSDN:
Suppose Server1 and Server2 are peer s, and client1 is only registered with Server1, Client2 is only registered with Server2 (note this and word). At this time, client1 and client2 will be on Server1 and Server2. Assuming client1 hangs, it will undergo three attempts, that is, after the default 3*30,90S, Server1 will want to remove client1, but under the default setting, due to the self-protection mechanism (the number of failed clients within 3 minutes is greater than 15% of the total number). At present, there are only three clients (client1, client2 and Server2 are all registered on Server1 at this time. Please confirm that you understand this sentence). Server1 has reached the threshold of self-protection. Server1 will not remove the client. Because there is only one client, no other client will fail in the next three minutes, which will cause the cancellation of self-protection. Client1 will never be removed from Server1. Under what circumstances will it be removed , instead of counting the 15% number of server boundaries, let's take a larger example. 1. Suppose we have 100 clients. If client1 fails, it will be removed after 90S. 2. Suppose only client1 is enabled at the beginning, and then 100 new clients are registered. When the next client fails, the failed client and client1 will be removed together. Then copy to Server2. The above is the case when the client hangs up. Suppose Server1 hangs up and Server2 fails to synchronize the service list from Server1, but it will not delete data. For it, three clients interrupt two. And will not be removed in the future. Similarly, if there are many services, they will be removed after 90S. The above situation of sever1 disconnection has not been finished. Assuming that there are many servers and the removal occurs after Server1 is disconnected, client1 will become an isolated client. Although it has its own cache of other services, this information will not be updated. And there is no information about it under other services. It can only successfully call those unchanged services. At this time, the Zone does not play a real disaster recovery role. Continue...
Previously, in the client, we configured Eureka client. serviceUrl. Defaultzone to specify the right registry. When our registry has multiple nodes, we need to modify Eureka client. serviceUrl. The defaultzone is configured as the addresses of multiple nodes, which can be separated by English commas:
eureka.client.serviceUrl.defaultZone=http://ygayddcxy:123456@localhost:8761/eureka/,http://ygayddcxy:123456@localhost:8762/eureka/
[](
)7. Explanation of common configurations
[](
)1) Turn off self-protection
The protection mode is mainly used when there is a network partition scenario between the group client and Eureka Server. Once entering the protection mode, Eureka Server will try to protect the information in the registry of its service and will no longer delete the data in the service registry. When the network fault recovers, the Eureka Server node will automatically exit the protection mode.
The self-protection mode can be turned off through the following configuration in Eureka server:
eureka.server.enable-self-preservation=false
[](
)2) . customize the InstanceID of Eureka