1. Construction type of Jenkins project
There are many types of automatic construction projects in Jenkins, including the following three types:
- FreeStyle Project
- Maven Project
- Pipeline Project
In fact, each type of construction can complete the same construction process and results, but there are differences in operation mode and flexibility, which can be selected according to their own needs and habits in actual development. (PS: I personally recommend using the assembly line type because of its high flexibility)
2. Free style project construction
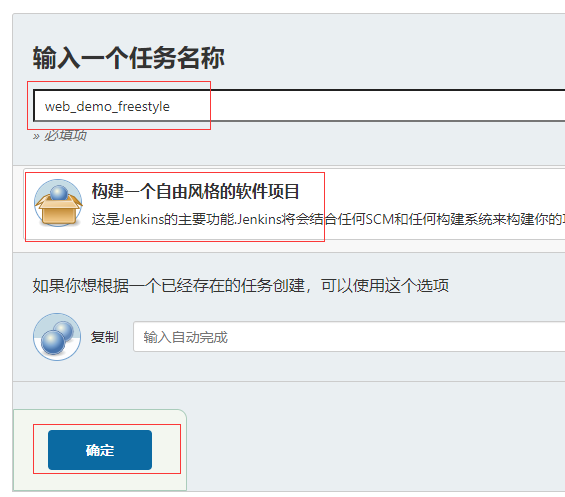
Create a free style project to complete the integration process of the project:
Pull code - compile - package - deploy
2.1 pull code
Create project
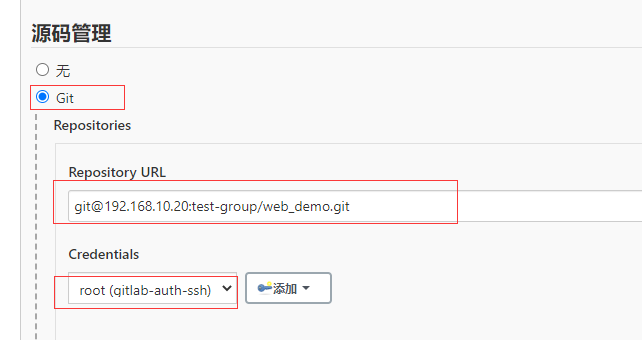
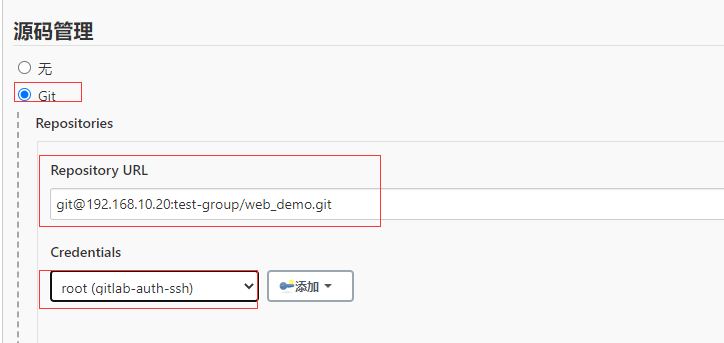
2.2 configuration source code management
Use ssh to pull the code from gitlab. After configuration, click apply and save.

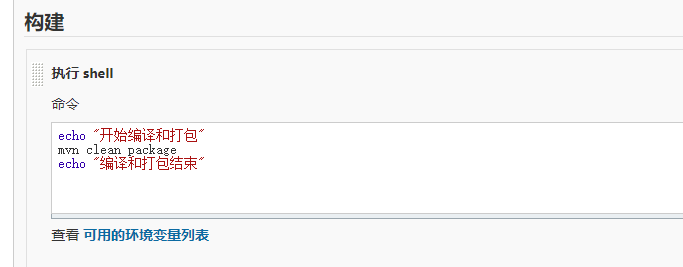
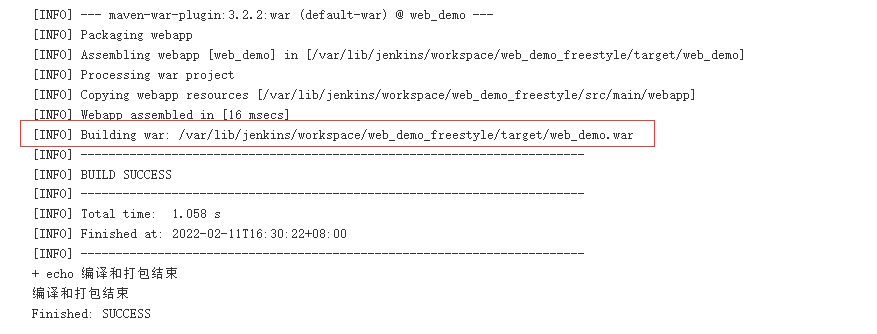
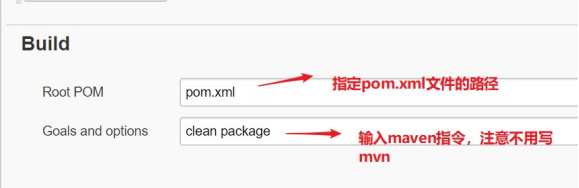
2.3 compilation and packaging
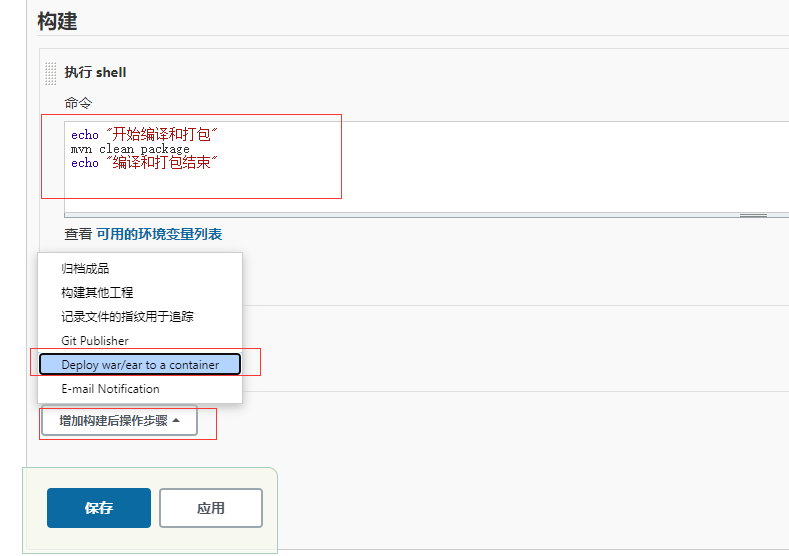
Build - > add build steps - > executor shell. After setting, click apply and save
echo "Start compiling and packaging"
mvn clean package
echo "End of compilation and packaging"

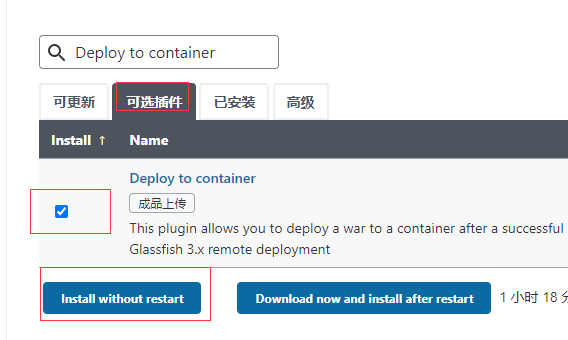
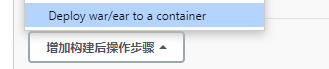
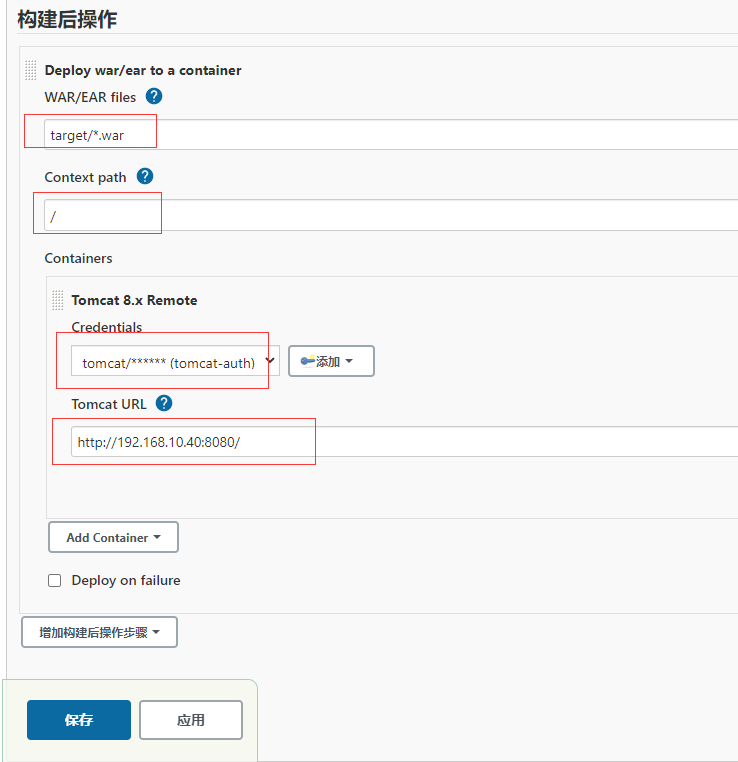
2.4 deploy the project to remote Tomcat
Install the Deploy to container plug-in
Jenkins itself cannot realize the function of remote deployment to Tomcat, so it needs to install the Deploy to container plug-in
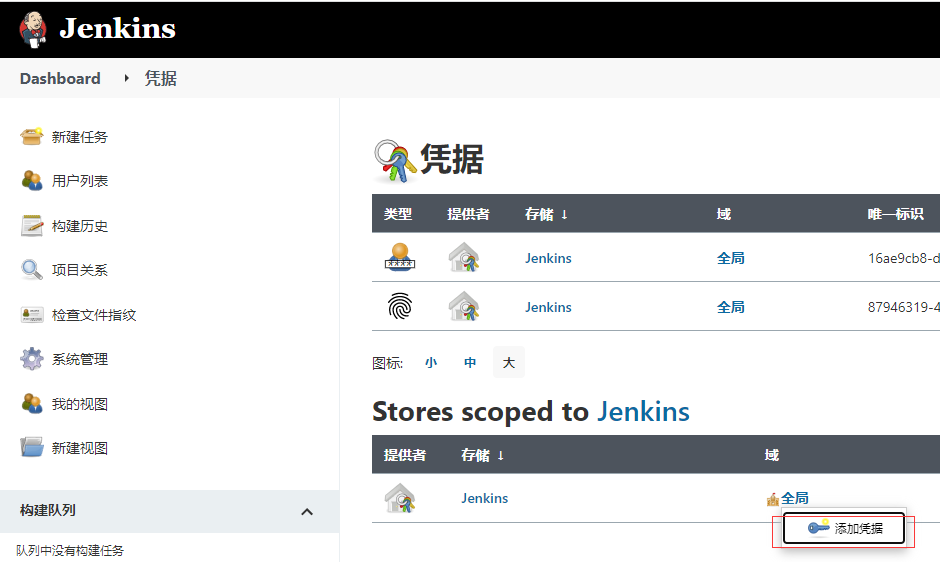
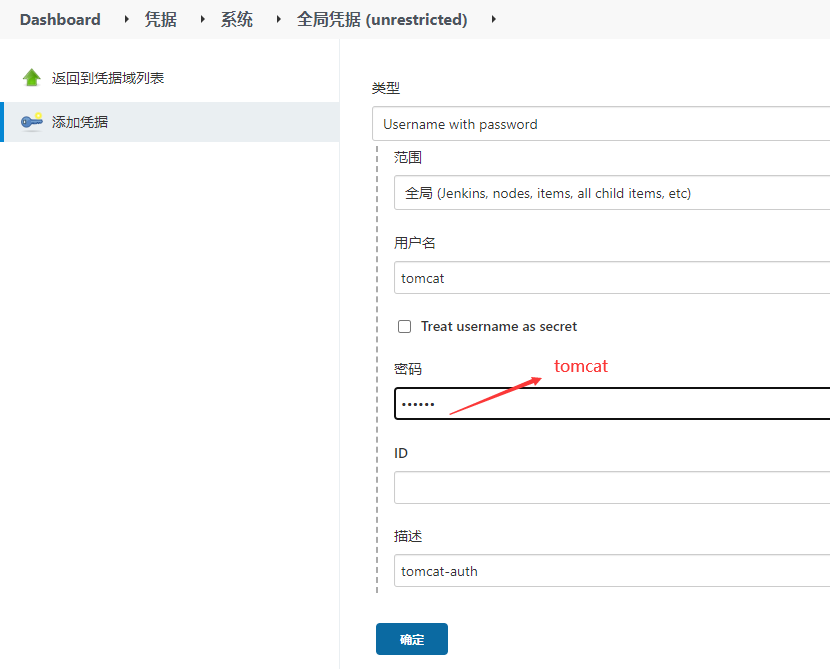
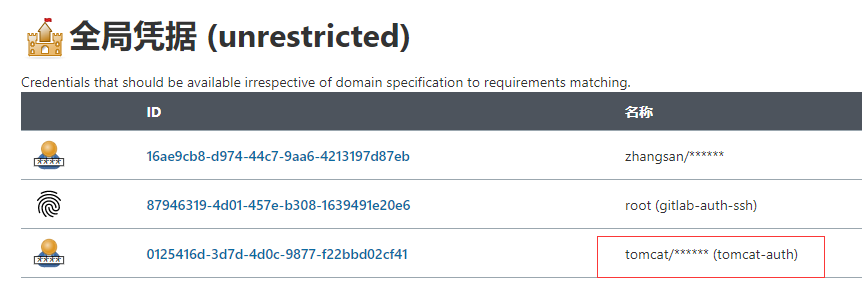
Add Tomcat user credentials
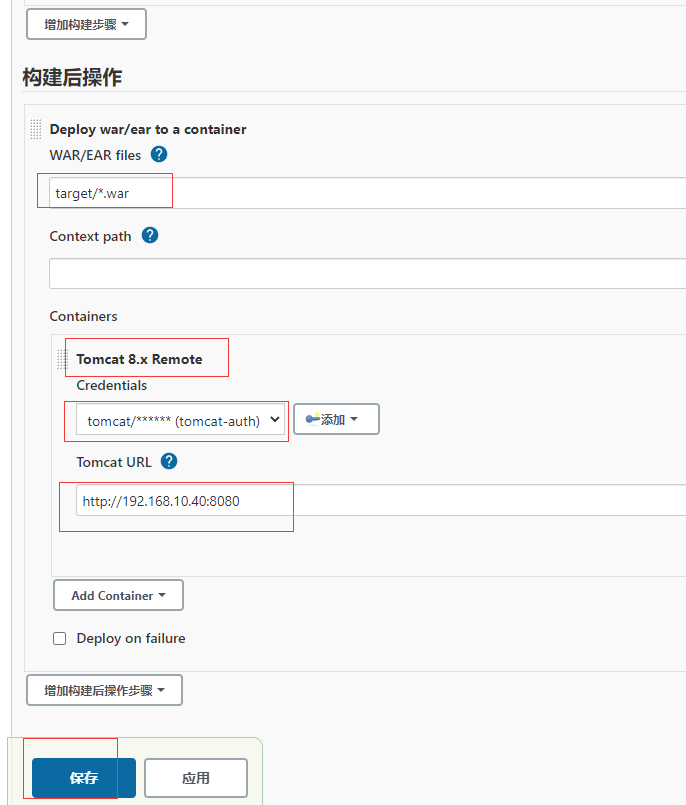
Add post build actions


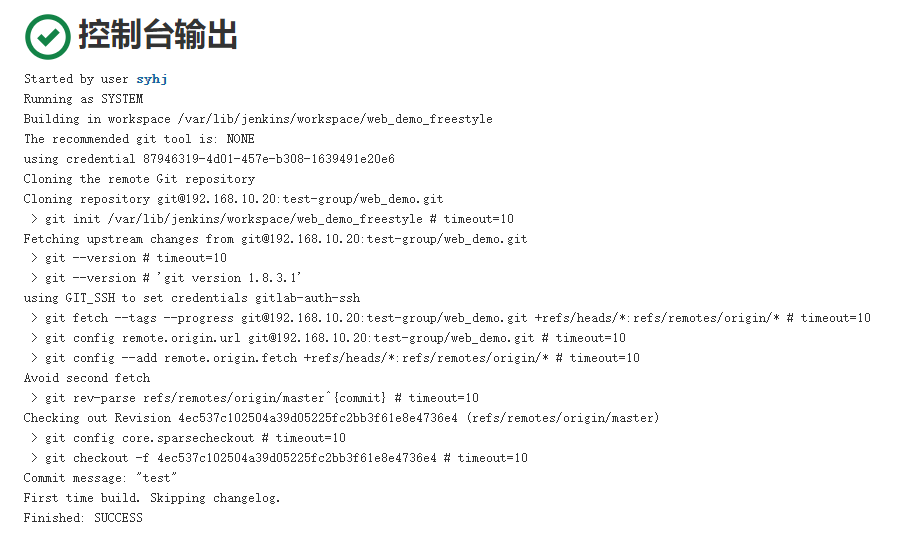
Click the published item to view the running results.
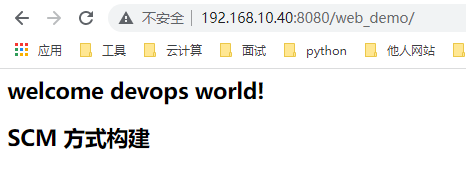
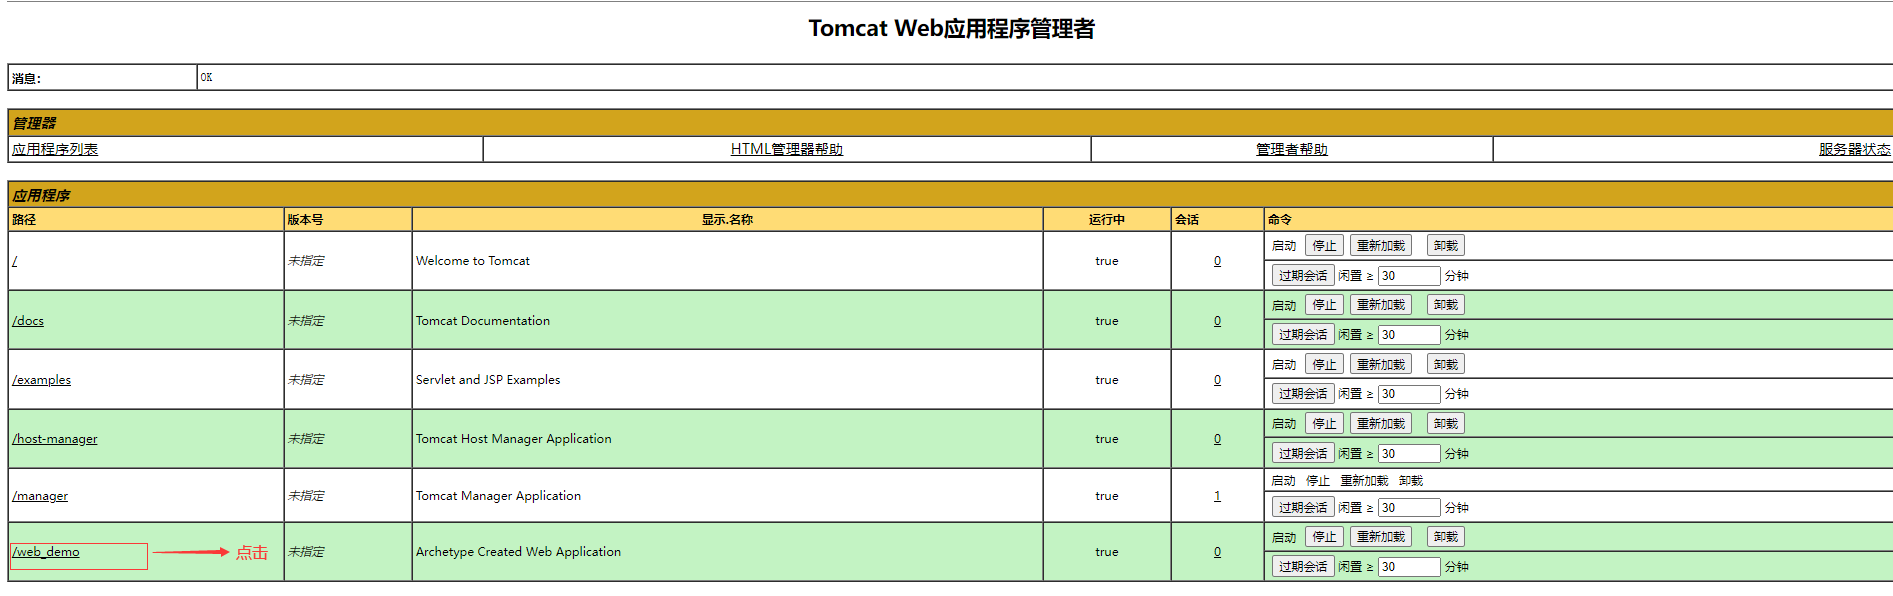
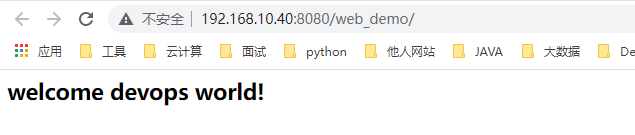
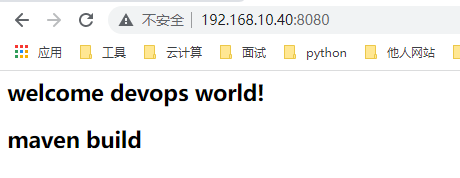
2.5 after successful deployment, access the project
http://192.168.10.40:8080/web_demo/
2.6 demonstrate continuous integration after code changes
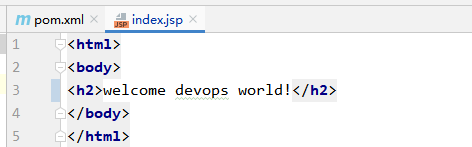
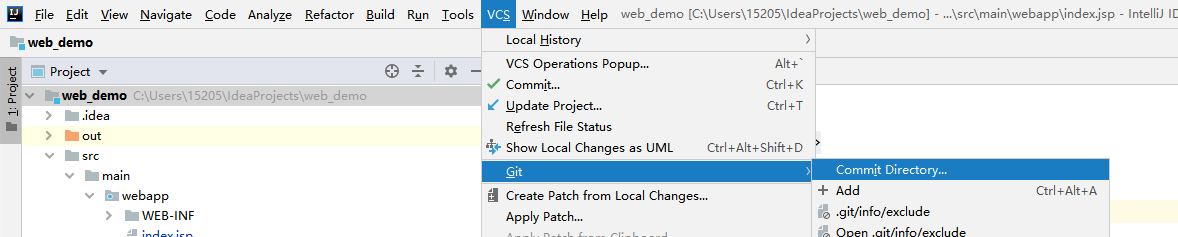
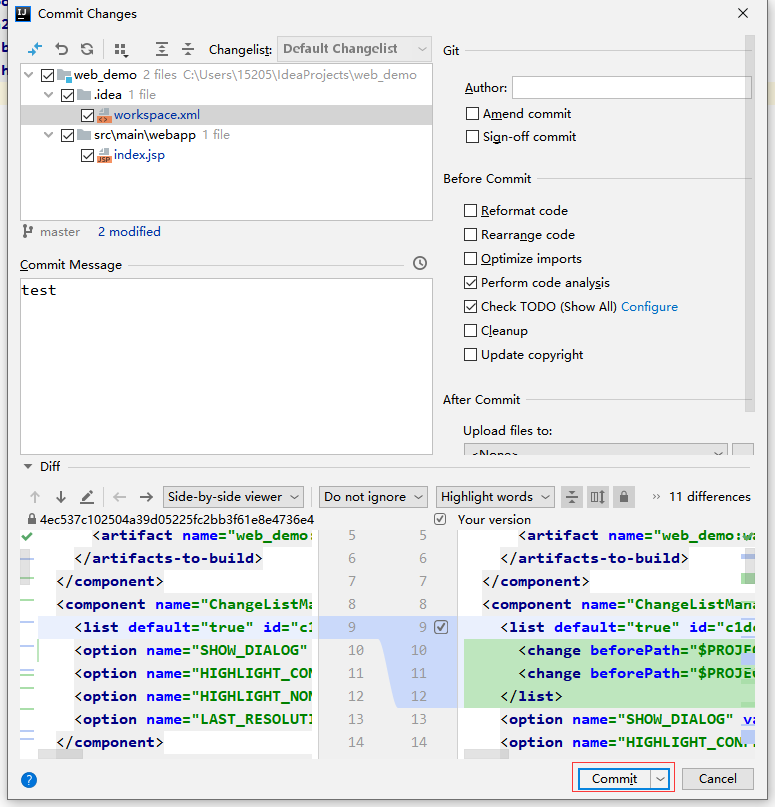
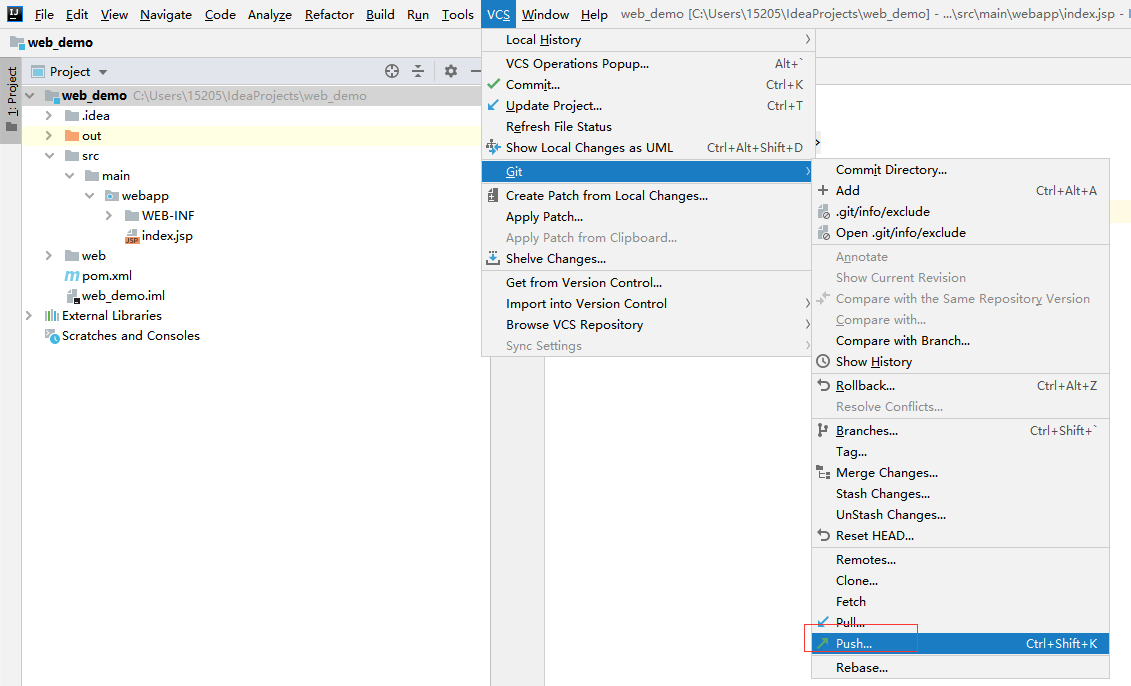
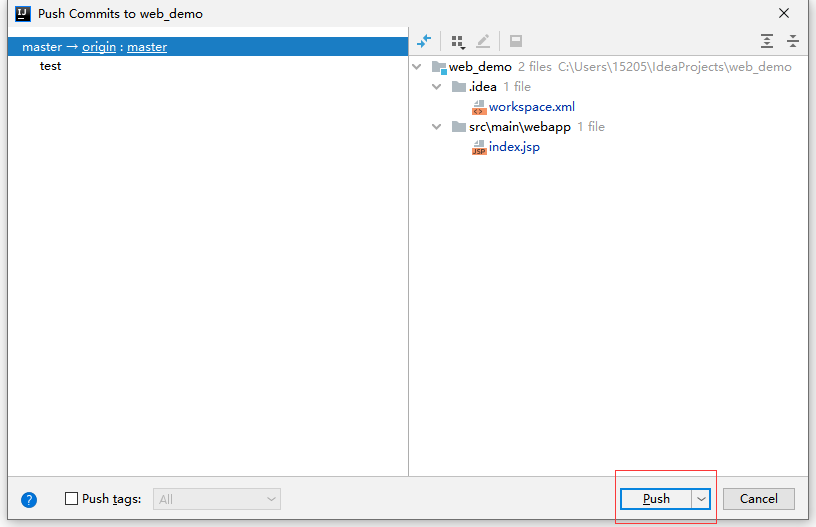
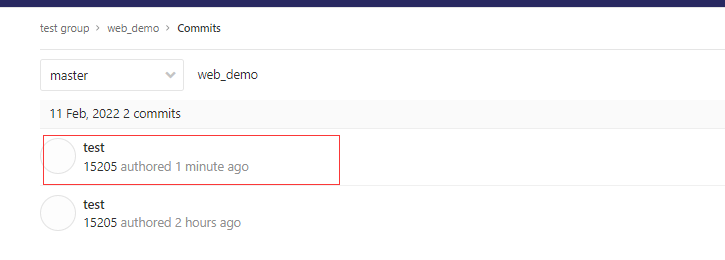
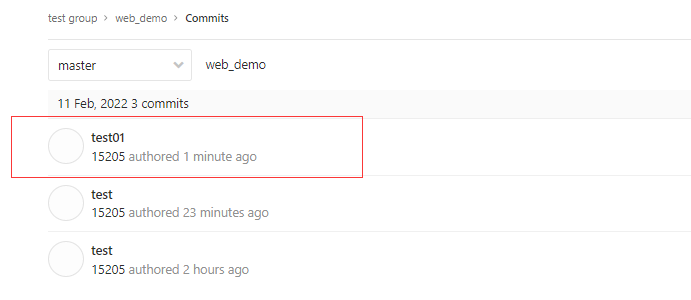
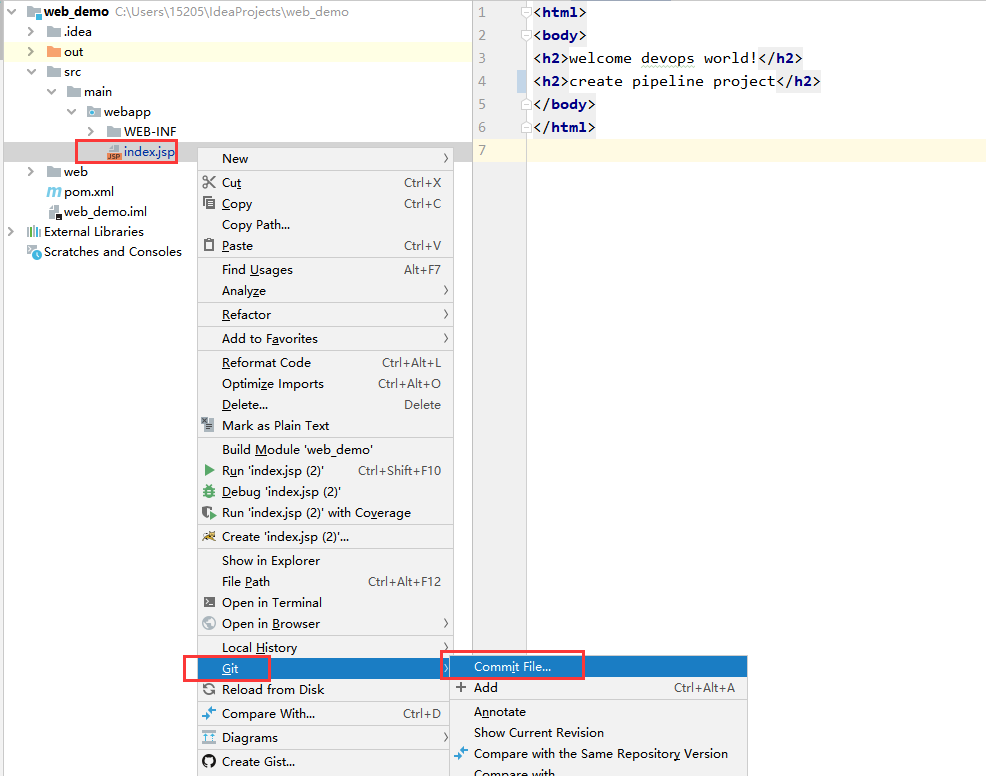
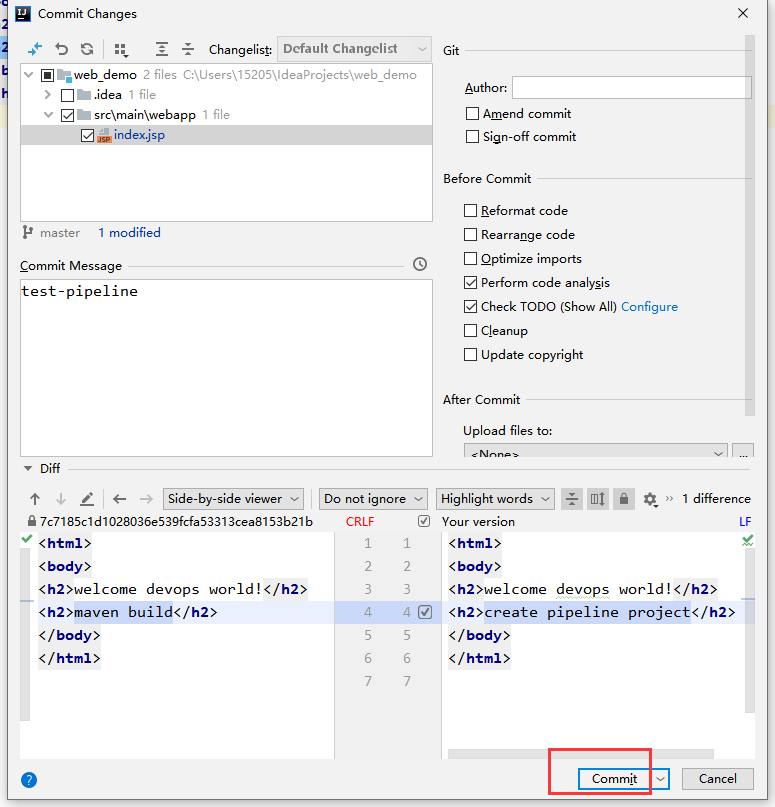
(1) Modify the source code in idea and submit it to gitlab
Select directory


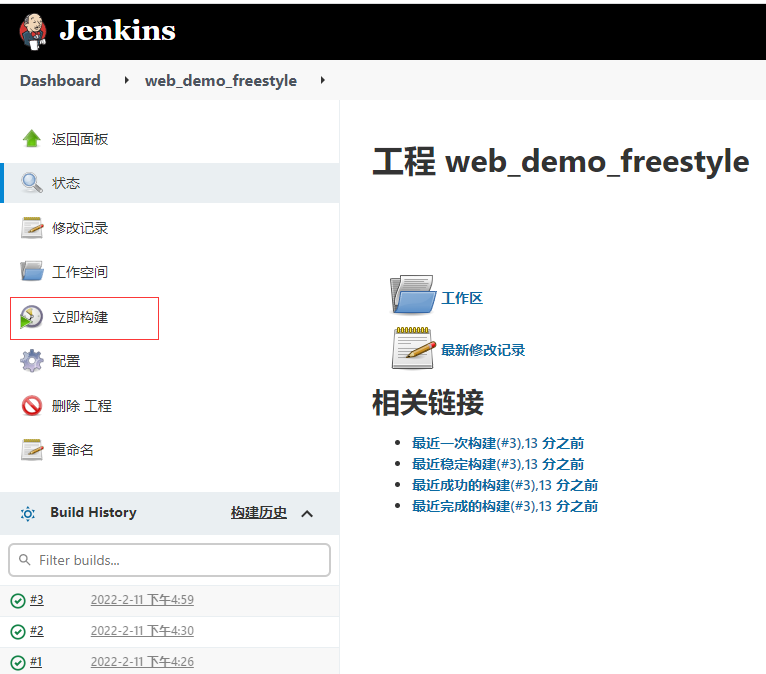
(2) Rebuild the project in Jenkins

(3) Access Tomcat
http://192.168.10.40:8080/web_demo/
2. Maven project construction
2.1 installing Maven Integration plug-in
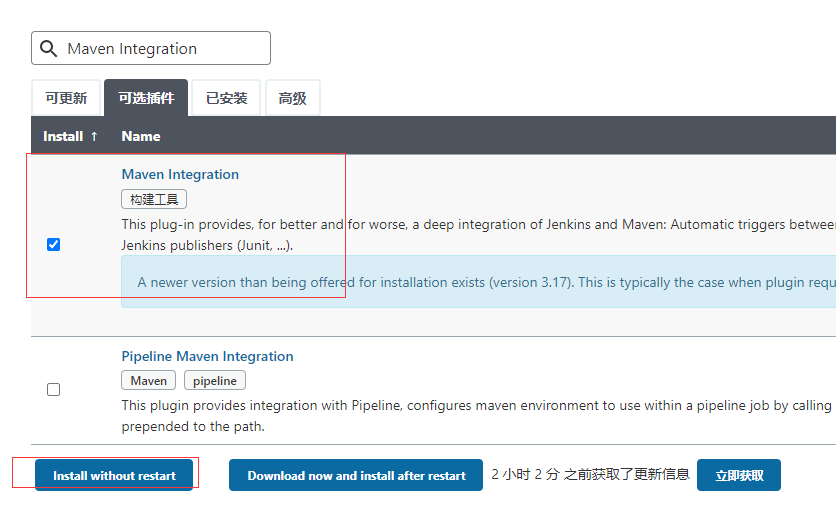
This plug-in will take some time to install. If you need to update the Jenkins version, you will be prompted
2.2 creating Maven project

Item Configuration
The process of pulling code and remote deployment is the same as that of free style projects, but the construction part is different
Modify code
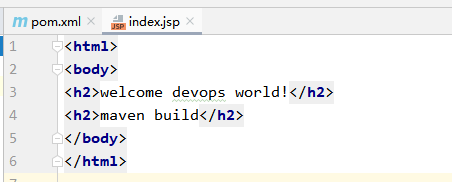
The intermediate submission code step is omitted
Rebuild configuration

visit: http://192.168.10.40:8080
3. Pipeline pipeline project construction
3.1 Pipeline introduction
(1) Concept
Pipeline, in short, is a set of workflow framework running on Jenkins, which connects the tasks originally running independently on a single or multiple nodes to realize the complex process arrangement and visualization that is difficult to complete by a single task.
(2) Benefits of using Pipeline
- Code: Pipeline is implemented in the form of code, which is usually checked into source code control, enabling the team to edit, review and iterate its delivery process.
- Persistence: Pipeline is recoverable whether it is a planned or unplanned server restart.
- Stoppable: Pipeline can receive interactive input to determine whether to continue Pipeline execution.
- Versatility: Pipeline supports complex continuous delivery requirements in the real world. It supports the functions of fork/join, circular execution and parallel task execution.
- Extensibility: the Pipeline plug-in supports the custom extension of its DSL and multiple options for integration with other plug-ins.
(3) How to create Jenkins Pipeline
- Pipeline script is implemented by Groovy language, but we don't need to learn Groovy alone.
- Pipeline supports two Grammars: declarative and scripted pipeline.
- There are also two ways to create Pipeline: you can directly enter scripts in Jenkins's Web UI interface; You can also create a Jenkins "le" script file and put it into the project source code library (generally, we recommend loading Jenkins "le Pipeline directly from source code control SCM in Jenkins).
3.2 installing Pipeline plug-in
Manage Jenkins - > Manage plugins - > optional plug-ins
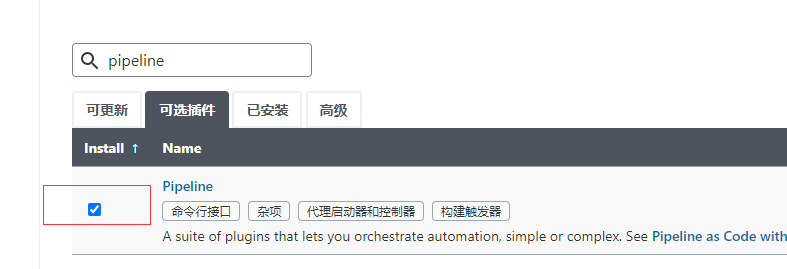
Restart after installation, and ignore the error messages in the middle
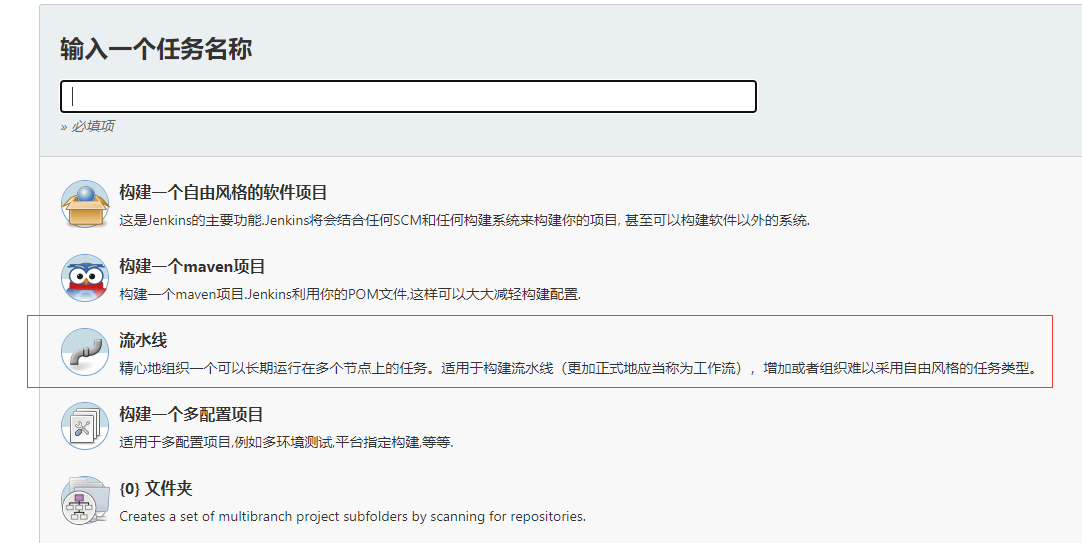
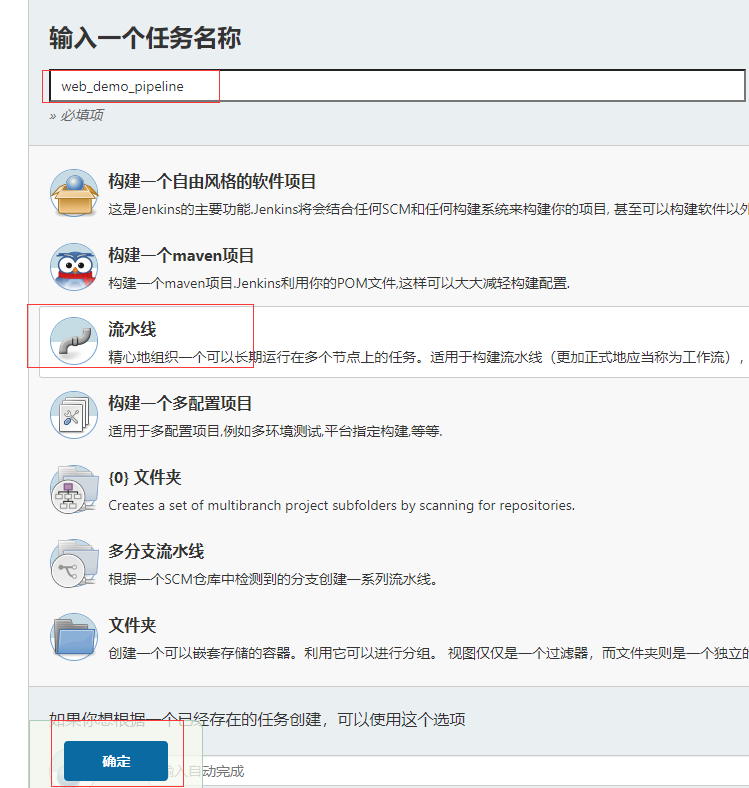
After installing the plug-in, the "pipeline" type is added when creating the project.
3.3 Pipeline syntax quick start
(1) Declarative Pipeline
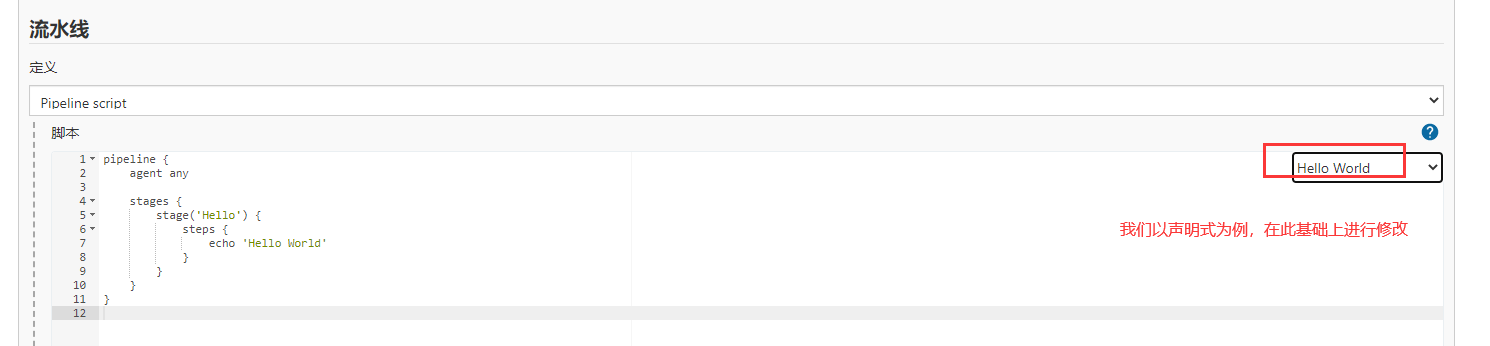
Create project
Pipeline - > select HelloWorld template
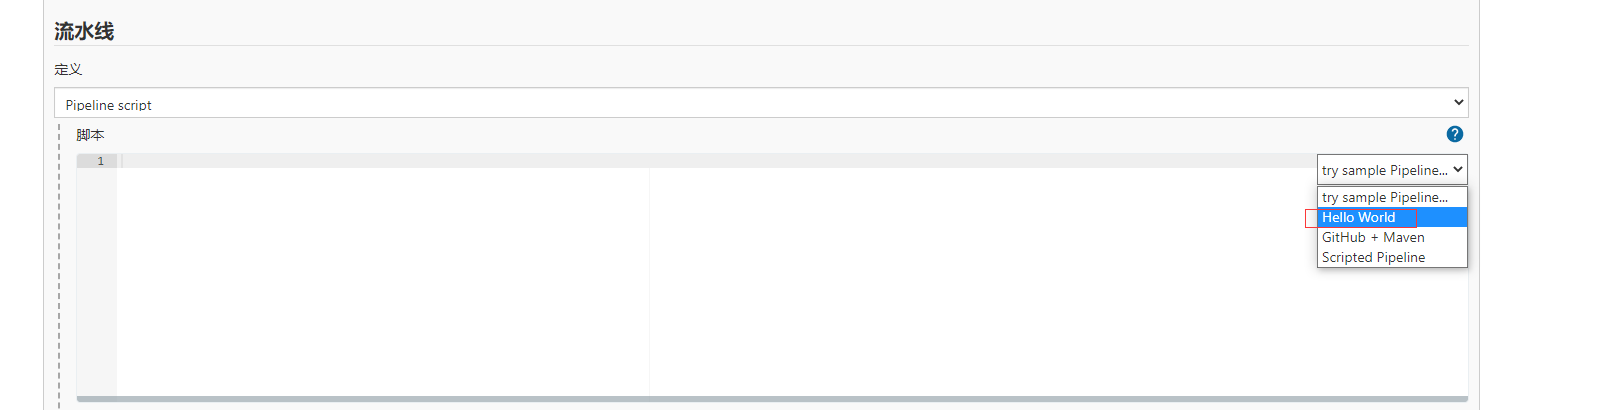
The generated template is as follows, for example only
pipeline {
    agent any

    stages {
        stage('Hello') {
            steps {
                echo 'Hello World'
            }
        }
    }
}
- Stages: represents all execution stages of the whole pipeline. Usually, there is only one stage, which contains multiple stages.
- Stage: represents a certain stage in the pipeline. There may be n stages. It is generally divided into pulling code, compiling, building, deployment and other stages.
- steps: represents the logic to be executed in a phase. steps contains shell script, git pull code, ssh Remote release and other arbitrary content.
Write a simple declarative Pipeline
pipeline {
    agent any

    stages {
        stage('Pull code') {
            steps {
                echo 'Pull code'
            }
        }

        stage('Compile build') {
            steps {
                echo 'Compile build'
            }
        }

        stage('Project deployment') {
            steps {
                echo 'Project deployment'
            }
        }
    }
}
Click build to see the whole construction process
(2) Scripted Pipeline
Continue to return to the configuration and select Scripted Pipeline this time
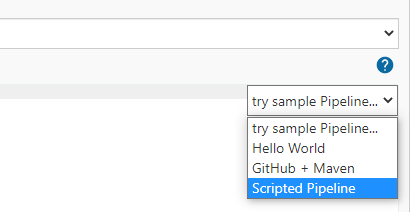
Script example
node {
    def mvnHome
    stage('Preparation') { // for display purposes
        // Get some code from a GitHub repository
        git 'https://github.com/jglick/simple-maven-project-with-tests.git'
        // Get the Maven tool.
        // ** NOTE: This 'M3' Maven tool must be configured
        // **       in the global configuration.
        mvnHome = tool 'M3'
    }
    stage('Build') {
        // Run the maven build
        withEnv(["MVN_HOME=$mvnHome"]) {
            if (isUnix()) {
                sh '"$MVN_HOME/bin/mvn" -Dmaven.test.failure.ignore clean package'
            } else {
                bat(/"%MVN_HOME%\bin\mvn" -Dmaven.test.failure.ignore clean package/)
            }
        }
    }
    stage('Results') {
        junit '**/target/surefire-reports/TEST-*.xml'
        archiveArtifacts 'target/*.jar'
    }
}
- Node: node. A node is a Jenkins node (Master or Agent), which is the specific running environment for executing Step. It is used in the subsequent Jenkins master slave architecture.
- Stage: stage. A Pipeline can be divided into several stages. Each stage represents a group of operations, such as Build, Test and Deploy. Stage is a concept of logical grouping.
- Step: step is the most basic operation unit. It can print a sentence or build a Docker image. It is provided by various Jenkins plug-ins, such as the command: sh 'make', which is equivalent to executing the make command in our usual shell terminal.
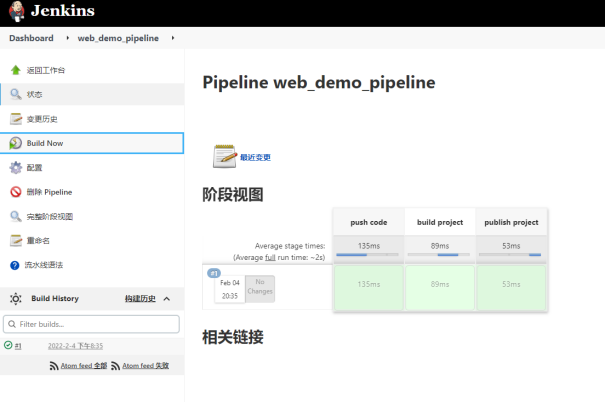
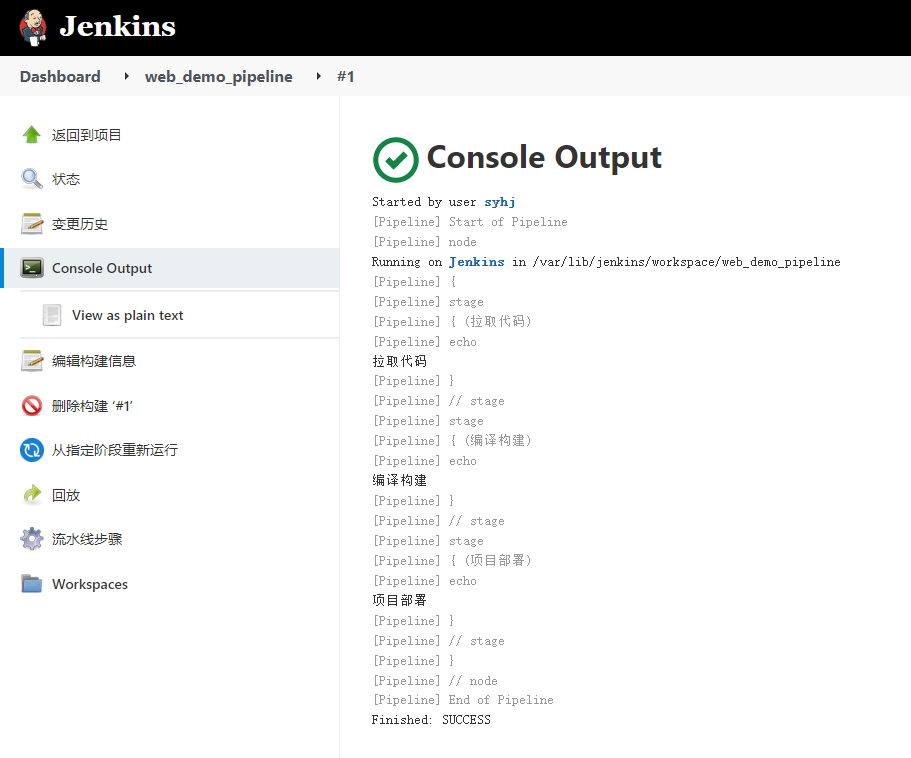
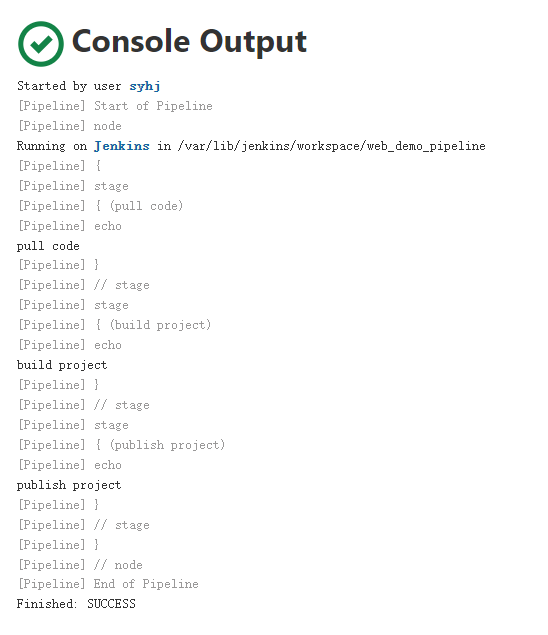
Write a simple scripted Pipeline
node {
    def mvnHome
    stage('pull code') {
        echo 'pull code'
    }
    stage('build project') {
        echo 'build project'
    }
    stage('publish project') {
        echo 'publish project'
    }
}
Build view results
3.4 declarative code generation
In normal production environment, declarative is often used
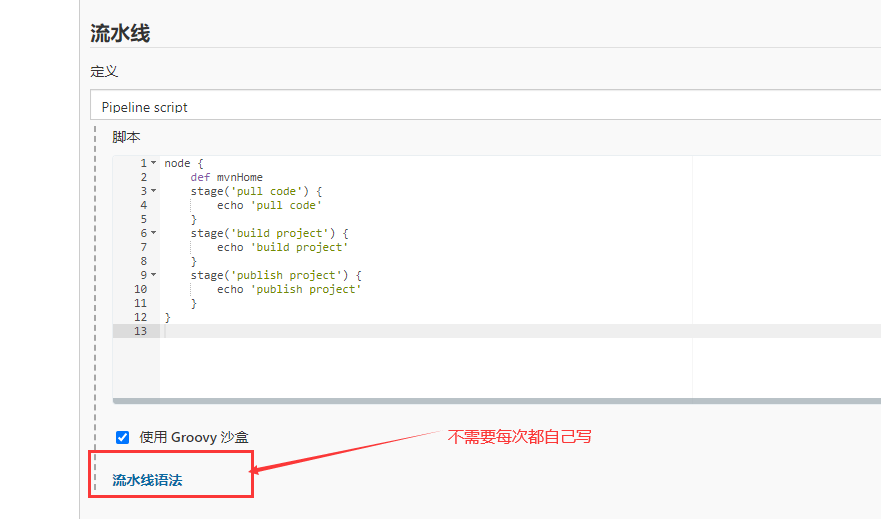
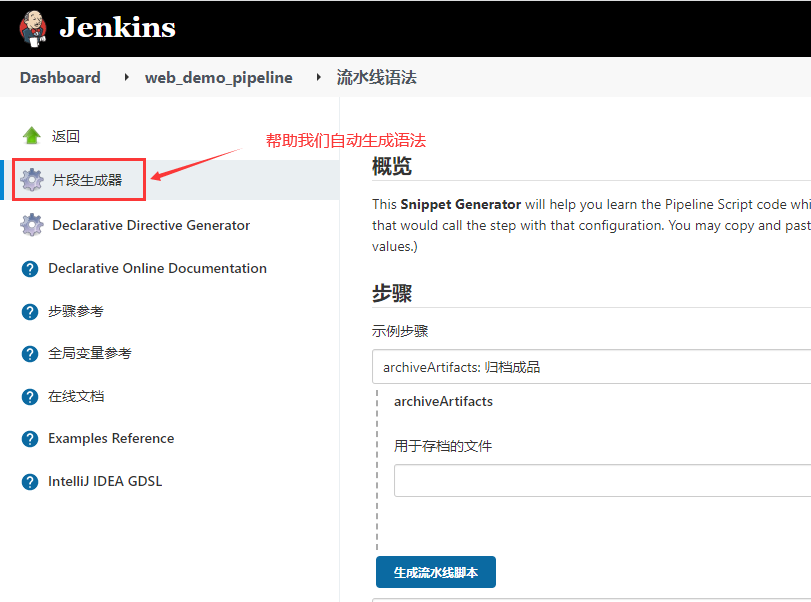
Some parameters should be written by yourself, such as user, password, path, etc.

(1) Pull code example
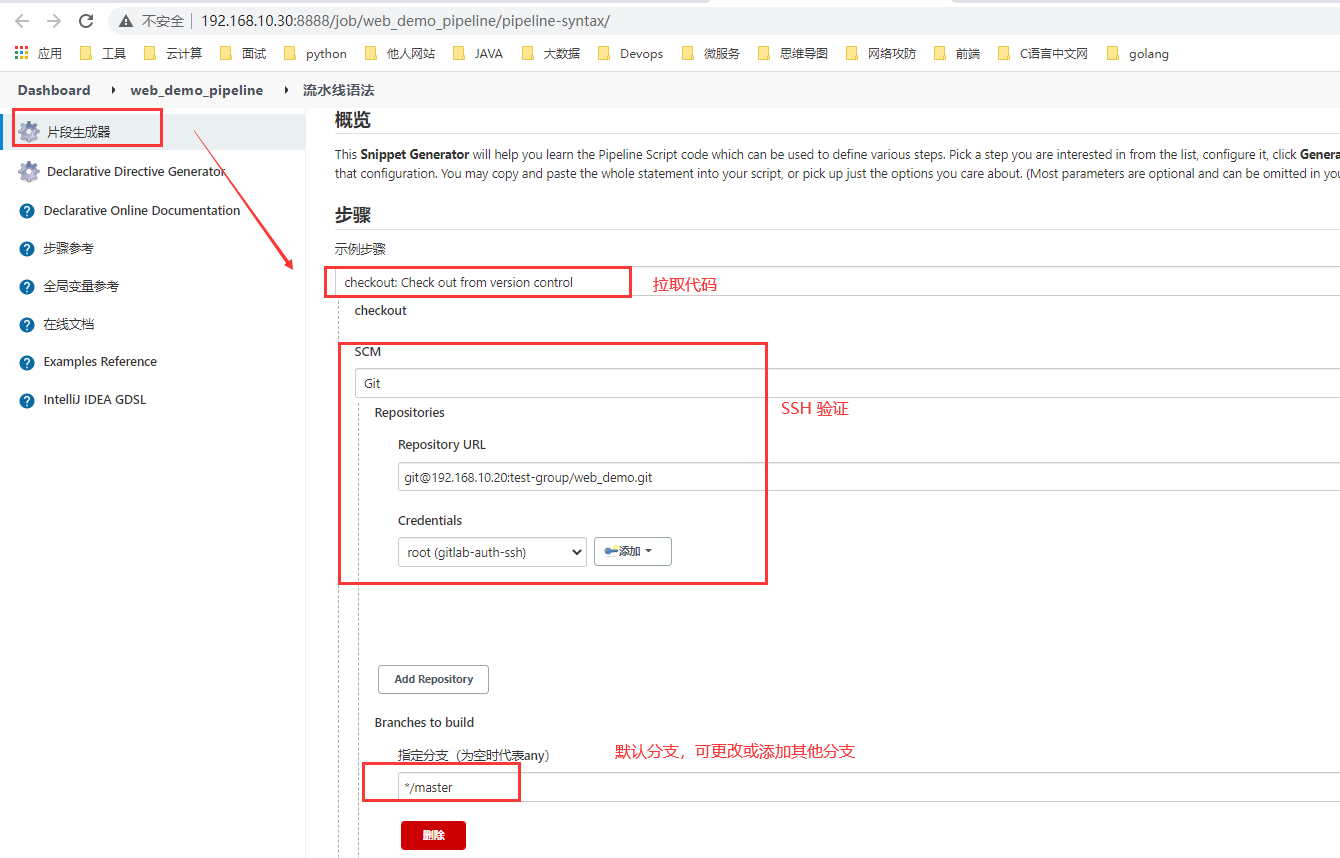

Copy the production script into the pipeline script of the project configuration.
Revised as follows:
pipeline {
    agent any

    stages {
        stage('pull code') {
            steps {
                checkout([$class: 'GitSCM', branches: [[name: '*/master']], extensions: [], userRemoteConfigs: [[credentialsId: '87946319-4d01-457e-b308-1639491e20e6', url: 'git@192.168.10.20:test-group/web_demo.git']]])
            }
        }
        stage('build project') {
            steps {
                echo "build project"
            }
        }
        stage('deploy item') {
            steps {
                echo "deploy item"
            }
        }
    }
}
Skip the two steps of build and release. Here, just pull the code to the Jenkins server.
Build and view results after saving application
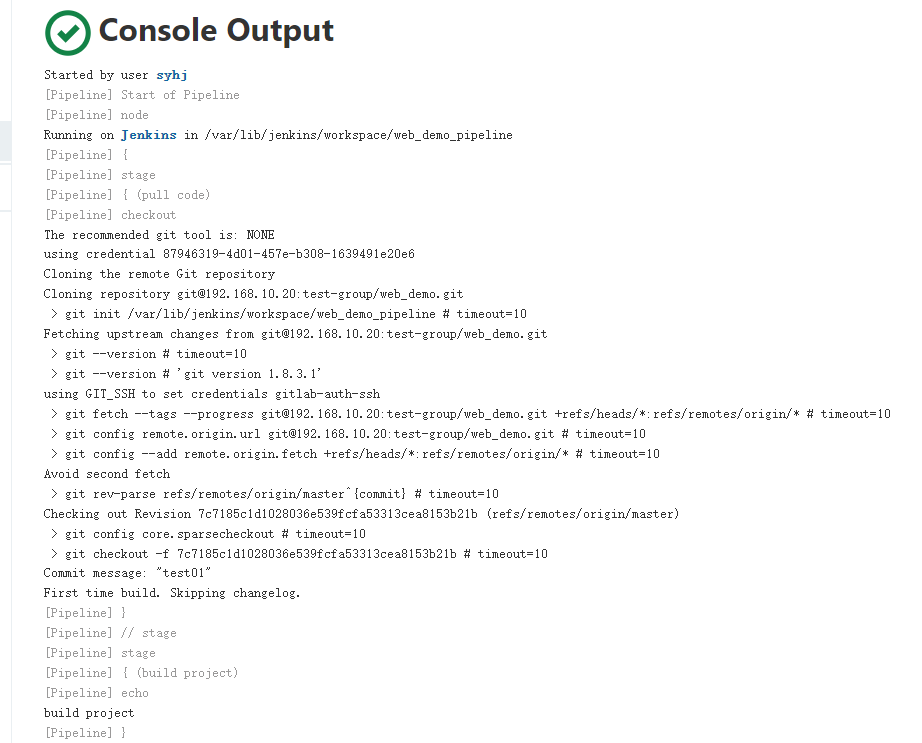
The code has been pulled locally.

(2) Build example
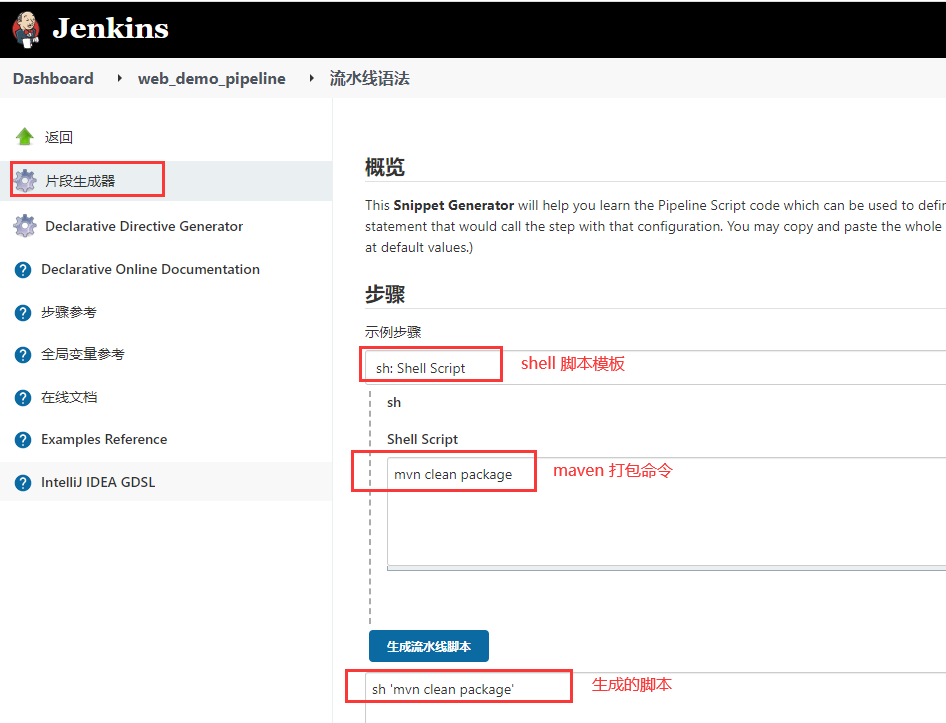
Pipeline script template
pipeline {
    agent any

    stages {
        stage('pull code') {
            steps {
                checkout([$class: 'GitSCM', branches: [[name: '*/master']], extensions: [], userRemoteConfigs: [[credentialsId: '87946319-4d01-457e-b308-1639491e20e6', url: 'git@192.168.10.20:test-group/web_demo.git']]])
            }
        }
        stage('build project') {
            steps {
                sh 'mvn clean package'
            }
        }
        stage('deploy item') {
            steps {
                echo "deploy item"
            }
        }
    }
}
Build again to see the results
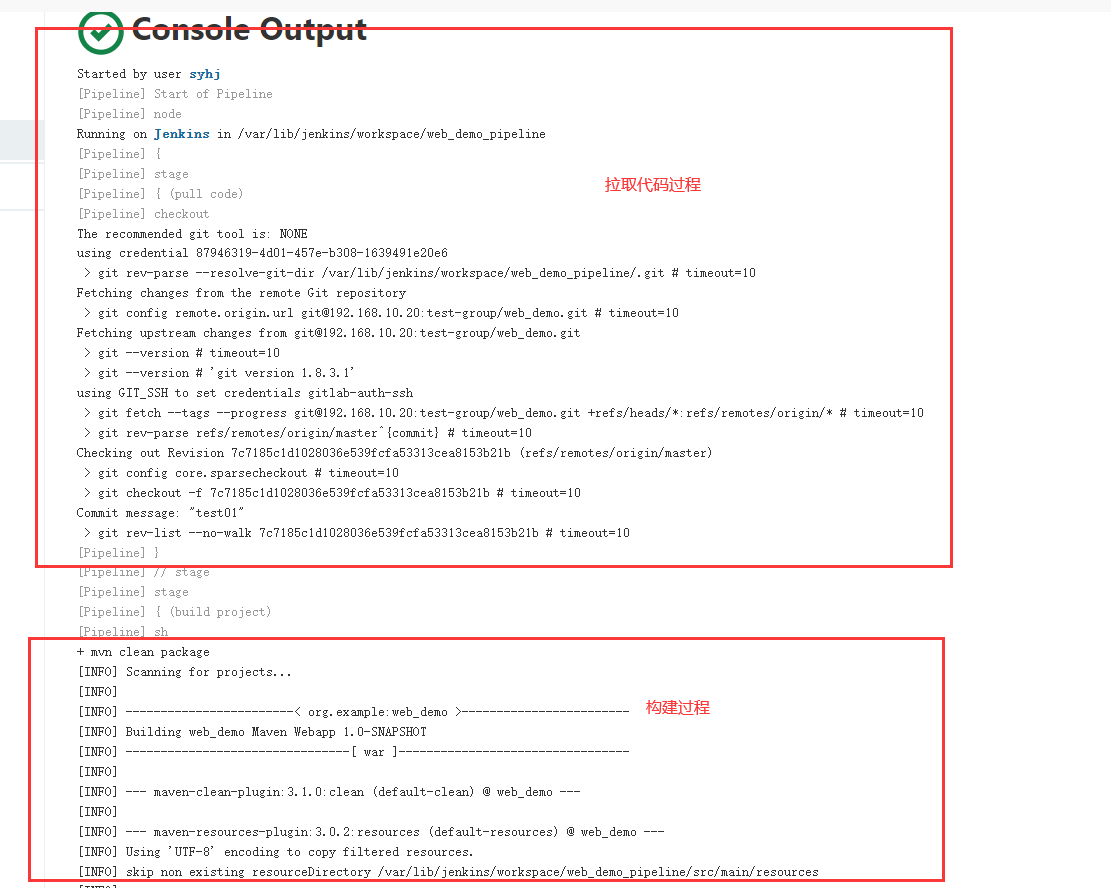
Now we only have the final code release.
(3) Code release example
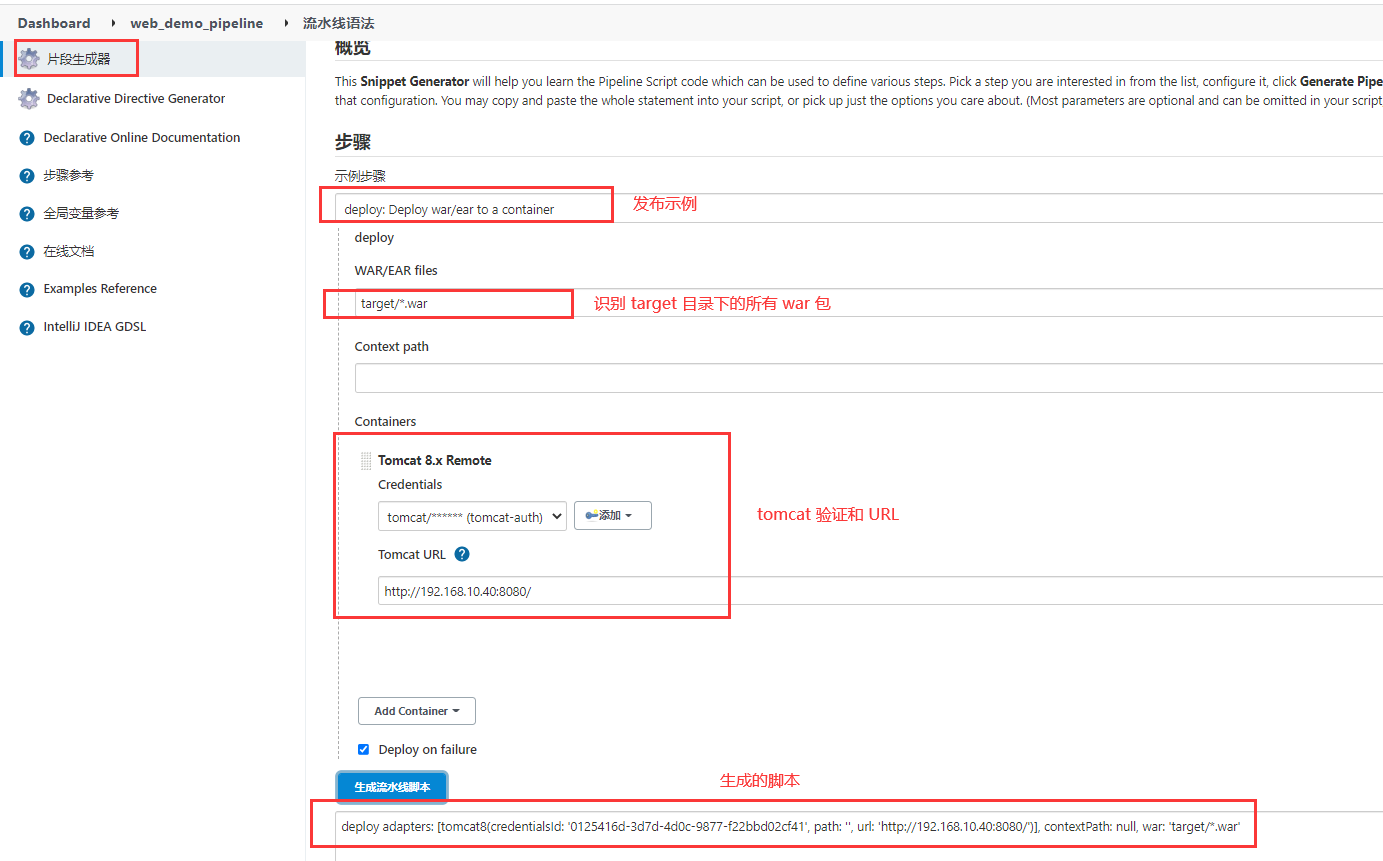
Pipeline script
pipeline {
    agent any

    stages {
        stage('pull code') {
            steps {
                checkout([$class: 'GitSCM', branches: [[name: '*/master']], extensions: [], userRemoteConfigs: [[credentialsId: '87946319-4d01-457e-b308-1639491e20e6', url: 'git@192.168.10.20:test-group/web_demo.git']]])
            }
        }
        stage('build project') {
            steps {
                sh 'mvn clean package'
            }
        }
        stage('deploy item') {
            steps {
                deploy adapters: [tomcat8(credentialsId: '0125416d-3d7d-4d0c-9877-f22bbd02cf41', path: '', url: 'http://192.168.10.40:8080/')], contextPath: null, war: 'target/*.war'
            }
        }
    }
}
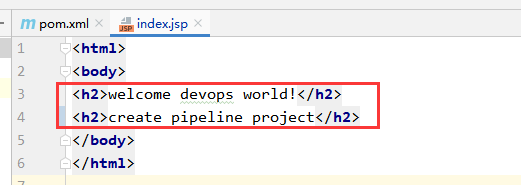
Modify the source code


Construction results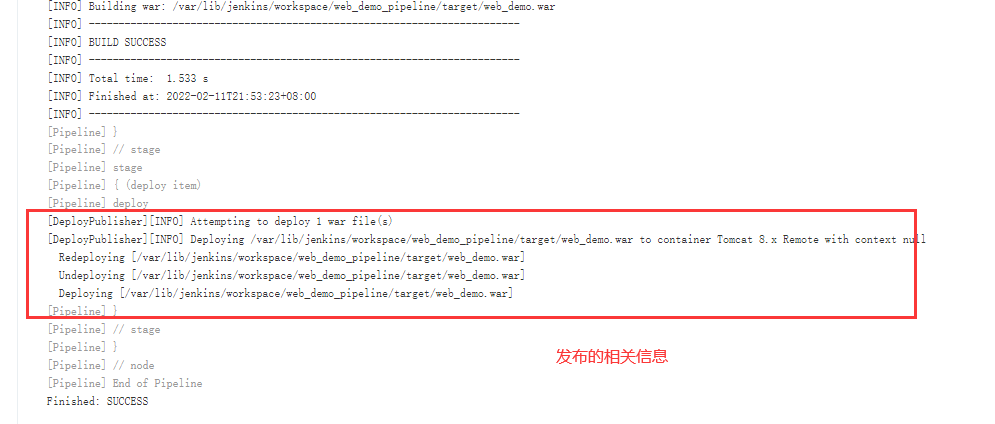
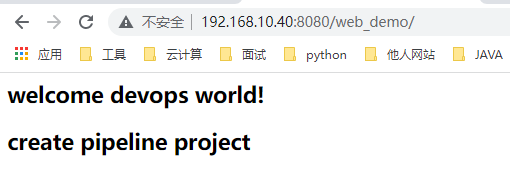
visit: http://192.168.10.40:8080/web_demo
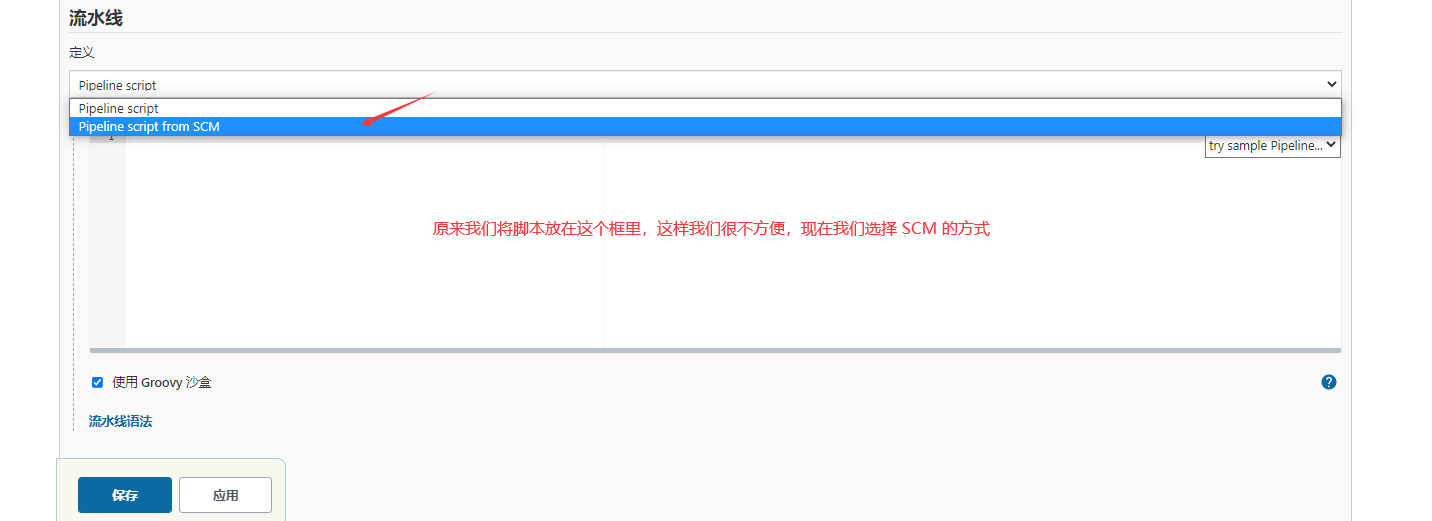
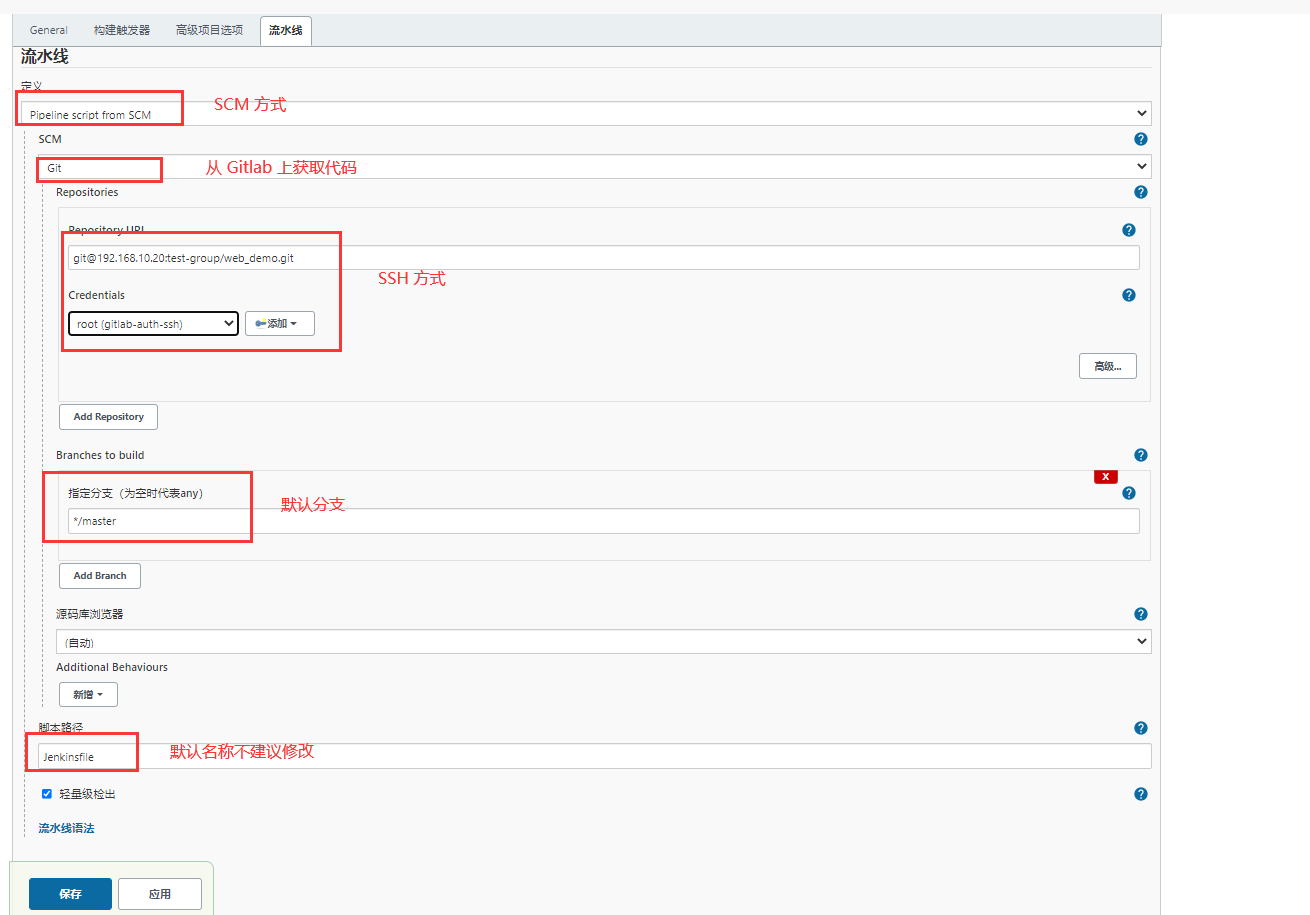
3.5 Pipeline Script from SCM
Just now, we all wrote Pipeline code directly on Jenkins' UI interface, which is inconvenient for script maintenance and easy to lose. It is recommended to put Pipeline script in the project (version control together).
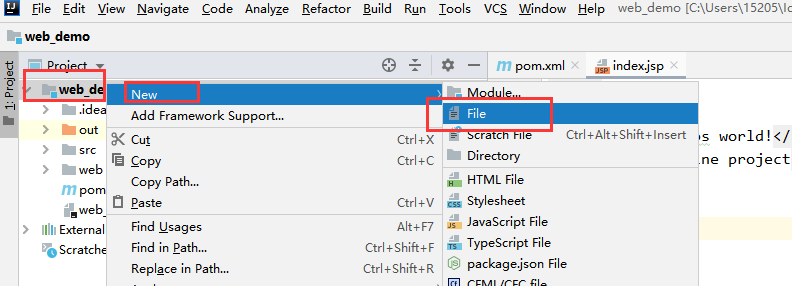
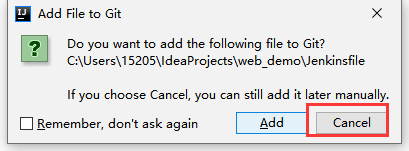
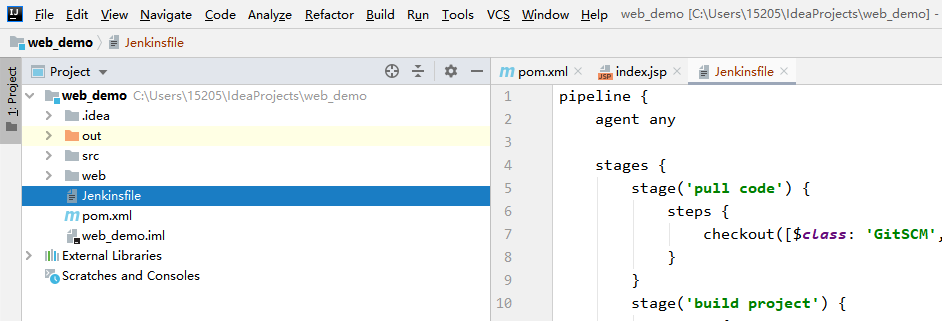
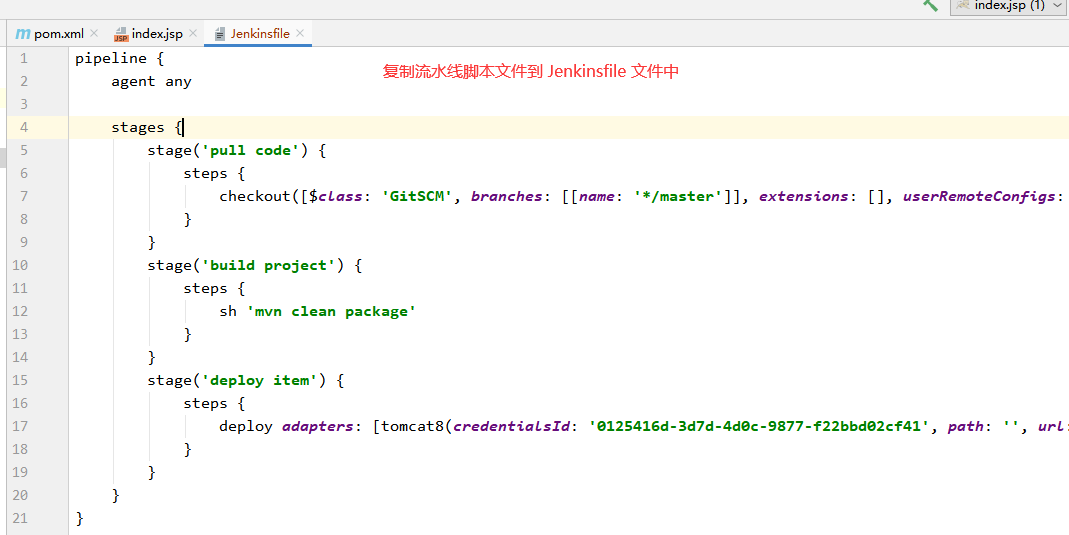
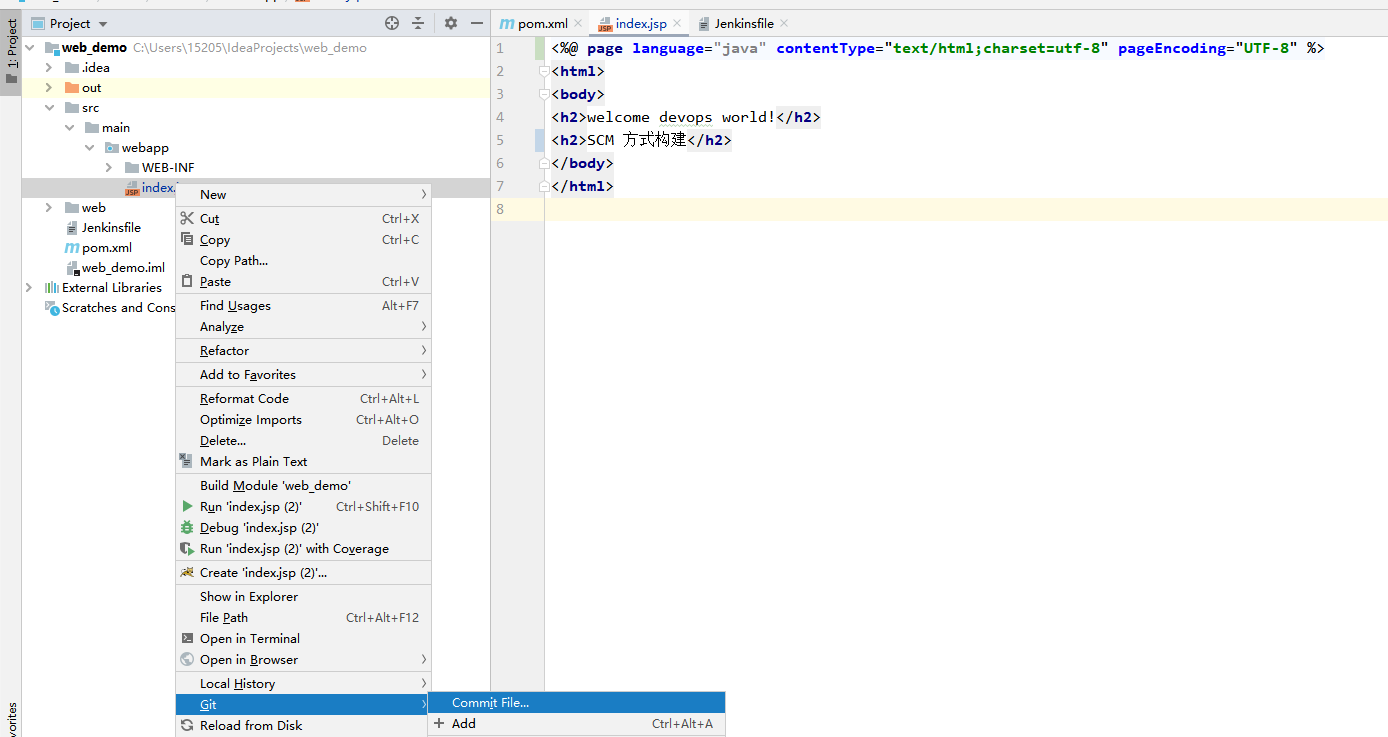
(1) Create Jenkinsfile file
Create Jenkins "le" file in the root directory of the project and copy the contents into the file
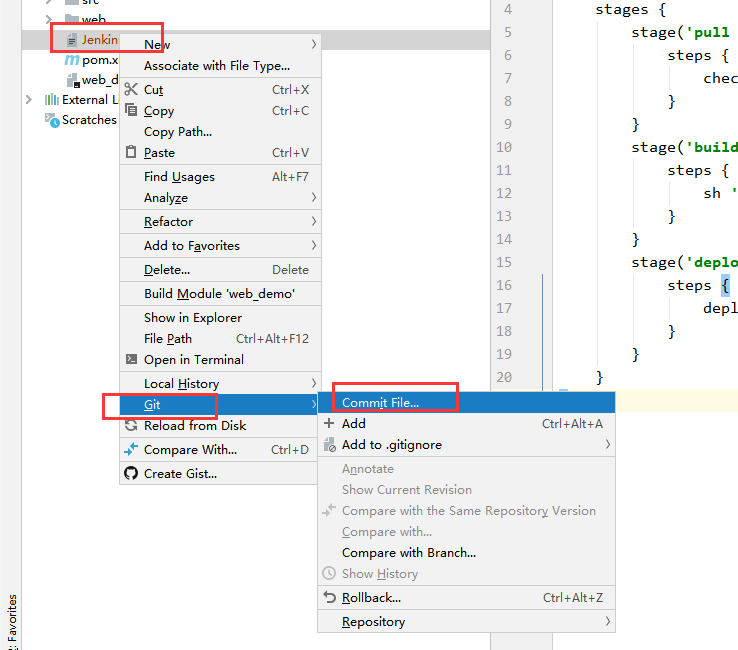
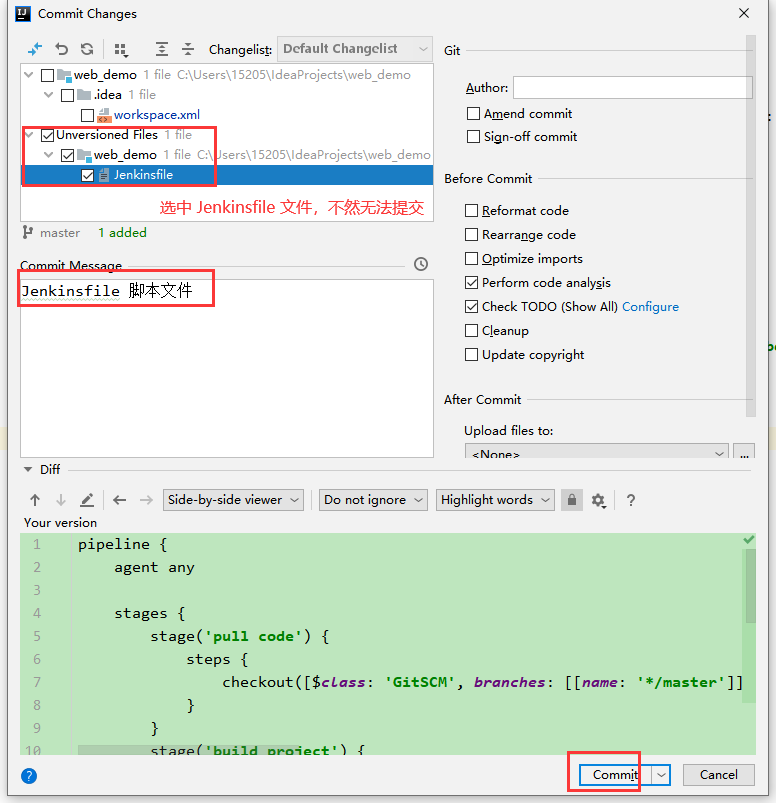
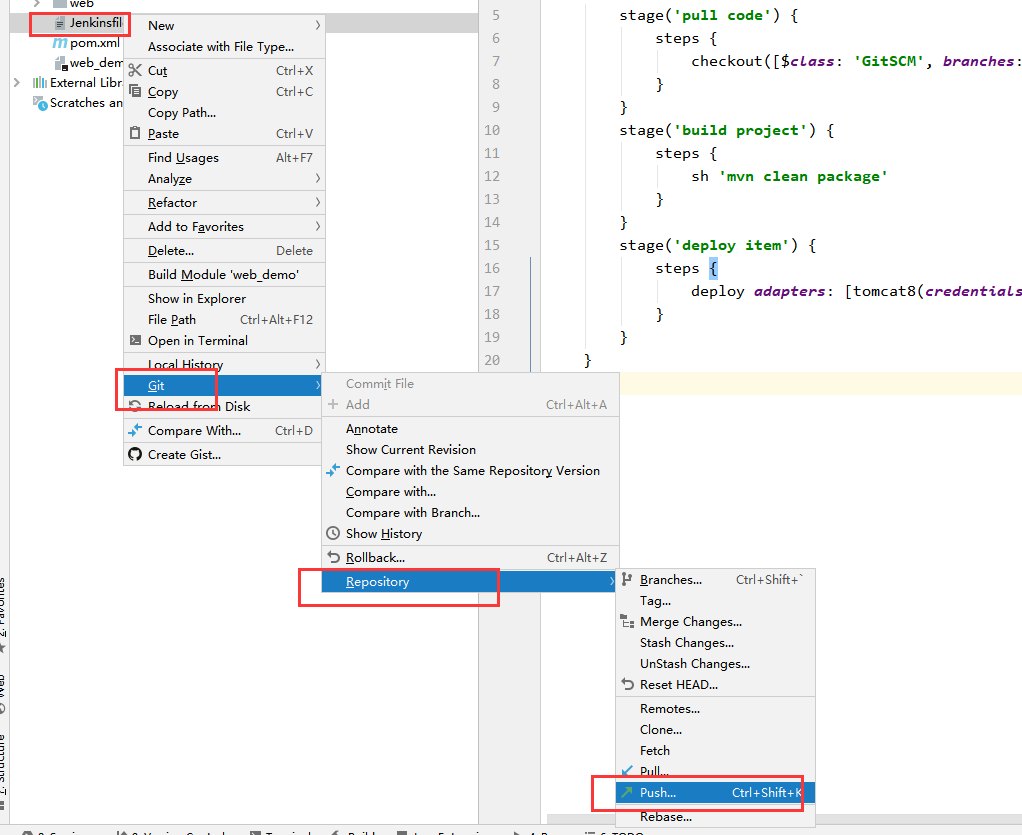


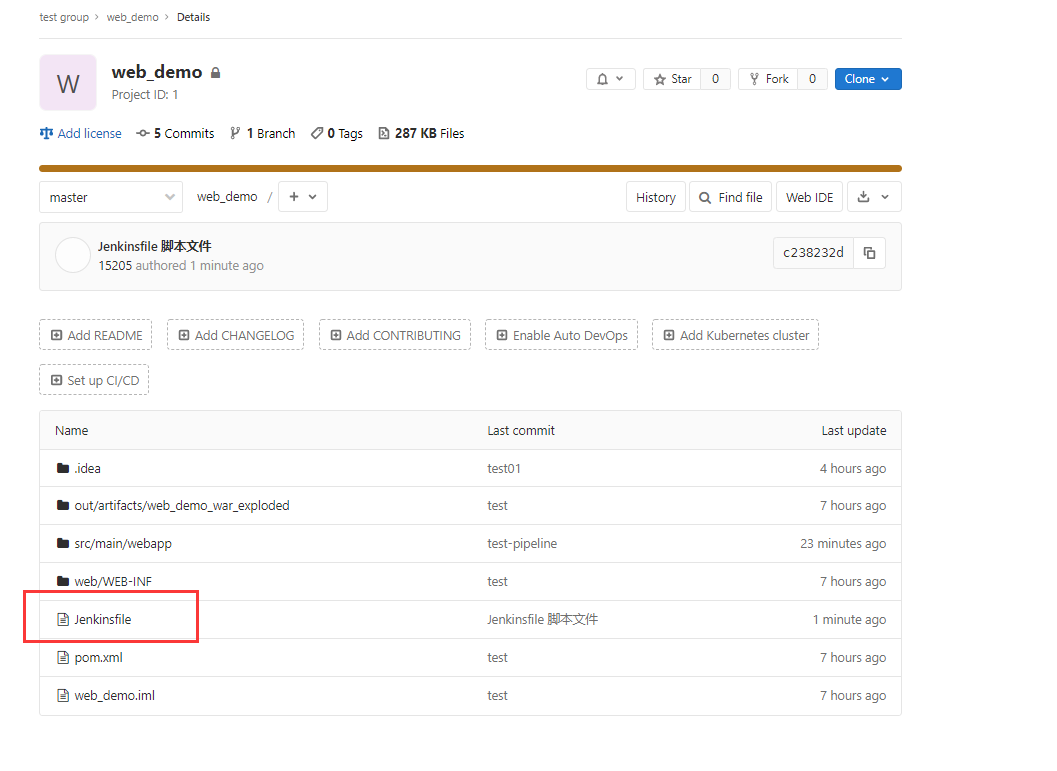
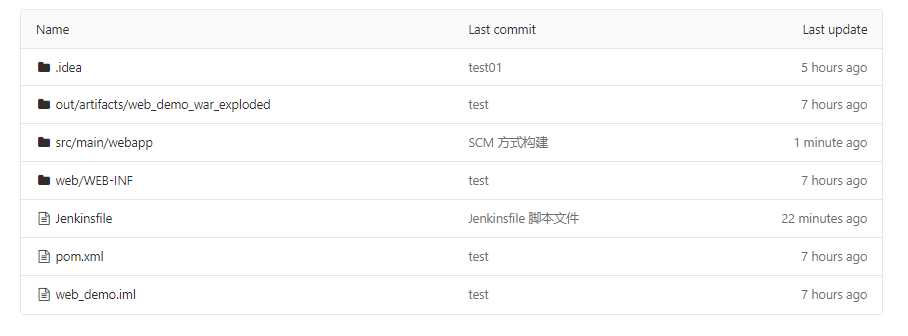
Check whether the submission is successful
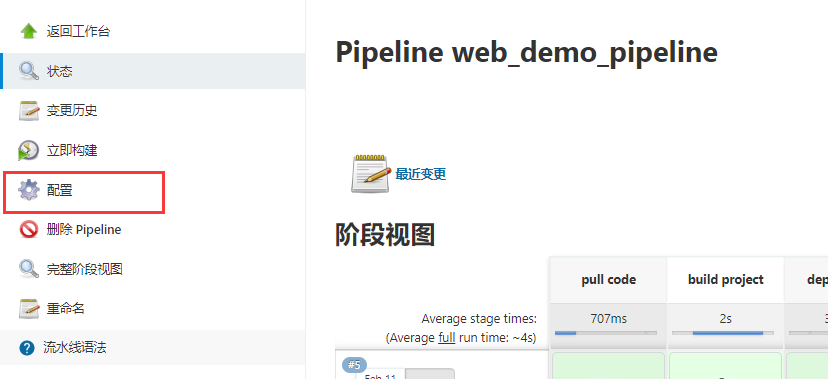
(2) Reconfigure web_demo_pipeline project
Let's modify the source code to solve the problem of Tomcat Chinese garbled code
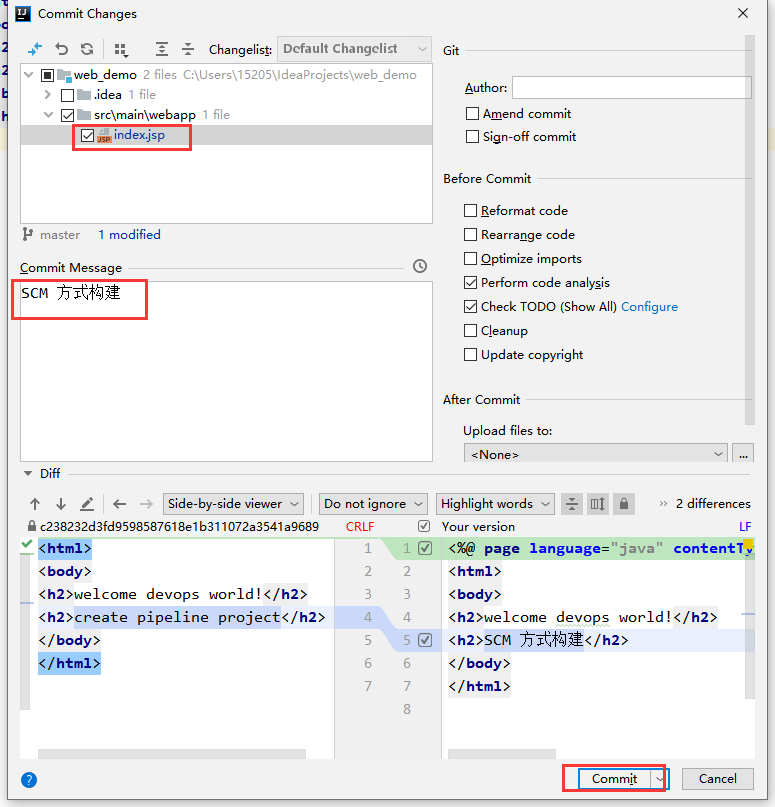
<%@ page language="java" contentType="text/html;charset=utf-8" pageEncoding="UTF-8" %>
<html>
<body>
<h2>welcome devops world!</h2>
<h2>SCM Mode construction</h2>
</body>
</html>
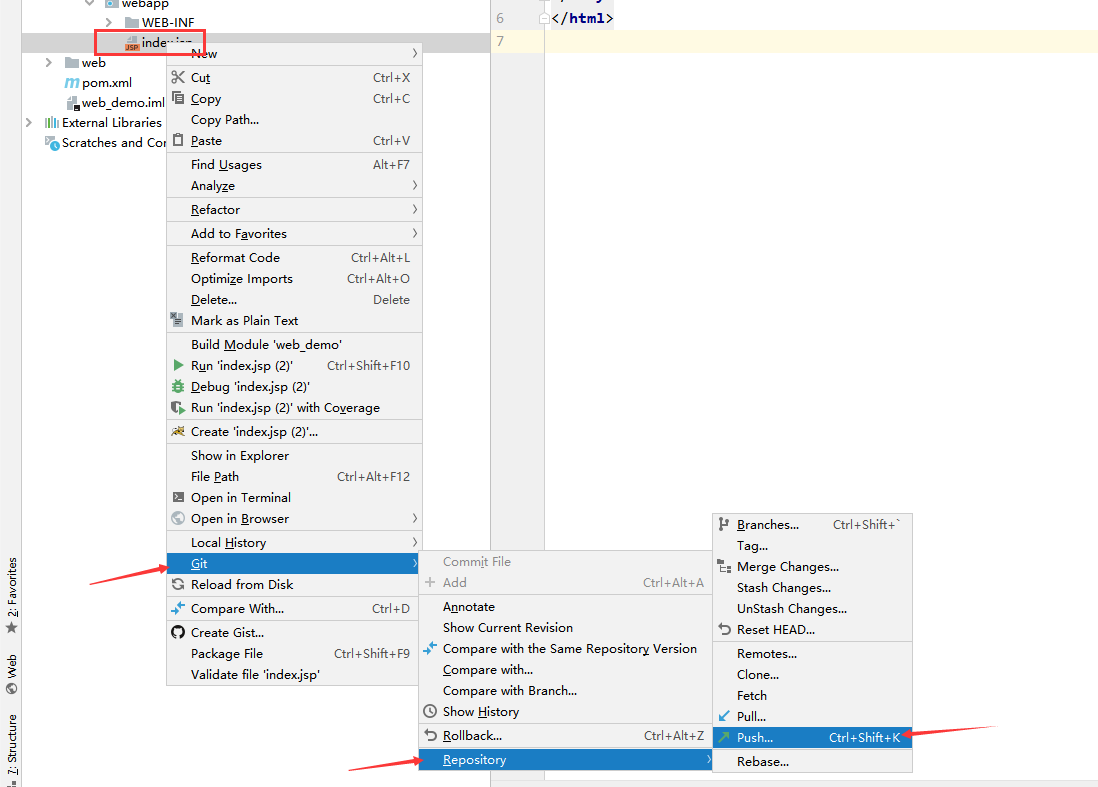
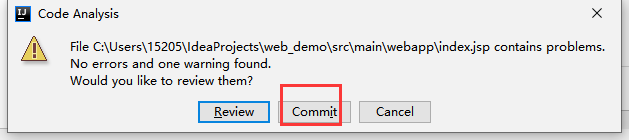
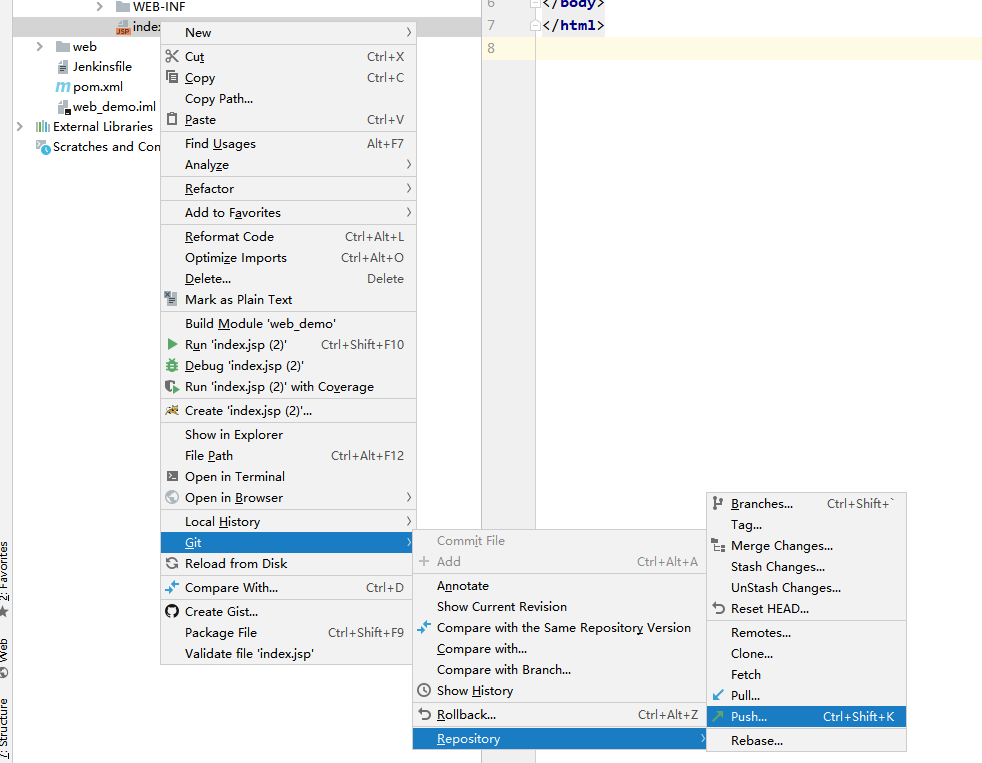
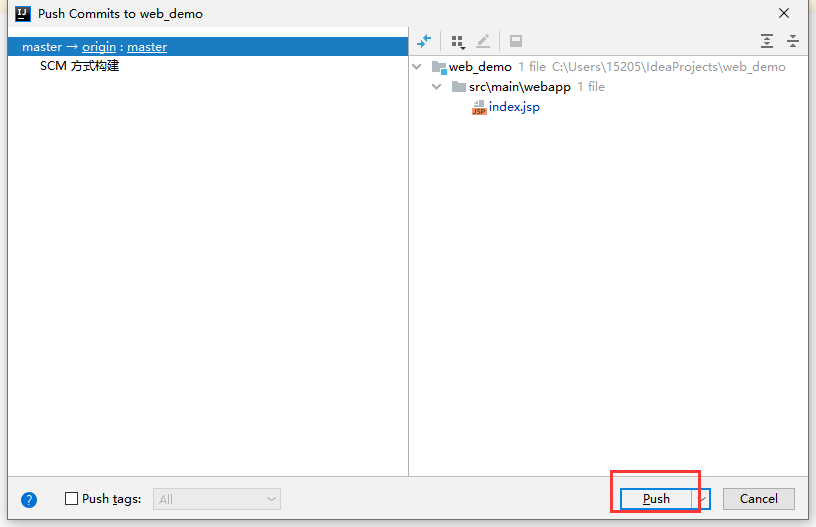
Submit index JSP file
Rebuild view results

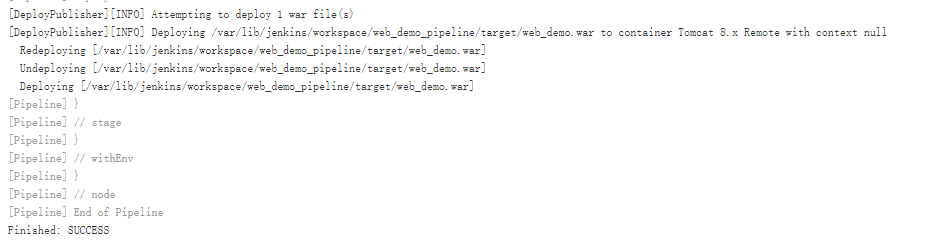
visit: http://192.168.10.40:8080/web_demo/