Please slide to the end of the article to see how to obtain the complete source code!
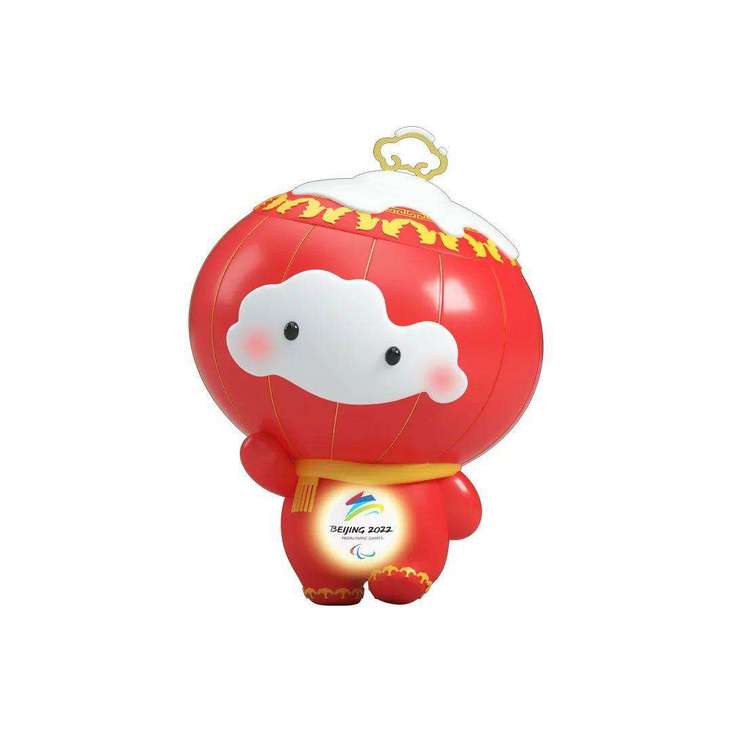
Baidu Shuey Rhon Rhon Rong Rong found a picture of the Rong Rong, look at the generated hand painted pictures effect.


The hand drawn picture generator can generate hand drawn pictures from the imported color pictures through python analysis of light source, gray scale and other operations.

The code block of the whole part of the UI interface. The design of the UI interface is relatively simple. The effect is shown in the picture above.
class HandImage(QWidget):
    def __init__(self):
        super(HandImage, self).__init__()
        self.init_ui()

    def init_ui(self):
        '''
        UI Interface components and layout
        :return:
        '''
        self.setWindowTitle('Hand-painted picture generator: official account:[Python concentration camp]')
        self.setWindowIcon(QIcon('Hand drawn Icon.ico'))

        self.setFixedWidth(500)

        self.sou_im_path = QLineEdit()
        self.sou_im_path.setReadOnly(True)

        self.sou_im_path_btn = QPushButton()
        self.sou_im_path_btn.setText('Source picture')
        self.sou_im_path_btn.clicked.connect(self.sou_im_path_btn_clk)

        self.dir_path = QLineEdit()
        self.dir_path.setReadOnly(True)

        self.dir_path_btn = QPushButton()
        self.dir_path_btn.setText('storage')
        self.dir_path_btn.clicked.connect(self.dir_path_btn_clk)

        self.start_btn = QPushButton()
        self.start_btn.setText('Start drawing image')
        self.start_btn.clicked.connect(self.start_btn_clk)

        grid = QGridLayout()
        grid.addWidget(self.sou_im_path, 0, 0, 1, 1)
        grid.addWidget(self.sou_im_path_btn, 0, 1, 1, 1)
        grid.addWidget(self.dir_path, 1, 0, 1, 1)
        grid.addWidget(self.dir_path_btn, 1, 1, 1, 1)
        grid.addWidget(self.start_btn, 2, 0, 1, 2)

        self.thread_ = WorkThread(self)
        self.thread_.finished.connect(self.finished)

        self.setLayout(grid)

    # Slot function on UI interface

    def sou_im_path_btn_clk(self):
        '''
        Select the source picture and set the path
        :return:
        '''
        im_path = QFileDialog.getOpenFileName(self, os.getcwd(), 'Open picture', 'Image File(*.jpg);;Image File(*.png)')
        self.sou_im_path.setText(im_path[0])

    def dir_path_btn_clk(self):
        '''
        Select the storage path and set the path
        :return:
        '''
        dir_path = QFileDialog.getExistingDirectory(self, os.getcwd(), 'Select path')
        self.dir_path.setText(dir_path)

    def start_btn_clk(self):
        '''
        Start button binding slot function
        :return:
        '''
        self.start_btn.setEnabled(False)
        self.thread_.start()

    def finished(self, finished):
        '''
        Slot function for sub thread to pass completion signal
        :param finished: Signal variable
        :return:
        '''
        if finished is True:
            self.start_btn.setEnabled(True)
Among them, there are only two third-party libraries used in drawing, the main one is the pilot image processing library, and the numpy scientific computing library is used for some operations such as array calculation.
Import third-party processing libraries into code blocks
from PIL import Image  # Image processing module
import numpy as np  # Scientific Computing Library

# PyQt5 interface production, style and core components
from PyQt5.QtGui import *
from PyQt5.QtWidgets import *
from PyQt5.QtCore import *

# Application basic operation related
import sys
import os
Create a sub thread class for special hand drawn images to separate the processing logic of the UI interface from the processing logic of generating images, so as not to produce a stuck state without response.
class WorkThread(QThread):
    finished = pyqtSignal(bool)

    def __init__(self, parent=None):
        super(WorkThread, self).__init__(parent)
        self.parent = parent
        self.working = True

    def __del__(self):
        self.working = False
        self.wait()

    def run(self):
        # Source picture path
        sou_im_path = self.parent.sou_im_path.text().strip()
        # Storage path
        dir_path = self.parent.dir_path.text().strip()
        if sou_im_path == '' or dir_path == '':
            self.finished.emit(True)
            return
        # Open the image to be converted, set the parameters, and take out some gradient values of the main image. Finally, save the array.
        vals = np.asarray(Image.open(sou_im_path).convert('L')).astype('float')

        '''Image parameter processing'''
        depth = 12.0  # Set initialization depth
        gray_vals = np.gradient(vals)  # Extract the gradient value of image gray level
        gray_x, gray_y = gray_vals  # The gray values of abscissa and ordinate are extracted separately
        print('Gray value of current abscissa:', gray_x)
        print('Gray value of current ordinate:', gray_y)

        # Reset the gray value of abscissa and ordinate
        gray_x = gray_x * depth / 100.0
        gray_y = gray_y * depth / 100.0

        # According to numpy The sqrt() function calculates the square root of the gray value of the abscissa and ordinate
        gray_sqrt = np.sqrt(gray_x ** 2 + gray_y ** 2 + 1.0)

        # Recalculate the X -, Y -, and Z-axis light sources
        light_x = gray_x / gray_sqrt
        light_y = gray_y / gray_sqrt
        light_z = 1.0 / gray_sqrt

        # Calculation of azimuth and top view angle of light source
        agnle_el = np.pi / 2.2  # high angle
        agnle_az = np.pi / 4.  # Azimuth angle

        # Calculate the influence of light source on X axis, Y axis and Z axis respectively
        dx = np.cos(agnle_el) * np.cos(agnle_az)  # Influence of light source on x-axis
        dy = np.cos(agnle_el) * np.sin(agnle_az)  # Influence of light source on y-axis
        dz = np.sin(agnle_el)  # Influence of light source on z-axis

        # Set the normalization of light source
        light = 255 * (dx * light_x + dy * light_y + dz * light_z)
        light = light.clip(0, 255)

        # Rebuild image
        image = Image.fromarray(light.astype('uint8'))
        image.save(dir_path + '/Hand drawn image.jpg')
        self.finished.emit(True)
        print('Hand drawn image drawing completed!')
The main code block is implemented on the top, and it is necessary to complete the source code to reply to the "hand painted picture generator" in the official account.

I am a [Python camp. I am glad you saw it. Finally, I am a official account focused on Python knowledge sharing. I hope you can get your attention.
[highlights of previous periods]
Bing dwen dwen, the mascot just released, is attached to the source.
The most beautiful form viewing plug-in: tabulate
The same tiktok roll call system is written in PyQt5, which is very simple.
Start! Batch add Chinese watermark to PDF file
On the second day of the lunar new year, I made a windows notification manager!
gif dynamic picture generator, multiple pictures are combined to generate dynamic pictures
python several common data processing operations, one line of code can be completed!
Chinese new year, use PyQt5 to generate a pair of Spring Festival couplets