From Hadoop high availability to HBase environment construction (in virtual machine)
Objective: to build and install HBase in the environment
Idea: after completing the basic configuration of the master master, use cloning to complete the high availability cluster
1. Configure network
First, check the network address of the local computer (because Hadoop is installed in the virtual machine)
Find IPV-4 with preferred words by entering ipconfig /all,
Set the last three digits of the IP address 172.20.14 to be arbitrary, the subnet mask 255.255.240.0, and the default gateway 172.20.0.1,
1.1. Configure network in Linux
ip addr perhaps ip add View network status
Enter the command to open the network configuration:
#VI / etc / sysconfig / network scripts / ifcfg ENS * varies according to the actual situation
ONBOOT: indicates whether the network card is activated when the system is started. The default value is no and set to yes, indicating that the network card is activated when the system is started.
BOOTPROTO: network allocation mode, Static. (remember to change it to Static, otherwise the network cannot be connected)
IPPADDR: specify the ip address manually.
NETMASK: subnet mask.
GATEWAY: GATEWAY ip.
Note: set DNS: #vi /etc/resolv.conf set hostname #vi /etc/sysconfig/network #vim /etc/hostname
service network restart Command to restart the network card
1.2, host name and hosts mapping
#vi /etc/hostname is modified to the corresponding host name
#vi /etc/hosts add the configuration of IP address host name format (write all in case of cluster)
1.3 disable firewall
1. Disable firewall
systemctl stop firewalld
2. Disable startup
sytemctl disable firewalld
6. View status
systemctl status firewalld
1.3 connecting external Xshell
Verify that the external machine and the virtual machine can ping each other
If NAT mode doesn't work, change to bridge mode
In VMware workstation, click Edit - > virtual network editor on the menu bar and uncheck use local DHCP service...] (if checked, dynamic IP will be set)
2. Start building
2.1) upload the required software package to the virtual machine
mkdir [option] DirName creates a soft folder in the / opt directory to store the software data installation configuration
| zookeeper-3.4.13.tar.gz |
|---|
| jdk-8u212-linux-x64.tar.gz |
| hadoop-2.7.3.tar.gz |
| hbase-1.3.1-bin.tar.gz |
2.1) unzip software configuration environment variables
2.1.1) configure jdk environment
#tar -zxvf corresponding software path and name decompress the software
-z, --gzip
filter the archive through gzip

-v, --verbose
verbosely list files processed

-x, --extract, --get
extract files from an archive

-f, --file=ARCHIVE
use archive file or device ARCHIVE
#mv old name new name rename
#vi /etc/profile.d/hadoop-eco.sh create a new shell configuration file and write the configuration
JAVA_HOME=/opt/jdk				#Subject to the actual path
PATH=$JAVA_HOME/bin:$PATH
#source /etc/profile.d/hadoop-eco.sh makes the environment variable effective
#java -version view the Java version information. If the installation is successful
2.1.2) configure hadoop environment
As above, unzip and rename to the same file (/ opt)
#vi /etc/profile.d/hadoop-eco.sh additional configuration
HADOOP_HOME=/opt/hadoop
PATH=$HADOOP_HOME/bin:$HADOOP_HOME/sbin:$PATH
#source /etc/profile.d/hadoop-eco.sh makes the environment variable effective
Note: the Hadoop configuration file should be configured at the beginning. Because it is to build a distributed cluster, you can directly use the highly available configuration
Create a new folder under / opt
#mkdir -p hadoop-record/{name,secondary,data,tmp}
Note:
# The - p option of mkdir allows you to create multiple levels of directories at once
mkdir -p Project/a/src
# Create a multi-level and multi-dimensional directory tree. For example, we want to create the directory Project, which contains four folders a, B, C and D, and all four files contain a src folder
mkdir -p Project/{a,b,c,d}/src
Modify the configuration file, such as / opt/hadoop/etc/hadoop. This is where it stores the configuration file
Modify the configuration of # vi hadoop-env.sh and # vi yarn-env.sh respectively
Modify to export JAVA_HOME=/opt/jdk
In the following configuration files, you only need to pay attention to whether the data storage directory in core-site.xml is consistent with yourself and the names of master and slave nodes are master, slave01 and slave02
1) core-site.xml
<?xml version="1.0" encoding="UTF-8"?>
<?xml-stylesheet type="text/xsl" href="configuration.xsl"?>

<configuration>

<!-- appoint hdfs of nameservice For example myns1,Unified external service name
 No longer specify a single machine node-->
<property>
	<name>fs.defaultFS</name>
	<value>hdfs://ns1/</value>
</property>
<!-- appoint hadoop Data storage directory,Own designation -->
<property>
	<name>hadoop.tmp.dir</name>
	<value>/opt/hadoop-record/tmp</value>
</property>
<!-- rely on zookeeper,So specify zookeeper Cluster access address,Names for different cluster machines hostname -->
<property>
	<name>ha.zookeeper.quorum</name>
	<value>master:2181,slave01:2181,slave02:2181</value>
</property>
<!-- The following configuration is to solve the connection of other components in the future HDFS Cluster preparation
 You can start without configuration-->
<property>
	<name>hadoop.proxyuser.bigdata.hosts</name>
	<value>*</value>
</property>
<property>
	<name>hadoop.proxyuser.bigdata.groups</name>
	<value>*</value>
</property>

</configuration>
2) hdfs-site.xml
<?xml version="1.0" encoding="UTF-8"?>
<?xml-stylesheet type="text/xsl" href="configuration.xsl"?>

<configuration>
<!-- Specify the number of copies -->
<!-- appoint hdfs of nameservice by myns1(stay core-site.xml Consistent configuration) -->
<property>
	<name>dfs.nameservices</name>
	<value>ns1</value>
</property>
<!-- hadoopHA There are two below Namenode,namely nn1,nn2 -->
<property>
	<name>dfs.ha.namenodes.ns1</name>
	<value>nn1,nn2</value>
</property>

<!-- nn1 of RPC mailing address,myns1 It is the corresponding before and after,mymaster Is one of them namenode address -->
<property>
	<name>dfs.namenode.rpc-address.ns1.nn1</name>
	<value>master:9000</value>
</property>
<!-- nn1 of http mailing address,myns1 It is the corresponding before and after -->
<property>
	<name>dfs.namenode.http-address.ns1.nn1</name>
	<value>master:50070</value>
</property>

<!-- nn2 of RPC mailing address,myns1 It is the corresponding before and after,myslave1 Is one of them namenode address -->
<property>
	<name>dfs.namenode.rpc-address.ns1.nn2</name>
	<value>slave01:9000</value>
</property>
<!-- nn2 of http mailing address,myns1 It is the corresponding before and after -->
<property>
	<name>dfs.namenode.http-address.ns1.nn2</name>
	<value>slave01:50070</value>
</property>

<!-- appoint namenode of edits Metadata in JournalNode Storage location on -->
<property>
	<name>dfs.namenode.shared.edits.dir</name>
	<value>qjournal://master:8485;slave01:8485;slave02:8485/ns1</value>
</property>
<!-- appoint namenode The location where data is stored on the local disk
     journaldata The directory is created and specified by itself
-->
<property>
	<name>dfs.journalnode.edits.dir</name>
	<value>/opt/hadoop/journal</value>
</property>

<!-- open NameNode Fail auto switch,Monitoring system discovery activity Hang up,Turn the standby on  -->
<property>
	<name>dfs.ha.automatic-failover.enabled</name>
	<value>true</value>
</property>

<!-- Implementation mode of automatic switching in case of configuration failure  -->
<!-- When installing the configuration here, remember to check that there is no line break ,be careful myns1 Is the cluster service name configured above -->
<property>
	<name>dfs.client.failover.proxy.provider.ns1</name>
	<value>org.apache.hadoop.hdfs.server.namenode.ha.ConfiguredFailoverProxyProvider</value>
</property>

<!-- Configure the isolation mechanism method. Multiple mechanisms are separated by newline characters, that is, each mechanism temporarily uses one line
 Mainly to prevent brain crack,Make sure you die completely -->
<property>
	<name>dfs.ha.fencing.methods</name>
	<value>
		sshfence
		shell(/bin/true)
	</value>
</property>

<!-- use sshfence Isolation mechanism is required ssh No login,Notice here is id_rsa File address  -->
<property>
	<name>dfs.ha.fencing.ssh.private-key-files</name>
	<value>/root/.ssh/id_rsa</value>
	<!-- If used directly root,Then the path is /root/.ssh/id_rsa -->
</property>

<!-- to configure sshfence Isolation mechanism timeout -->
<property>
	<name>dfs.ha.fencing.ssh.connect-timeout</name>
	<value>30000</value>
</property>

<!--  -->
<property>
	<name>dfs.webhdfs.enabled</name>
	<value>true</value>
</property>

</configuration>
3) mapred-site.xml
<?xml version="1.0"?>
<?xml-stylesheet type="text/xsl" href="configuration.xsl"?>

<configuration>
	<property>
		<name>mapreduce.framework.name</name>
		<value>yarn</value>
	</property>


</configuration>
4) yarn-site.xml
<?xml version="1.0"?>

<configuration>
<!-- open YARN High availability -->
<property>
	<name>yarn.resourcemanager.ha.enabled</name>
	<value>true</value>
</property>

<!-- appoint RM of cluster id,Should value At will -->
<property>
	<name>yarn.resourcemanager.cluster-id</name>
	<value>yrc</value>
</property>

<!-- appoint RM Name of -->
<property>
	<name>yarn.resourcemanager.ha.rm-ids</name>
	<value>rm1,rm2</value>
</property>

<!-- Specify separately RM Address of -->
<property>
	<name>yarn.resourcemanager.hostname.rm1</name>
	<value>master</value>
</property>
<property>
	<name>yarn.resourcemanager.hostname.rm2</name>
	<value>slave01</value>
</property>

<!-- appoint zookeeper Cluster address -->
<property>
	<name>yarn.resourcemanager.zk-address</name>
	<value>master:2181,slave01:2181,slave02:2181</value>
</property>

<!-- To run MapReduce Affiliate services that the program must configure -->
<property>
	<name>yarn.nodemanager.aux-services</name>
	<value>mapreduce_shuffle</value>
</property>

<!-- Yarn Maximum aggregate log retention time of the cluster -->
<property>
	<name>yarn.log-aggregation.retain-seconds</name>
	<value>86400</value>
</property>
<!-- Enable automatic recovery -->
<property>
	<name>yarn.resourcemanager.recovery.enabled</name>
	<value>true</value>
</property>

<!-- appoint resourcemanager The status information of is stored in zookeeper On Cluster -->
<property>
	<name>yarn.resourcemanager.store.class</name>
	<value>org.apache.hadoop.yarn.server.resourcemanager.recovery.ZKRMStateStore</value>
</property>

</configuration>
View the version information # hadoop version is installed successfully when it appears
#vi /opt/hadoop/etc/hadoop/slaves delete localhost and add slave host name
slave01 slave02 #At the end, one more space at the end and one more line feed are not enough
The slave file records the host names of all datanodes in the cluster,
This is equivalent to a white list of DN S. Only hosts in the white list can be recognized by NN.
In fact, it is not necessary to write the host name in the slave file. The final judgment is based on the IP. You can write an IP.
3. Clone the virtual machine and modify the relevant configuration
VMware - > virtual machine - > Management - > clone - > create full clone
3.1 modify host name
# vi /etc/hostname
***3.2 modifying the network***
# vi /etc/sysconfig/network-scripts/ifcfg-e*
Modify the IP and delete the UUID and HWADDR lines in the network card configuration file
# rm -f /etc/udev/rules.d/**.rules
Note: the following rules.d may be different. Use tab to complete them
#service network restart
#reboot restart the system
Note: if you restart the system and check that the IP has appeared and can ping with the external host, you don't need to restart the network card again
If there is no IP, restart the network card:
service network restart				 #Restart the network
systemctl start NetworkManager 		 #If an error is reported when restarting the network, perform this operation
3.3 configure SSH security free
Test whether the three virtual machines can ping each other. If so, start configuring password free
#SSH keygen - t RSA continuous carriage return key generation
# ssh-copy-id -i root@slave01 Copy the local public key to other slaves
# ssh root@slave01 #Exit test log in and exit
3.4 configuring zookeeper clusters
Unzip to / opt rename as before
#vi /etc/profile.d/hadoop-eco.sh additional configuration
ZOOKEEPER_HOME=/opt/zookeeperPATH=$PATH:$ZOOKEEPER_HOME/bin
#source /etc/profile.d/hadoop-eco.sh makes the environment variable effective
# cp /opt/zookeeper/conf/zoo_sample.cfg zoo.cfg
#vi zoo.cfg modify backup configuration
dataDir=/opt/zookeeper/data
server.100=master:2888:3888
server.101=slave01:2888:3888
server.102=slave02:2888:3888
#mkdir -m 777 data creates folders in the same location as in the configuration
# touch data/myid # echo 100 > data/myid
Copy zookeeper to other slaves
# scp -r /opt/zookeeper slave01:/opt
# scp /etc/profile.d/hadoop-eco.sh slave01:/etc/profile.d/
Each slave should modify the contents of myid from 100-103 and refresh the environment variables
#source /etc/profile.d/hadoop-eco.sh makes the environment variable effective
4. Initialize Hadoop cluster
#zkServer.sh start start start three machines respectively
#zkServer.sh status view mode status election results
#zkCli.sh # quit verify whether it is normal and exit
#hadoop-daemon.sh start journalnode # jps start the three machines and view the processes
#hdfs namenode -format is formatted on the master machine
Exiting with status 0 this status is formatted successfully
# scp -r /opt/hadoop-record/tmp/ root@slave01:/opt/hadoop-record/
Ensure that the data of the primary and standby nodes are consistent. This path is the path previously created to store temporary files
#Start-dfs.sh # start-yarn.sh on the master
#yarn-daemon.sh start resourcemanager starts on slave02
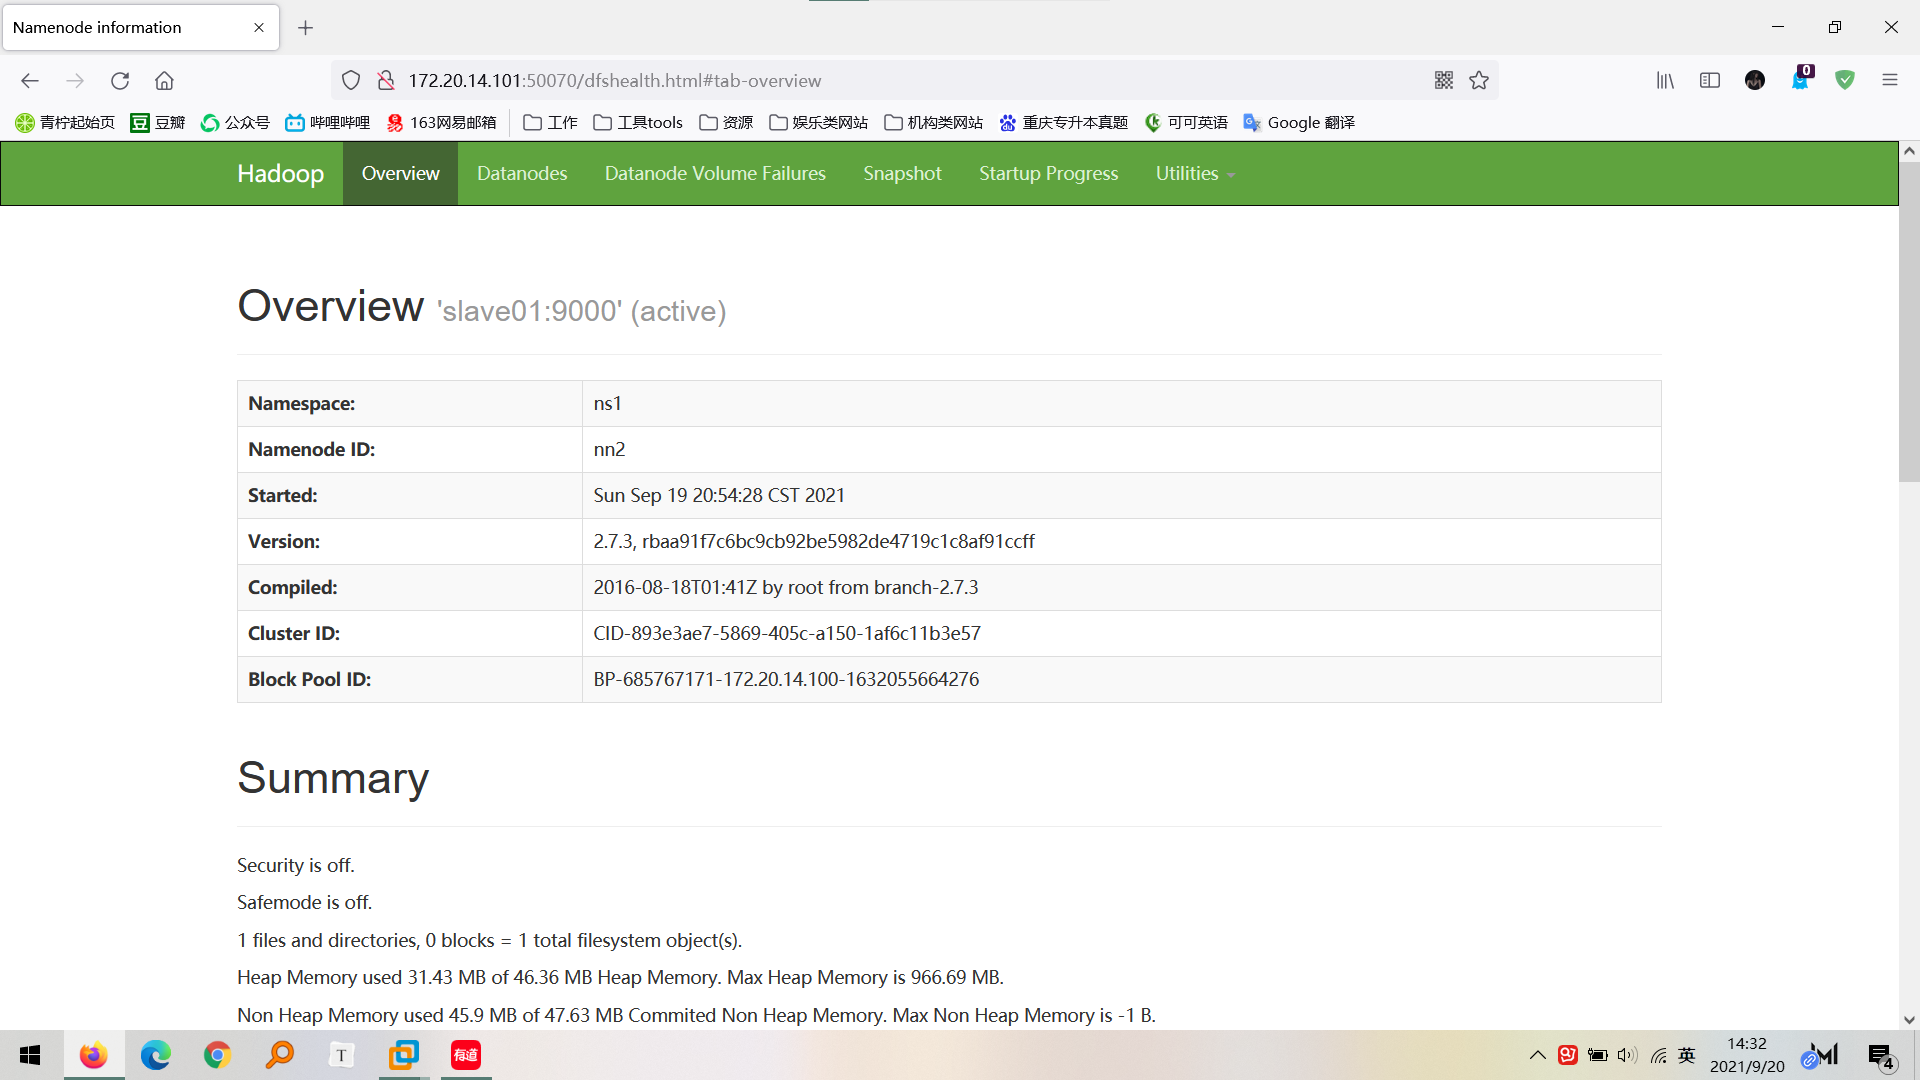
4. Test Hadoop cluster
IP: 50070 enter in browser
Use jps to view the IP address of the machine with the namenode node
http://172.20.14.101:50070
4. Install HBase
Configure HBase on the master machine
#cd /opt # tar -zxvf soft/hbase - * * * unzip Hbase under / opt
#mv hbase-1.3.1/ hbase rename
#vi /etc/profile.d/hadoop-eco.sh configuration environment variable additions
HBASE_HOME=/opt/hbasePATH=$HBASE_HOME/bin:$PATH
#source /etc/profile.d/hadoop-eco.sh make the environment effective
#vi hbase/conf/hbase-env.sh modify HBase configuration file
export JAVA_HOME=/opt/jdk  		#Path to install jdk
export HBASE_MANAGES_ZK=true
#vi hbase/conf/hbase-site.xml modify HBase configuration file
<configuration>
        <property>
                <name>hbase.rootdir</name>
                <value>hdfs://ns1/hbase</value>
        </property>
        <property>
                <name>hbase.cluster.distributed</name>
                <value>true</value>
        </property>
        <property>
                <name>hbase.zookeeper.quorum</name>
                <value>master,slave01,slave02</value>
        </property>
</configuration>
#vi hbase/conf/regionservers configure slave address / hostname
delete localhost Add slave01slave02
Copy the above configuration to other slaves and make their environment configuration effective
# scp -r /opt/hbase slave01:/opt/
# scp -r /opt/hbase slave02:/opt/
# scp /etc/profile.d/hadoop-eco.sh  slave01:/etc/profile.d/
# scp /etc/profile.d/hadoop-eco.sh  slave02:/etc/profile.d/
Use in other slaves to make the environment effective
# source /etc/profile.d/hadoop-eco.sh
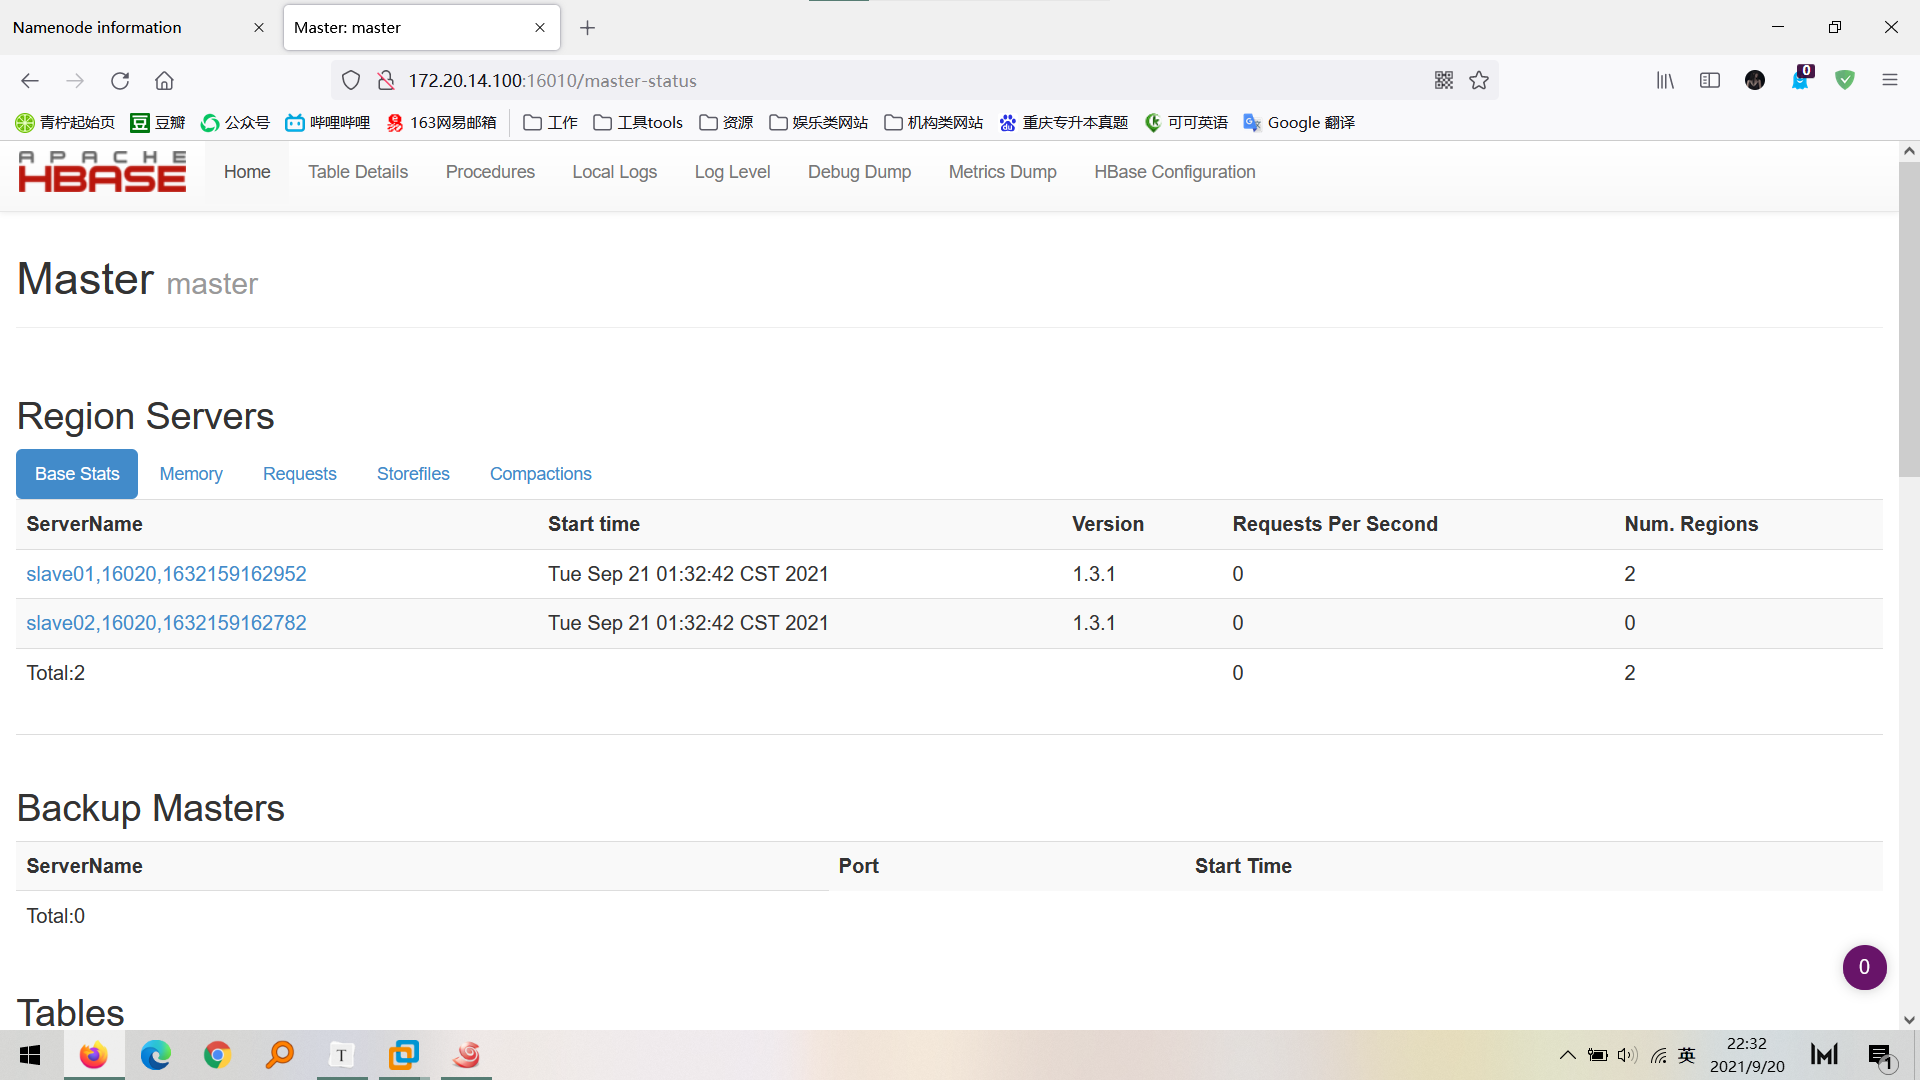
Start HBase
# start-hbase.sh
`master:16010/master-status` see HBase Cluster information
 Example: http://172.20.***.***:16010/master-status
So far, the environment has been installed, and there are still many deficiencies. Look at Haihan