catalogue
design sketch
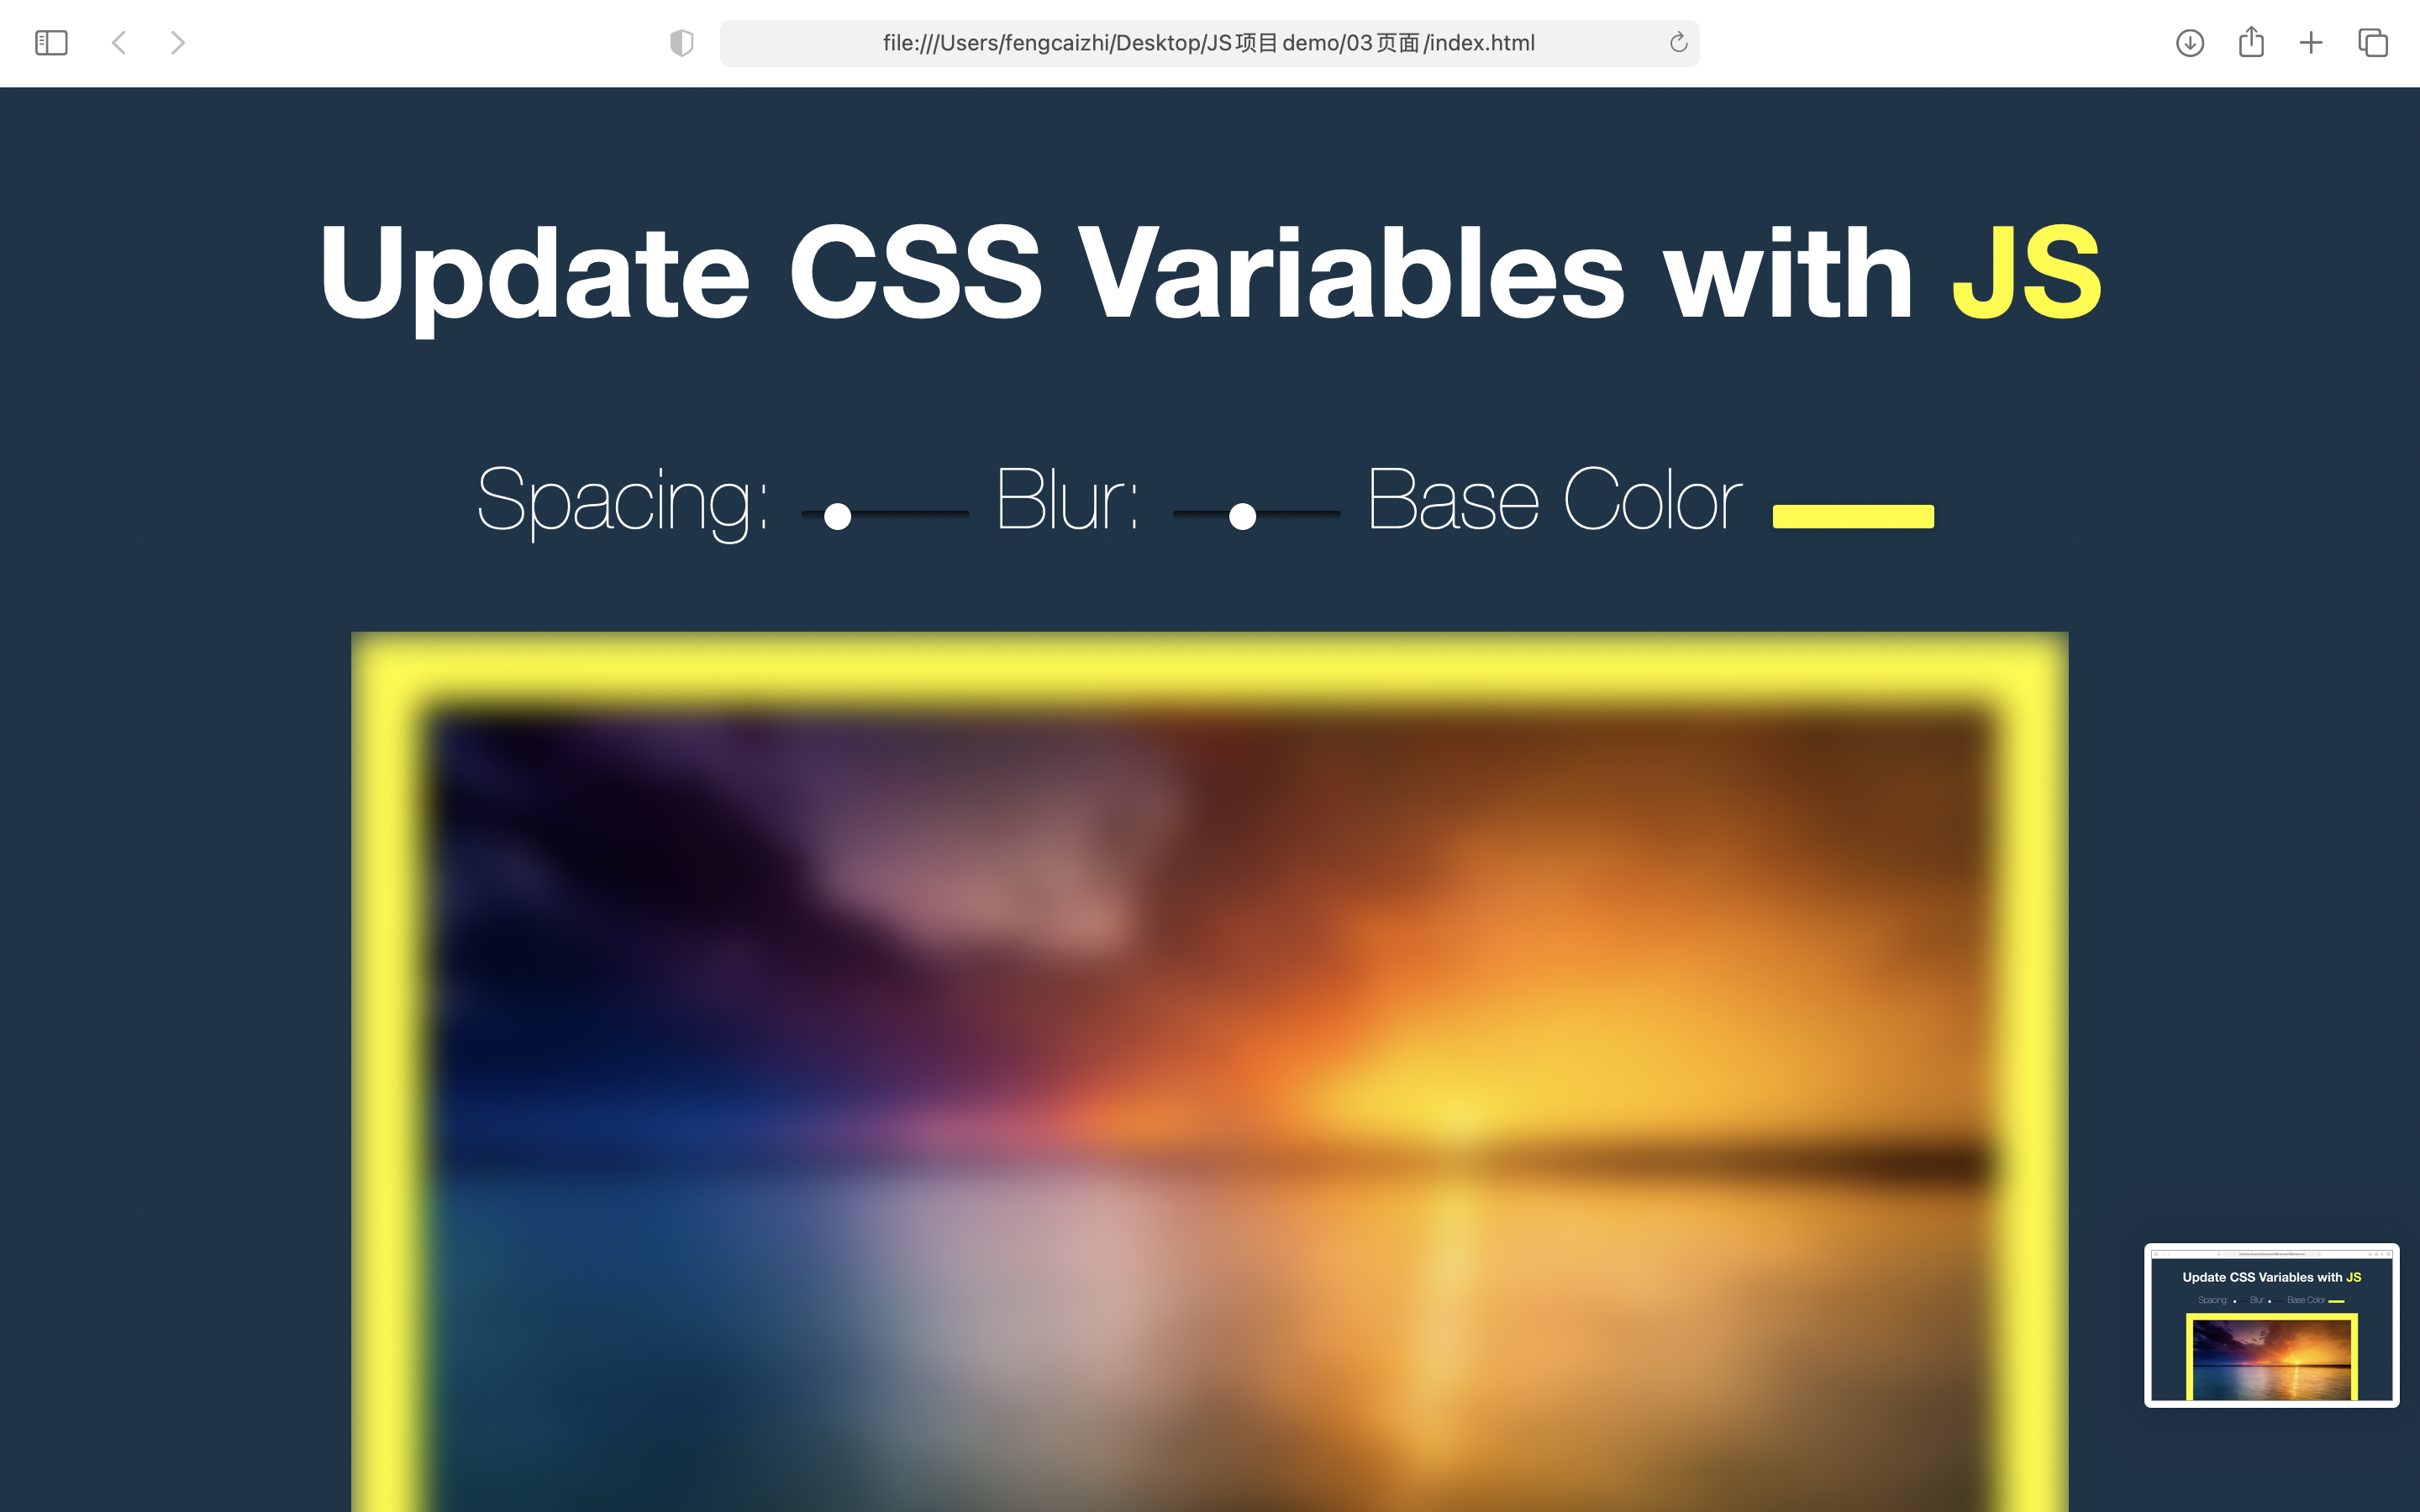
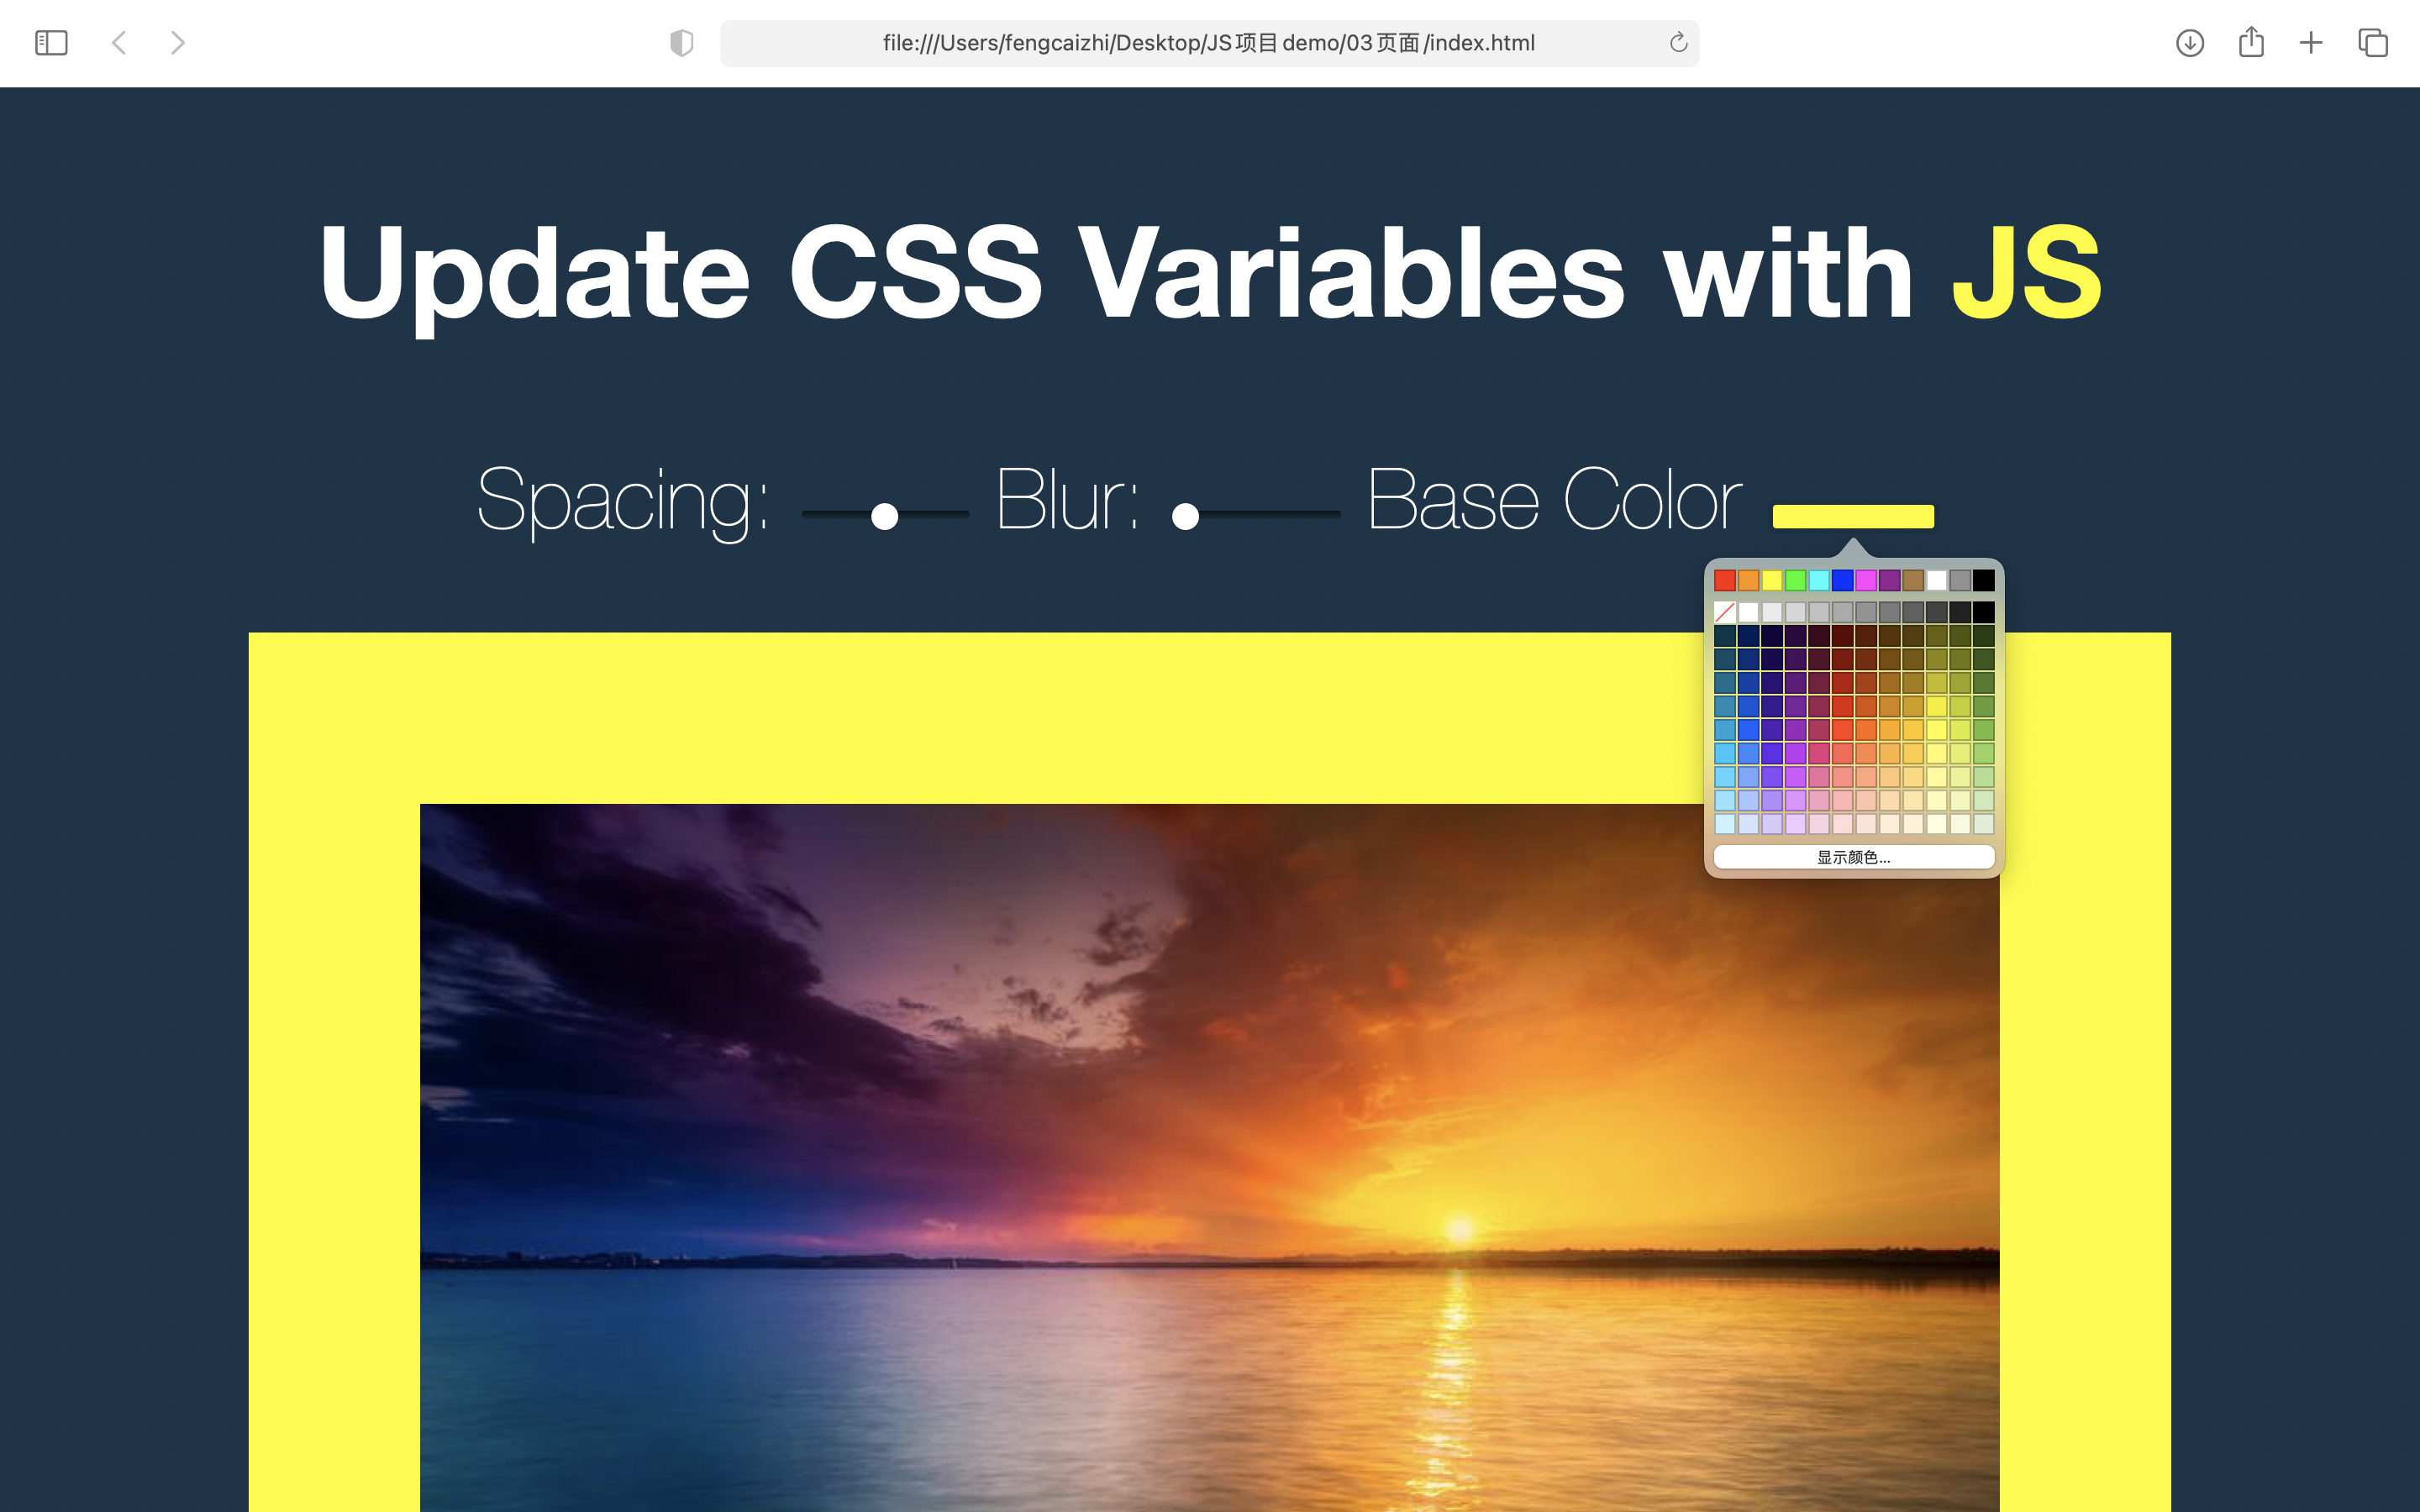
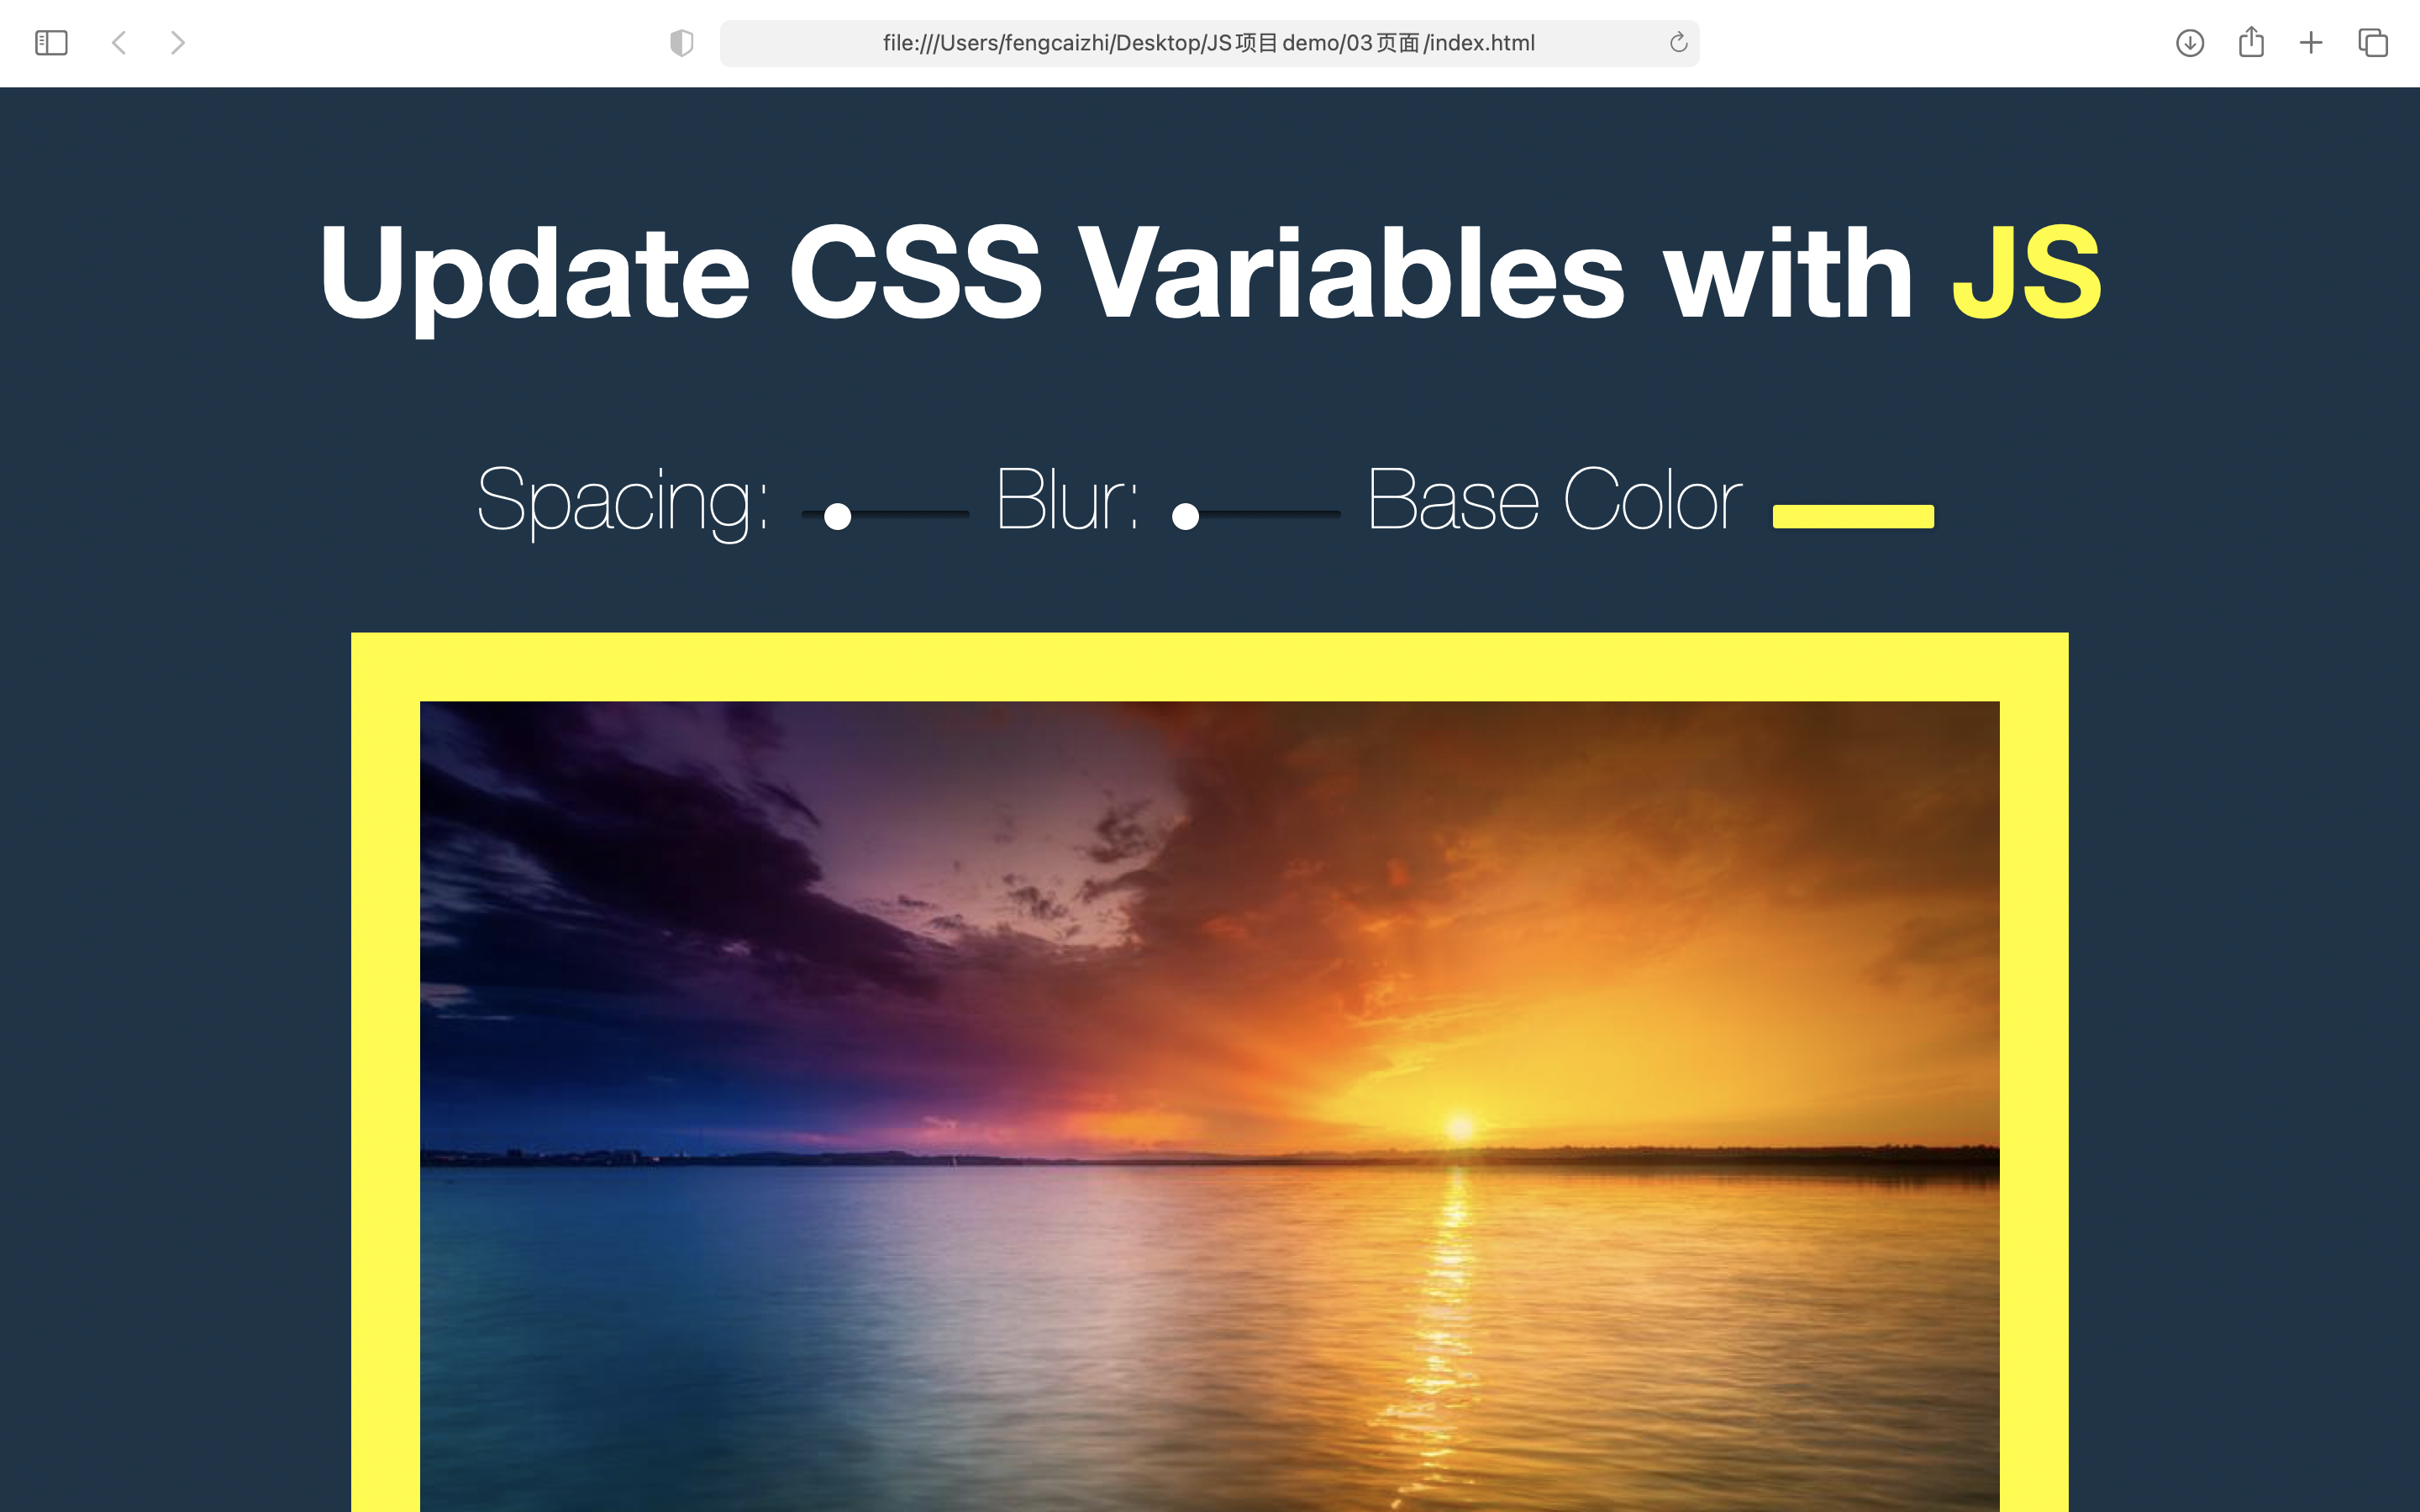
The functions of color matching, adjusting clarity and changing color are realized
Blind spots encountered
1.< Label > is generally shared with < input >
advantage:
- The label text is not only visually associated with its corresponding text input element, but also in the program. This means that when the user focuses on the form input element, the screen reader can read the label, making it easier for users using assistive technology to understand what data to enter.
- You can click the associated tab to focus or activate the input element, just like clicking the input element directly. This expands the clickable area of the element, making it easier for users, including those using touch-screen devices, to activate the element.
To match a < label > with an < input > element, you need to give < input > an id attribute. The < label > requires a , for , attribute whose value is the same as the , id of < input >.
for
That is, in the same document as the < label > element Elements that can be associated with labels Yes id . The first element in the document with the same value of the < label > element and the < label > for attribute. If it can be associated with a label, it is a control with an associated label, and its label is this < label > element. If this element is not associated with a label, the for attribute has no effect. If there are other elements in the document with the same id # value as the for # attribute, the for # attribute has no effect on these elements.
Note: the < label > element can have a for attribute and a descendant control element at the same time, but the for attribute needs to point to this control element.
Example:
Simple label
<label>Click me <input type="text"></label>
Using the for attribute
<label for="username">Click me</label>
<input type="text" id="username">
Accessibility issues:
Interactive content:
Do not place interactive elements inside the , label , element, such as anchors or buttons . Doing so will make it more difficult for the user to activate / trigger the form input elements associated with # label #.
var()
summary
The var() function can replace any part of the value in any attribute in an element. The var() function cannot be used as an attribute name, selector, or other value other than the attribute value. (this usually results in invalid syntax or a value that is not associated with a variable.)
grammar
The first argument to the method is the name of the custom attribute to replace. The optional second argument to the function is used as the fallback value. If the custom attribute referenced by the first parameter is invalid, the function uses the second value.
var( <custom-property-name> , <declaration-value>? )
Note: commas are allowed for the fallback value of custom attributes. For example, var(--foo, red, blue) specifies both red and blue as fallback values; That is, any value after the first comma and before the end of the function will be considered as a fallback value.
Define on: root and use it
:root {
--main-bg-color: pink;
}
body {
background-color: var(--main-bg-color);
}
Copy to Clipboard
When the first value is undefined, the fallback value takes effect
/*Backup value*/
/*Define a value in the parent element style*/
.component {
--text-color: #080; /* Header color is not set*/
}
/*Use it in the style of component:*/
.component .text {
color: var(--text-color, black); /* Normal value of color here -- text color*/
}
.component .header {
color: var(--header-color, blue); /* Here color is fallback to blue*/
}
filter
The filter CSS property applies graphic effects such as blur or color offset to elements. Filters are usually used to adjust the rendering of images, backgrounds and borders.
opacity()
opacity() The transparency of the converted image. The value of amount defines the scale of the conversion. A value of 0% is completely transparent, and a value of 100% has no change in the image. Values between 0% and 100% are linear multipliers of the effect. It is also equivalent to multiplying the number of image samples by the number. If the value is not set, the default value is 1. This function is very similar to the existing opacity attribute. The difference is that through filter, some browsers will provide hardware acceleration in order to improve performance.
grayscale()
grayscale() Function will change the gray level of the input image. The value of amount defines the scale of the conversion. If the value is 100%, it will be completely converted to gray image, and if the value is 0%, the image will not change. A value between 0% and 100% is the linear multiplier of the effect. If no value is set, the default value is 0.
blur()
Indicates the blur of this picture
Source code
<!DOCTYPE html>
<html lang="en">
<head>
    <meta charset="UTF-8">
    <meta http-equiv="X-UA-Compatible" content="IE=edge">
    <meta name="viewport" content="width=device-width, initial-scale=1.0">
    <title>Use of online picture decorator JS modification CSS variable</title>
</head>
<body>
    <h2>Update CSS Variables with <span class='h1'>JS</span></h2>

    <div class="controls">
        <!-- label And input Generally used at the same time//There is also the special operation of range. Set the left boundary and the right boundary. value is the position -- >
        <label for="spacing">Spacing:</label>
        <input id="spacing" type="range" name="spacing" min="10" max="200" value="10" data-sizing="px">

        <label for="blur">Blur:</label>
        <input id="blur" type="range" name="blur" min="0" max="25" value="10" data-sizing="px">

        <label for="base">Base Color</label>
        <input id="base" type="color" name="base" value="#ffc600">
    </div>

    <img src="./Message Board.jpg" alt="">

    <style>

        :root{
            --base: #ffc600;
            --spacing: 10px;
            --blur: 10px;
            --grayscale: 0%;
        }

        img {
            padding: var(--spacing);
            background: var(--base);
            filter: blur(var(--blur)) grayscale(var(--grayscale));
            width: 66%;
        }

        .h1{
            color: var(--base);
        }

        body {
            text-align: center;
            background: #193549;
            color:white;
            font-family: 'helvetica neue', sans-serif;
            /* Indicates the thickness of the font */
            font-weight: 100;
            font-size: 50px;
        }

        .controls {
            margin-bottom: 50px;
        }

        input {
            width: 100px;
        }

    </style>
    <script>
        const inputs = document.querySelectorAll('.controls input');

        function handleUpdate() {
            const suffix = this.dataset.sizing || '';
            // Used to change CSS styles
            document.documentElement.style.setProperty(`--${this.name}`, this.value + suffix);
        }
        inputs.forEach(input => input.addEventListener('change',handleUpdate));
        inputs.forEach(input => input.addEventListener('mousemove',handleUpdate));
    </script>
</body>
</html>