Oracle 19c installation tutorial for Linux system
- Chapter I: preparation before installation
- ① Installation package acquisition
- ② Pre installation
- ③ Install dependent packages
- ④ Create necessary folders and authorize
- ⑤ Configuration information
- Chapter 2: graphical interface installation process demonstration
- ① Choose to install or upgrade
- ② System class configuration
- ③ Database version configuration
- ④ Installation path configuration
- ⑤ Detailed directory configuration
- ⑥ Type configuration
- ⑦ Database identifier configuration
- ⑧ Configure option settings
- ⑨ Database storage configuration
- ⑩ Manage option configuration
- ⑪ Restore option configuration
- ⑫ Scheme password configuration
- ⑬ Operating system group configuration
- ⑭ root user information configuration
- ⑮ Prerequisite check
- ⑯ Summary of configuration information
Chapter I: preparation before installation
① Installation package acquisition
Pre installation package download: csdn resource warehouse of Xiaolan jujube
Obtain the Linux 64 bit Oracle 19C installation package: Resource warehouse of Xiaolan jujube , extraction code: qde5
② Pre installation
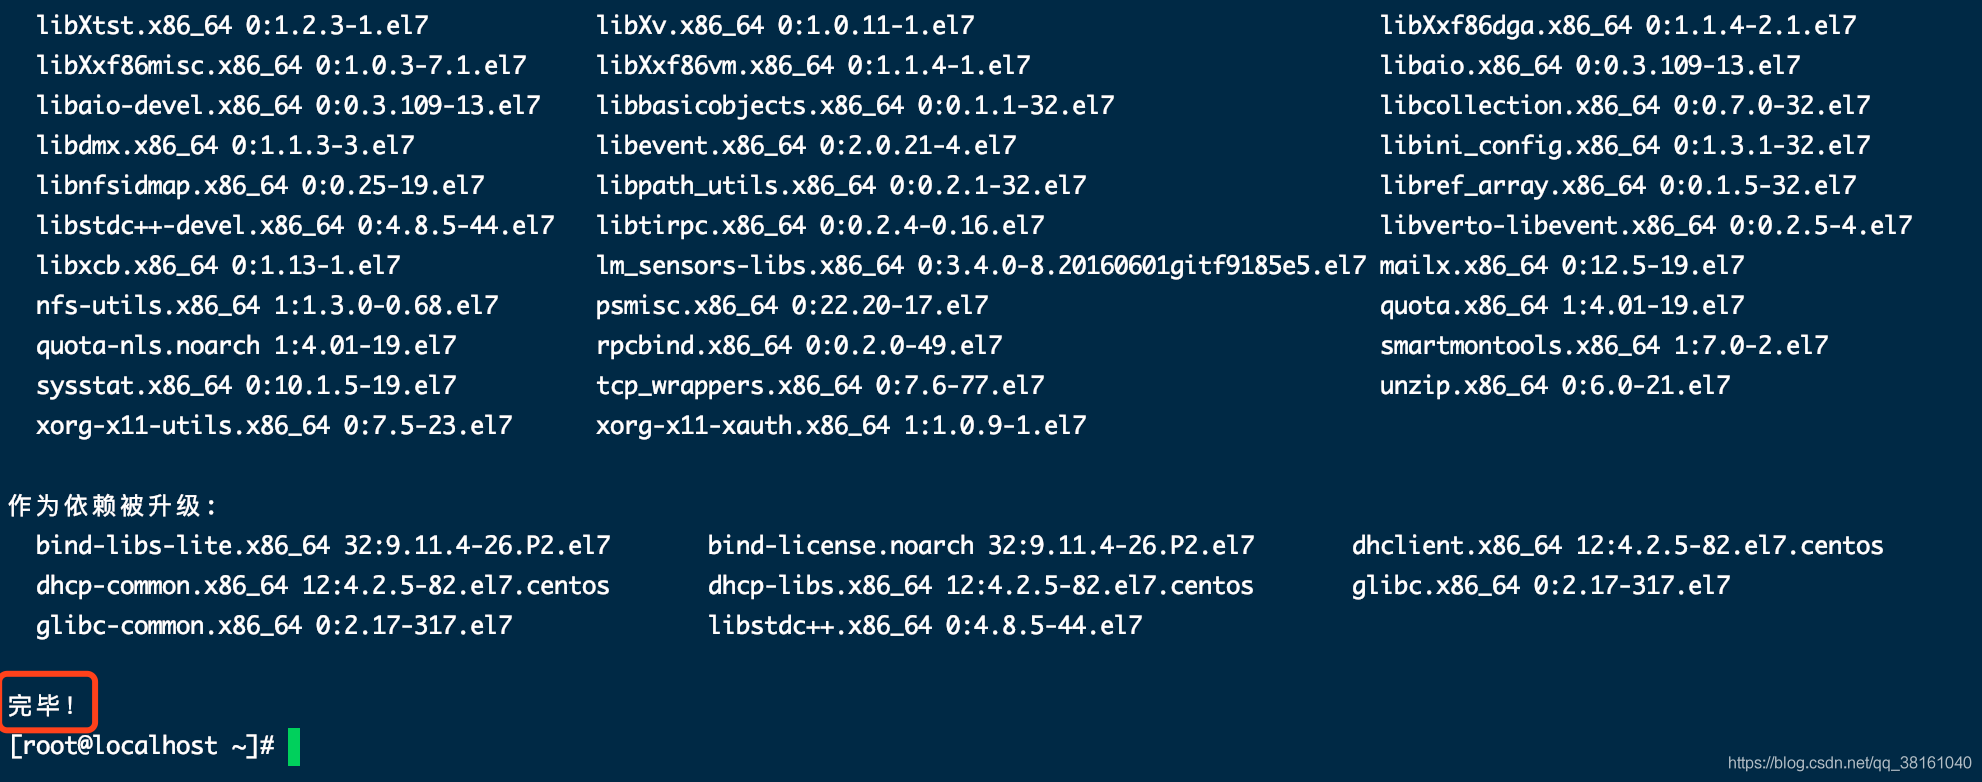
Use syntax: yum localinstall -y /root/oracle-database-preinstall-19c-1.0-1.el7.x86_64.rpm Perform pre installation.
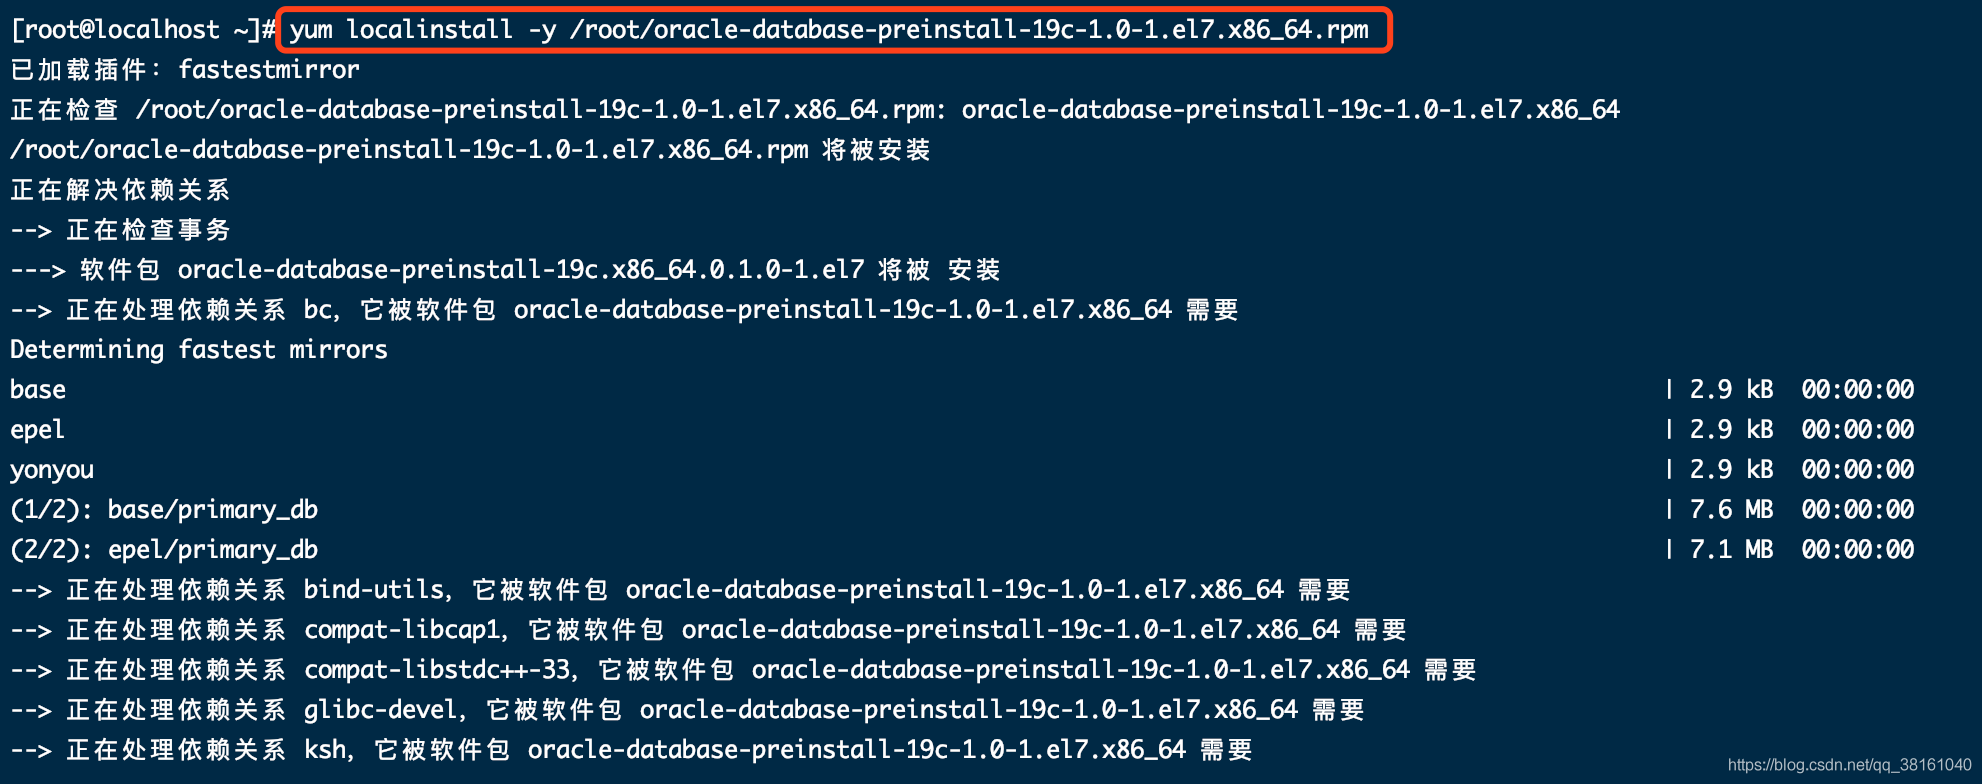
Effect picture of successful installation:
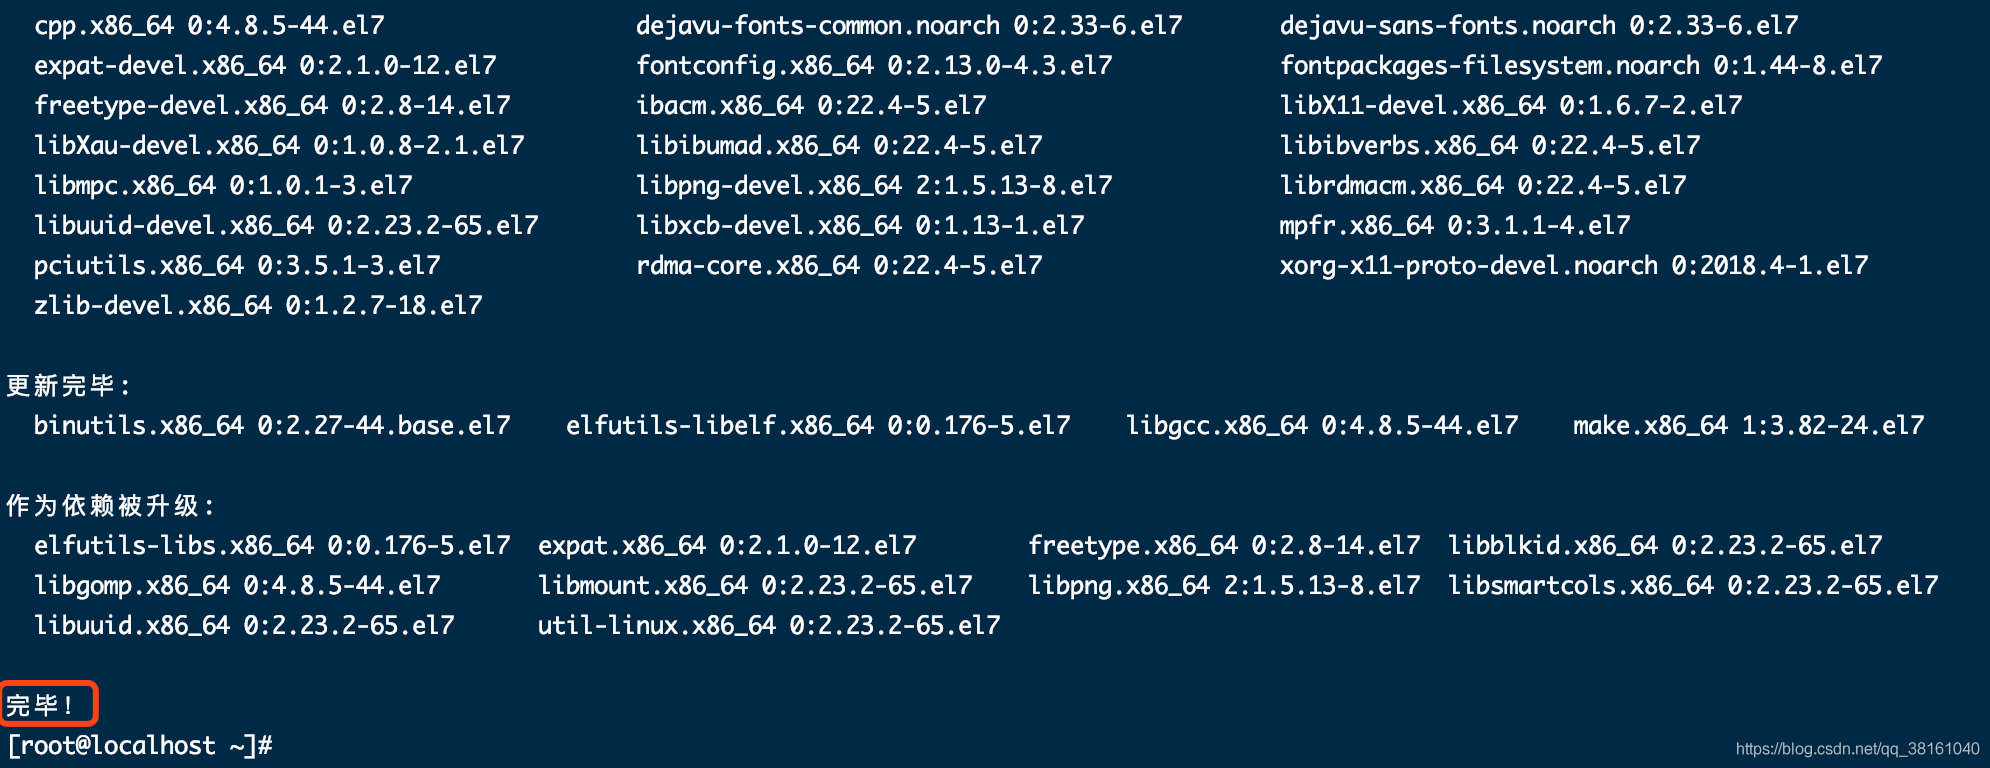
③ Install dependent packages
Install dependent packages: yum install -y bc gcc gcc-c++ binutils compat-libcap1 compat-libstdc++ dtrace-modules dtrace-modules-headers dtrace-modules-provider-headers dtrace-utils elfutils-libelf elfutils-libelf-devel fontconfig-devel glibc glibc-devel ksh libaio libaio-devel libdtrace-ctf-devel libX11 libXau libXi libXtst libXrender libXrender-devel libgcc librdmacm-devel libstdc++ libstdc++-devel libxcb make smartmontools sysstat
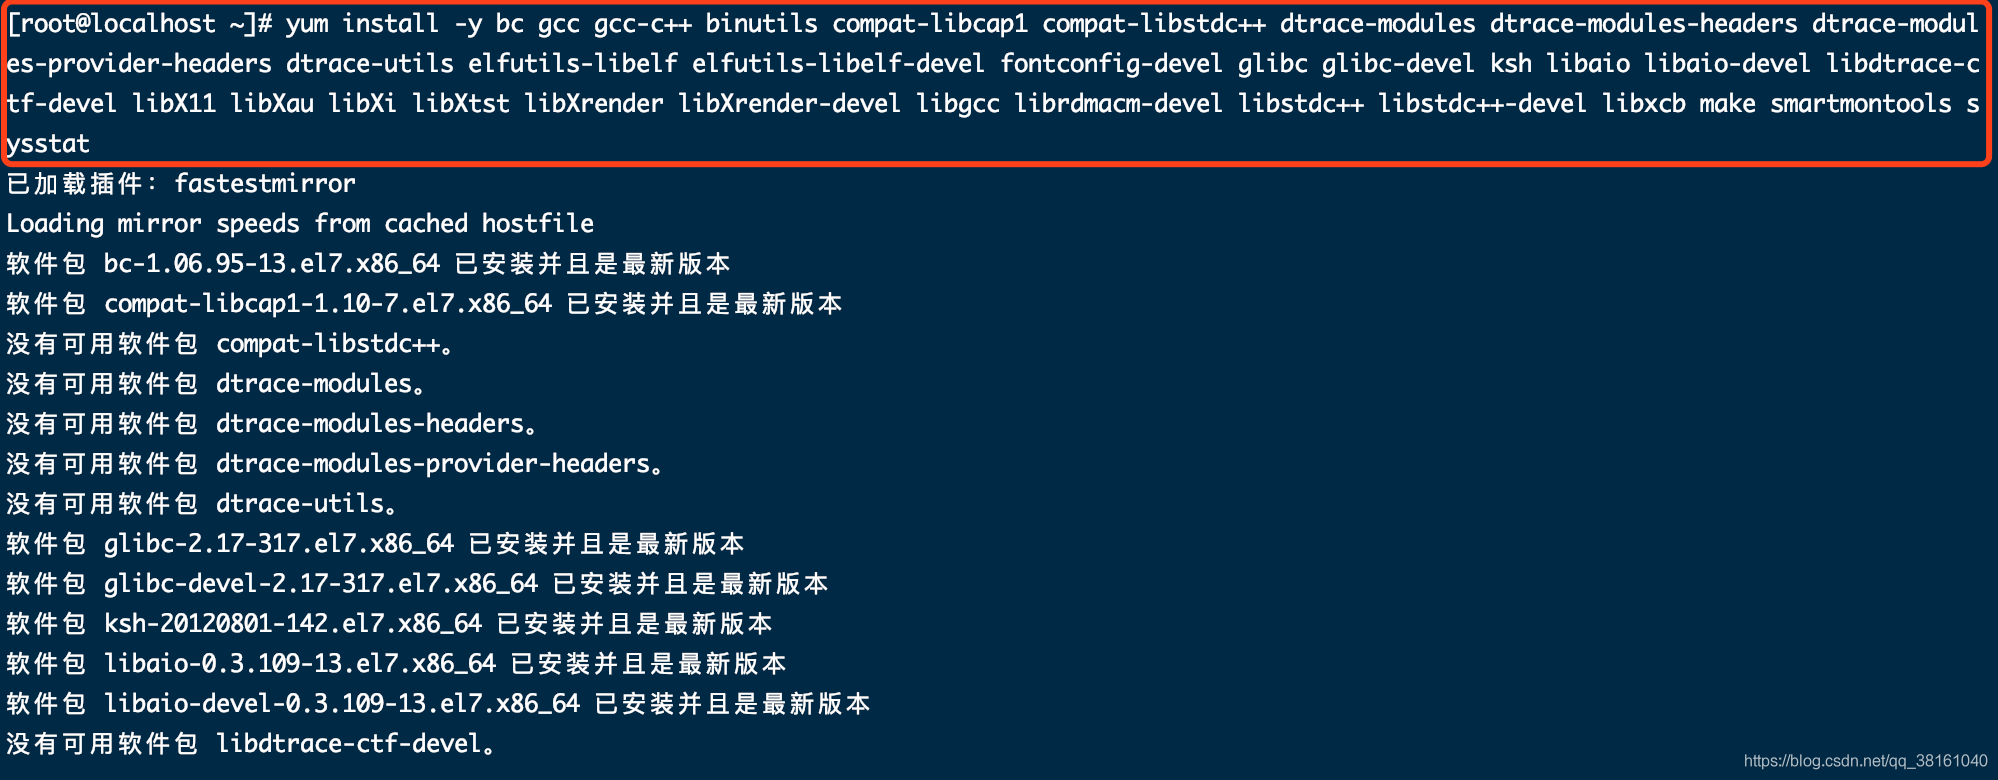
Effect picture of successful installation:
④ Create necessary folders and authorize
Create the necessary folders and extract the database installation package.

mkdir -p /u01/oraInventory
mkdir -p /u01/app/oracle/product/19.3.000/db_home
unzip /root/LINUX.X64_193000_db_home.zip -d /u01/app/oracle/product/19.3.000/db_home
to grant authorization:

chown -R oracle:oinstall /u01/app/oracle
chmod -R 775 /u01/app/oracle
⑤ Configuration information
Edit the configuration file after logging in to the oracle user.
su - oracle
vim ~/.bash_profile
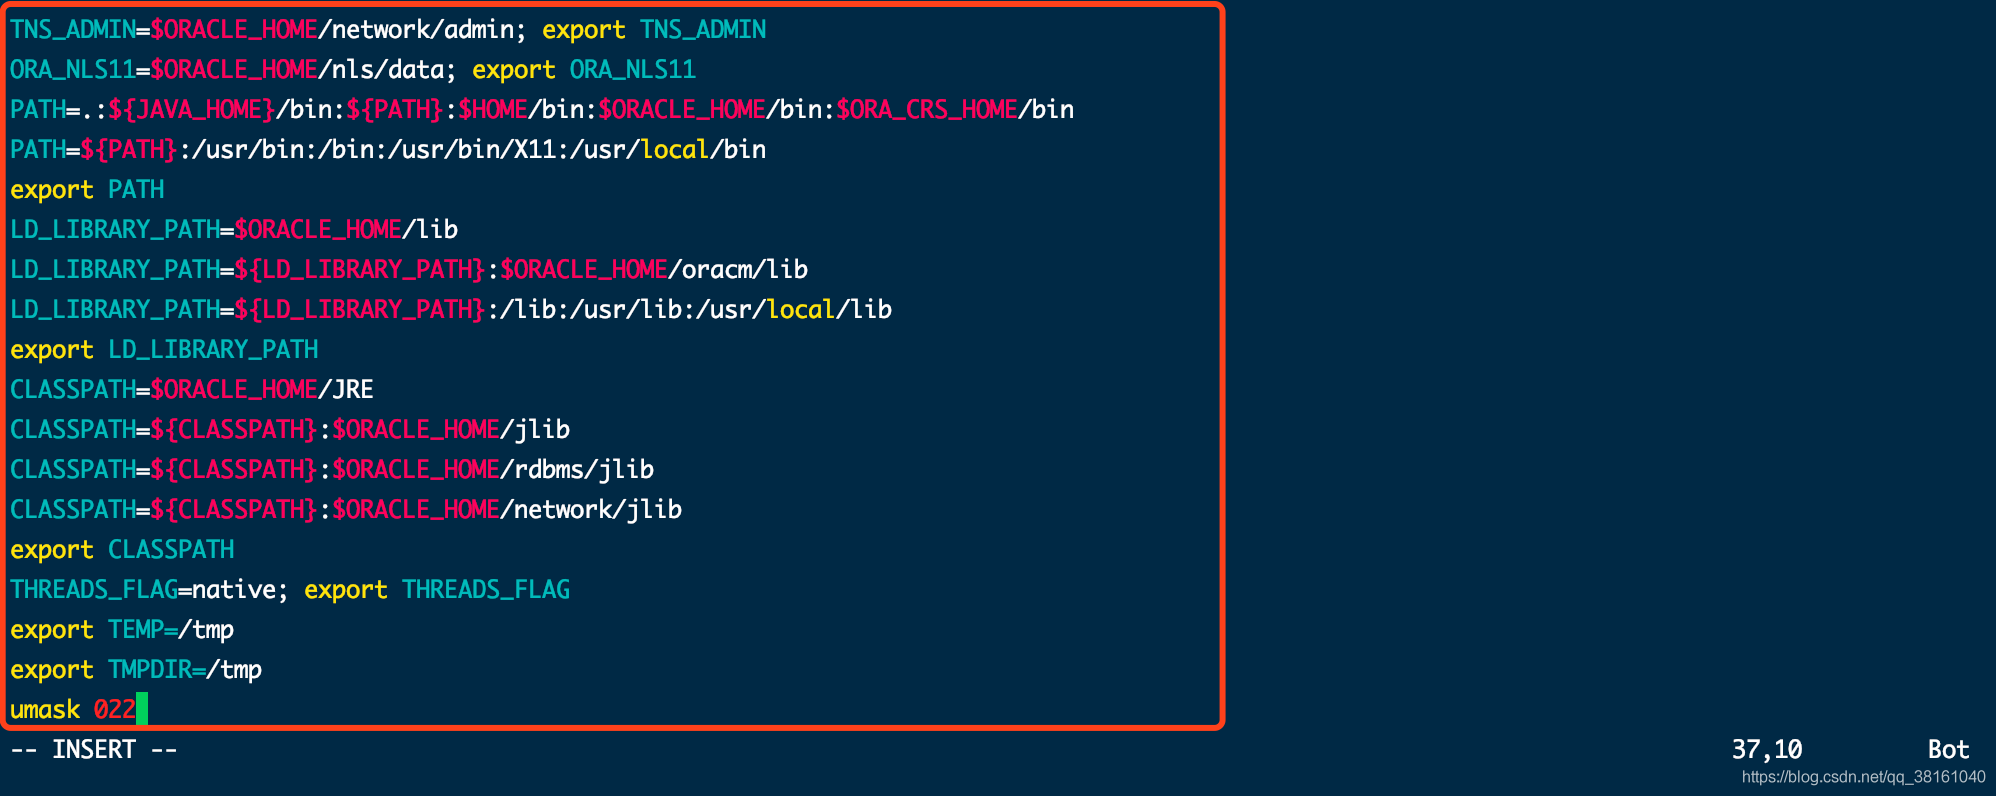
Insert the following configuration information:
ORACLE_SID=orcl;export ORACLE_SID
ORACLE_UNQNAME=orcl;export ORACLE_UNQNAME
ORACLE_BASE=/u01/app/oracle; export ORACLE_BASE
ORACLE_HOME=$ORACLE_BASE/product/19.3.000/db_home; export ORACLE_HOME
NLS_DATE_FORMAT="YYYY:MM:DDHH24:MI:SS"; export NLS_DATE_FORMAT
NLS_LANG=american_america.ZHS16GBK; export NLS_LANG
TNS_ADMIN=$ORACLE_HOME/network/admin; export TNS_ADMIN
ORA_NLS11=$ORACLE_HOME/nls/data; export ORA_NLS11
PATH=.:${JAVA_HOME}/bin:${PATH}:$HOME/bin:$ORACLE_HOME/bin:$ORA_CRS_HOME/bin
PATH=${PATH}:/usr/bin:/bin:/usr/bin/X11:/usr/local/bin
export PATH
LD_LIBRARY_PATH=$ORACLE_HOME/lib
LD_LIBRARY_PATH=${LD_LIBRARY_PATH}:$ORACLE_HOME/oracm/lib
LD_LIBRARY_PATH=${LD_LIBRARY_PATH}:/lib:/usr/lib:/usr/local/lib
export LD_LIBRARY_PATH
CLASSPATH=$ORACLE_HOME/JRE
CLASSPATH=${CLASSPATH}:$ORACLE_HOME/jlib
CLASSPATH=${CLASSPATH}:$ORACLE_HOME/rdbms/jlib
CLASSPATH=${CLASSPATH}:$ORACLE_HOME/network/jlib
export CLASSPATH
THREADS_FLAG=native; export THREADS_FLAG
export TEMP=/tmp
export TMPDIR=/tmp
umask 022
Then execute source ~/.bash_profile makes it effective immediately.
Chapter 2: graphical interface installation process demonstration
You can enter the graphical oracle installation interface through the following command. DISPLAY is followed by the IP address of your computer.
su - oracle
cd $ORACLE_HOME
export DISPLAY=10.11.xx.xx:0.0
./runInstaller

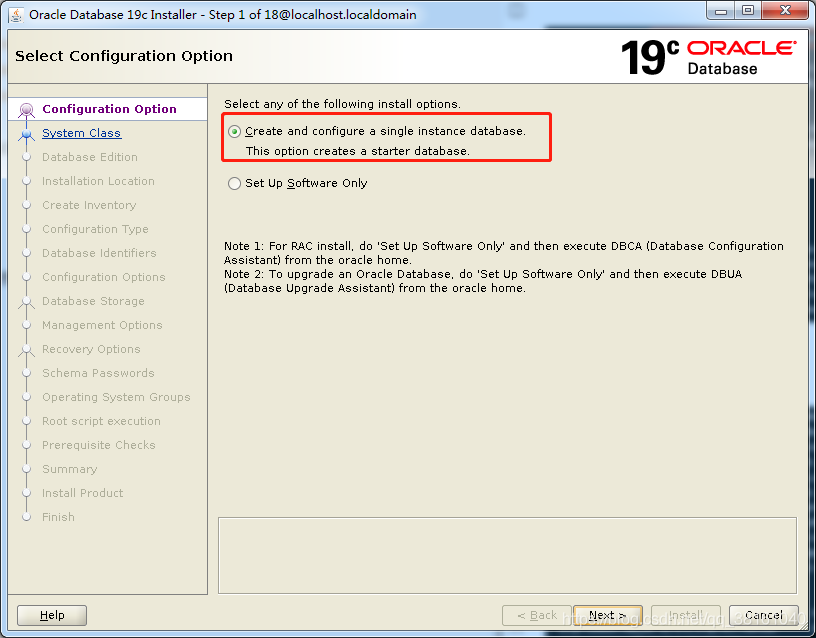
① Choose to install or upgrade
The first is for installation.
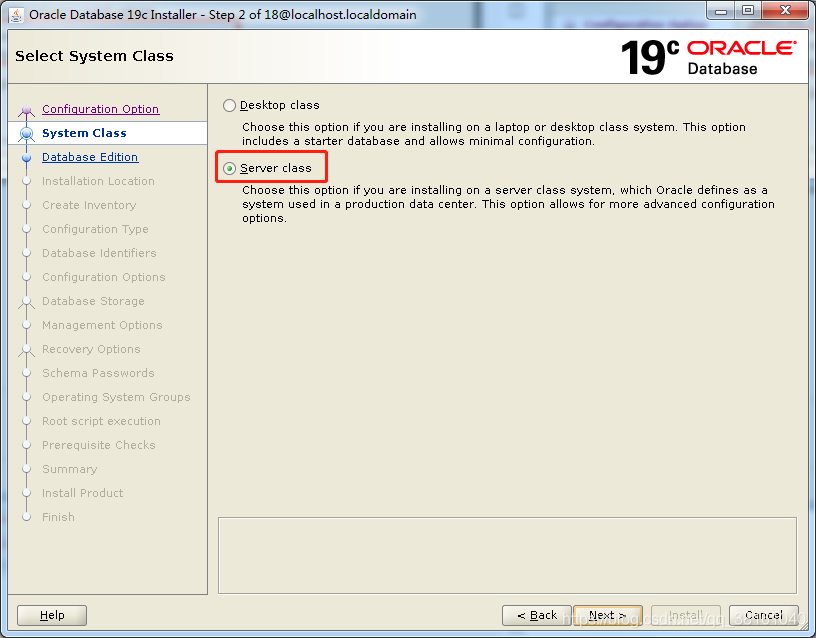
② System class configuration
I am a database server, so I choose the server.
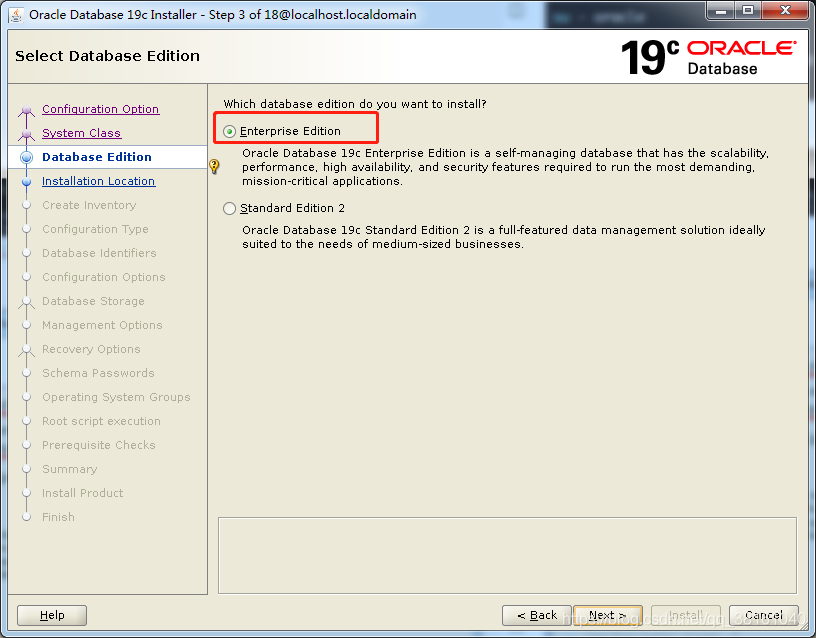
③ Database version configuration
I chose the enterprise version.
④ Installation path configuration
The previously configured path will be displayed by default.

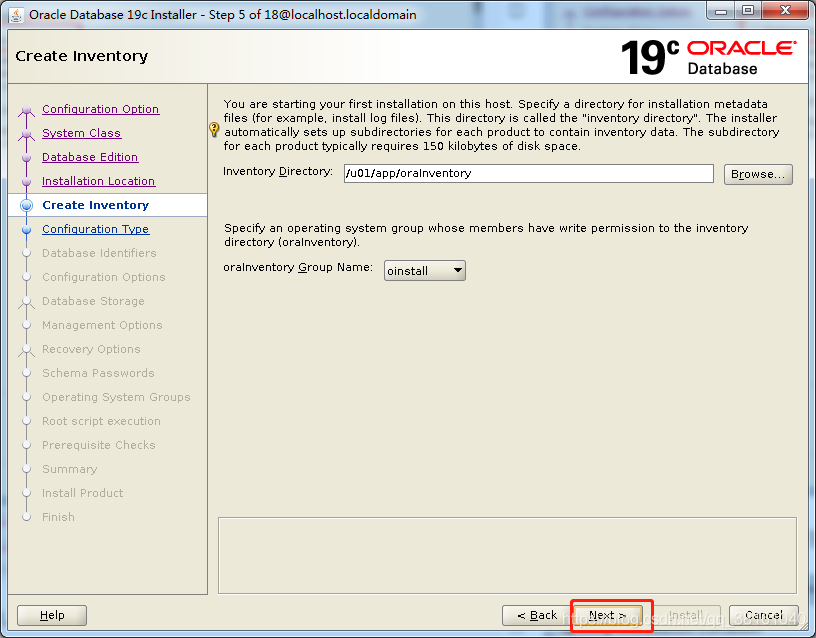
⑤ Detailed directory configuration
It is also brought here by default, which is prepared and set before installation.
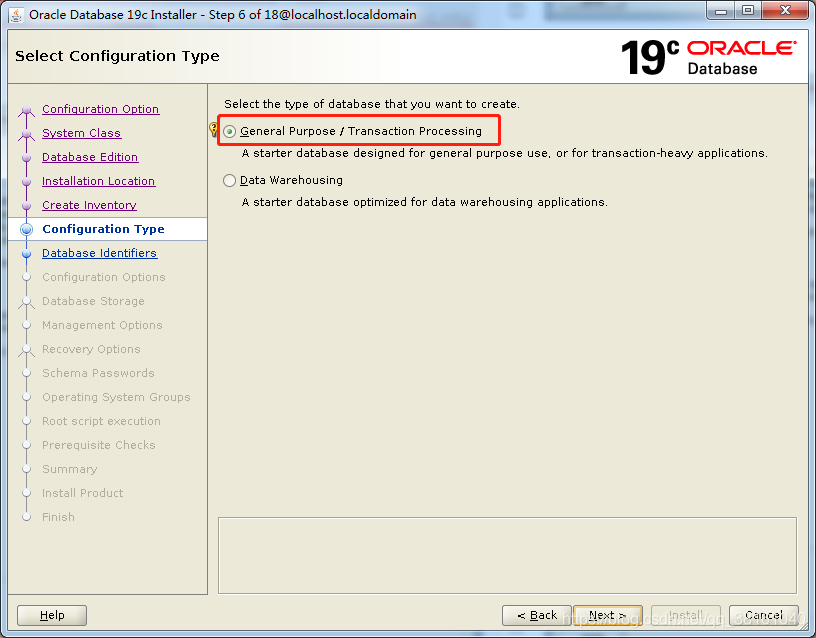
⑥ Type configuration
General purpose.
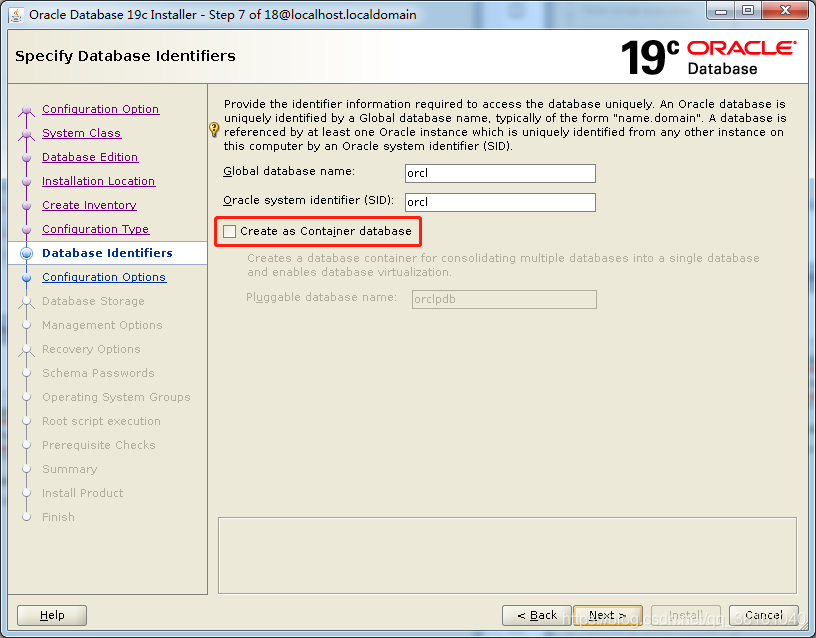
⑦ Database identifier configuration
This cancellation candidate is generally not used to create a container database.
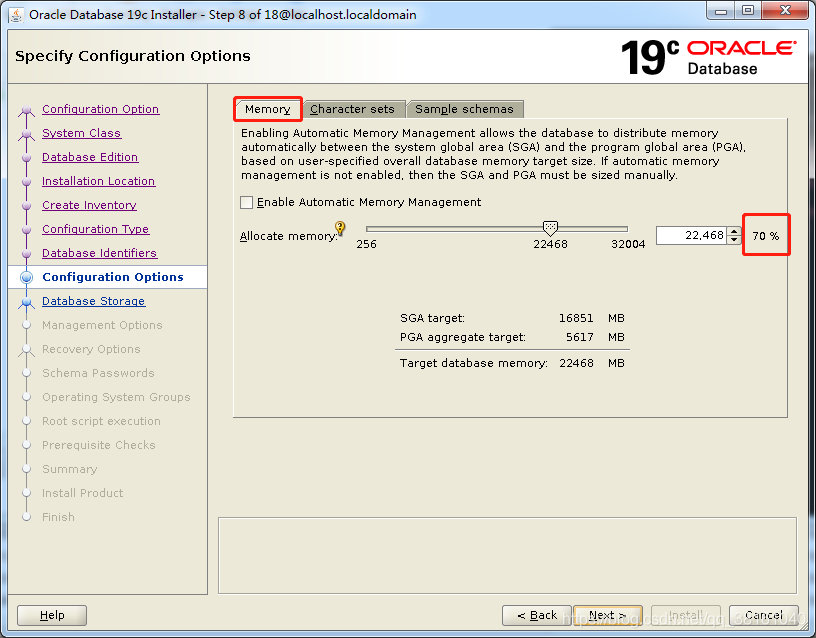
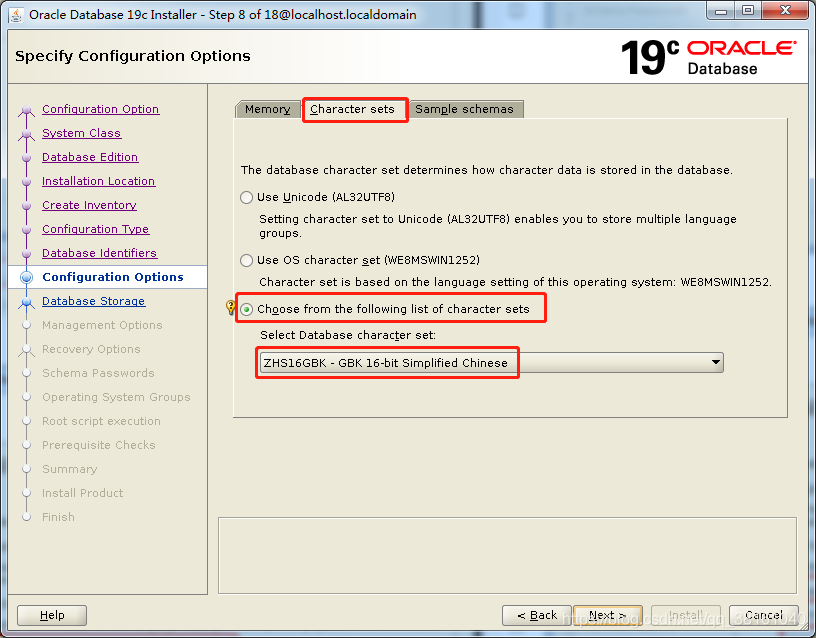
⑧ Configure option settings
I'm dedicated to the database server, so the memory is set to 70%.
To set the character set, I chose GBK.
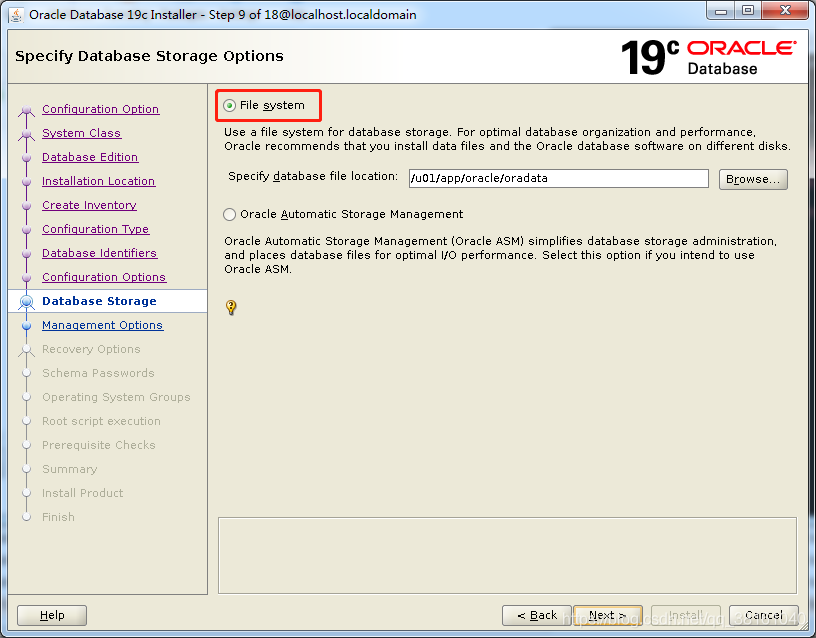
⑨ Database storage configuration
File system.
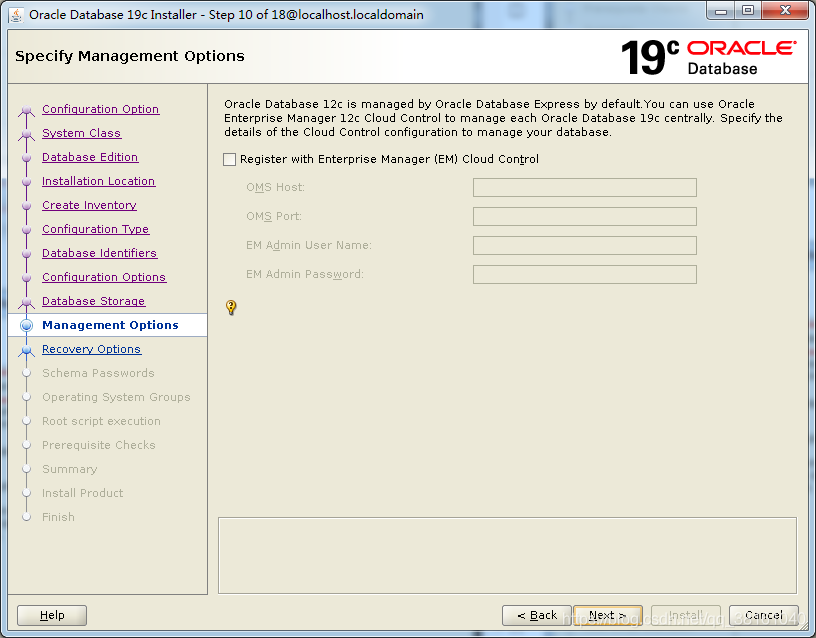
⑩ Manage option configuration
If you want to use the cloud console, you can configure it here.
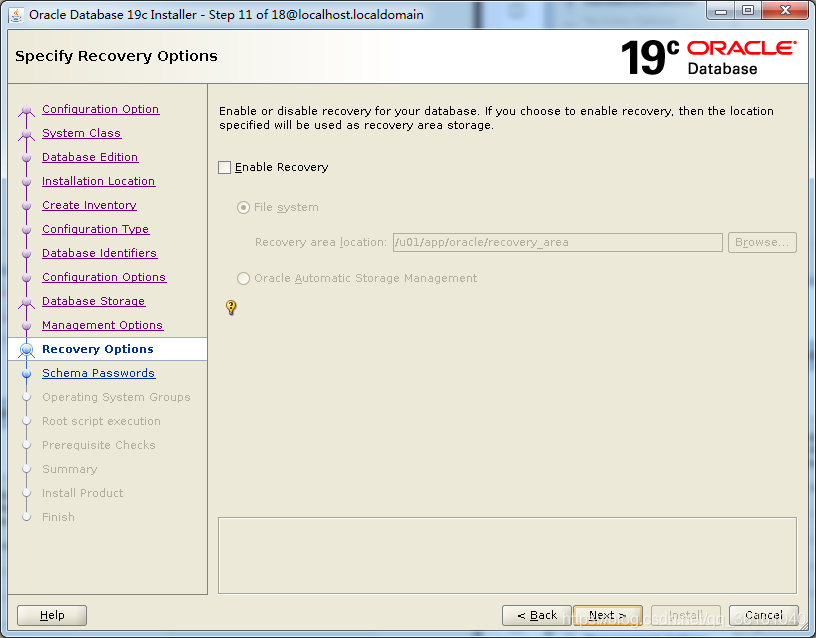
⑪ Restore option configuration
After setting, data recovery can be performed if problems occur later, but it will occupy a lot of resources.
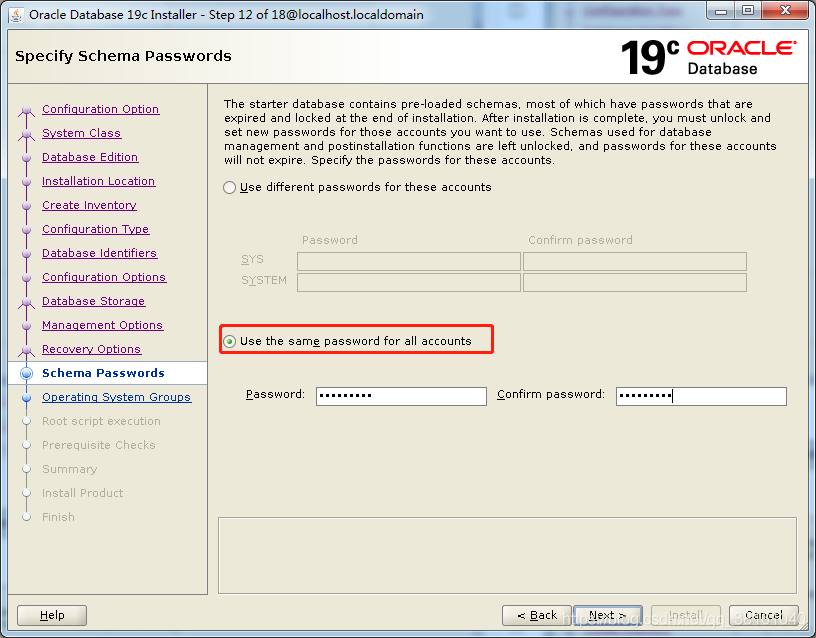
⑫ Scheme password configuration
It is recommended that upper and lower case letters + numbers do not contain special characters. For example, Lizhi8888
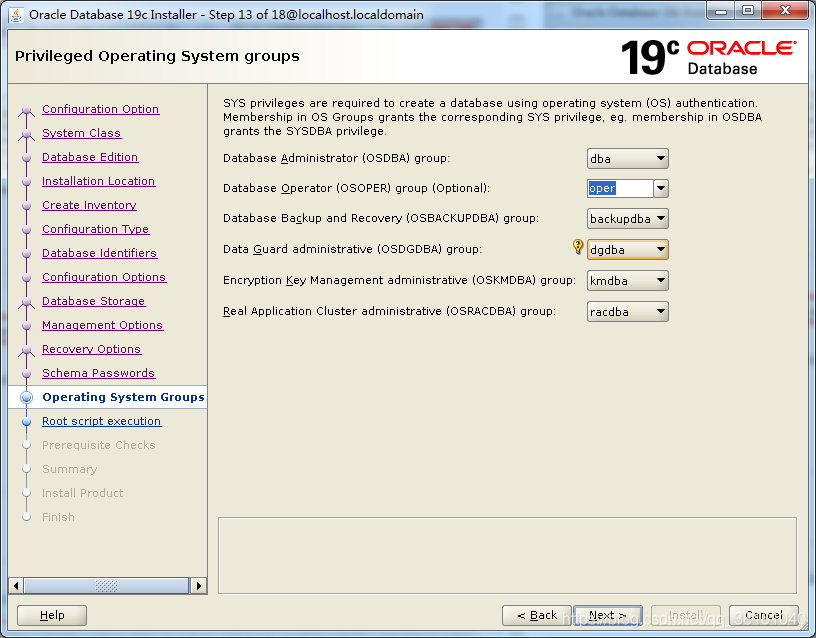
⑬ Operating system group configuration
It's also directly matched here.
⑭ root user information configuration
Enter the password of the root user, and then execute some scripts that can only be executed by the root user. It can directly help you execute them.

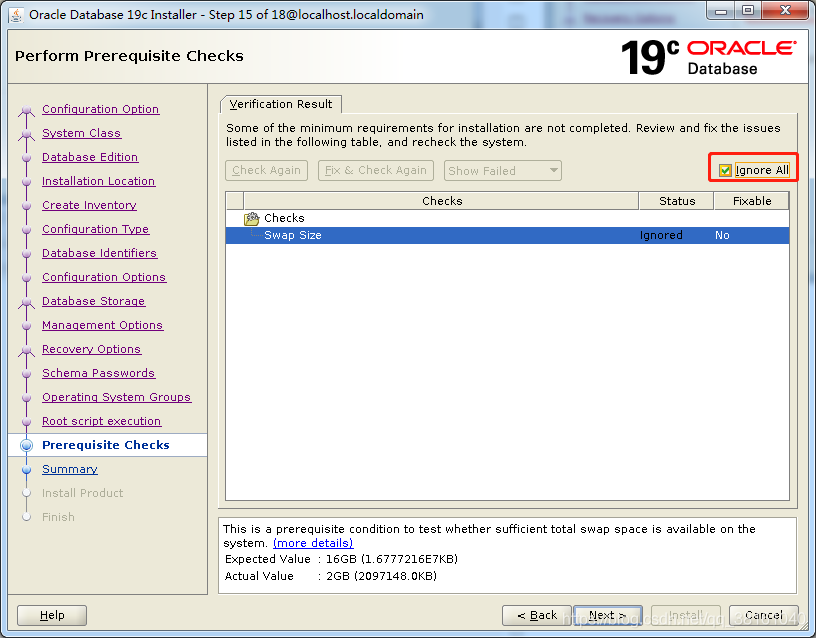
⑮ Prerequisite check
Here is a warning that the actual value of the exchange space does not match the expected value. If you feel it will not affect, you can check the option in the upper right corner and ignore it. If it has an impact, you should solve the problem, otherwise there will be problems later.
⑯ Summary of configuration information
Here is a configuration summary. After confirming that there is no problem, start the installation.
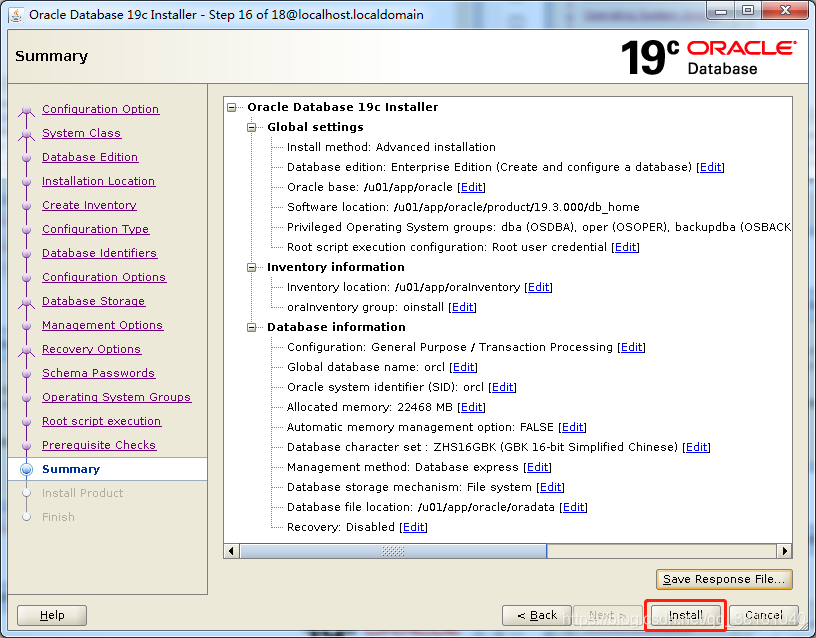
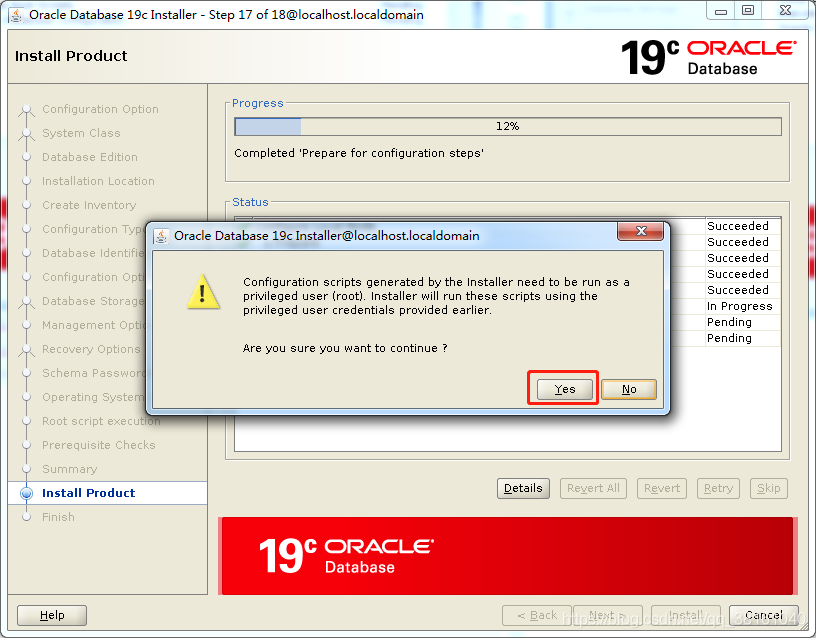
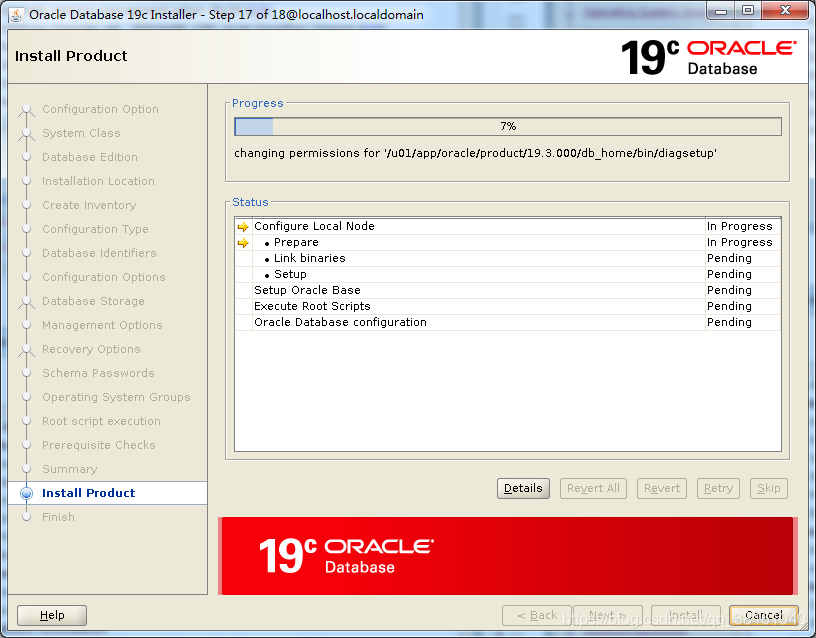
After checking, the installation begins.
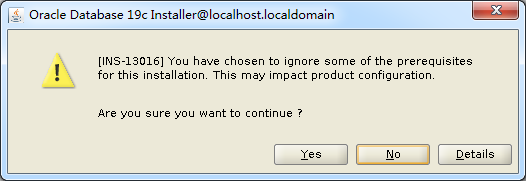
Some prompts will pop up in the middle. Click continue.