catalogue
5. Normal vector estimation / vertex normal estimation
(2) Geometry - Surface Reconstruction
1. Generating with unstructured point cloud data
1, Open3D introduction
Open3D is an open source library that supports the rapid development of software for processing 3D data. The Open3D front end exposes a carefully selected set of data structures and algorithms in C + + and Python. The back end is highly optimized and set to parallelization.
The core functions of Open3D include: 3D data structure, 3D data processing algorithm, scene reconstruction, surface alignment, 3D visualization, physics based rendering (PBR), etc.
More information is available at: Open3D: A Modern Library for 3D Data Processing — Open3D 0.14.1 documentation

2, Open3D installation
pip installation steps are as follows:
1. Locate the Scripts folder under the Python installation path and open it
2. Open a command prompt in the Scripts folder
3. In the cmd window, enter: pip install open3d
4. Verify that the installation is complete, and enter python -c "import open3d as o3d" in the cmd window. If no error is reported, the installation is successful
It should be noted that Open3D currently supports Python 3 Version 8, python 3 Version 9 and above will not be installed. Therefore, when looking for the python installation directory above, you need to look for Python 3 8 and below, otherwise it will not be available.
3, Open3D operation
(1) Geometry - point cloud
1. Visual point cloud
The code is as follows:
import open3d as o3d
import numpy as np
#Introducing third-party libraries
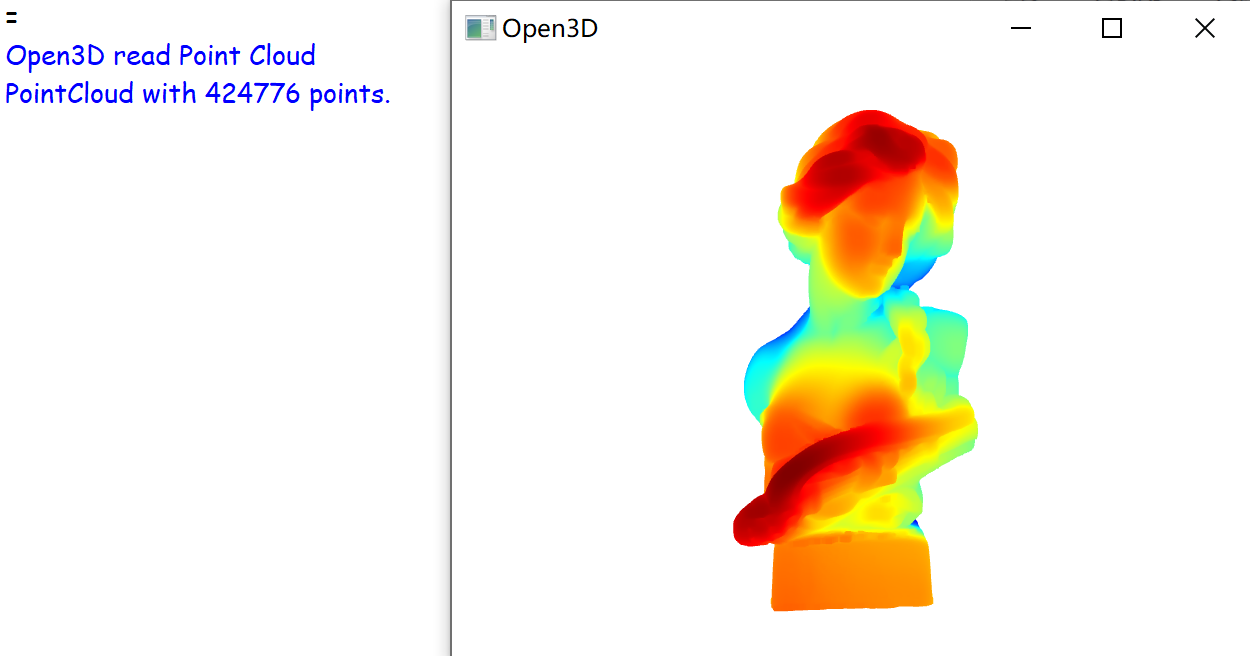
print("Open3D read Point Cloud")
#Output prompt text
pcd=o3d.io.read_point_cloud(r"thu_statue.ply")
#Read model
print(pcd)
o3d.visualization.draw_geometries([pcd],width=800,height=600)
#Draw to generate a point cloudThe results are as follows:
Among them, pressing [ctrl] + [-] can reduce the voxel size of point cloud, and pressing [ctrl] + [+] can enlarge the voxel size of point cloud. Specific examples are as follows (the left figure shows the effect of increasing the voxel size of point cloud, and the right figure shows the effect of reducing the voxel size of point cloud):

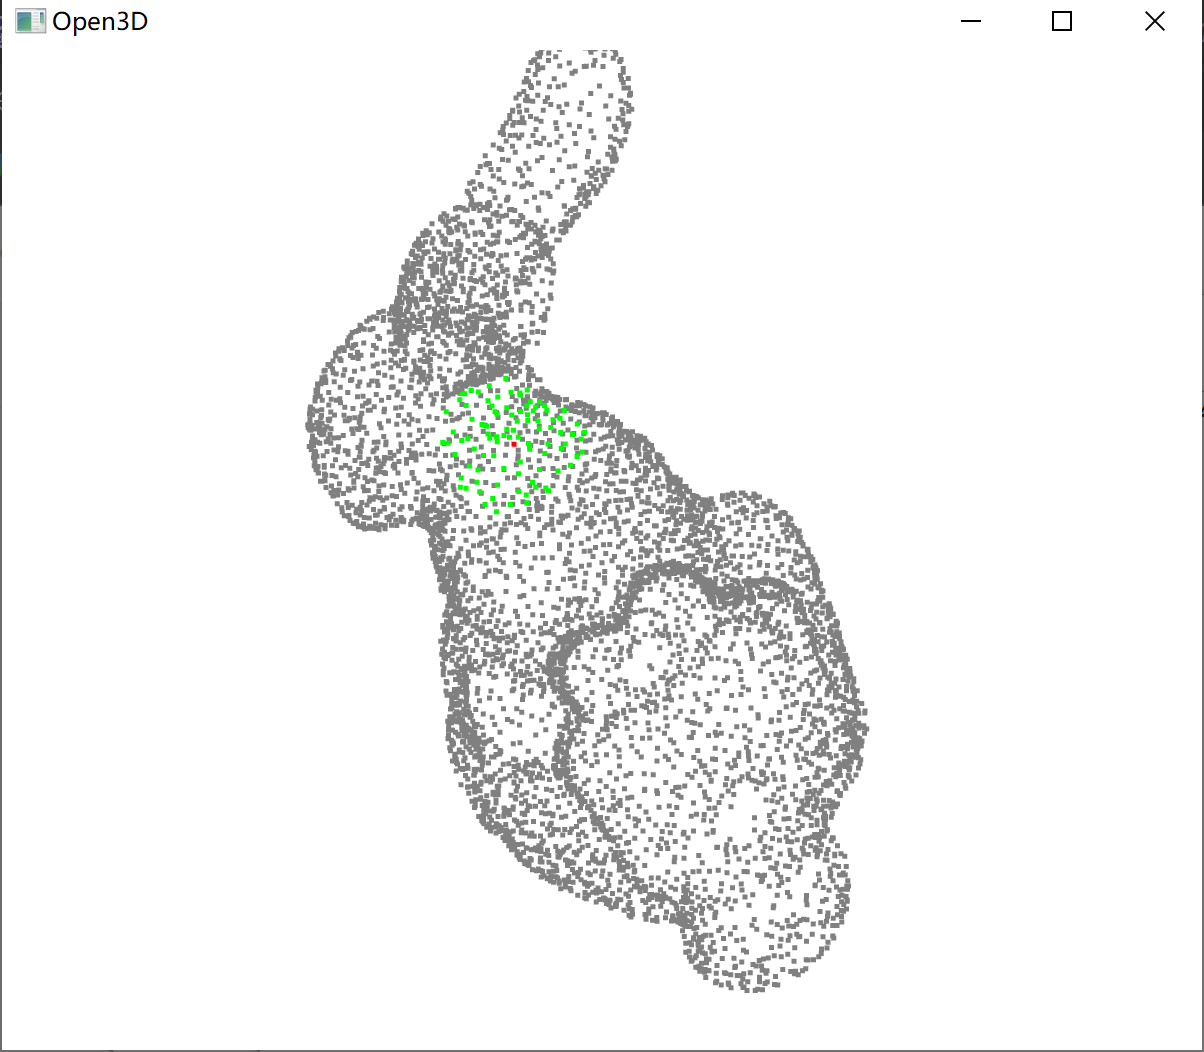
2. KD nearest neighbor search
Kd tree is the abbreviation of k-dimension tree. It refers to data points in k-dimensional space (such as two-dimensional (x, y), three-dimensional (x, y, z), k-dimensional (x, y, Z...)) A data structure divided in, which is mainly used to search key data in multidimensional space.
Search_knn_vector_3d, return the K nearest neighbor index list of query points, and store these adjacent points in an array.
Code implementation:
import open3d as o3d
import numpy as np
#Introducing third-party libraries

print("Open3D read Point Cloud")
#Output prompt statement
pcd = o3d.io.read_point_cloud(r"bunny10k.ply")
pcd.paint_uniform_color([0.5, 0.5, 0.5])
#Read model file

pcd_tree = o3d.geometry.KDTreeFlann(pcd)
pcd.colors[100] = [1, 0, 0]

[k, idx, _] = pcd_tree.search_knn_vector_3d(pcd.points[100],100)
#Determine the center
np.asarray(pcd.colors)[idx[1:], :] = [0, 1, 0]

o3d.visualization.draw_geometries([pcd],width=1200,height=1000)
#Draw a point cloud model
The results are as follows:
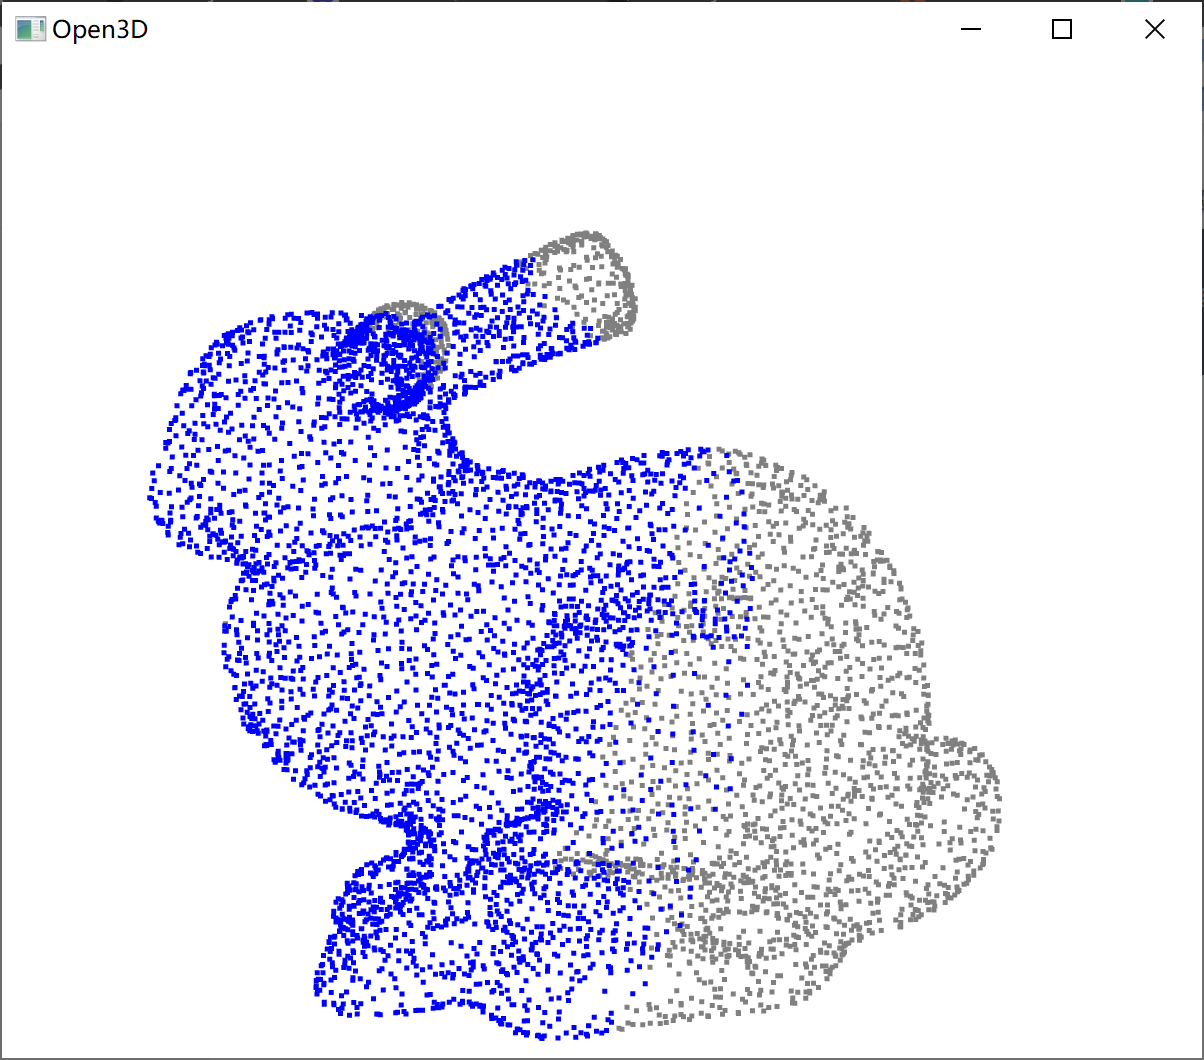
3. Radius domain search
Search_radius_vector_3d, query all points whose distance from the query point is less than a given radius.
Code implementation:
import open3d as o3d
import numpy as np
#Introducing third-party libraries

print("Open3D read Point Cloud")
#Output prompt statement
pcd = o3d.io.read_point_cloud(r"bunny10k.ply")
pcd.paint_uniform_color([0.5, 0.5, 0.5])
#Read model file

pcd_tree = o3d.geometry.KDTreeFlann(pcd)
pcd.colors[100] = [1, 0, 0]

[k,idx,_] = pcd_tree.search_radius_vector_3d(pcd.points[3000],0.1)
#Set index radius less than 0.02
np.asarray(pcd.colors)[idx[1:], :] = [0, 0, 1]

o3d.visualization.draw_geometries([pcd],width=1200,height=1000)
#Draw a point cloud model
The results are as follows:
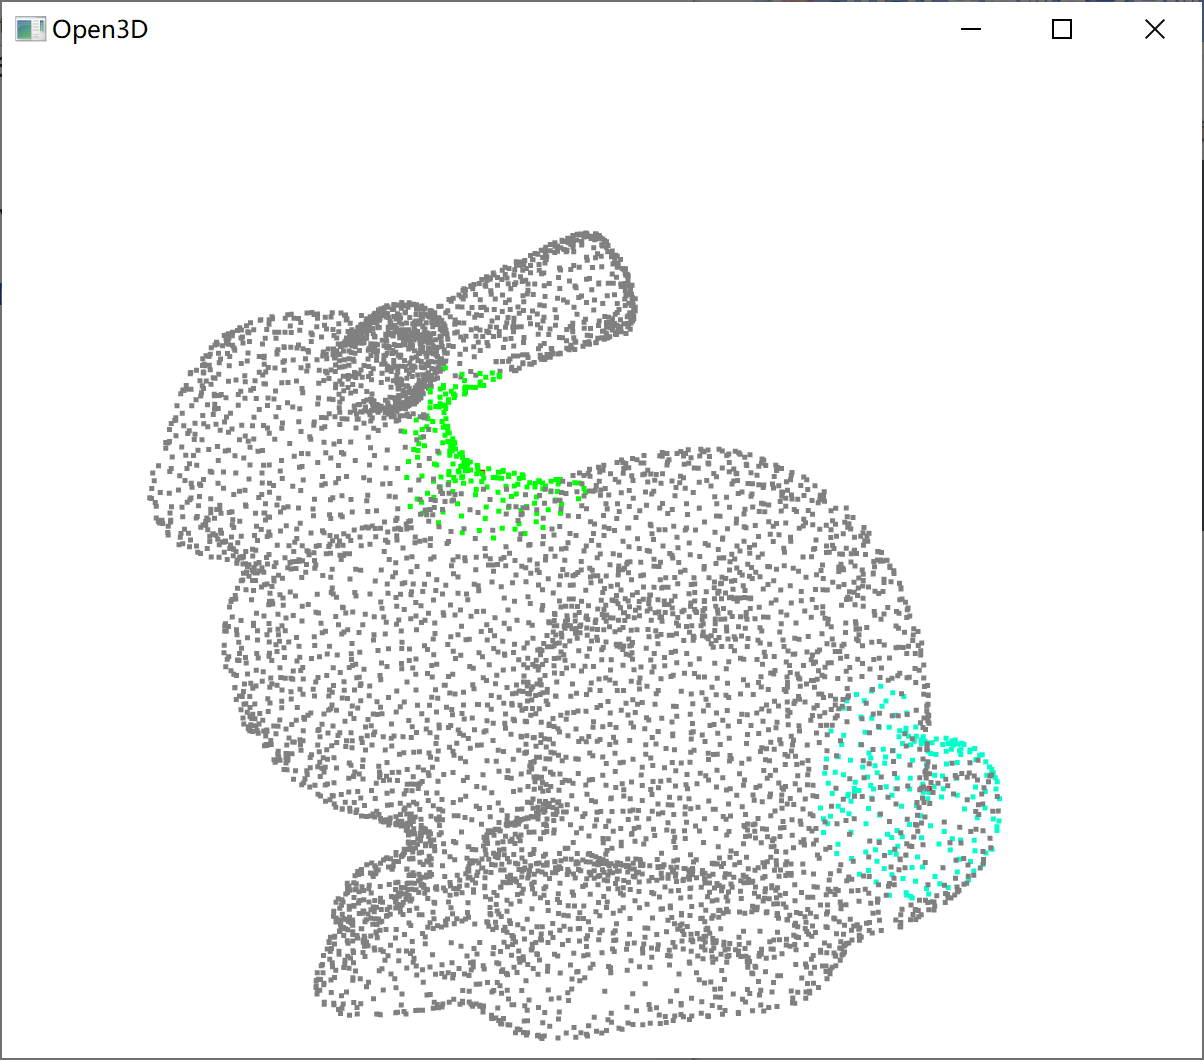
4. Hybrid search
Hybrid search combines KD nearest neighbor search and radius neighborhood search.
Search_hybrid_vector_3d, up to k nearest neighbors whose distance from the queried point is less than the given radius are returned.
Code implementation:
import open3d as o3d
import numpy as np
#Import third party libraries

print("Open3D read Point Cloud")
#Output prompt statement

pcd = o3d.io.read_point_cloud(r"bunny10k.ply")
#Read 3d file
pcd.paint_uniform_color([0.5, 0.5, 0.5])
#Define specific colors

pcd_tree = o3d.geometry.KDTreeFlann(pcd)

#Mark point 1
pcd.colors[100] = [1, 0, 0]
#Define marker color
[k, idx, _] = pcd_tree.search_hybrid_vector_3d(pcd.points[100],0.05,200)
np.asarray(pcd.colors)[idx[1:], :] = [0, 1, 0]
#o3d.visualization.draw_geometries([pcd],width=1200,height=1000)
#draw

#Mark point 2
pcd.colors[2000]=[1, 0, 0]
#Define marker color
[k2, idx2, _]=pcd_tree.search_hybrid_vector_3d(pcd.points[2000],0.05,200)
np.asarray(pcd.colors)[idx2[1:], :] = [0, 1, 0.8]
o3d.visualization.draw_geometries([pcd],width=1200,height=1000)
#Draw a point cloud model
The results are as follows:
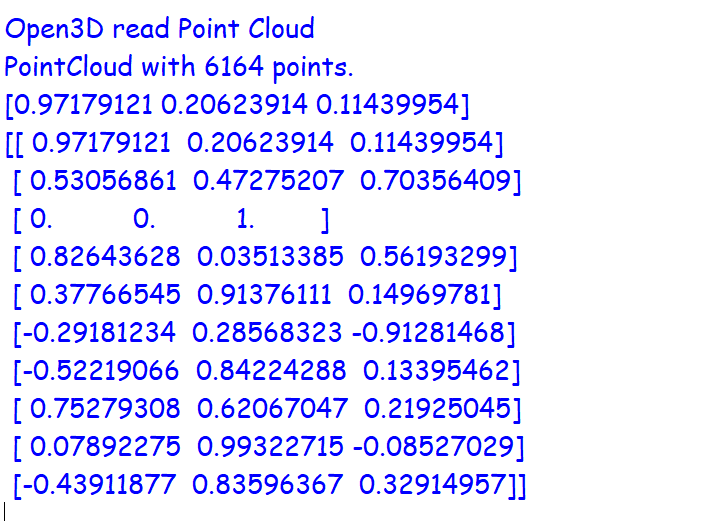
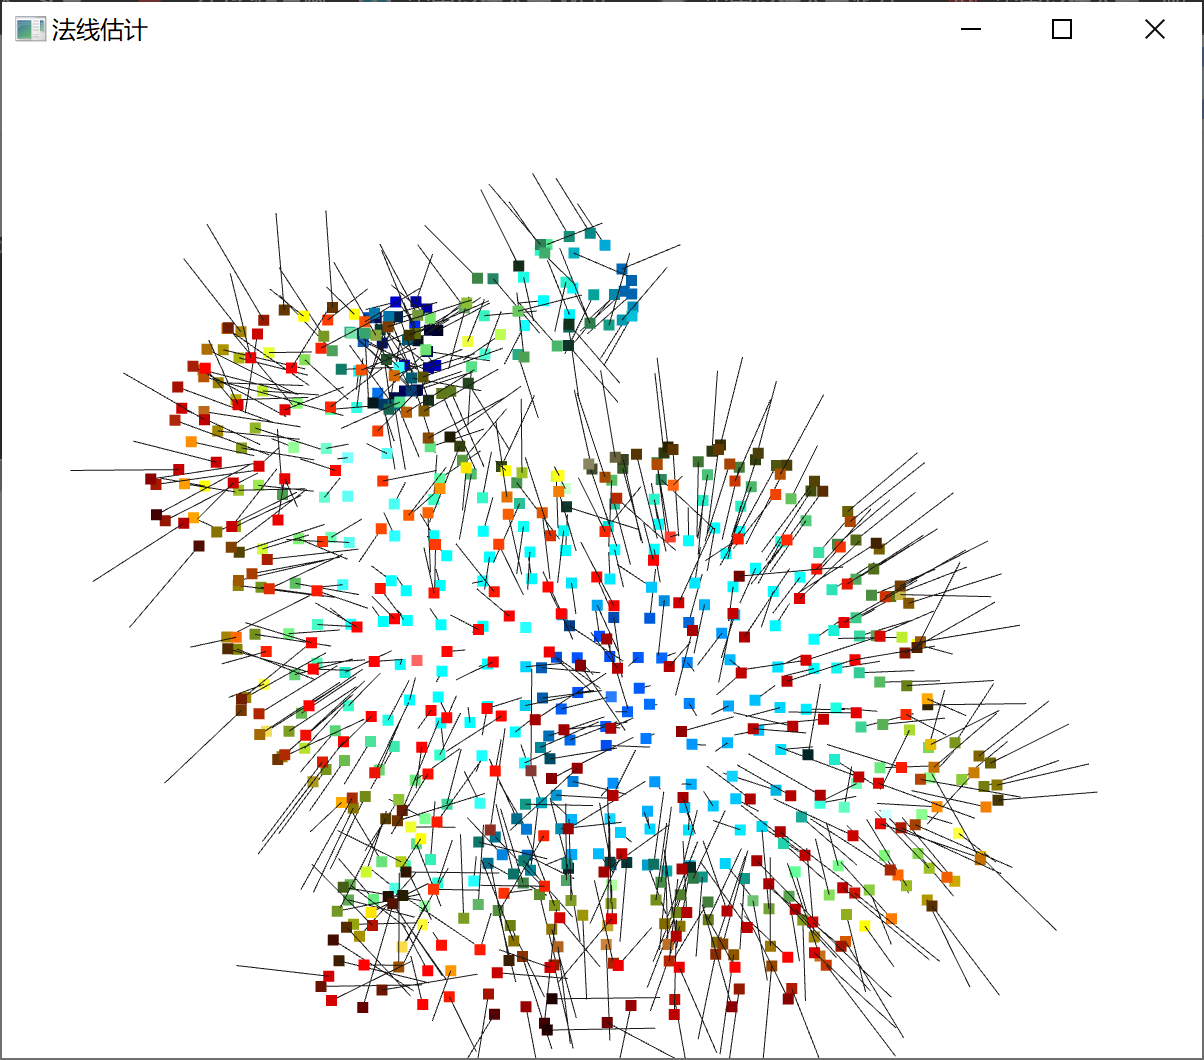
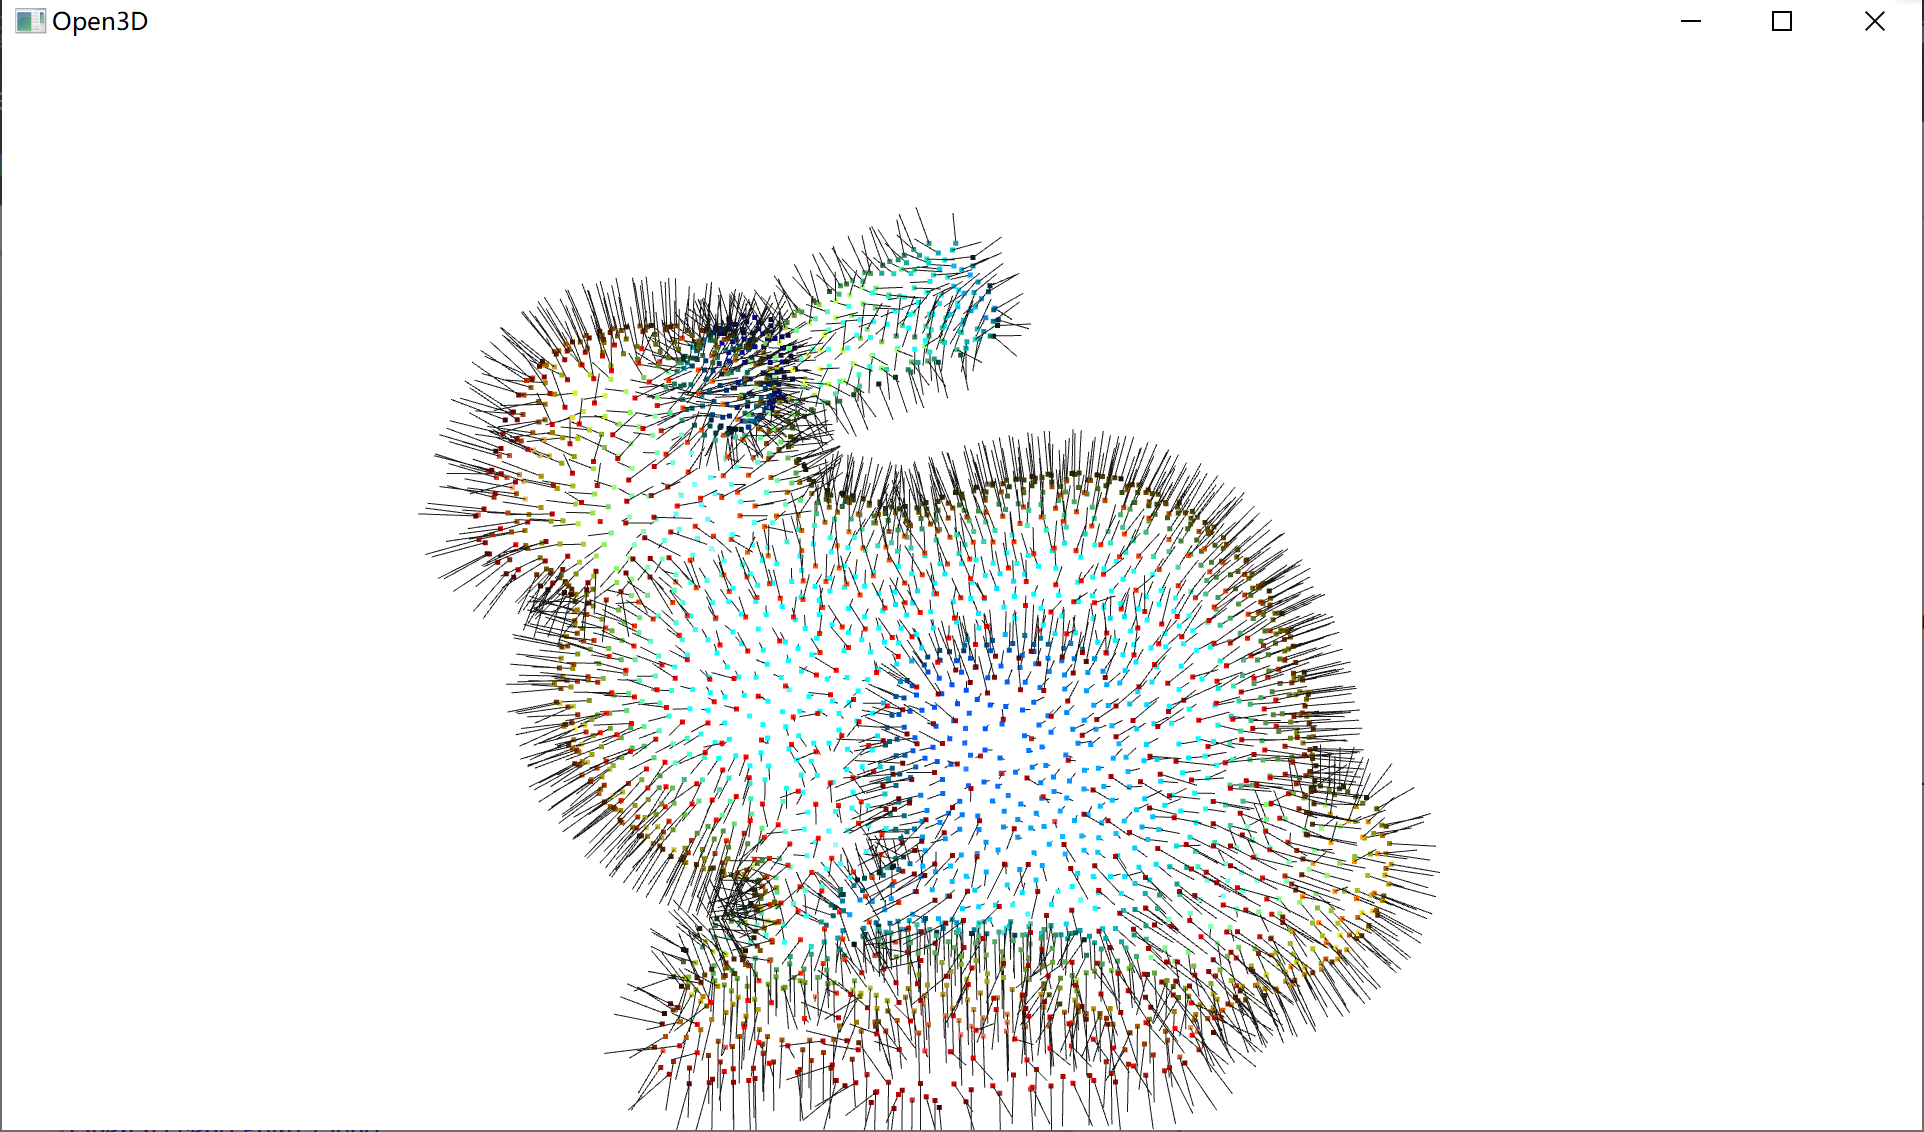
5. Normal vector estimation / vertex normal estimation
estimate_normals calculates the normal of each point. This function uses covariance analysis to find adjacent points and calculate the principal axis of adjacent points.
The covariance analysis algorithm generates two directions opposite to the normal candidate direction. Without knowing the global structure of the geometry, both may be correct, which is called the normal direction problem. Open3D attempts to orient the normal so that it aligns with the original normal (if present). Otherwise, Open3D makes random guesses.
The code is as follows:
import open3d as o3d
import numpy as np
#Introducing third-party libraries

print("Open3D read Point Cloud")
pcd = o3d.io.read_point_cloud(r"bunny10k.ply")
#Read model file
print(pcd)
dumppcd = pcd.voxel_down_sample(voxel_size=0.01)
#Down sampling (down sampling)

dumppcd.estimate_normals(search_param=o3d.geometry.KDTreeSearchParamHybrid(radius=0.01,max_nn=30))
#Perform covariance calculation

print(dumppcd.normals[0])
print(np.asarray(dumppcd.normals)[:10,:])

o3d.visualization.draw_geometries(  [dumppcd],point_show_normal=True,
                                    window_name="Normal estimation",
                                    width=1200,height=1000,
                                    esh_show_back_face=False)
#Draw a point cloud model
The results are as follows:
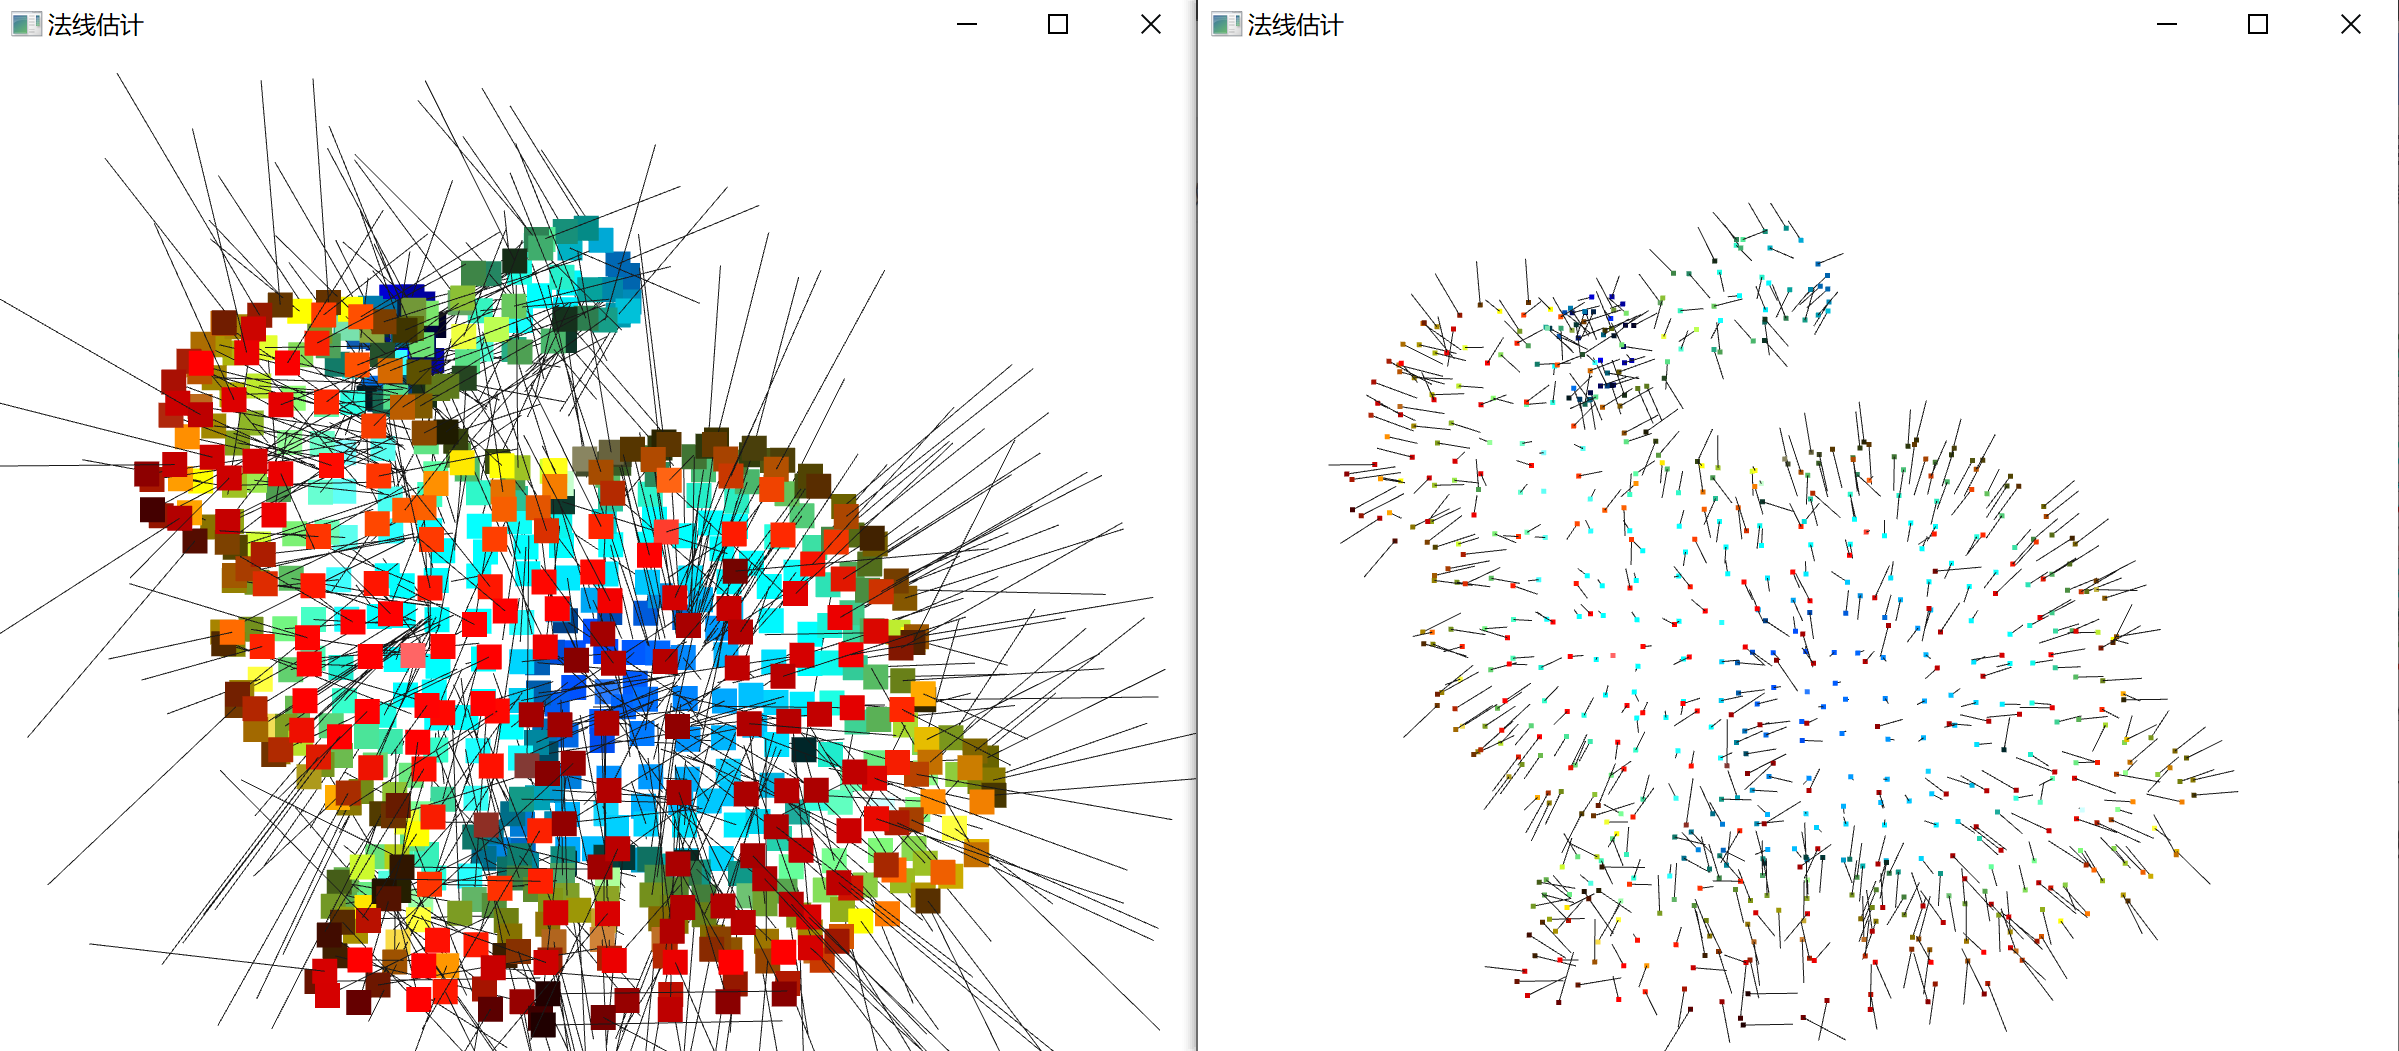
Among them, pressing [ctrl] + [-] can reduce the length of point normal, and pressing [ctrl] + [+] can increase the length of point normal. Specific examples are as follows (the left figure shows the effect of increasing the length of point normal, and the right figure shows the effect of reducing the length of point normal):
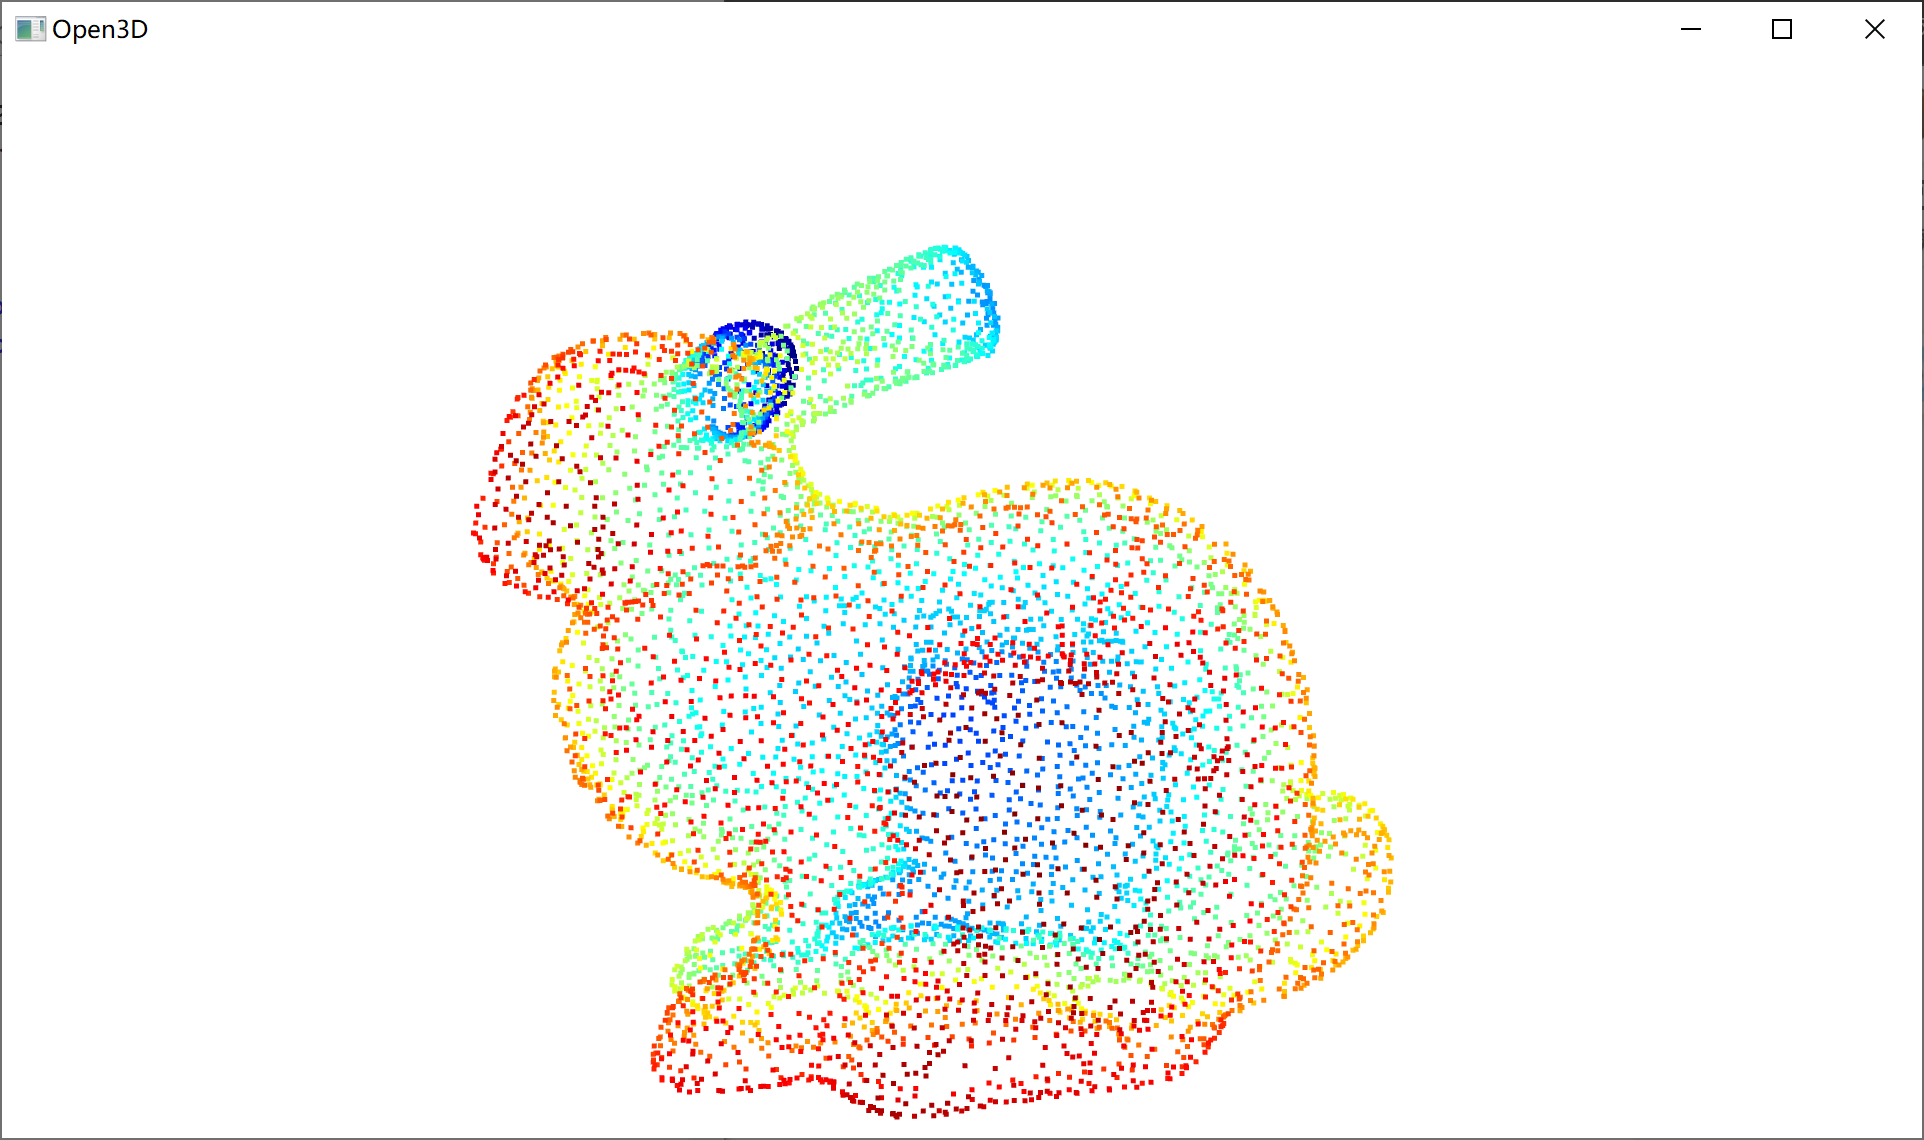
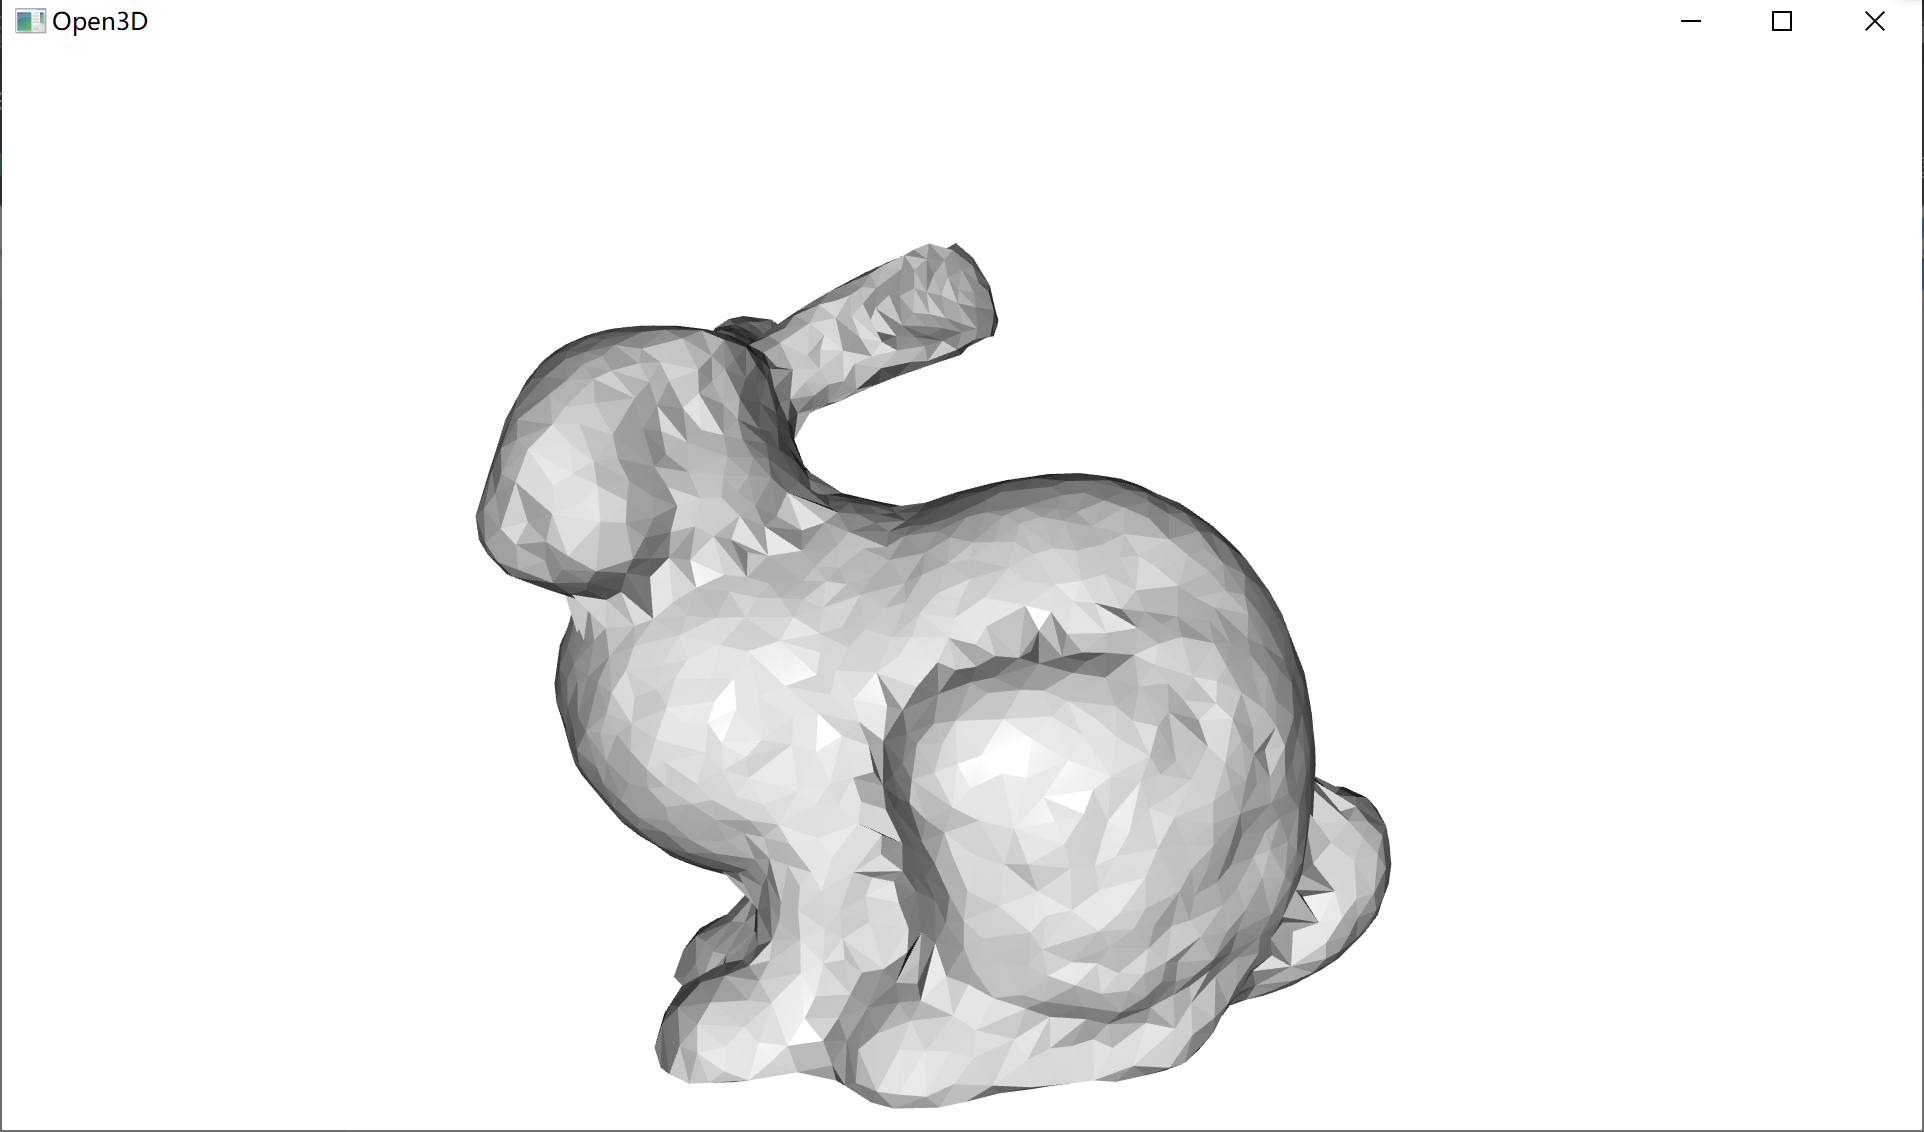
(2) Geometry - Surface Reconstruction
In many cases, we want to generate dense 3D geometry, that is, triangular meshes. However, from multi view stereo methods or depth sensors, we can only obtain unstructured point clouds. To get a triangular mesh from this unstructured input, we need to perform surface reconstruction.
1. Generating with unstructured point cloud data
Code implementation:
import open3d as o3d
import numpy as np
#Introducing third-party libraries
print("Open3D read Point Cloud")
#Output prompt statement
pcd = o3d.io.read_point_cloud(r"bunny10k.ply")
#Read model file
print(pcd)
o3d.visualization.draw_geometries([pcd])
#Draw a point cloud model
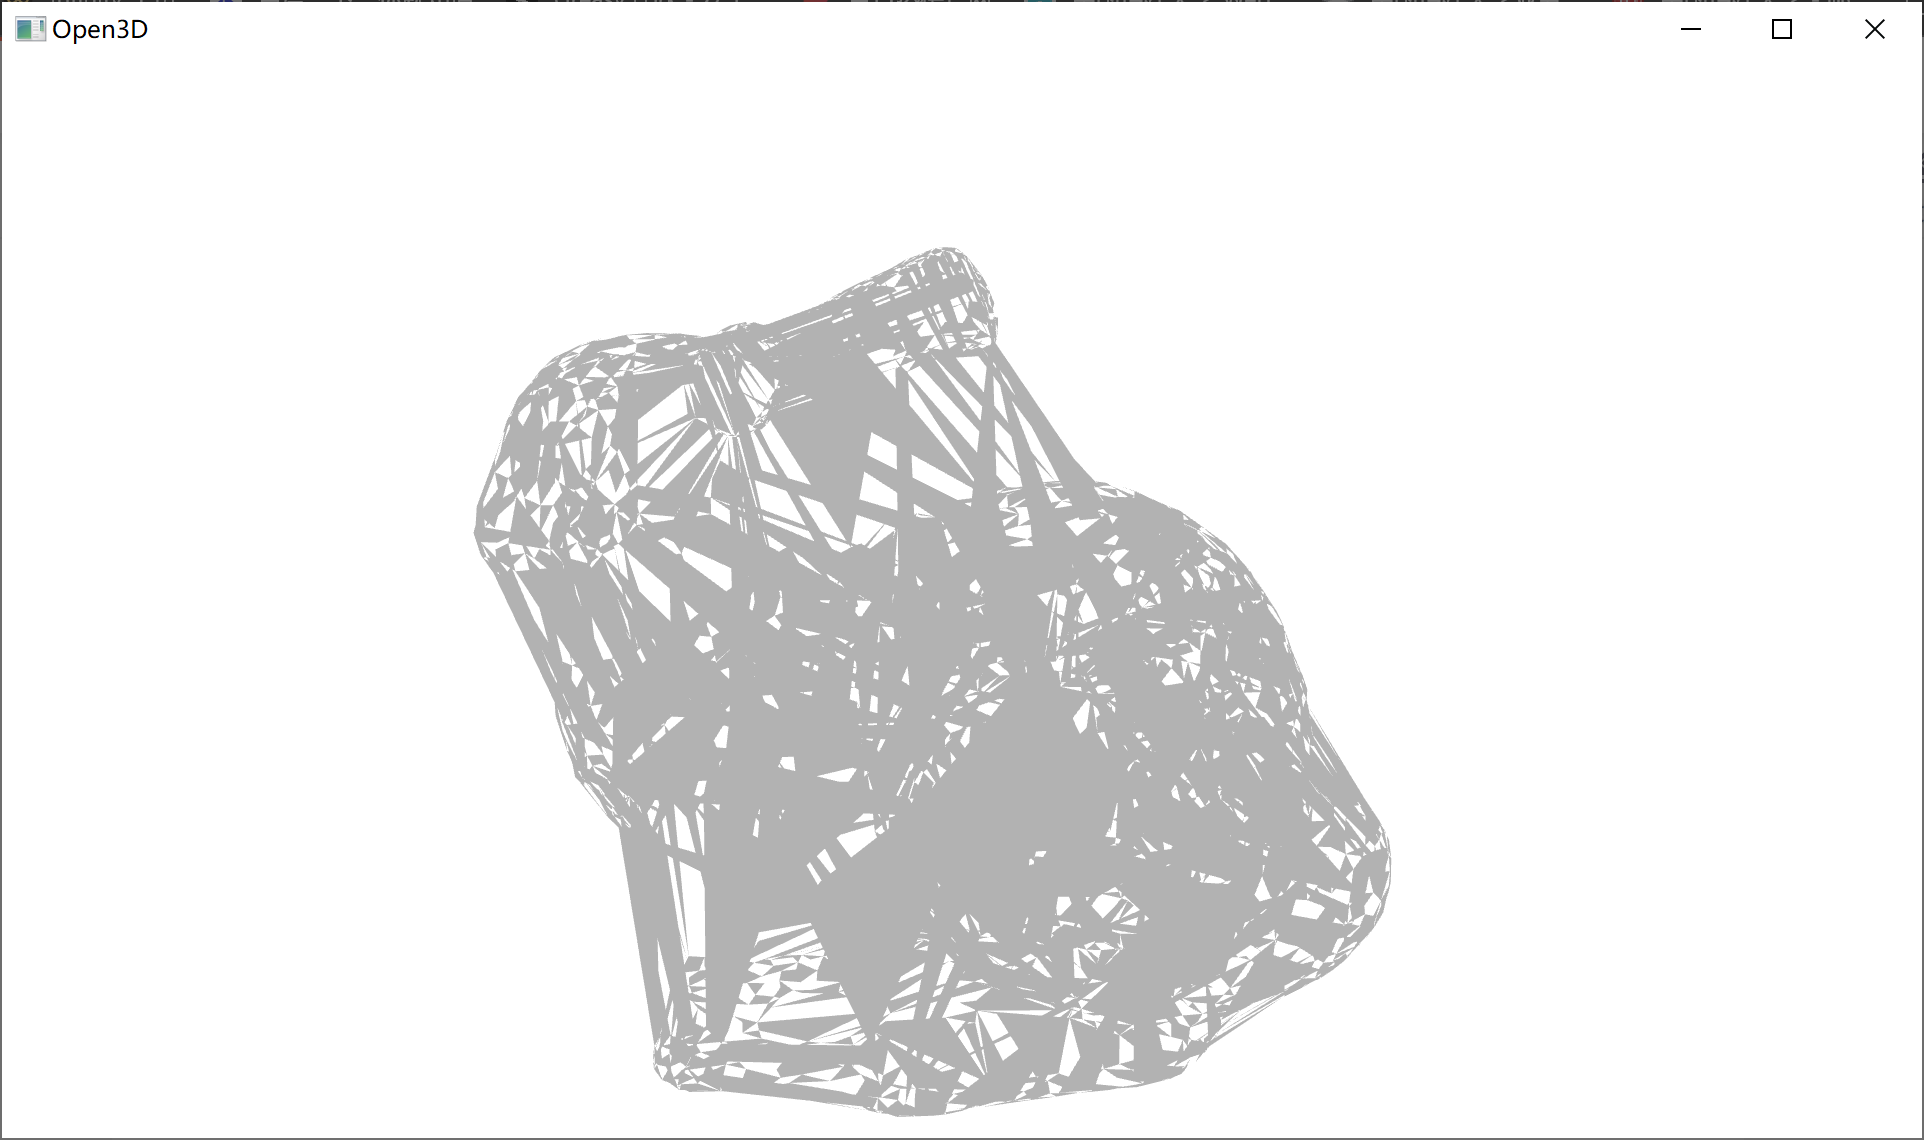
trimesh = o3d.geometry.TriangleMesh.create_from_point_cloud_alpha_shape(pcd,0.03)
print(trimesh)
o3d.visualization.draw_geometries([trimesh])
#Draw initial structured model
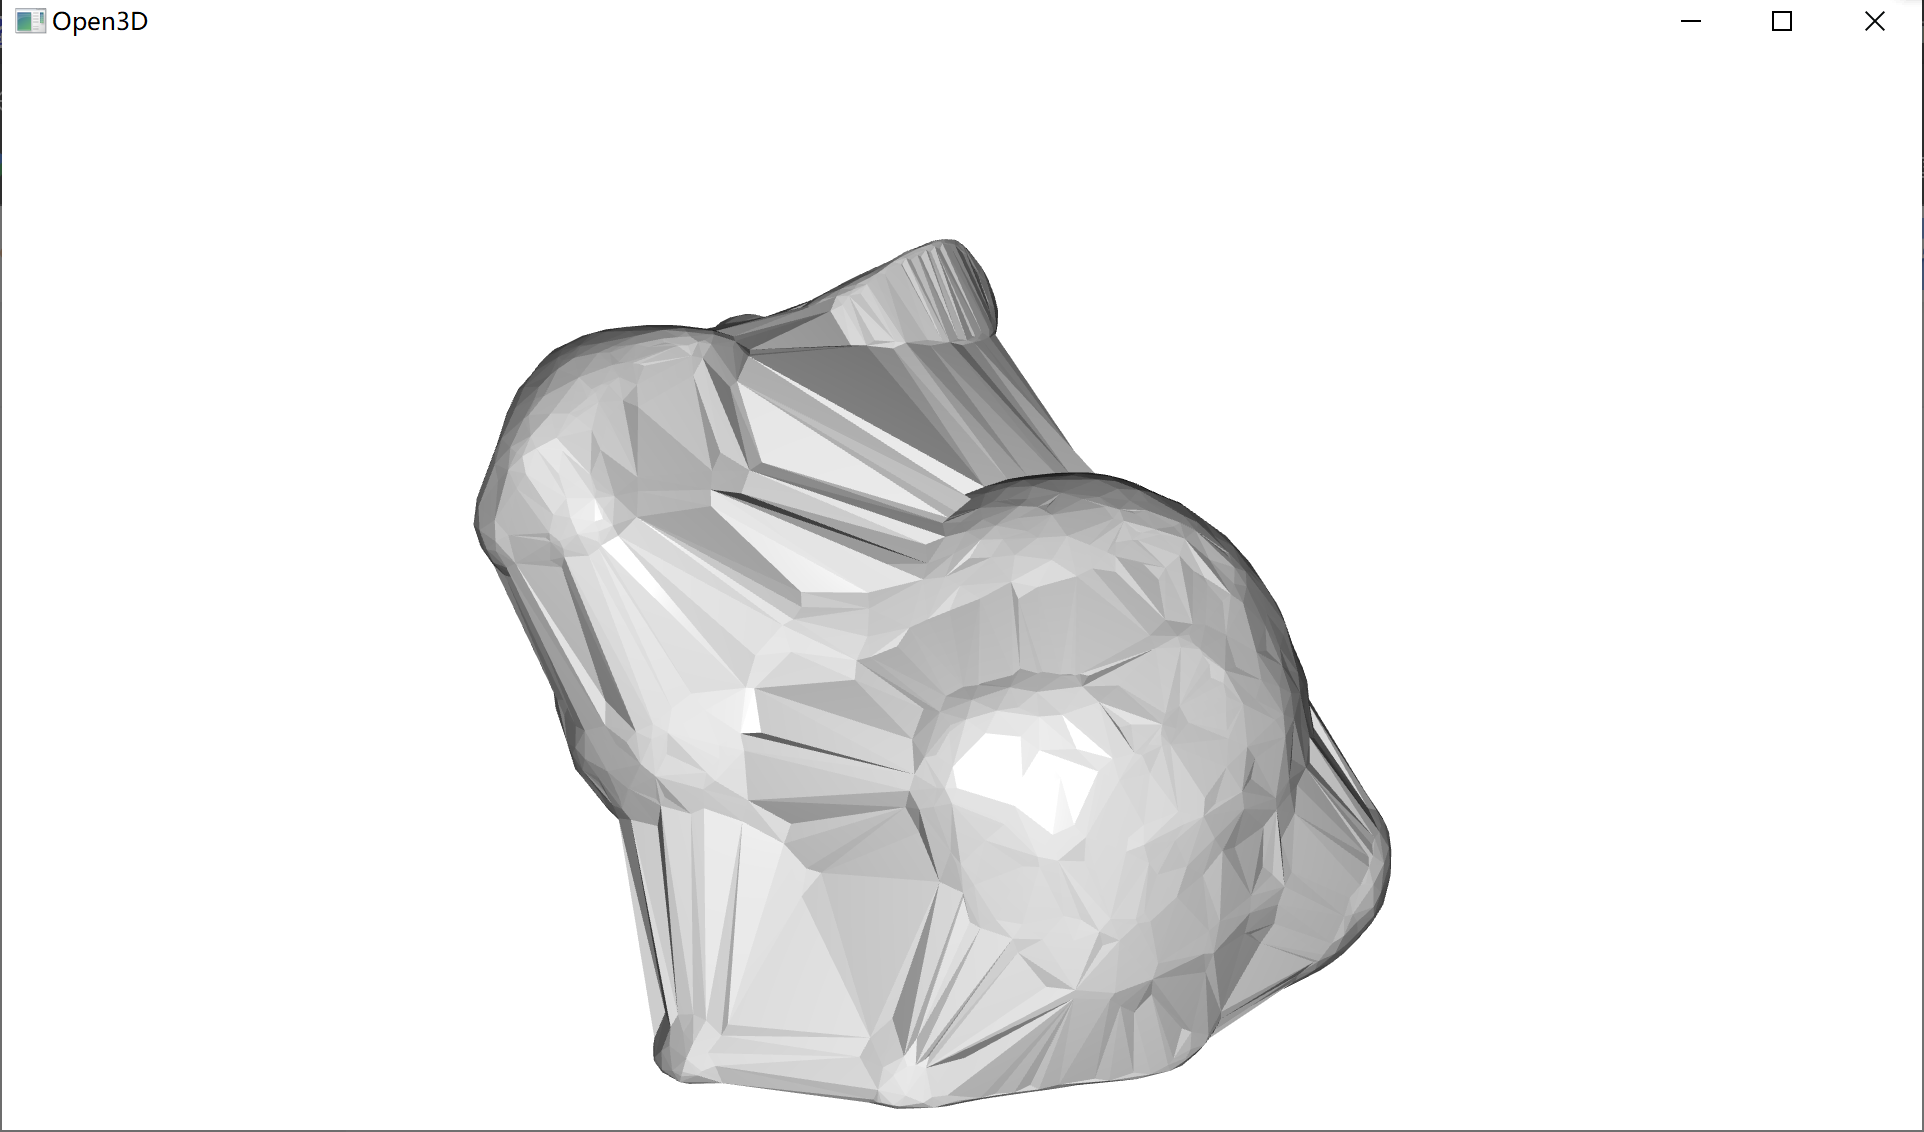
trimesh.compute_vertex_normals()
o3d.visualization.draw_geometries([trimesh],mesh_show_back_face=True)
#Draw structured modelThe results are as follows:
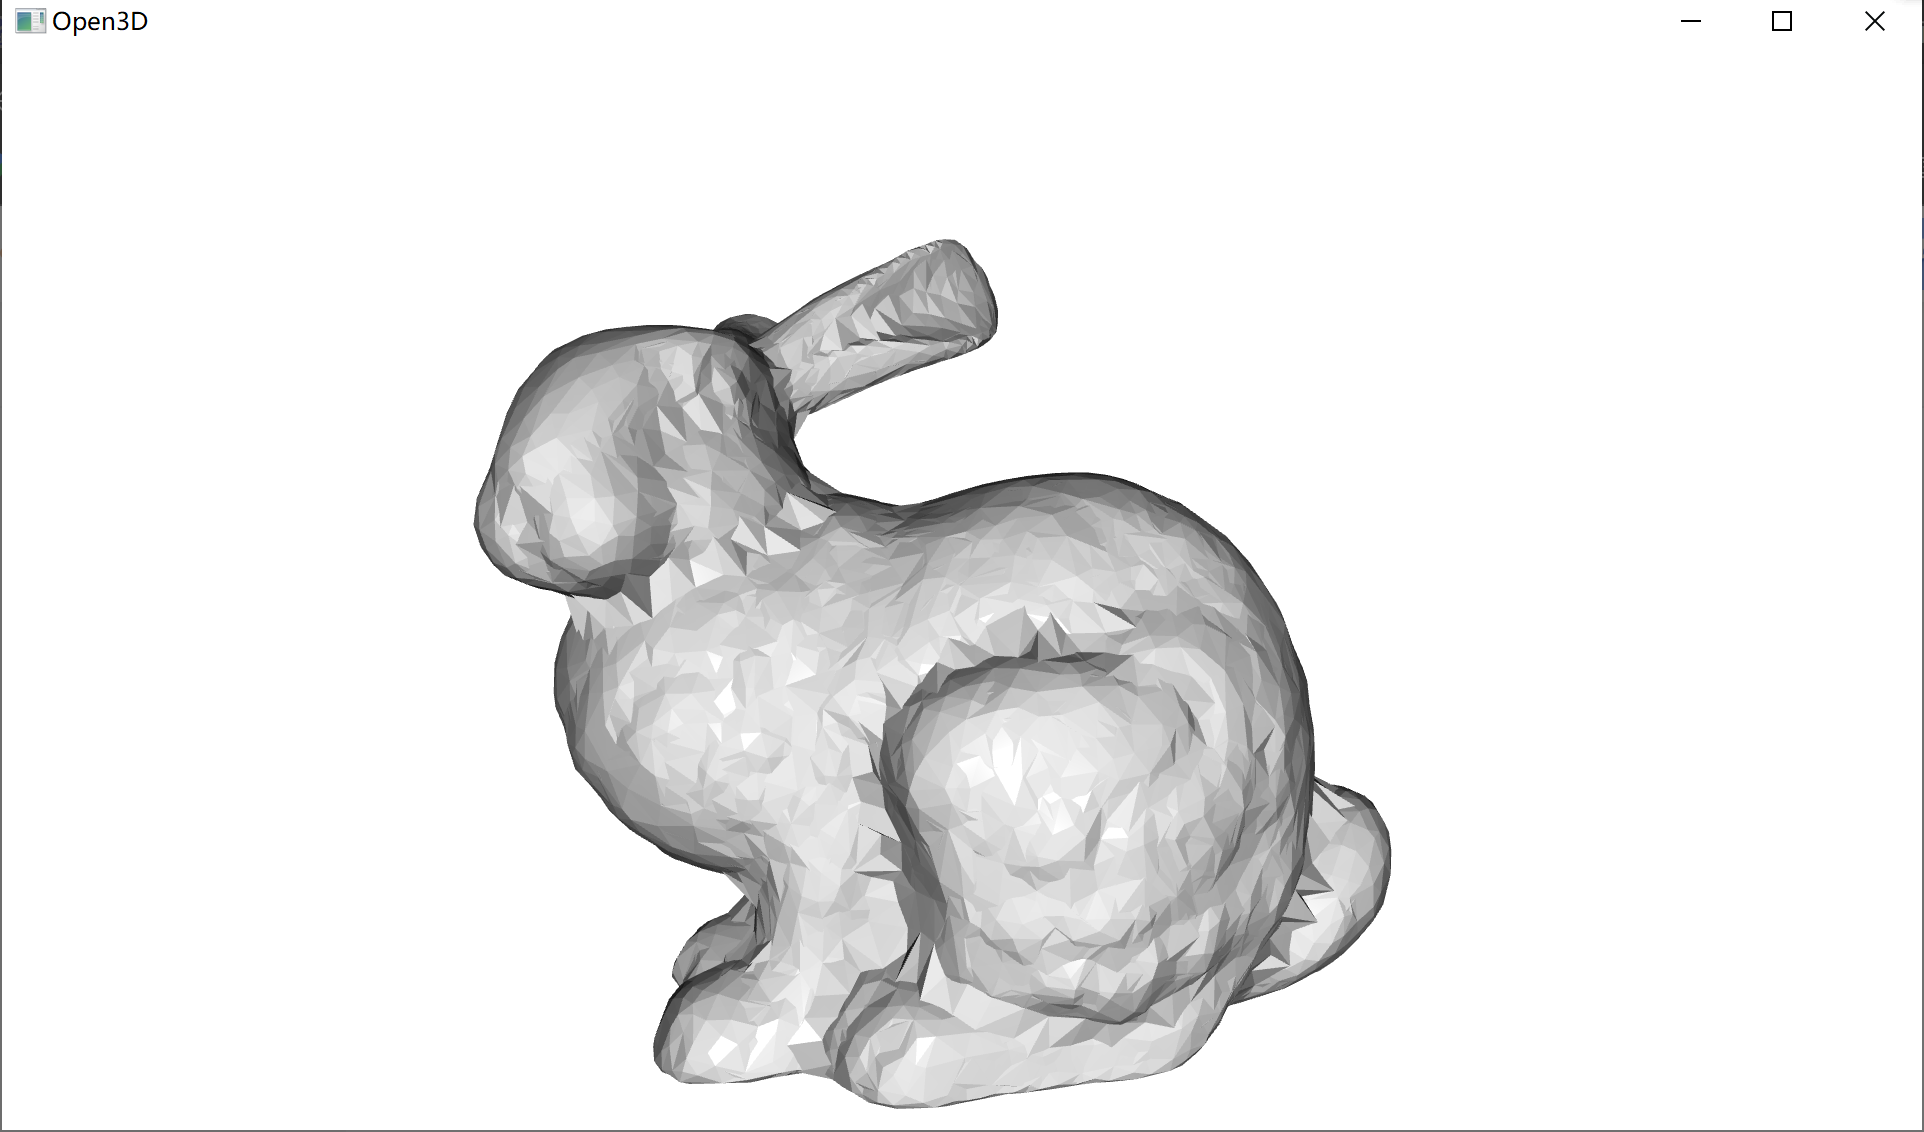
2. Generating with triangle
The code is as follows:
import open3d as o3d
import numpy as np
#Introducing third-party libraries

print("Open3D read Point Cloud")
#Output prompt statement
pcd = o3d.io.read_triangle_mesh(r"bunny10k.ply")
#Read model file
#print(pcd)
pcd.compute_vertex_normals()
pcdmesh = pcd.sample_points_poisson_disk(3000)
o3d.visualization.draw_geometries([pcdmesh],point_show_normal=True)


radii=[0.005, 0.01, 0.02, 0.04]

ballmesh = o3d.geometry.TriangleMesh.create_from_point_cloud_ball_pivoting(pcdmesh,o3d.utility.DoubleVector(radii))
#print(ballmesh)
o3d.visualization.draw_geometries([ballmesh])

o3d.visualization.draw_geometries([pcd, ballmesh])
The results are as follows:
4, Summary
Open3D is a very easy-to-use 3D processing software, which can achieve more operations. In the process of writing posts, I consolidated the contents of the class again, and learned a lot of new things by viewing the Open3D website, such as voxelization, point cloud outlier removal and so on.