Disclaimer: This blog is for personal learning records only.
Recently, when I was bored, I browsed the major recruitment websites and found that all the recruitment requirements had written about im experience or integrated experience of Rongyun Huanxin.
Here the blogger specifically to understand the XMPP protocol and use OpenFire server to build a simple instant messaging demo. Below is the address of interested friends can see, do not like to spray, there are suggestions or comments can be exchanged messages.
XMPP Blog Address
Integration steps are available on Fuyun Official Website. Here is a record of my personal integration incentives to get what you may also encounter.
No more nonsense, enter the whole, first log on Rongyun official website to register an account, that's needless to say. Landing Rongyun Official Website
After registration, you can first look at the official website documents and some functions related to the introduction. You can also download a cloud melting demo to run by itself and feel the function of cloud melting, which is not introduced here. 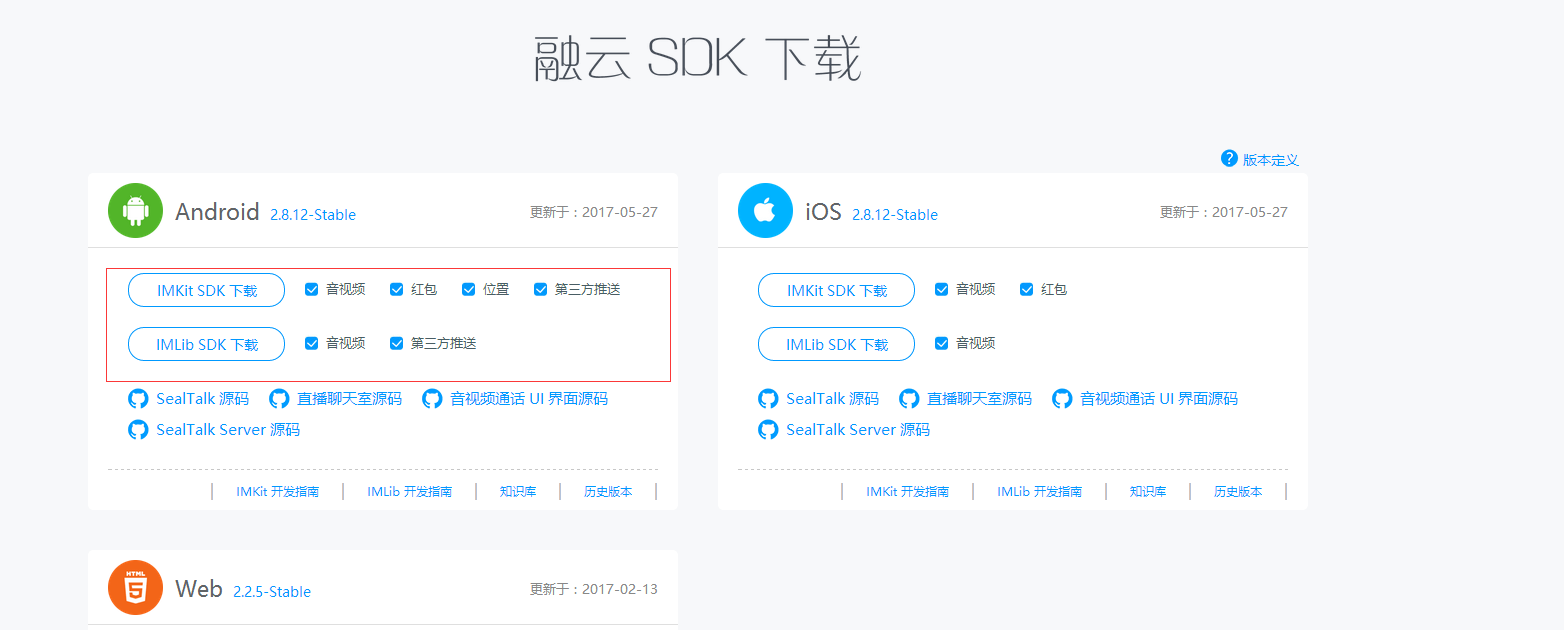
These are available here after downloading SDK. 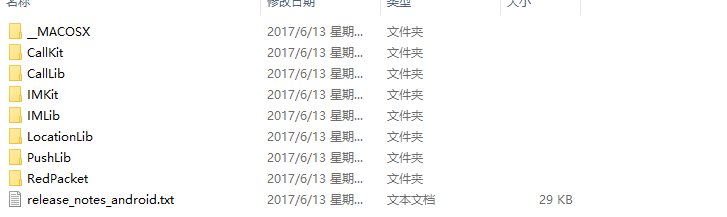
Now for simple integration, only IMLib is needed. 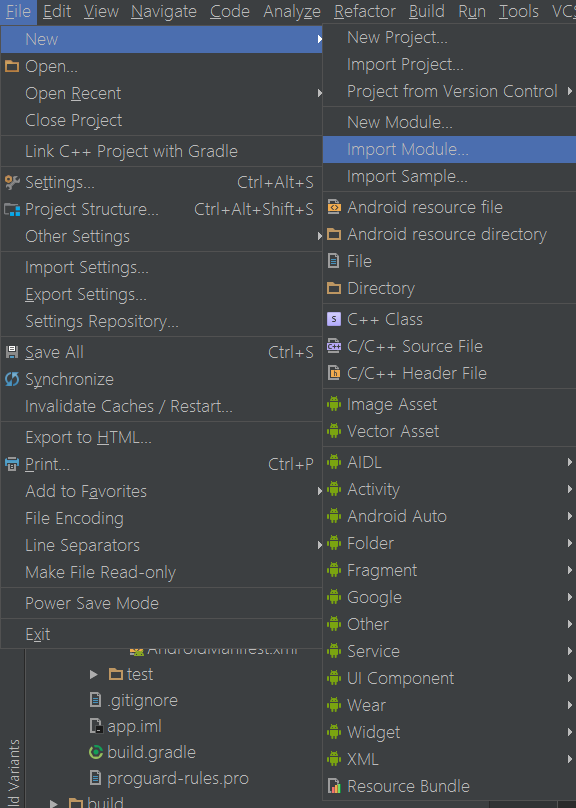
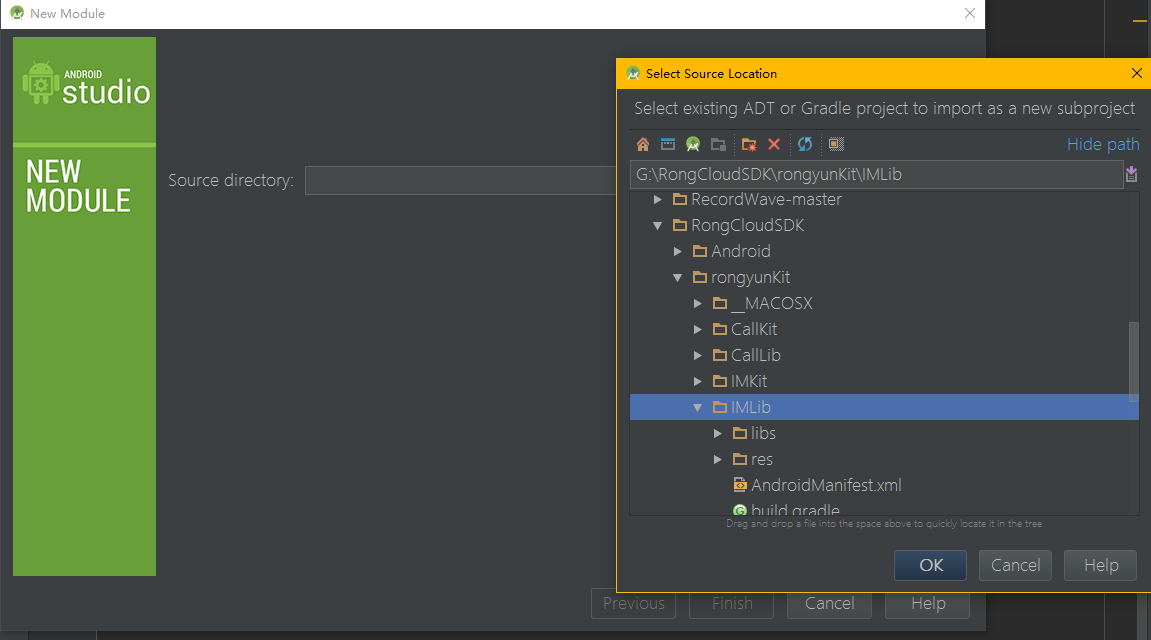
After this step is selected, you can finish directly. After importing IMLib, you may use a different version of the compiler environment than this one. You need to set it up by yourself. Also, the version of the compilation tool should be greater than 21
Before you integrate Fusion Cloud SDK, the environment requirements are as follows:
Here are official tips from Rongyun:

Android SDK Build-tools upgrade to version 21 or above.
JAVA compiled version JDK 1.7 and above.
Using IMKit requires Android Support V4 21 and above.
There is a directory in the sdk file we just downloaded 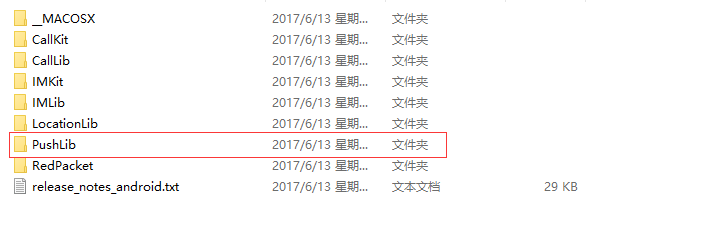
After clicking in 
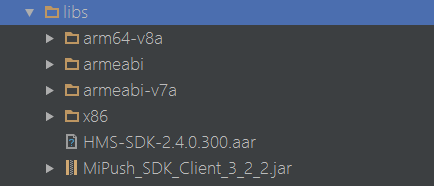
These two copies go to the libs directory of the project APP
MiPush is a millet push, if not added, then the directory: PushLib pushDaemon under the LIBS platform so files are copied to libs. As follows:
Next is the directory: PushLib pushDaemon executable so folder all copies to the main folder under the project app moudle under the assets directory, Android Studio is not the folder of the people who build their own into the line. 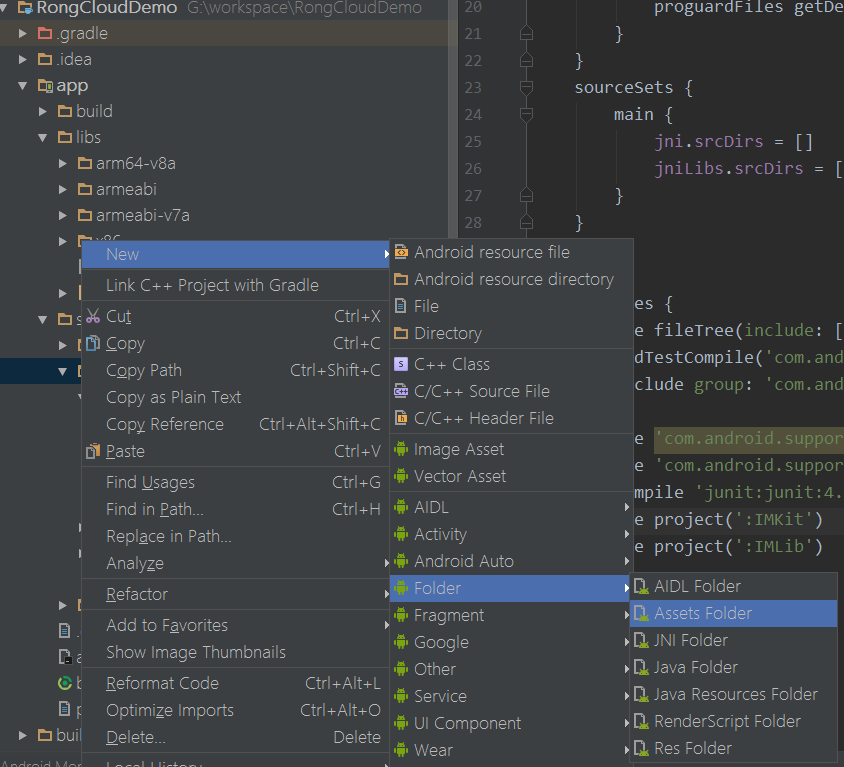
Here's how to configure our build.gradle. Here's the code in my gradle. 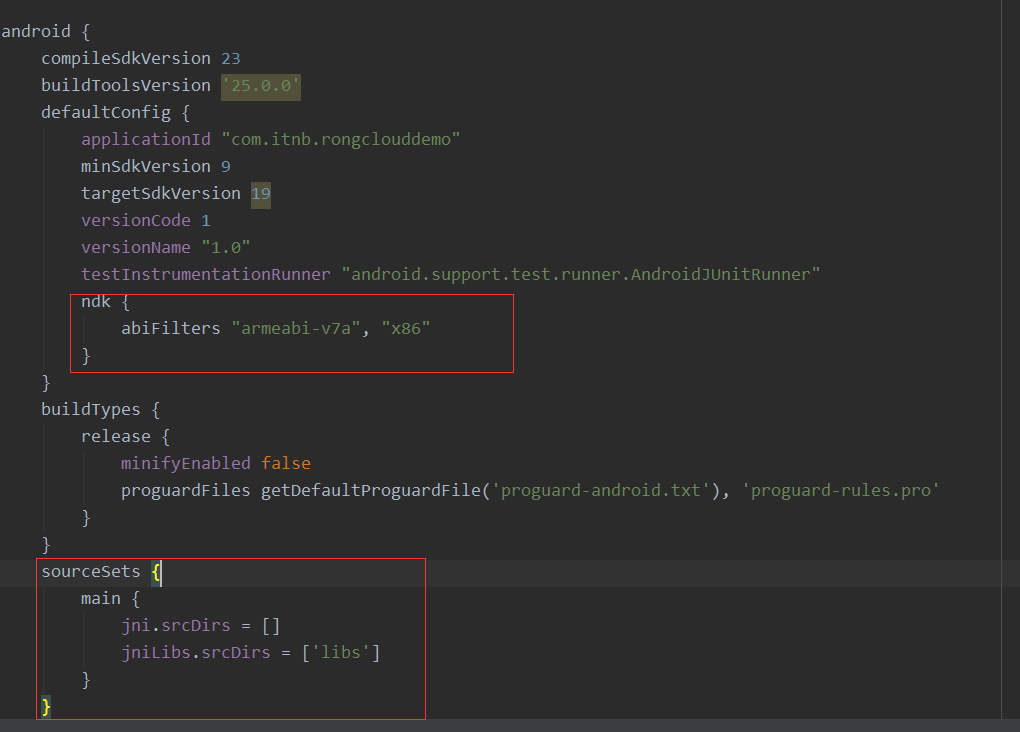
Note: It is important to note that the configuration under sourceSets should be paired or an exception to load so will be reported.
And here I integrate IMKit, here are some packages about the Im interface, here is just to connect to the Fusion Cloud, you can not integrate into it first.
apply plugin: 'com.android.application'
android {
compileSdkVersion 23
buildToolsVersion '25.0.0'
defaultConfig {
applicationId "com.itnb.rongclouddemo"
minSdkVersion 9
targetSdkVersion 19
versionCode 1
versionName "1.0"
testInstrumentationRunner "android.support.test.runner.AndroidJUnitRunner"
ndk {
abiFilters "armeabi-v7a", "x86"
}
}
buildTypes {
release {
minifyEnabled false
proguardFiles getDefaultProguardFile('proguard-android.txt'), 'proguard-rules.pro'
}
}
sourceSets {
main {
jni.srcDirs = []
jniLibs.srcDirs = ['libs']
}
}
}
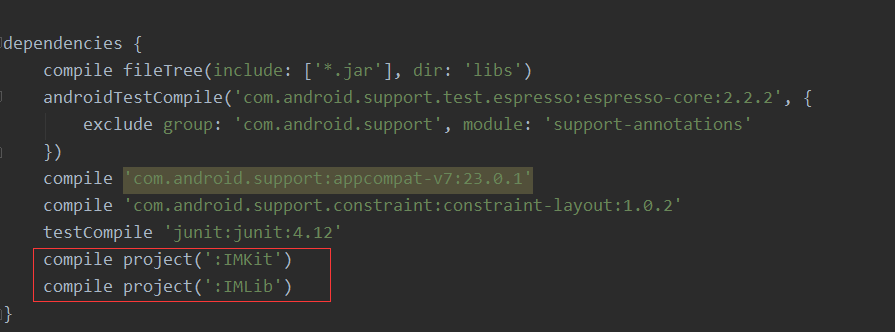
dependencies {
compile fileTree(include: ['*.jar'], dir: 'libs')
androidTestCompile('com.android.support.test.espresso:espresso-core:2.2.2', {
exclude group: 'com.android.support', module: 'support-annotations'
})
compile 'com.android.support:appcompat-v7:23.0.1'
compile 'com.android.support.constraint:constraint-layout:1.0.2'
testCompile 'junit:junit:4.12'
compile project(':IMKit')
compile project(':IMLib')
}
Next is to configure our AndroidMainFest.xml file under App.
First of all, add some permissions, here I lazy, downloaded the rights in the melting cloud demo directly copy ing over, we need to add Kazakhstan according to their own needs.
    <uses-permission android:name="android.permission.WRITE_EXTERNAL_STORAGE" />
    <uses-permission android:name="android.permission.INTERNET" />
    <uses-permission android:name="android.permission.ACCESS_COARSE_LOCATION" />
    <!-- Access to Aircraft Type Information Rights -->
    <uses-permission android:name="android.permission.READ_PHONE_STATE" />

    <uses-permission android:name="android.permission.GET_TASKS" />
    <uses-permission android:name="android.permission.INTERACT_ACROSS_USERS_FULL" />

    <!-- See Wi-Fi state -->
    <uses-permission android:name="android.permission.ACCESS_WIFI_STATE" />
    <!-- View network status -->
    <uses-permission android:name="android.permission.ACCESS_NETWORK_STATE" />
    <uses-permission android:name="android.permission.CAMERA" />
    <!-- Sound recording -->
    <uses-permission android:name="android.permission.RECORD_AUDIO" />
    <!-- Controlled Vibrator -->
    <uses-permission android:name="android.permission.VIBRATE" />
    <!-- Preventing equipment from sleeping -->
    <uses-permission android:name="android.permission.WAKE_LOCK" />

    <uses-permission android:name="android.permission.WRITE_SETTINGS" />
    <uses-permission android:name="android.permission.MODIFY_AUDIO_SETTINGS" />
    <uses-permission android:name="android.permission.KILL_BACKGROUND_PROCESSES" />
    <!--Get contact information. demo Demonstrate sending address book messages-->
    <uses-permission android:name="android.permission.READ_CONTACTS" />
    <uses-permission android:name="android.permission.ACCESS_FINE_LOCATION" />
    <uses-permission android:name="android.permission.RECEIVE_BOOT_COMPLETED" />
Next, add some fixed settings as follows: 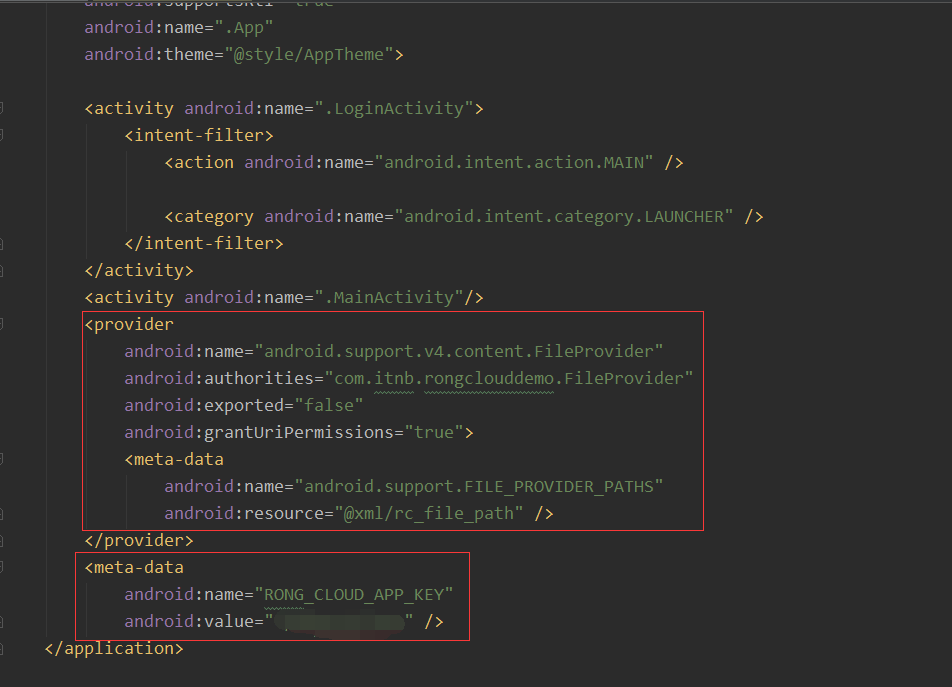
The value of Value under the label meta-data is the appkey of the account creation project you registered in Rongyun. 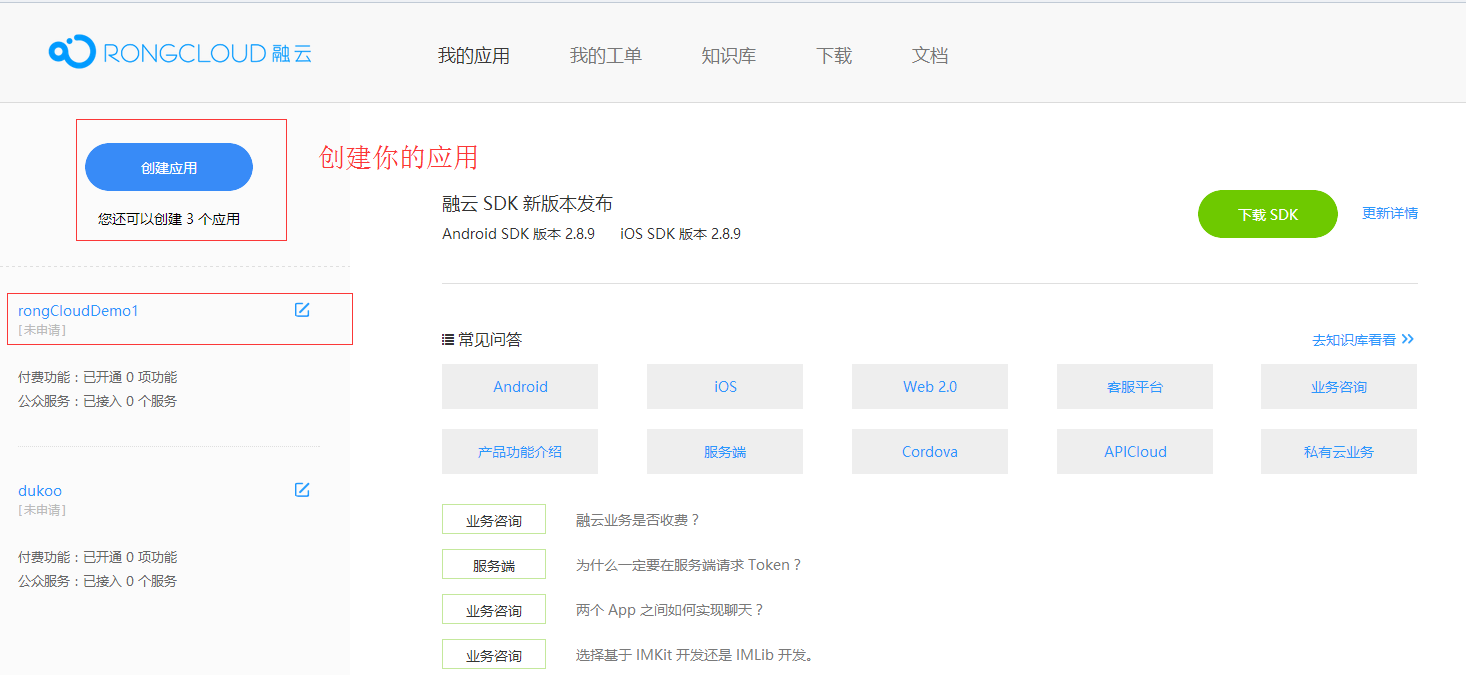
The next step is to create an Application in your project
public class App extends Application {

    @Override
    public void onCreate() {
        super.onCreate();
        RongIM.init(this);//Initialize melting clouds
    }
}


-------------------------------------------------------------------------------------
Cloud melting prompts:
Notes on initialization
 After running your App, you will find three processes: 1. your application process; 2. your application process: ipc, which is the communication process of cloud melting; 3. io.rong.push, which is the push process of cloud melting.
You can use RongIM in any process, and we recommend that the first integrated user use it in the main process.
Next is the link.
/**
 * <p>Connecting to the server, globally throughout the application, only needs to be invoked once, after {@link#init (Context)}. </p>
 * <p>If this interface fails to connect, the SDK will automatically start the reconnection mechanism for up to 10 reconnections after 1, 2, 4, 8, 16, 32, 64, 128, 256, 512 seconds, respectively.
 * If the connection is still unsuccessful after that, it will be reconnected again when the device network status changes. </p>
 *
 * @param token    User identity token (Token) obtained from the server.
 * @param callback Connect callback.
 * @return RongIM  Instances of client core classes.
 */
private void connect(String token) {

    if (getApplicationInfo().packageName.equals(App.getCurProcessName(getApplicationContext()))) {

        RongIM.connect(token, new RongIMClient.ConnectCallback() {

            /**
             * Token Error. You can check 1. Token expires from the following two points. If it expires, you need to request a new Token from App Server again.
             *                  2.  token Is the corresponding appKey consistent with the appKey set in the project?
             */
            @Override
            public void onTokenIncorrect() {

            }

            /**
             * Successful Connection with Cloud Fusion
             * @param userid User id corresponding to the current token
             */
            @Override
            public void onSuccess(String userid) {
                Log.d("LoginActivity", "--onSuccess" + userid);
                startActivity(new Intent(LoginActivity.this, MainActivity.class));
                finish();
            }

            /**
             * Connection failed to melt cloud
             * @param errorCode Error codes, you can go to the official website to see the comments corresponding to the error codes
             */
            @Override
            public void onError(RongIMClient.ErrorCode errorCode) {

            }
        });
    }
}
//The getCurProcessName method code is as follows:

public  static String getCurProcessName(Context applicationContext) {
        ActivityManager activityManager = (ActivityManager) applicationContext.getSystemService(Context.ACTIVITY_SERVICE);
        List<ActivityManager.RunningAppProcessInfo> runningApps = activityManager.getRunningAppProcesses();
        if (runningApps == null) {
            return null;
        }
        int pid = android.os.Process.myPid();
        for (ActivityManager.RunningAppProcessInfo procInfo : runningApps) {
            if (procInfo.pid == pid) {
                return procInfo.processName;
            }
        }
        return null;
    }
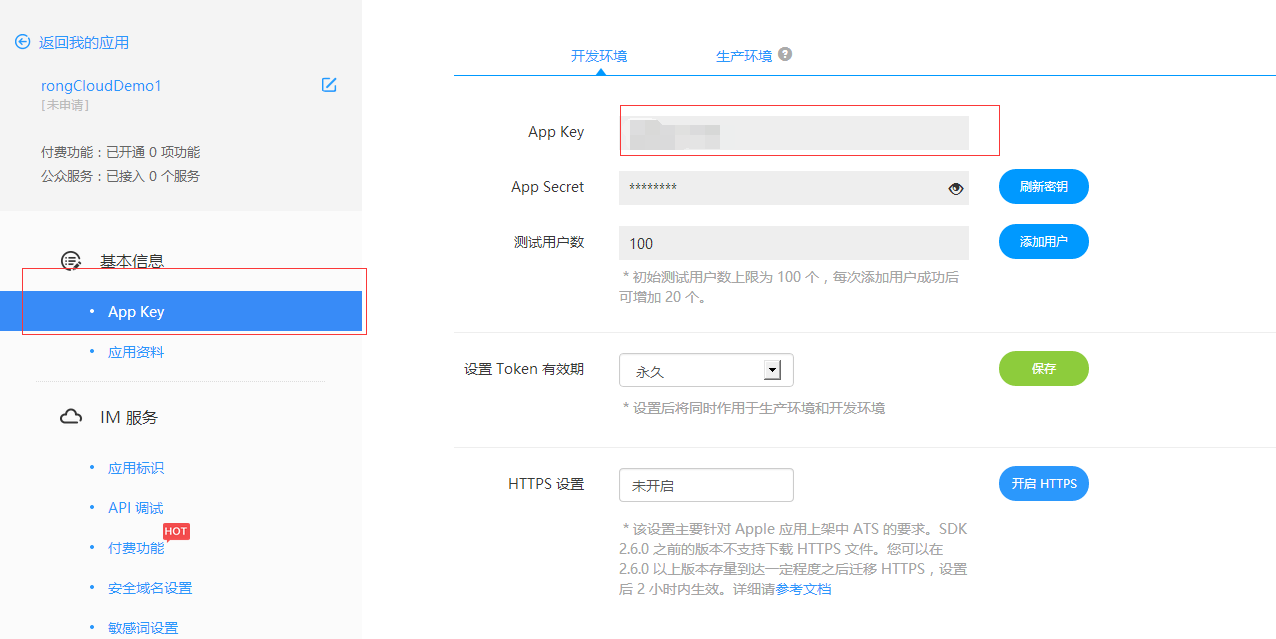
The connect method here needs a Token, which can be obtained from the project you created on your cloud melting. 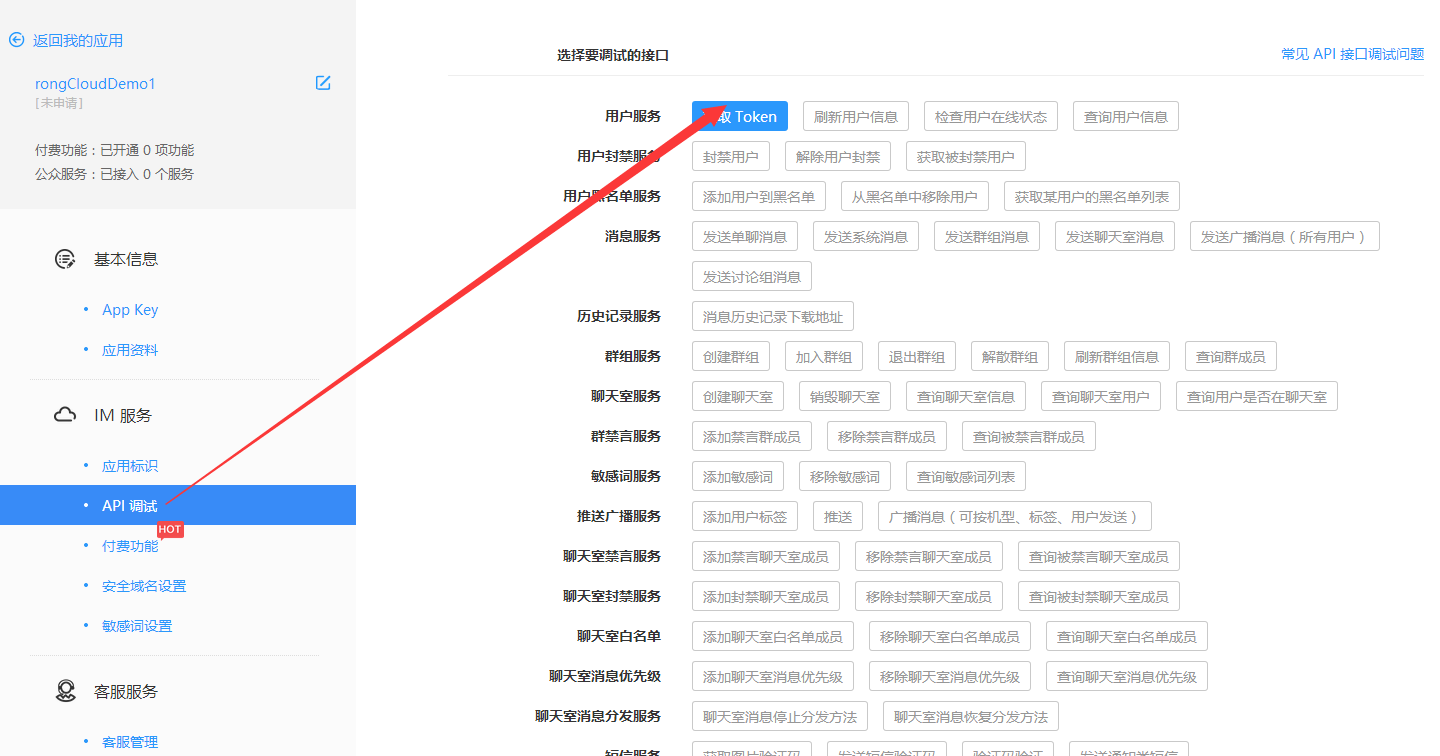
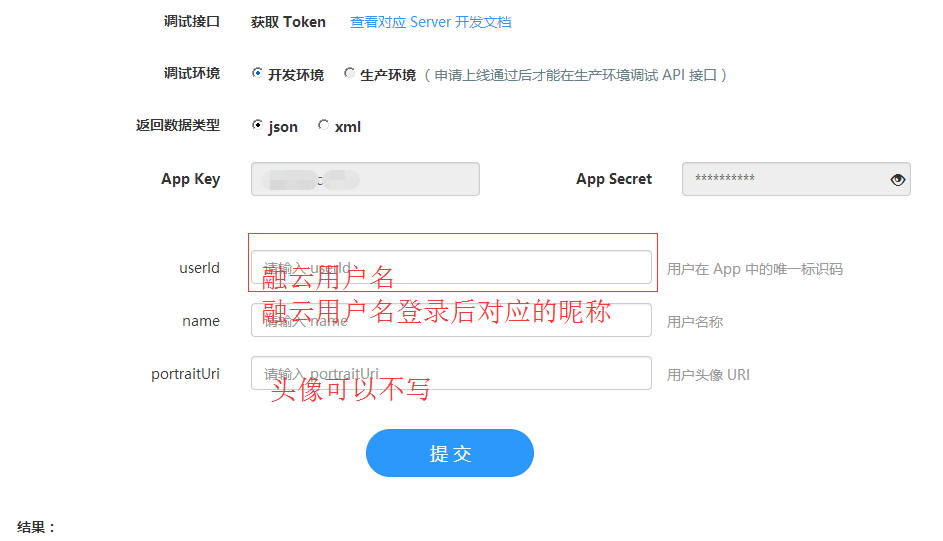
Call the connect method into token in your project, and there's no official prompt to make a request here because it's just for recording the connection server. All steps should be simplified. 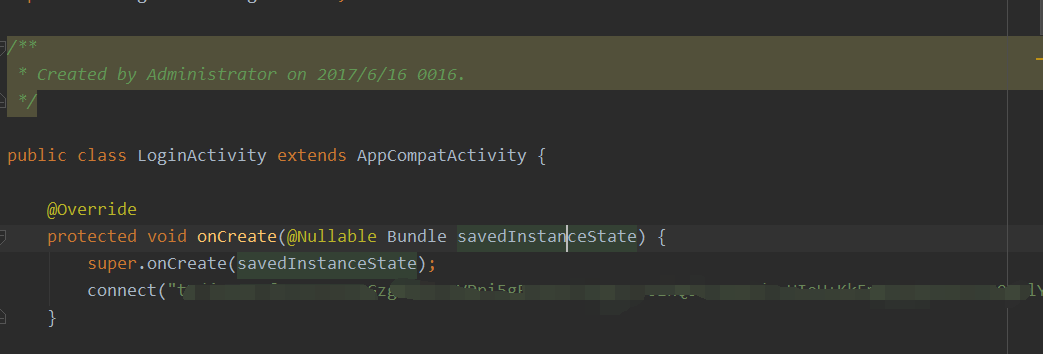
Then run your project. 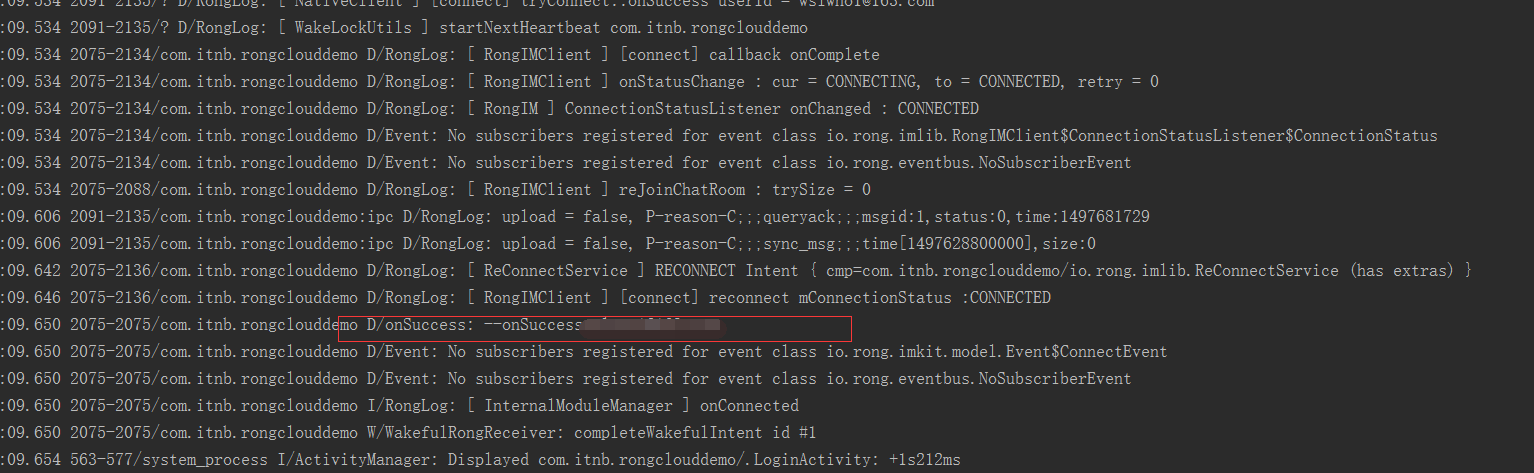
Seeing this log in logcat indicates that you have successfully integrated Fusion Cloud Sdk and successfully linked. It's just the first step. There's definitely more to using Rongyun to develop im. I'll try my best to dig out the following content and organize it into a blog to help those relatives who may have had the same problems as me. To be continued, Mody _