GAN animation character avatar generation
1. Introduction
A simple DCGAN network is built to generate the avatars of animation characters. The avatar data set of animation characters is taken from kaggle, and the website is as follows
link
2. Network structure
- data set
- generator
- Discriminator
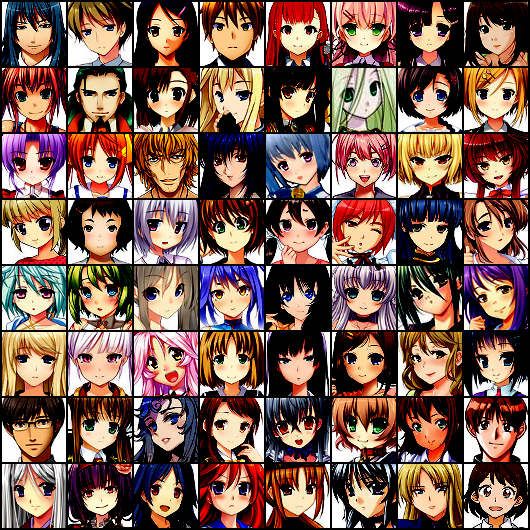
2.1 data set
The data size is 64x64x3, and the example is as follows


2.2 generator
Since the original input of the generator is n-dimensional noise, if you want to generate a picture with the same size as the data set, you need to carry out up sampling. The method we use here is transpose convolution, which is realized by ConvTransposed2d in pytorch.
The generator code is as follows:
class Generator(nn.Module):

    def __init__(self, noise_dim=100):
        super(Generator, self).__init__()
        self.net = nn.Sequential(
            # out_shape = (1-1)*1-2*0+4 = 4*4
            nn.ConvTranspose2d(noise_dim, 256, kernel_size=4),
            nn.BatchNorm2d(256),
            nn.ReLU(),
            # out_shape = (4-1)*2-2*1+4 = 8*8
            nn.ConvTranspose2d(256, 128, kernel_size=4, stride=2, padding=1),
            nn.BatchNorm2d(128),
            nn.ReLU(),
            # out_shape = (8-1)*2-2*1+4 = 16*16
            nn.ConvTranspose2d(128, 64, kernel_size=4, stride=2, padding=1),
            nn.BatchNorm2d(64),
            nn.ReLU(),
            # out_shape = (16-1)*2-2*1+4 = 32*32
            nn.ConvTranspose2d(64, 32, kernel_size=4, stride=2, padding=1),
            nn.BatchNorm2d(32),
            nn.ReLU(),
            # out_shape = (32-1)*2-2*1+4 = 64*64
            nn.ConvTranspose2d(32, 3, kernel_size=4, stride=2, padding=1),
            nn.Tanh()
        )

    def forward(self, input):

        output = self.net(input)
        return output
In the training phase, we will generate batch_ The random noise of sizex100x1x1 size is then up sampled by the generator to realize the pseudo picture with the same size as the picture of the data set, and then sent to the discriminator to distinguish the true and false pictures.
2.3 discriminator
The input of the discriminator is the real picture sampled from the data set and the pseudo picture generated by the generator, and the output is a value between 0-1. Therefore, the Sigmoid activation function is used at the end of the network.
The purpose of the discriminator is to judge the real picture as "1" (true) and the pseudo picture as "0" (false). The purpose of the generator is to generate the pseudo picture well enough to approximate the distribution of the data set, so as to deceive the generator. Therefore, the generator hopes that the closer the score of the pseudo picture generated by itself to "1" (true) in the discriminator, the better. In this way, the discriminator and the generator continue to "fight", and finally reach equilibrium or close to equilibrium.
The discriminator code is as follows:
class Discriminator(nn.Module):

    def __init__(self):
        super(Discriminator, self).__init__()
        self.net = nn.Sequential(
            # 32*32*32
            nn.Conv2d(3, 32, kernel_size=3, stride=2, padding=1),
            nn.LeakyReLU(0.2),
            # 16*16*64
            nn.Conv2d(32, 64, kernel_size=3, stride=2, padding=1),
            nn.LeakyReLU(0.2),
            # 8*8*128
            nn.Conv2d(64, 128, kernel_size=3, stride=2, padding=1),
            nn.LeakyReLU(0.2),
            # 4*4*256
            nn.Conv2d(128, 256, kernel_size=3, stride=2, padding=1),
            nn.LeakyReLU(0.2),
            nn.Flatten(),
            nn.Linear(4*4*256, 256),
            nn.LeakyReLU(0.2),
            nn.Linear(256, 1),
            nn.Sigmoid()
        )

    def forward(self, input):

        output = self.net(input)
        return output.view(-1)
The network of the discriminator is a simple feedforward neural network. After convolution and continuous down sampling, the features of the picture are extracted, and finally the score between 0-1 is output as true or false.
3. Training phase
The general process of training stage is almost the same as that of deep learning training. The most important part is the design and calculation of label and loss function.
Paste the code of the training phase first:
import torch
import torch.nn as nn
from torchvision import transforms
from create_dataset import My_dataset, save_img
from torch.utils.data import DataLoader
from net import Generator, Discriminator

transform = transforms.Compose([
    transforms.ToTensor(),
    transforms.Normalize((0.5, 0.5, 0.5), (0.5, 0.5, 0.5))
])


dataset = My_dataset('./data', transform=transform)
batch_size, epochs = 256, 200
my_dataloader = DataLoader(dataset=dataset, batch_size=batch_size, shuffle=True, drop_last=True)

discriminator = Discriminator()
generator = Generator()
if torch.cuda.is_available():

    discriminator = discriminator.cuda()
    generator = generator.cuda()


d_optimizer = torch.optim.Adam(discriminator.parameters(), betas=(0.5, 0.99), lr=1e-4)
g_optimizer = torch.optim.Adam(generator.parameters(), betas=(0.5, 0.99), lr=1e-4)
criterion = nn.BCELoss()

for epoch in range(epochs):

    for i, img in enumerate(my_dataloader):

        noise = torch.randn(batch_size, 100, 1, 1).cuda()
        real_img = img.cuda()
        fake_img = generator(noise)

        real_label = torch.ones(batch_size).cuda()
        fake_label = torch.zeros(batch_size).cuda()
        real_out = discriminator(real_img)
        fake_out = discriminator(fake_img)
        real_loss = criterion(real_out, real_label)
        fake_loss = criterion(fake_out, fake_label)

        d_loss = real_loss + fake_loss
        d_optimizer.zero_grad()

        d_loss.backward()
        d_optimizer.step()

        noise = torch.randn(batch_size, 100, 1, 1).cuda()
        fake_img = generator(noise)
        output = discriminator(fake_img)

        g_loss = criterion(output, real_label)
        g_optimizer.zero_grad()

        g_loss.backward()
        g_optimizer.step()

        if (i + 1) % 5 == 0:
            print('Epoch[{}/{}],d_loss:{:.6f},g_loss:{:.6f} '
                  'D_real: {:.6f},D_fake: {:.6f}'.format(
                epoch, epochs, d_loss.data.item(), g_loss.data.item(),
                real_out.data.mean(), fake_out.data.mean()  # What is printed is the average loss of the real picture
            ))
        if epoch == 0 and i == len(my_dataloader) - 1:
            save_img(img[:64, :, :, :], './sample/real_images.png')
        if (epoch+1) % 10 == 0 and i == len(my_dataloader)-1:
            save_img(fake_img[:64, :, :, :], './sample/fake_images_{}.png'.format(epoch + 1))

torch.save(generator.state_dict(), './generator.pth')
torch.save(discriminator.state_dict(), './discriminator.pth')
Before training, first set the picture to true or false label artificially. Here we set true to 1 and use torch The ones function is implemented, and the false is set to 0, using torch Zeros function implementation.
Then it calculates the discrimination loss of the pictures in the data set and the pseudo pictures generated by the generator, such as D in the code_ loss.
The next step is to calculate the loss of the generator. Because the purpose of the generator is to generate the picture as true as possible, the label of the loss calculation of the generator is 1. As in code g_loss.
4. Inverse normalization and results
4.1 inverse normalization
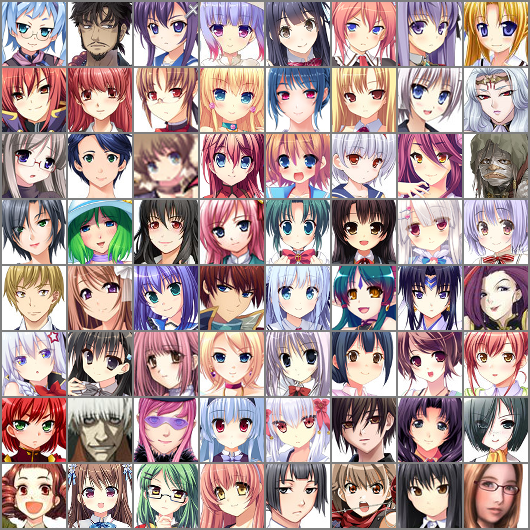
Because the data set is normalized and standardized, it is necessary to perform inverse normalization when displaying the generator results. Here, I first use save in torchvision_ Image to save the results of the generator, but the inverse normalization of the official function is inconsistent with our normalization process, resulting in some dark pictures saved by the function, as shown below (the following figure is the real picture in the dataset):
Therefore, here, the anti normalization process of data is carried out, and make in torchvision is used_ The function of saving the image in the grid is as follows:
4.2 results
After 200 rounds of training, the results are saved every 10 rounds, and the results of 10,50100150200 rounds are shown in the figure below:
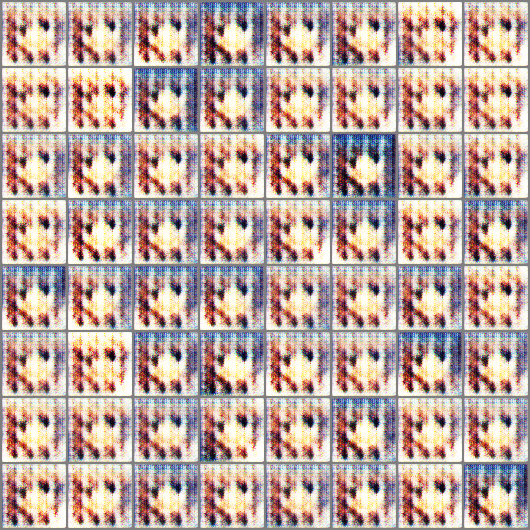
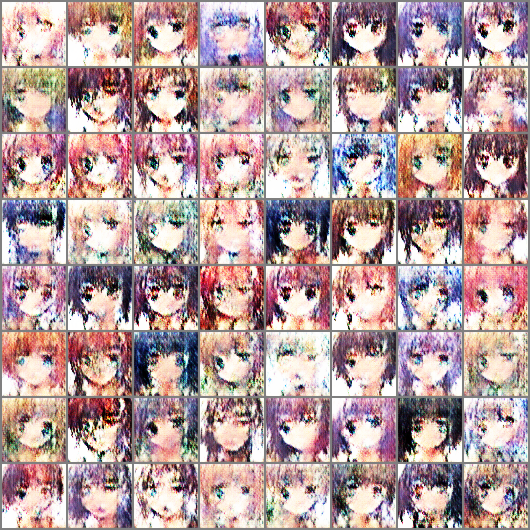
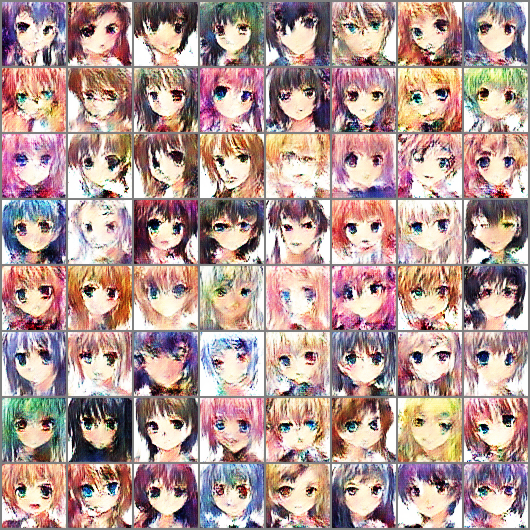
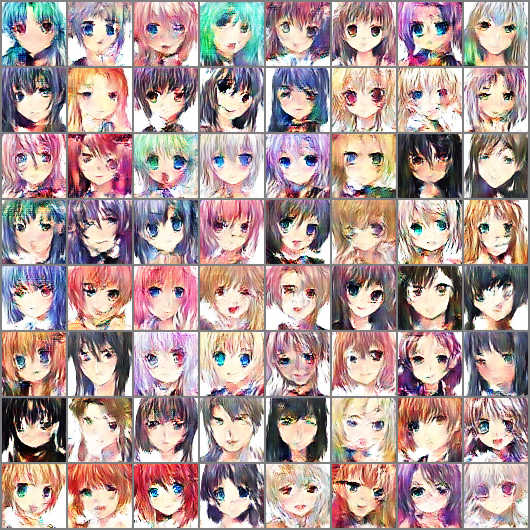
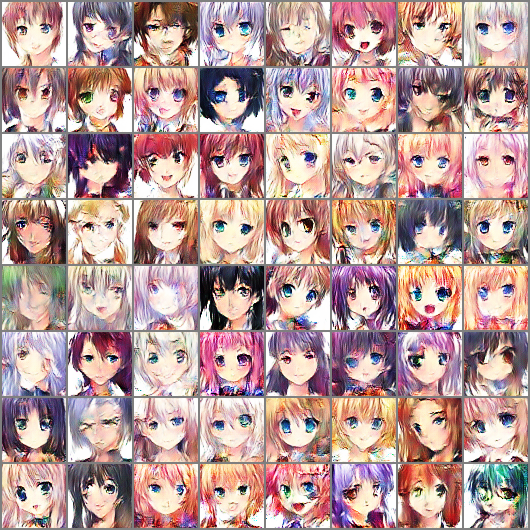
It can be seen that the pictures generated by the generator are becoming clearer and closer to the distribution of the data set
5. Summary
The final effect is still not very good, and the training process of GAN is not too stable. In particular, how to make the picture clearer and not blurred is still a "thorny" problem.
(novice Xiaobai writes a blog for the first time, don't spray it)
Finally, all the code can be seen in my github